How to Prepare Your Raised Garden Beds for Winter
The gardening season isn’t over yet! The fall and early winter seasons are perfect times to prepare raised garden beds for the oncoming cold. Remove old plants, spruce up the soil, and plant overwintering crops. Learn how to prepare your raised garden beds with backyard grower Jerad Bryant.

Contents
The work you do now sets your garden up for success in the future, and a little preparation goes a long way! Raised garden beds benefit from some simple care and maintenance to continue performing their best during the growing season. Give them what they need now, and they’ll thank you for it next spring.
Most of the work to prepare raised garden beds for winter ensures there are nutrients for future crops. Growing plants use up nutrients to flower, fruit, and produce leaves. The beds need time for microbes to break down organic matter and replenish the soil with the lost elements.
In some regions, winter prep involves planting cold-tolerant crops for cool-season harvests. Leafy greens, root crops, and cover crops grow well in raised beds. Some grow sweeter after frosts. Which ones to plant depends on where you live and how cold it gets during the winter.
How to Prepare Your Raised Garden Beds for Winter
Prepare your raised garden beds for winter with these simple steps. It’s easy to do, and you can do it in an hour or two during the weekend or after work. You’ll need mulch, gloves, and some frost protection if you’re growing crops.
Step 1: Clear the Beds
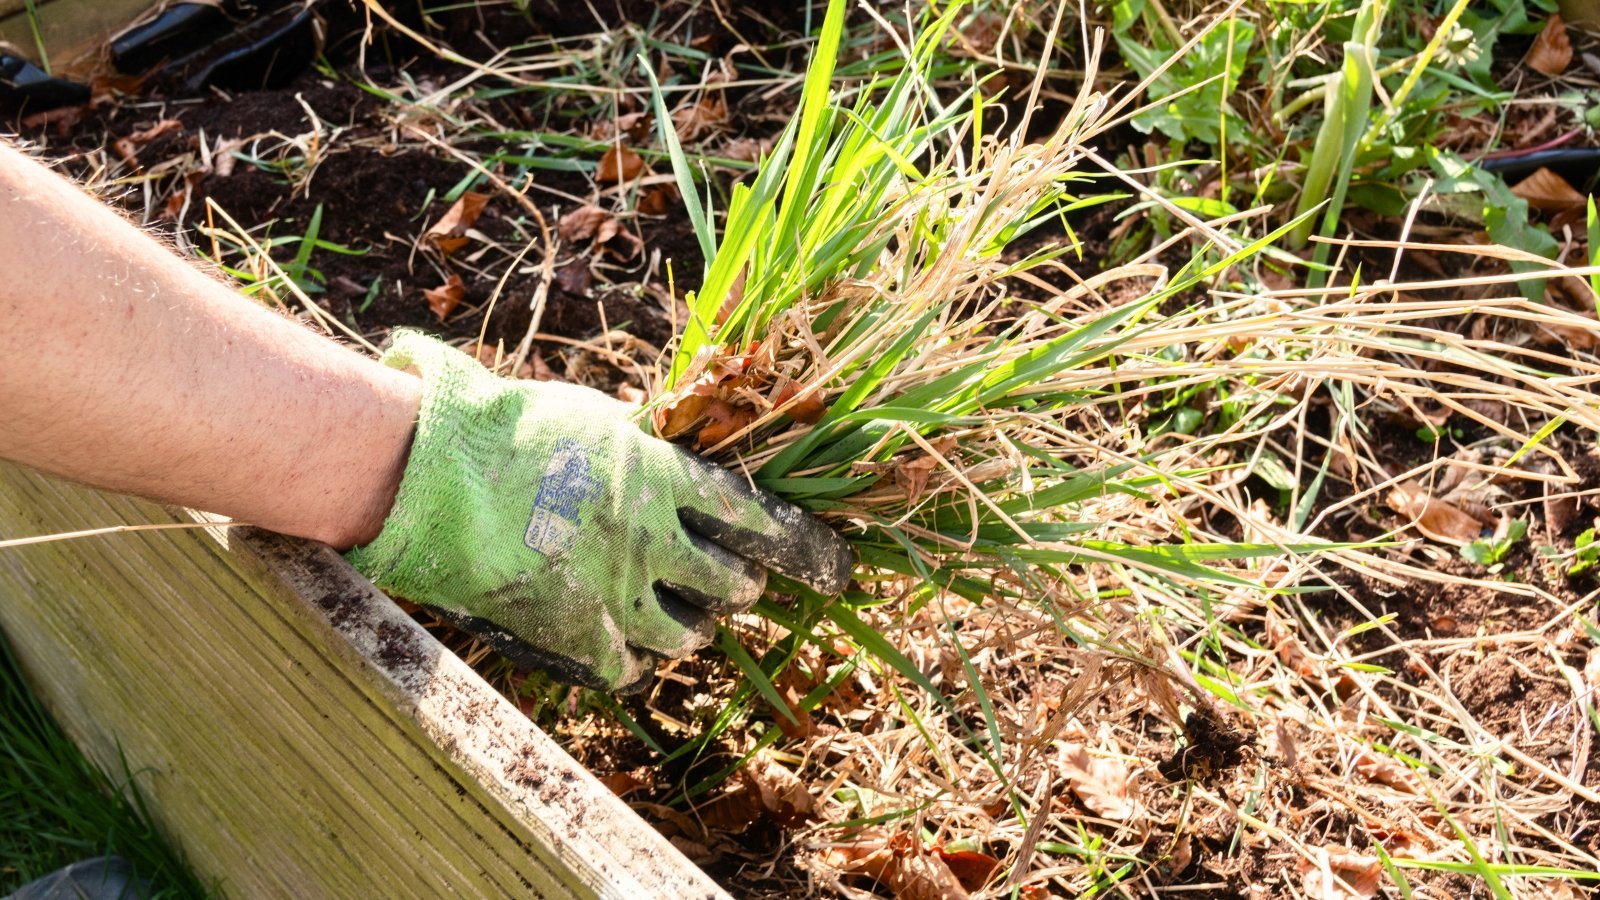
This first step is crucial! It’s important to remove annuals, spent foliage, and weeds. Cut plants down at their base instead of pulling them out. If you leave the roots in the soil, they’ll decompose and replenish the beds with rotting organic matter.
Weeds act as vectors for pests and diseases. They can spread to your other plants and cause infections next year. Remove them promptly, and watch for quick-growing cool-season weeds, like hairy bittercress.
Be careful not to disturb the area below the soil’s surface. You’ll want to preserve the fungi, bacteria, and worms that live underground. Tilling can destroy them and lead to fertility problems in the future.
While you’re removing annuals and weeds, take care not to disturb your perennials. Mark them with sticks so you don’t forget where they are. Simply stab a stick next to the perennial so it juts out of the ground.
Step 2: Save Tender Plants

Other perennials won’t survive the winter, like certain bulbs and frost-tender specimens. You’ll want to dig them up for overwintering indoors, in a cold frame, or in a greenhouse. Bulbous perennials like dahlias and tuberous begonias need a cold, dark, and dry environment to overwinter.
Other plants, like peppers, can continue growing if they have warm temperatures, sunlight, and consistent moisture throughout the cold months. Don’t loosen the soil from their roots; instead, dig them up and pot them in containers.
If pests are on the leaves, it’s best to remove them before bringing your plants indoors. Use neem or horticultural oil in a liquid solution, and spray it so it covers all parts of the plants. Do this in an open area away from any late-blooming flowers to avoid harming pollinators.
Step 3: Add Plenty of Mulch
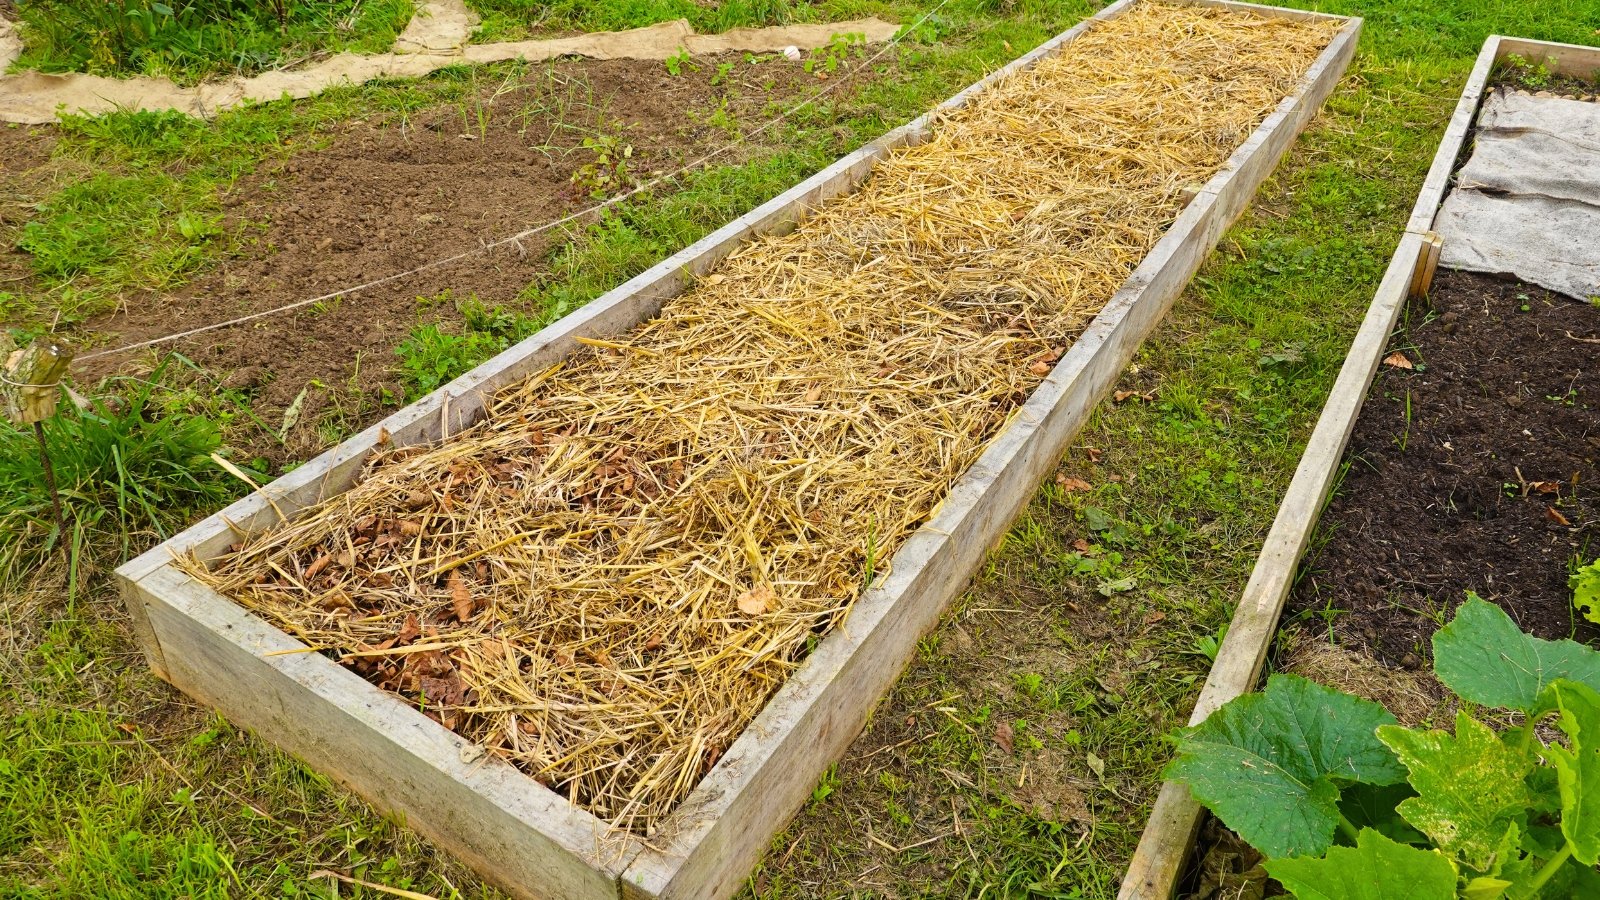
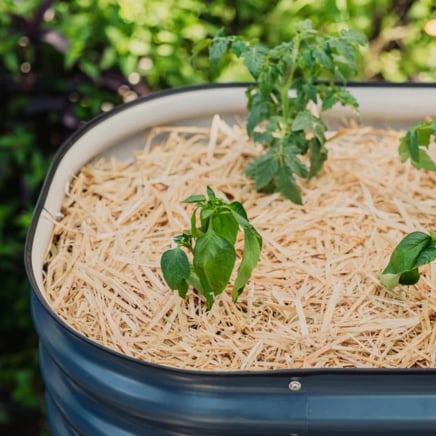
After clearing debris and removing tender plants, it’s time to mulch to prepare raised garden beds for winter. Mulch is essential during the fall and winter seasons. It insulates the soil while it feeds it with organic matter, microbes, and worms.
Mulch is especially important if you want to protect marginally hardy plants in the beds. They’ll need insulation around their roots to stay warm despite frosts and hard freezes. Use an organic mulch that’s nutrient-rich, like compost.
In place of compost, use leaf mold, straw, coco coir, fallen leaves, or whatever other mulch you can get your hands on. Add the amendment in a layer two to three inches thick, and rake the surface so it’s even. After adding mulch, water it or let rainwater wet it so the mulch incorporates into the soil.
Do the same in your planters, containers, and in-ground beds. A healthy garden has plenty of mulch! If the mulch depletes, replenish the garden with more to maintain a layer two to three inches thick.
Step 4: Plant Cold-Hardy Crops
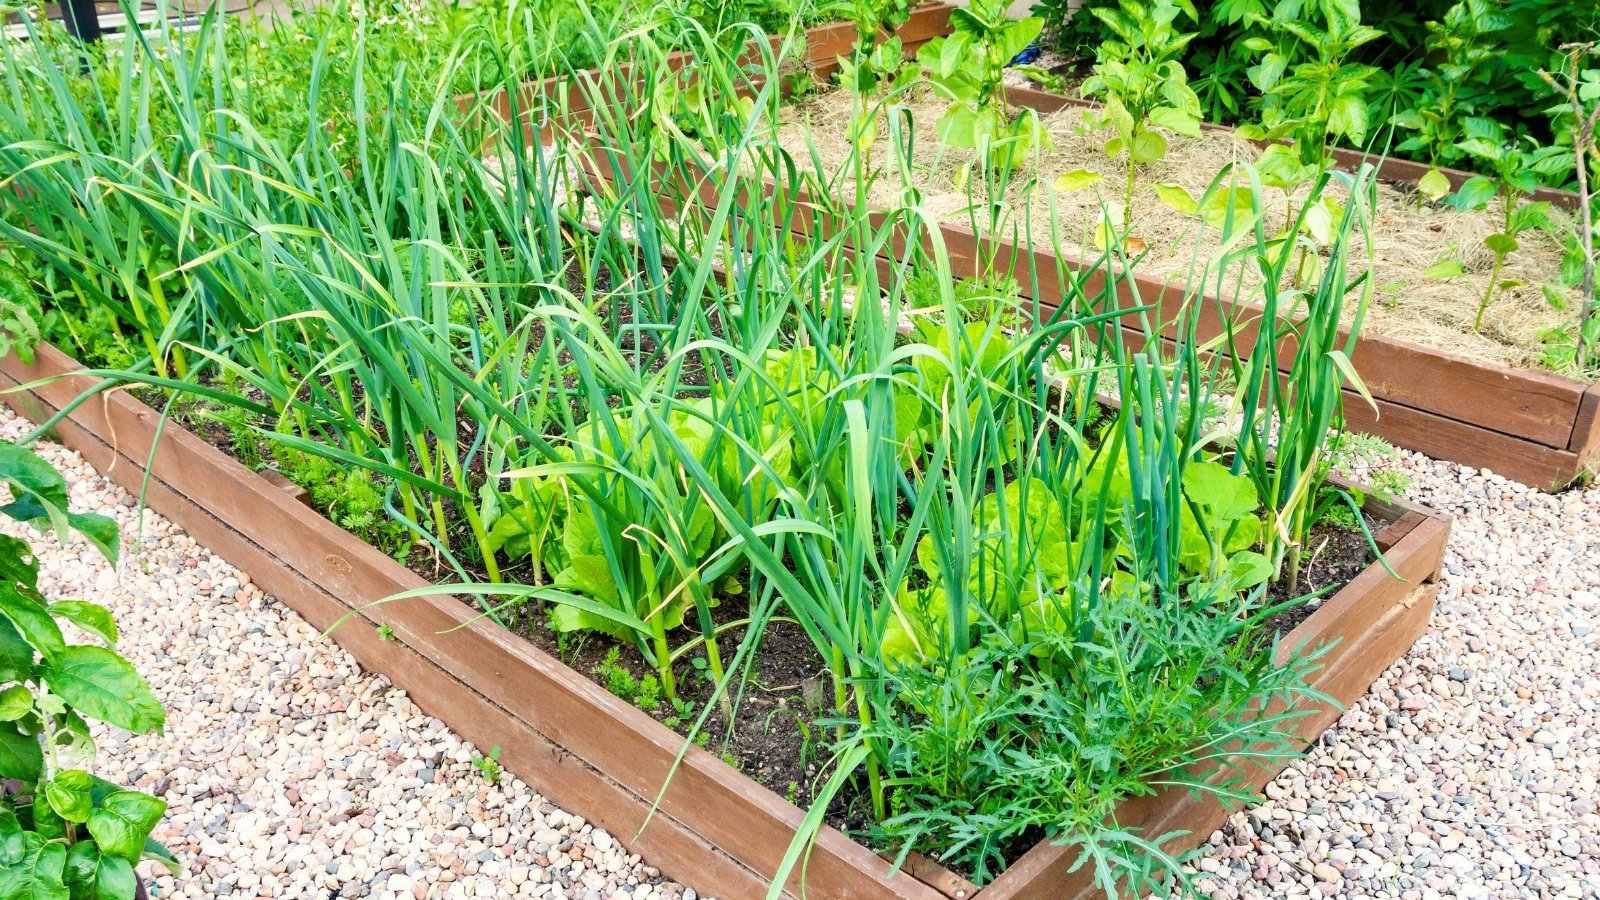
Just because winter is approaching doesn’t mean you can’t grow vegetables! Many frost-hardy crops thrive during the cool months, from fall until spring. Use your empty beds to grow garlic, leafy greens, and root vegetables.
Your existing crops can remain from the fall into the winter if they’re cold-hardy. If you planted cabbage, kale, carrots, and beets, keep them fresh by leaving them in your raised garden beds. Don’t stuff them in your fridge! Leave them in the garden, then harvest them when you’re ready to use them.
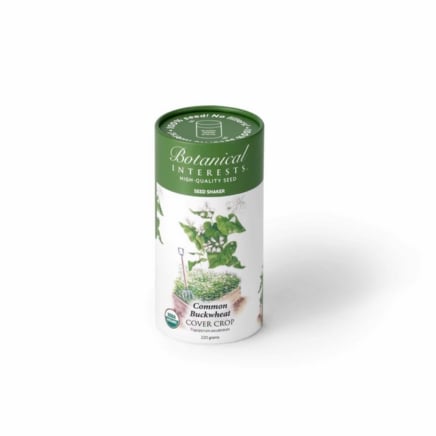
Or, sow cover crops. These plants work to protect and insulate the soil, like a living mulch. Leguminous cover crops add nitrogen to the soil while they grow. Plant fava beans, clovers, oats, rye, and peas.
Step 5: Implement Winter Protection
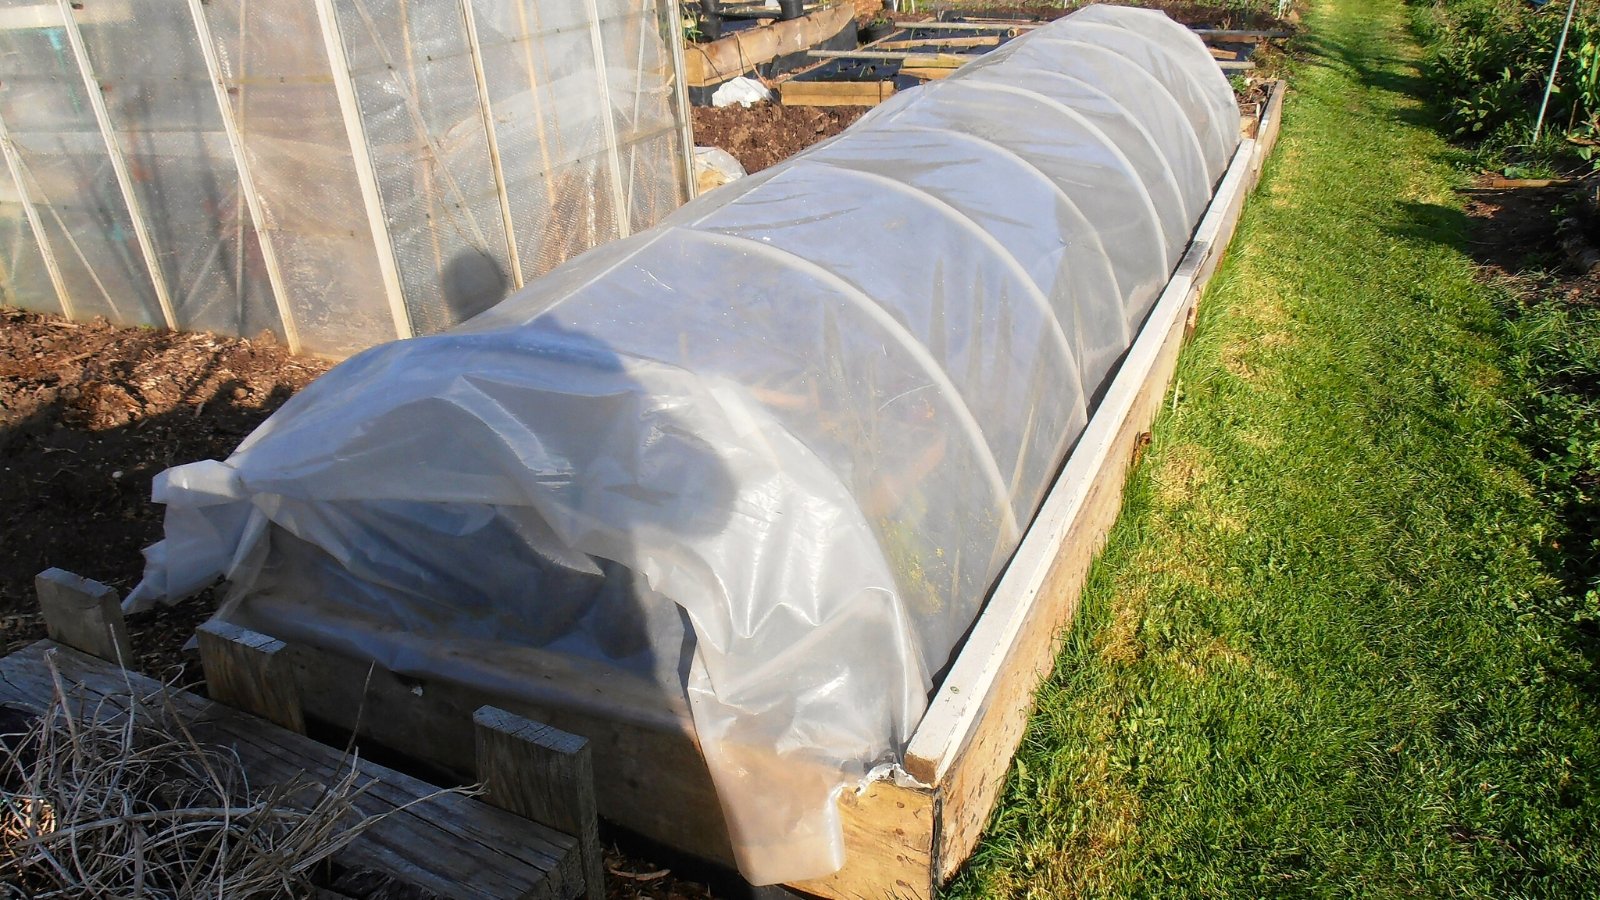
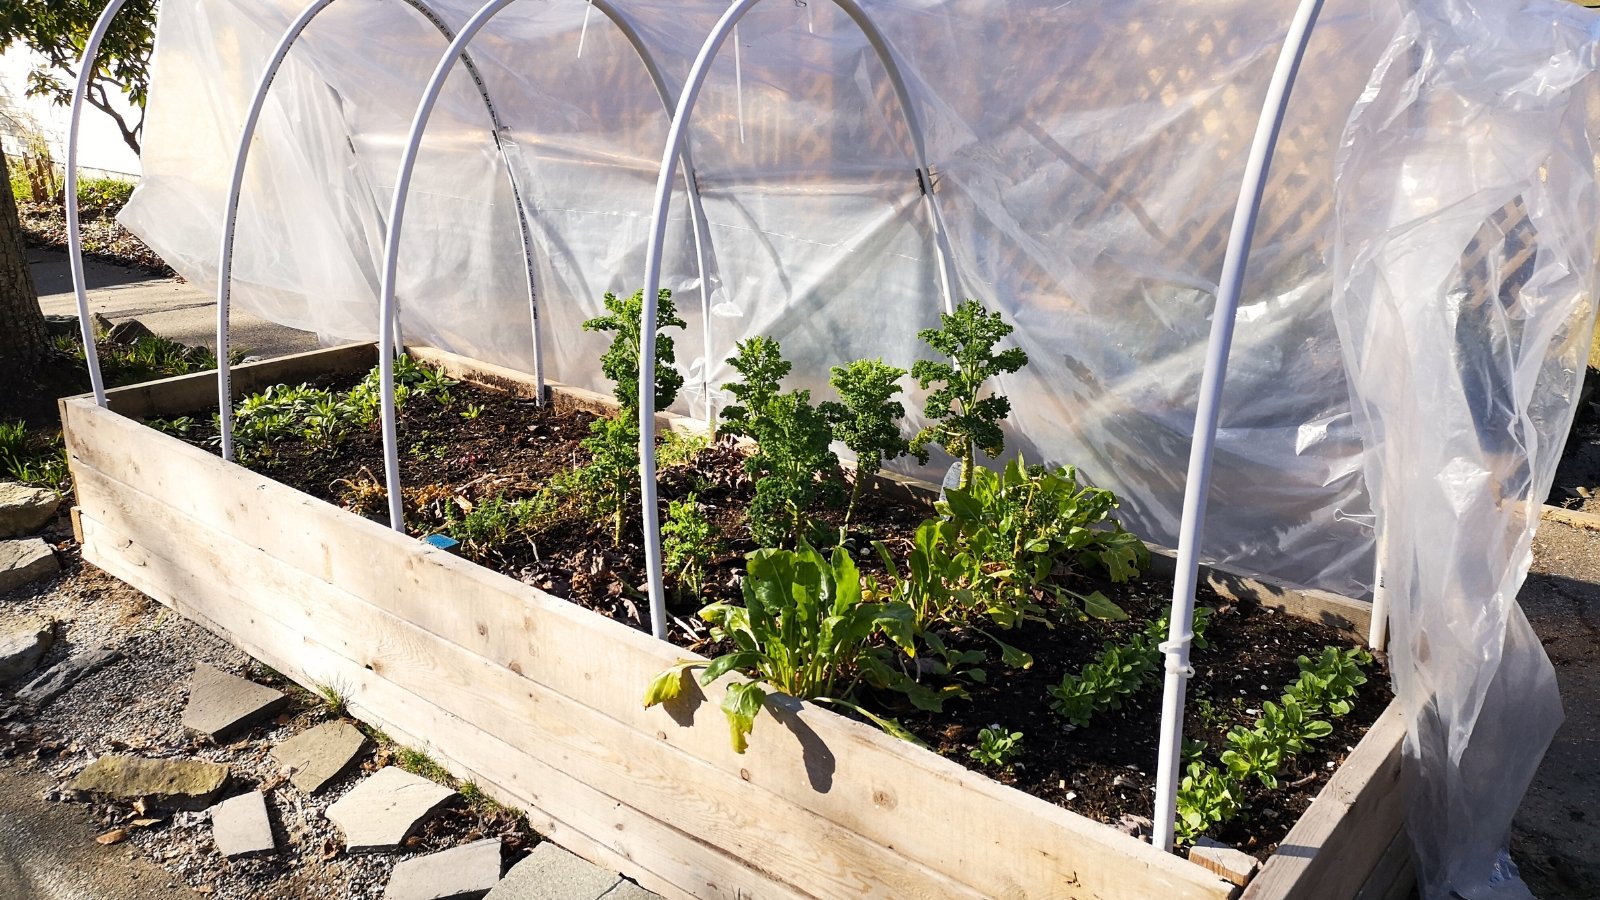
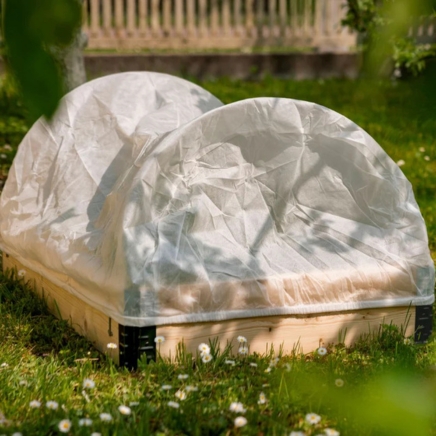
If you do decide to grow plants during the winter, you’ll want to offer them protection in the raised beds. Because a bed is raised from the ground, it’s easy to add a cover on top to insulate the plants below. Use a frost cloth, or create mini-hoophouses out of your beds.
Frost cloth is a cheap material that’s easy to use. It consists of polyester fibers that prevent frost, snow, and ice from reaching the plants below. It also traps heat, creating a warm zone around your vegetables.
Use a frost cloth by draping it over the beds on cold nights. Pin the edges down to the ground around the beds, and use rocks, stones, or bricks to weigh the cloth down. Remove the material on warm days to let the sunlight reach the vegetables, then cover them again if the temperature drops.
Greenhouse plastic is more protective than frost cloth. If you need more protection, use it in lieu of the polyester fabric. Stick metal hoops into the raised beds, then pin the plastic onto the hoops. Secure the edges so that no heat escapes from the bottom of the beds.
Greenhouse plastic isn’t as porous, and it’ll trap the air below. Open the flaps in the morning to let air flow through, then close them at the end of the day to keep the beds warm at night.
Step 6: Wait for Warm Temperatures

So, you prepare the raised garden beds for winter, add mulch, and plant crops—what now? Now, you’ll have to wait until the ground thaws in the spring. Not much grows when temperatures drop below freezing.
Protective materials may allow you to extend the seasons, especially in mild climates. Check the weather weekly to determine if you can or can’t plant seeds and work the soil.
Most U.S. gardeners will need to wait until late winter or early spring to begin working the soil outdoors. Use this time to order seeds, make new beds, and start an indoor garden.
If you’d like to get a head start on the growing season, plant seeds in pots indoors ahead of time. Let the seedlings mature, then harden them off before planting them outdoors in your raised garden.
What Else to Do
Raised beds aren’t the only things you can prepare in the fall and winter months. Use this time to elevate your landscape so it works how you’d like it to. Clean debris, recycle clippings, and set the yard to rest.
Set Up New Beds

Put all that extra debris to good use! Use the dead leaves and stems to fill your garden beds instead of expensive potting soil. Stuff their lower portions with wood to apply the hugelkultur technique, or just use your dead bean vines, corn stalks, and tomato stems.
Because organic matter takes time to decompose, now is the perfect time to make a new garden bed. Build one out of rot-resistant wood from a cedar or cypress tree, or purchase a metal bed in your favorite color.
Fill the bed with dead plant matter, cover the top with soil, then add more mulch on top. The plant matter will decompose during the cool months, and your bed will be ready for planting next year.
Make Compost

If you have enough garden beds, use your debris to make compost! It’s easy enough, and there are many ways to make it. Use hot compost for quick results, or cold compost if you don’t want to spend a lot of time and effort making it.
All composts rely on a proper balance of waste materials. Prepare them by adding a shovelful of “greens” for every two to three shovelfuls of “browns.”
Greens are nitrogen-rich, and browns are rich in carbon. Greens consist of fleshy plant scraps, grass clippings, and kitchen scraps. Browns are things like fallen leaves and paper waste.


