Grow Your Own Food This Summer: Where to Start
If you’ve always wanted to grow your own food, but you haven’t taken the plunge yet, now is the time! Growers in most parts of North America can still get seeds in the ground and grow some delicious crops to feed themselves and their families. If you don’t know where to start, experienced gardener Sarah Jay walks you through the process here.

Contents
Maybe you’ve never tried to grow food. But suppose you have tried to grow your own food in the past and had a hard time. Fear not! You can still grow delicious summer harvests if you start right now. All it takes is breaking down the steps to go from bare ground to a garden full of lush, delicious crops you can feed yourself and your loved ones.
Here at Epic Gardening, we exist to help you grow, and that means we’re here to help you cultivate your favorite food crops for sustenance. It doesn’t matter where you live. Whether it’s the desert or a lush forested landscape, you can cultivate crops that provide nutritious meals. The same goes for your space. Limited or not, some plants will grow across the range of spaces out there.
If one doesn’t work for your current space and lifestyle, there are likely alternatives. And there may be a way to cram a lot more into a small space than you would initially think. It’s so fun figuring out what you like to eat and what you like to grow. So let’s walk through the process step by step.
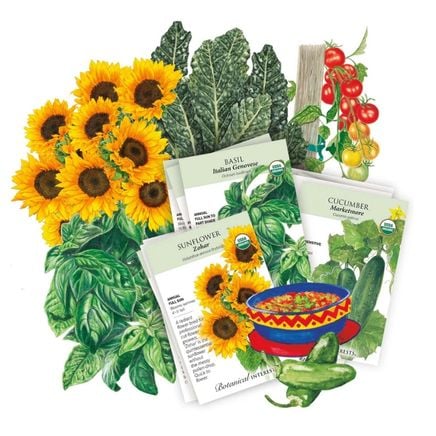
The Container Collection Seed Bundle
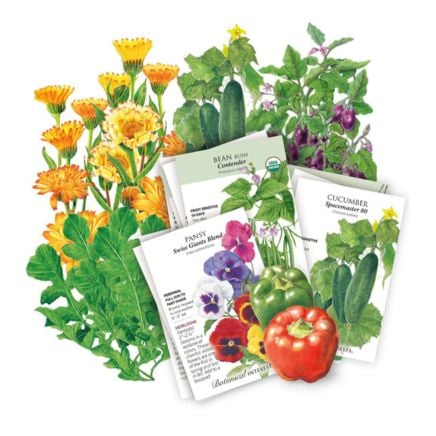
The Container Collection Seed Bundle

Step 1: Check Out Your Space

A large space is not as important as an accessible space. So start by locating your garden as close to your home as possible, and make your access to the garden easy by removing obstacles. Secondly, place the garden so that it has access to sunlight and water. You’ll need plenty of both to grow food.
You should place your raised beds, planters, or containers somewhere that receives at least six hours of sunlight per day. In the Northern Hemisphere, south-facing orientations receive the most sunlight. In the Southern Hemisphere, north-facing orientations do.
Some areas are hot, and some plants are sensitive. It’s easier to provide a shade canopy than it is to deal with too little light.
Step 2: Design the Garden

Once you’ve assessed the space and thought about water and light access, you should decide how you’re going to grow your own food. On a small patio, containers and grow bags will keep things tidy and uniform, while providing ample space to grow plenty of crops. It’s in these types of gardens that utilizing vertical space is paramount. Tiered planters are a great option in this regard.
With more space, like a quarter-acre yard, you have more options. You can install raised beds, which allow you to block off the space and easily control the soil content within them. For areas where you’re ok with bending over, a lower raised bed is perfect. There are taller beds that make it easier to access the plants within, without straining your body in the process.
Another consideration is the pathways between your beds and containers. You need to be able to access the growing space, and you need room to do it. As you design your garden, allow for at least a couple of feet of walkway between beds and containers. Three feet is optimal, but it’s ok to go smaller if you have a smaller space. Note that most wheelbarrows or garden carts fit best in a three-foot or larger range.
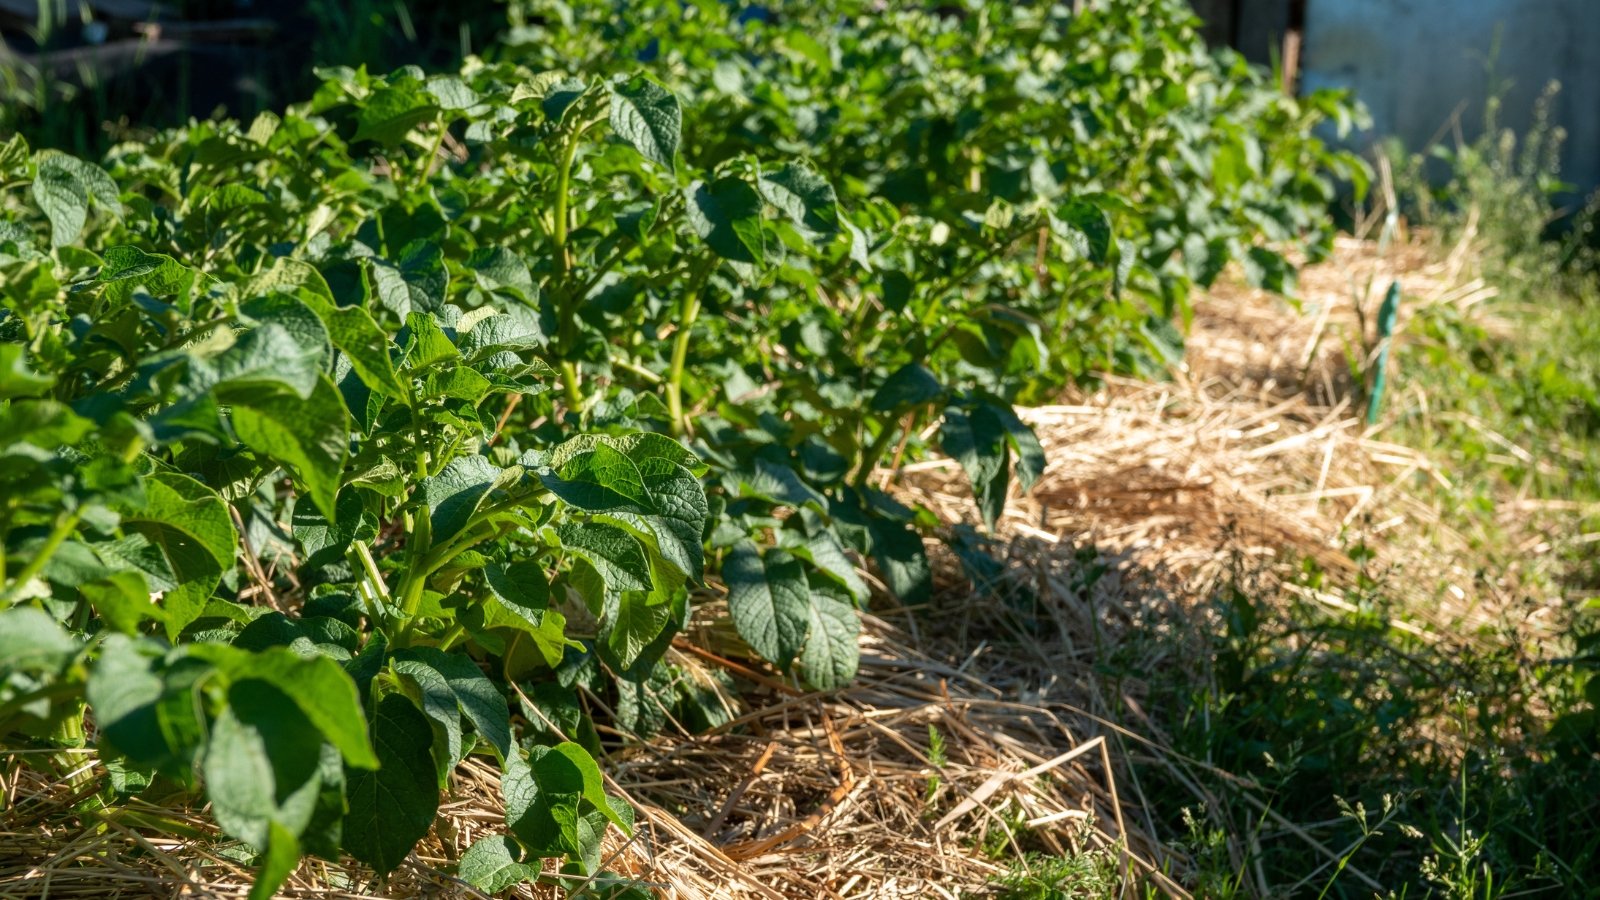
Step 3: Develop Your Soil
Once you design the garden and set up your preferred beds or containers, you have to fill them with the soil needed to grow your own food. Here are some tips about how to get started.
Raised Beds

When you go to a garden center, the soil options are sometimes limitless. It can be daunting to be tasked with filling a raised bed for the first time. There are bulk options, but it’s hard to know the right choice for your garden, especially if you’ve never done it before. What you should know right now is that you can fill raised beds and build garden beds economically.
The hügelkultur method is great for tall raised beds. It starts with a base layer of large logs that are topped with increasingly smaller branches, twigs, compost, leaves, wood chips, and finally, with a good garden soil. Give yourself at least one foot of just garden soil to allow you to grow things as soon as you’re done building the bed.
In shorter beds, grow bags, and containers, a filling of high-quality potting soil will work perfectly.
In-Ground Beds

In-ground beds are the cheapest to develop, but they require the most work up front. You’ll need to till and amend your native soil to be workable and appropriate for growing cultivated plants. You need it to be rich in organic matter and well-draining. If you’re unsure where to start, do a soil test before you amend.
The results of the test usually come with recommendations about how to provide the right nutrients for a food garden. No matter what your results say, you should be prepared to till the ground to provide aeration. You can do this with a broad fork, a manual tiller, or an electric tiller.
There has been some discussion about how tilling kills soil life. While that may be the case, some tilling, especially at the beginning, is important and allows the soil to meld with the native soil. Once you’ve done your initial tilling, add some high-quality compost to the area, and rake it in. For most people, this is enough to get their in-ground garden started.
A Word on Mulch
No matter the type of bed you’re working with, mulch is an incredibly useful material to have in the garden. Especially if you’re growing in the ground, it’s essential. Put mulch between rows and garden beds to suppress weeds, which can overtake in-ground plantings quickly.
Mulch helps soil retain moisture for longer, which promotes better nutrient exchange. Organic mulch (wood chips, straw, leaf litter, etc.) slowly breaks down, feeding nutrients to the soil and your plants.
Step 4: Know When to Plant

The next step on the path to your goal to grow your own food is to plant at the right time. The most important consideration here is your first and last frost dates. These punctuate the boundaries of your growing season, with the last frost occurring in spring, and the first frost occurring in fall or winter, depending on where you live.
There are websites where you can enter your zip code and learn what your first and last frost dates are. Then think about spring and fall as cool seasons, and summer as a hot season. You’ll grow cool-season crops in spring and fall, and heat lovers in summer.
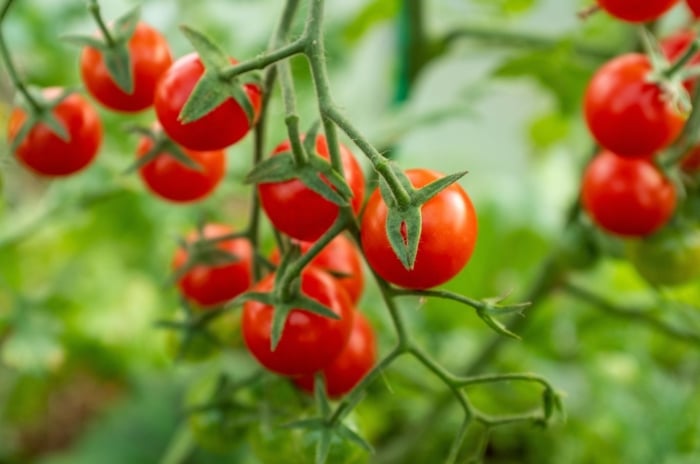
Cole crops (brassicas), lettuces, peas, and root veggies are great for cooler weather, while tomatoes, peppers, basil, okra, and squash like warmer weather. We’ll get into the particulars of this, but for now, keep those basic distinctions handy.
Step 5: Know What to Plant
Your choices about what grows in your garden can be super practical, but we all know how much easier it is to tend to something we love. So choose plants that you’re interested in, whether it be their growth habit, the food they’ll provide, or anything that excites you.
If you choose to grow perennials, you’re investing in a multi-year plant that will keep producing. Annuals provide for a year, and then die back in frost. Sometimes they’ll seed out and grow the following spring again. If you want a garden of low-maintenance plants, focus on those that require little pruning and preening.
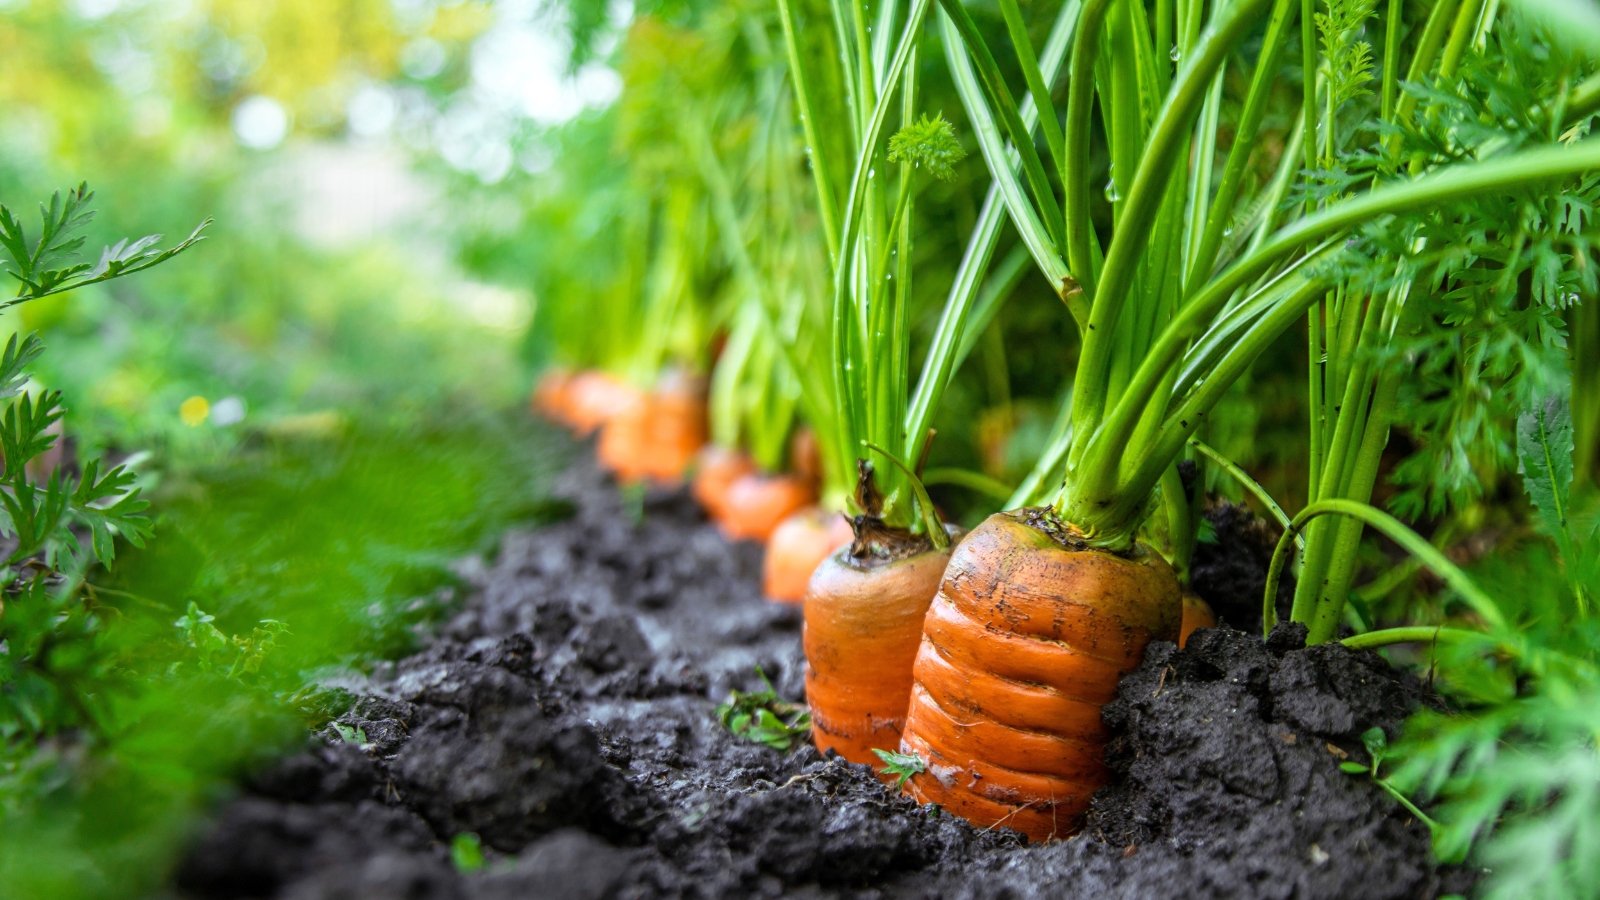
If you’re a parent and you want to teach your kids about nature, try quick-growing plants, like lettuce, beets, and carrots. If you want to grow what you already like to eat, use your grocery list to guide you. Think about what works for you, and what will grow in your region.
Step 6: Choose How You’ll Start

When it comes to planting out your garden, you have choices about how you can start. One option is to purchase starts from your local nursery, which is a great option for gardeners who don’t have a couple of weeks to start seeds. You get to support a local business, and you get plants in the ground quickly. This can be an expensive way to start, however.
You could alternatively start all your seeds. I know that can seem daunting, but once you grow a garden full of plants you grew from seed, you probably won’t go back to growing from transplants. You have ultimate control over seedling timing, the varieties you grow, and how they’re cultured from the very start.
To start your own seeds, you’ll need a seed starting space, seed cell trays, universal bottom trays, and sometimes a heat source and a grow light, depending on where your space is located. This is an investment up front, but it is offset by the frugality of starting from seeds in future years.
Step 7: Plant Your Plants

If you’ve purchased seeds from Epic Gardening or Botanical Interests, you have all the information you need to get going. These packets, and those of other reputable seed companies, contain information about whether or not to transplant or directly sow seeds. They also tell you how deep to plant a seed, when to plant (based on frost dates), and when to thin seedlings.
Use the days to maturity to determine if your plants have time to grow within the bounds of your season. Then follow the instructions on your seed packet, and sow those babies either directly in the garden or in your seedling trays.
Step 8: Keep On Growing

Once you’ve had time to grow your own food, you’ll adjust your routine from season to season and year to year to make it a part of your life more seamlessly. You can ditch crops that don’t work for you, and focus on those that do. Try new things as you like, and you’ll improve the garden step by step.
Then keep growing the plants that give you life. It’s not hard to grow a garden at all, especially once you get set up.