Sugar Snap Peas: How to Grow Spring’s Easiest Vegetable
If you’ve never tried before, it’s your year to grow sugar snap peas. These delicious, sweet pods are perfect for eating fresh right out of the garden, and they’re a favorite snack among growers who cultivate them. Experienced gardener, Sarah Jay, outlines how to prep your garden for a sweet, nutritious yield of sugar snaps.

Contents
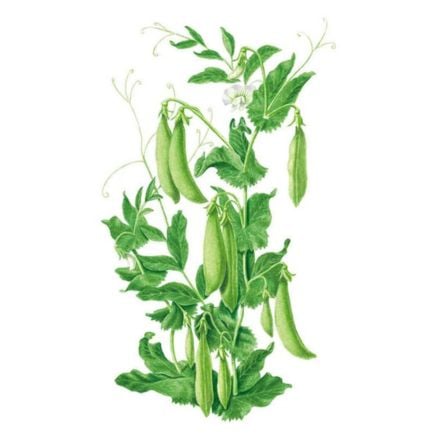
I love to grow sugar snap peas among other pea types. These take only a couple of months to go from seed to harvest, and they’re one of the best to eat directly off the vine while gardening due to their sweet flavor. Known botanically as Lathyrus oleraceus ‘Sugar Snap’, they’re as easy to grow as any pea.
From site selection to soil amendment, and all the way to the final yield, there is some prep involved in growing thriving vines that produce a ton of pods you can eat whole. You need a good support structure and good timing to glean enough for use in the kitchen.
There’s follow-up maintenance to do as well, with scouting for pests and diseases being key. There’s also training and pruning, both of which lead to healthier pea vines and better pods overall. If you’re unsure where to start, we’ll walk you through the process from the beginning phases to the end.
Before we get started, let’s touch on timing. You should always directly sow your peas four to six weeks before your average last frost. If you live in an area with a mild fall, sow at the beginning of the season for a winter harvest before the first frost rolls in.


Step 1: Choose a Site
You can grow sugar snap peas anywhere there is access to ample sunlight (six to eight hours of direct sun) and well-draining soil. Of course, you’ll need to water them, as that’s what gives the pods their plump juiciness. Therefore, a water source is needed too. You can choose to grow standard varieties in raised beds, or in prepared ground, in rows or on mounds.
While standard vines can be grown in containers, it will be easier to keep them where they can spread out and grow tall. For container gardens, choose smaller varieties, like ‘Sugar Daddy’, which top out under three feet tall. ‘Sugar Ann’ is another great option for containers, and it reaches only 18 inches.
Ensure your container has adequate drainage holes, and use a material that holds moisture longer; otherwise, you’ll have to water more often. Terracotta pots are sturdy, but do tend to wick moisture away from the soil. These require more watering. Grow bags are an excellent choice, and seven to ten gallons will accommodate a standard vine or a shorter one.

Step 2: Prep Your Soil

For in-ground and raised bed plantings, weed the area thoroughly. Ensure there’s at least a couple of feet to plant multiple pea seeds two inches apart. The standard recommendation for farms is 18 to 24 inch mounds, with seeds spaced one to two inches apart in each row.
If your soil is compacted, till it slightly to improve its texture and promote finer particles. In larger areas, a broadfork is the best tool, while smaller areas can be tilled with a hand fork or even a hori hori. All you need to do is break up the larger soil chunks.
The soil composition should be rich and well-draining. In containers, a standard potting soil with agricultural grit or perlite added will work well. Established raised beds generally have decent enough soil, and applications of compost and drainage materials will be enough. In-ground beds may need more work, and compost can enrich heavier and sandier soils. Loams are perfect for growing snaps.
Step 3: Plant Your Seeds
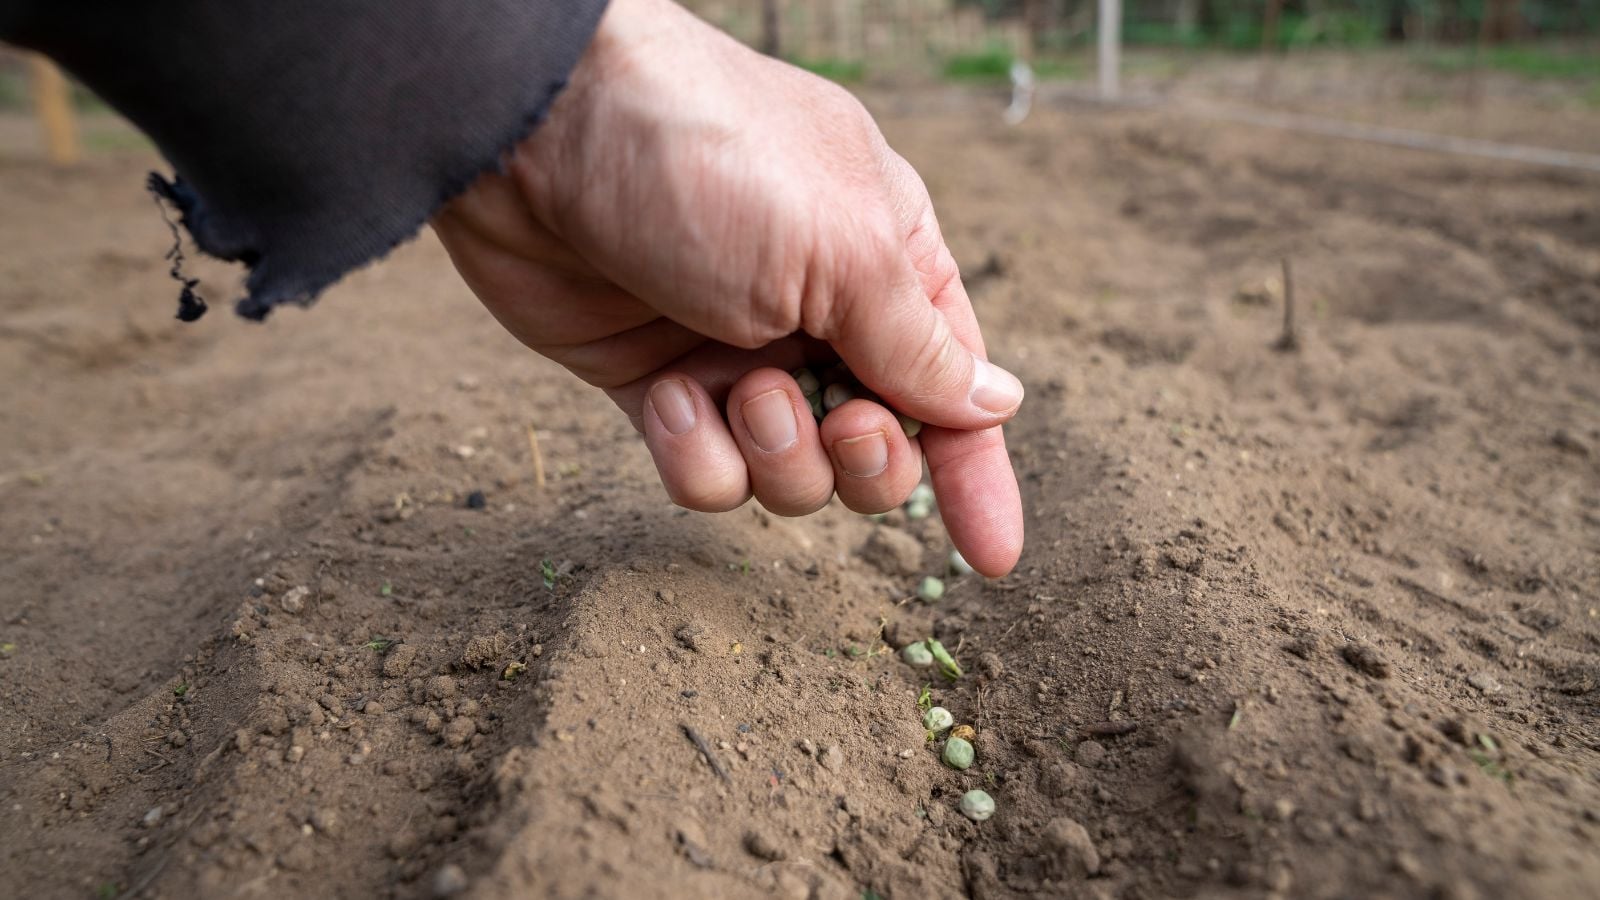
Peas sprout easiest when they’ve been soaked overnight in lukewarm water. They will still sprout without soaking, but their hard seed coat breaks down more easily if you do soak them. Then plant them one to two inches apart and one inch deep in your pre-selected site.
In larger grow bags, you should plan for growing up to 10 plants per 15-gallon container. Reduce your plant numbers based on the size of the container, but remember that seven gallons is a good minimum volume to have to grow sugar snap peas.
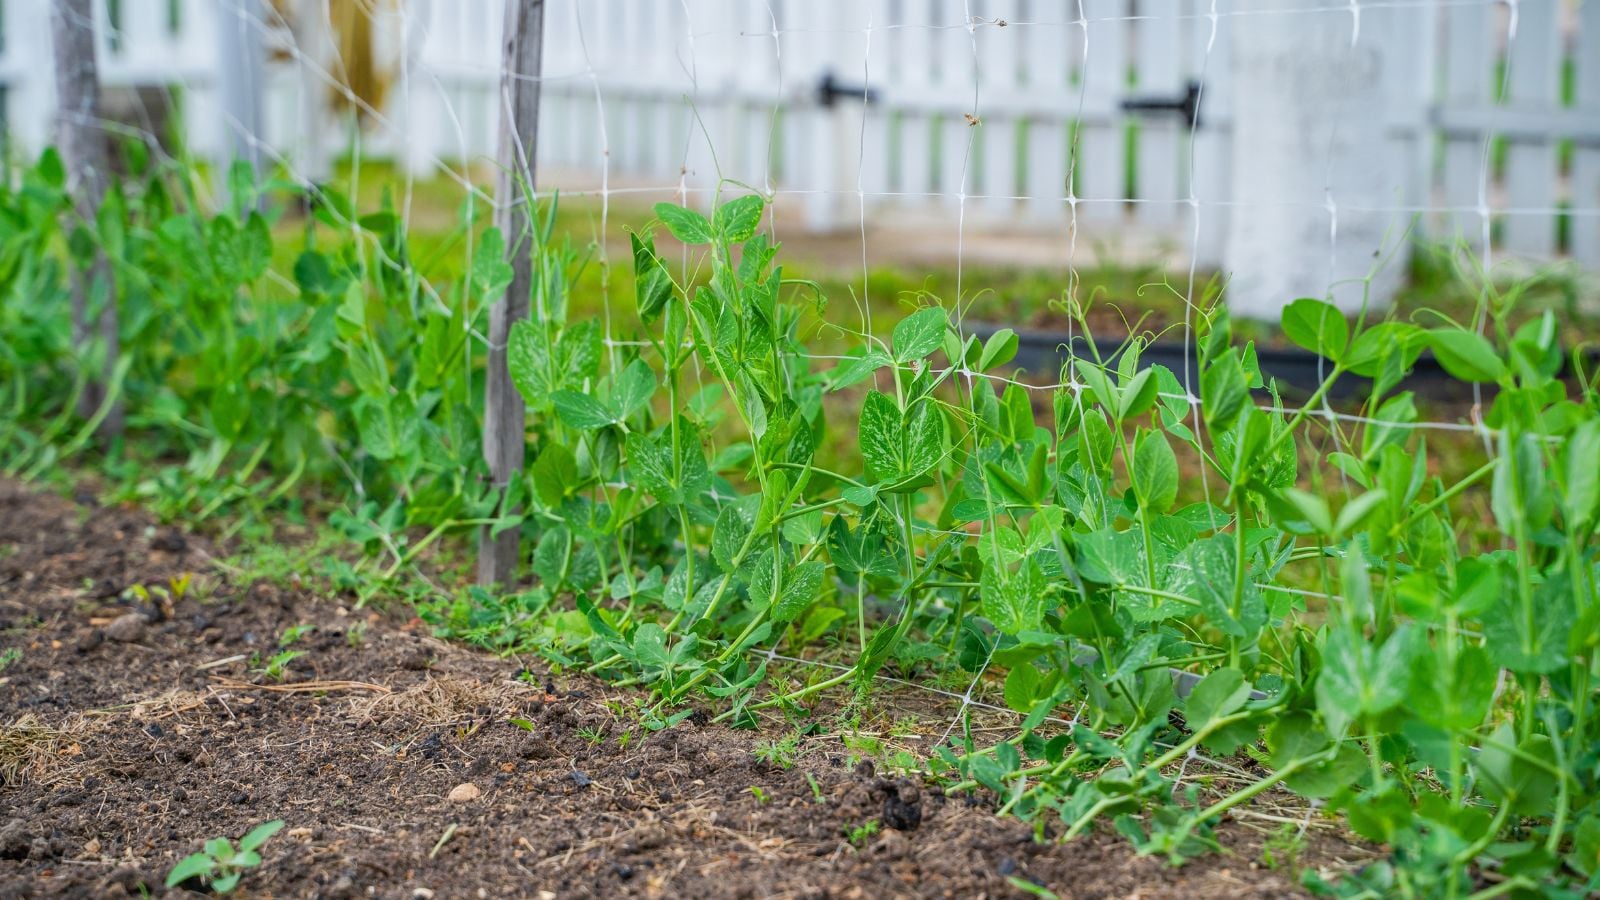
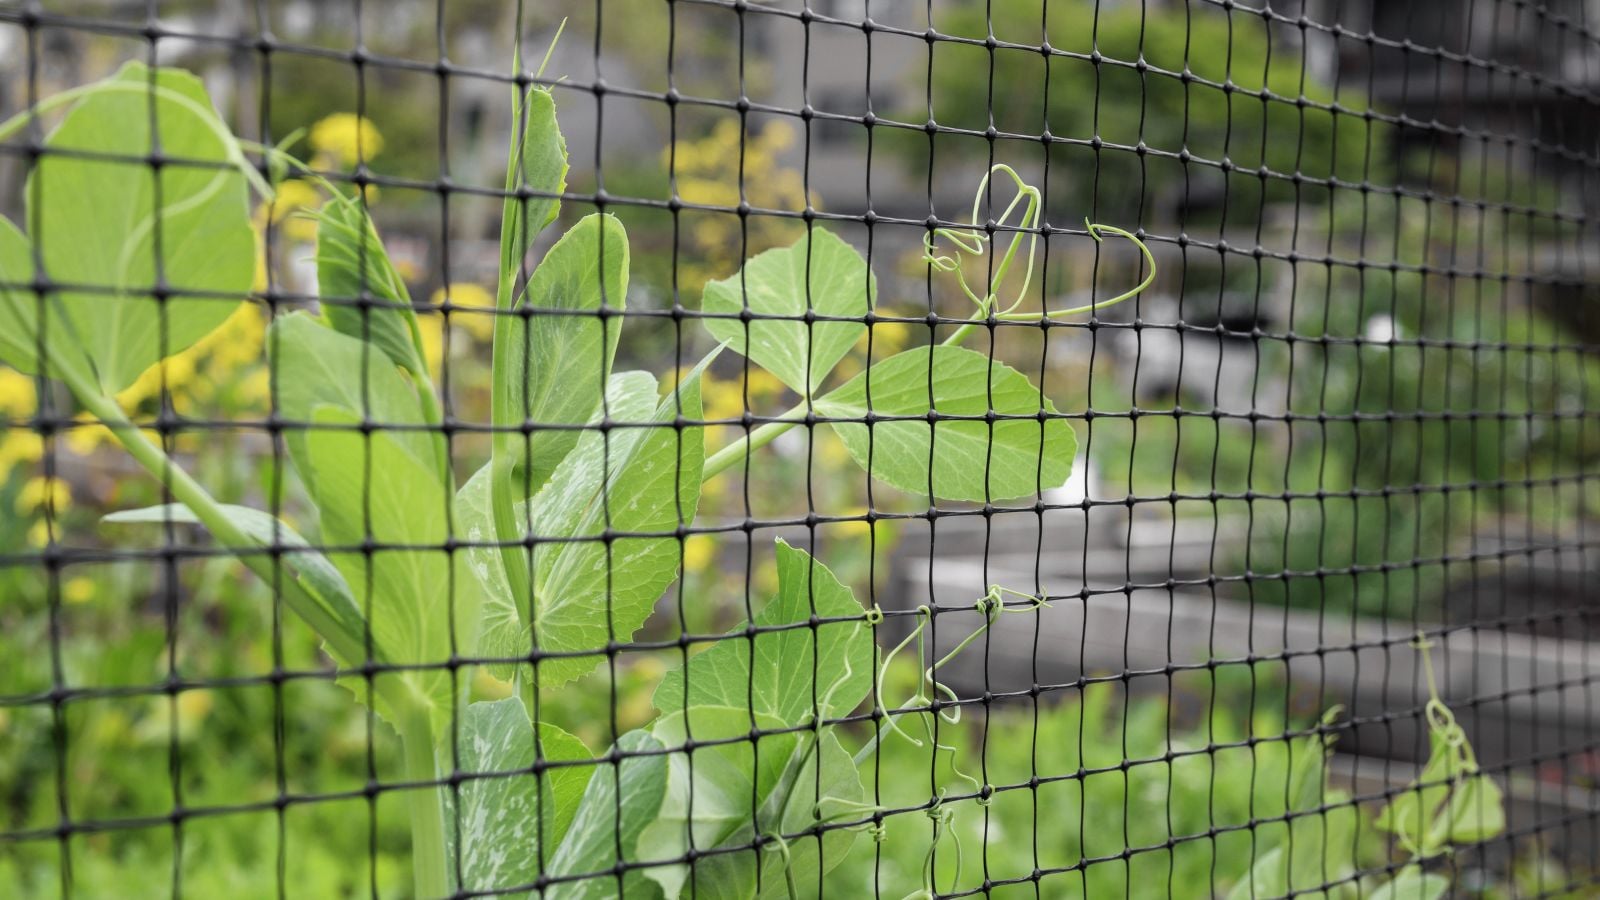
Step 4: Provide Support
When it comes to plant supports, you have options when you grow sugar snap peas. Smaller plants that top out at under two or three feet may grow well without one, but even a small support will be good to have on hand. Most peas enjoy growing vertically.
A-Frames

A good, sturdy A-frame is a great option for in-ground plantings and raised beds where they fit. Place them in the planting area directly after seeding. If you didn’t provide one at the site upon planting, you can place it afterward. Just be careful not to damage developing peas or their roots. Use A-frames for standard pea varieties that need room to climb.
Poles
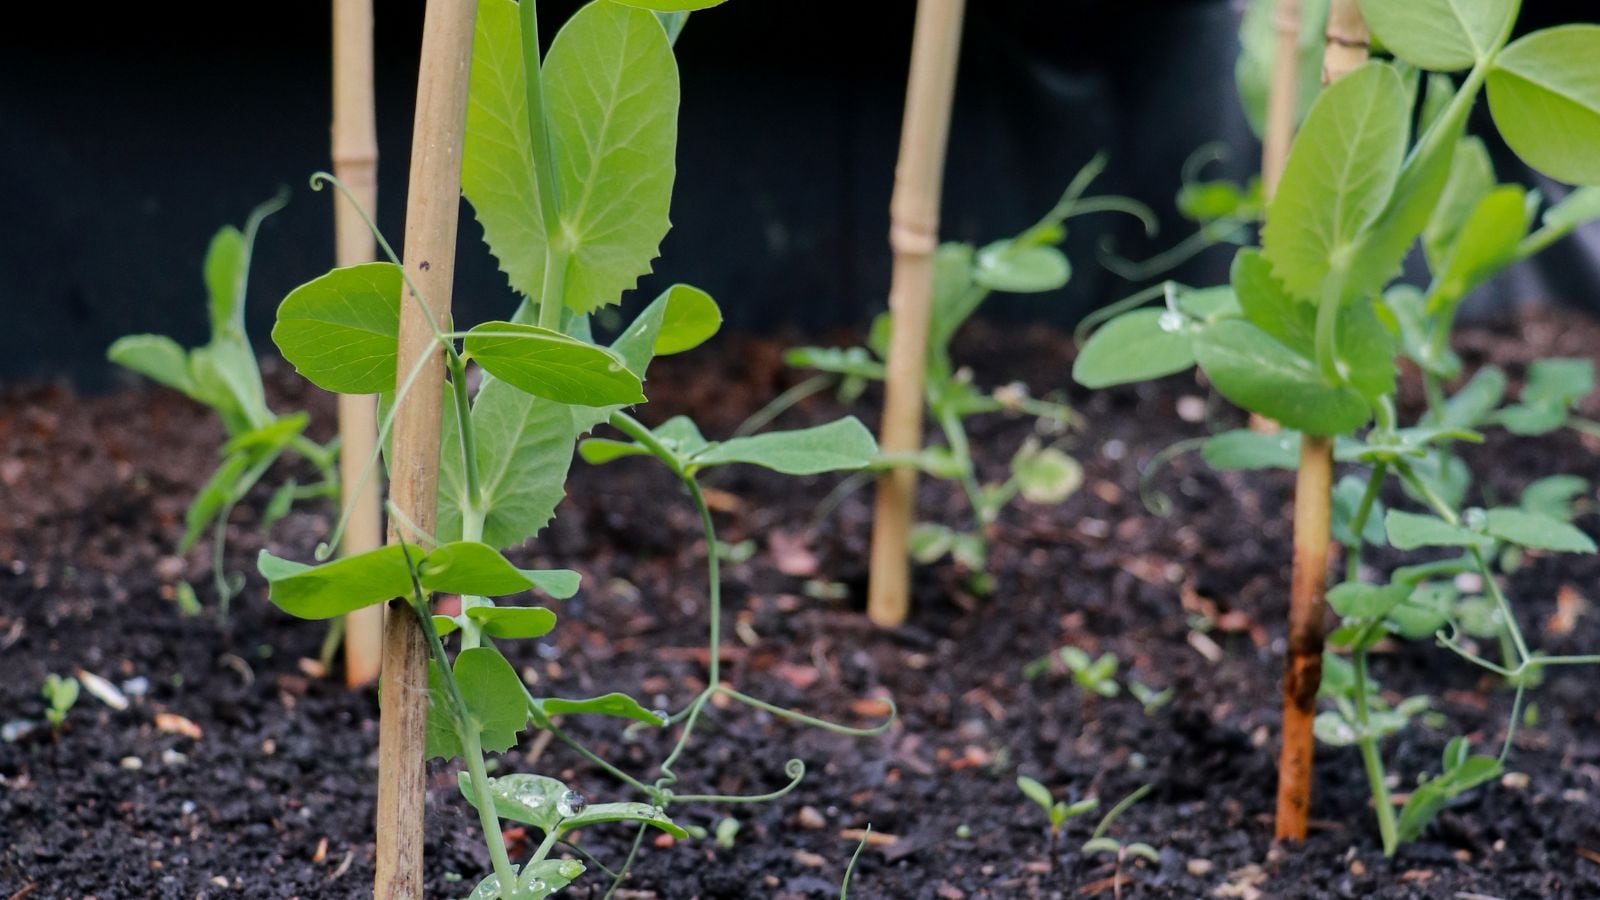
A simple dried bamboo pole, or long-dead sturdy tree branch, works in a pinch. As with other supports, it’s best to include this at the planting site at the same time you plant your seeds. Poles can have more complex structures as well, with teepees being an often preferred style.
The aesthetic provided by woven twigs and branches (sometimes made with willow) is rustic and charming. You can create a grid trellis by weaving branches or bamboo poles together. Similarly, you can build a frame and attach strings that offer climbing sugar snaps support.
Other Supports
Cattle panels are a great option. These are sturdy metal fences that are often repurposed to become arbors in a garden. Some retailers sell spring-like structures that can hold up smaller pea vines. There are also more aesthetically pleasing, ready-made trellises on the market that work for peas and anything else you plant after them that requires support.
Step 5: Maintain Your Vines
Once you have pea sprouts, it’s time to focus on maintenance. Once your peas are a few inches tall, train them on your supports. When your first pea flowers appear, pinch them off to promote more peas down the line. Similarly, pinching the ends of your pea vines when they’re young promotes branching (which means even more peas).
If your peas aren’t taking off as easily as other plants in your garden, side dress them with compost. They won’t need additional fertilizer. Among a regular watering and feeding schedule, you should also spend time looking out for the usual pests and diseases, and remedy any issues that arise related to those.
Common Pests

Aphids are very common in cultivated gardens and tend to congregate on leaf undersides and stems. Blast them with a strong stream of water from a hose to keep them from feeding. Leafminers may weave through the inner tissues of pea leaves. Simply remove those leaves and heavily infested leaves covered with aphids.
Bean beetles may feed on leaves, leaving a thin layer of tissue behind that gives foliage a lacy appearance. Keep the garden free of overwintering sites to keep them away, and plant early varieties where they’re pervasive. Remove small yellow larvae and egg masses as you notice them.
If you plant peas every year, avoid planting in the same space to prevent root knot nematodes. Spider mites are common later in the season, when conditions are warm. You can blast them off the plant and prune away affected areas. Water regularly, as they tend to attack water-stressed plants. Use insecticidal soap only if these remedies do not work.
Common Diseases
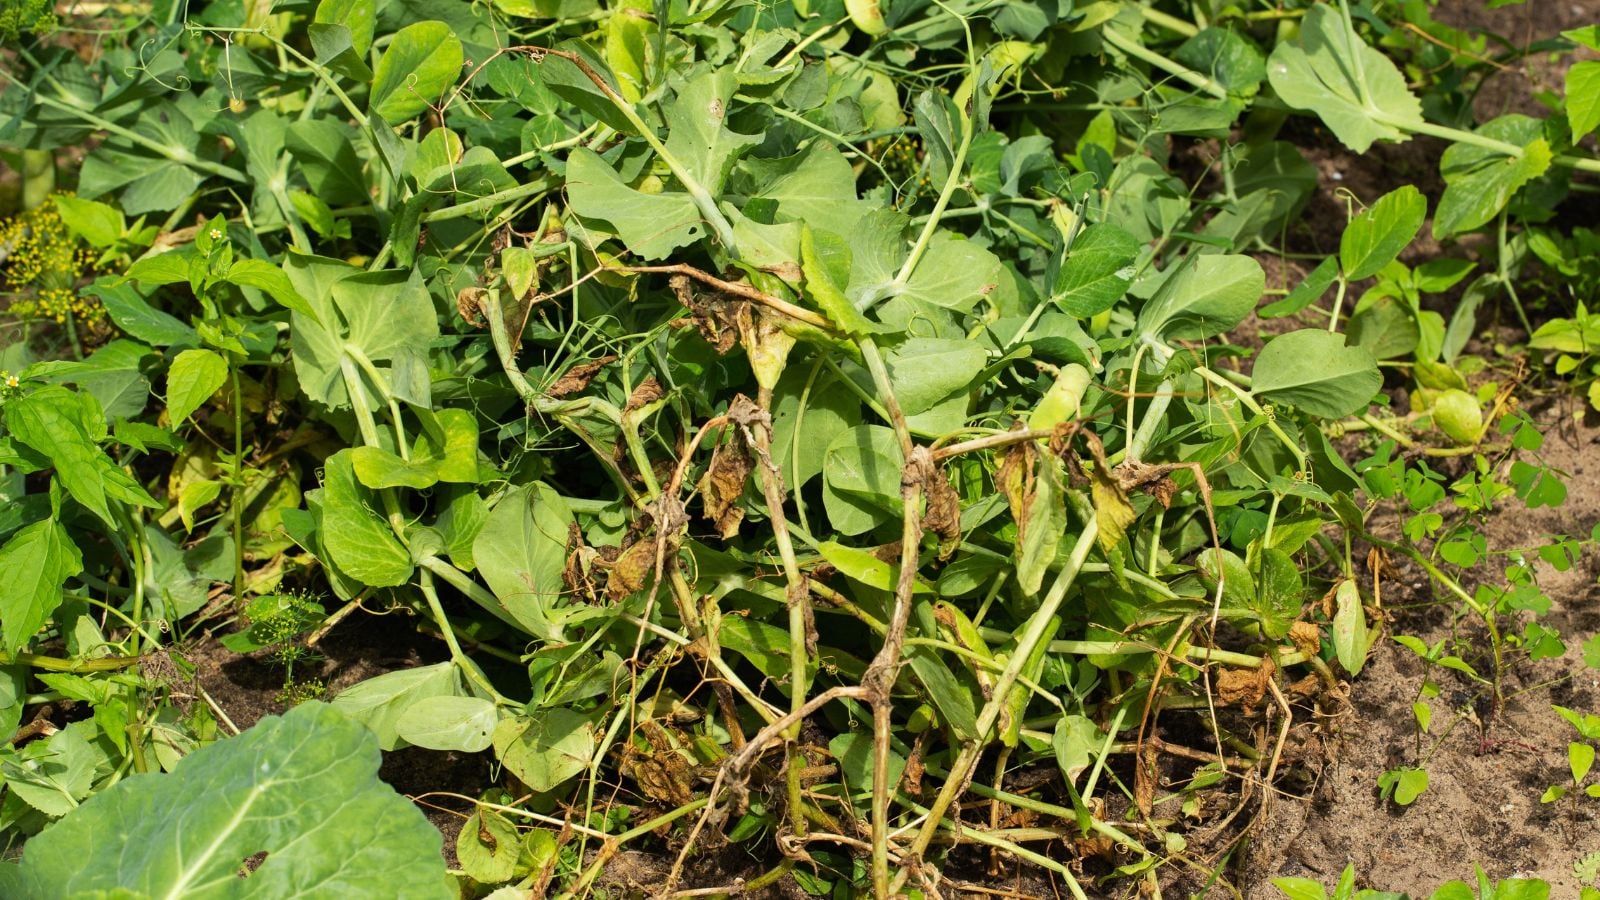
Root rot occurs in soils that are too heavy and not well-draining enough. If you know your snap pea season is going to be wet, ensure you have amendments of perlite or agricultural sand/grit. Water only when the top inch of soil is dry. Most of the time, pruning peas for airflow prevents both downy and powdery mildew.
Seedling blights occur where conditions are too wet, and where the fungus that causes the disease has been present in the past. If you know this is an issue, plant elsewhere in fresh soil. Otherwise, remove damaged seedlings and plant more seeds in containers.
If blights are common in your garden, plant resistant varieties. Mosaic virus, characterized by yellow mottling on the leaves, is incurable. Remove pea vines affected by MV, and plant resistant varieties in the future.
Step 6: Harvest and Enjoy
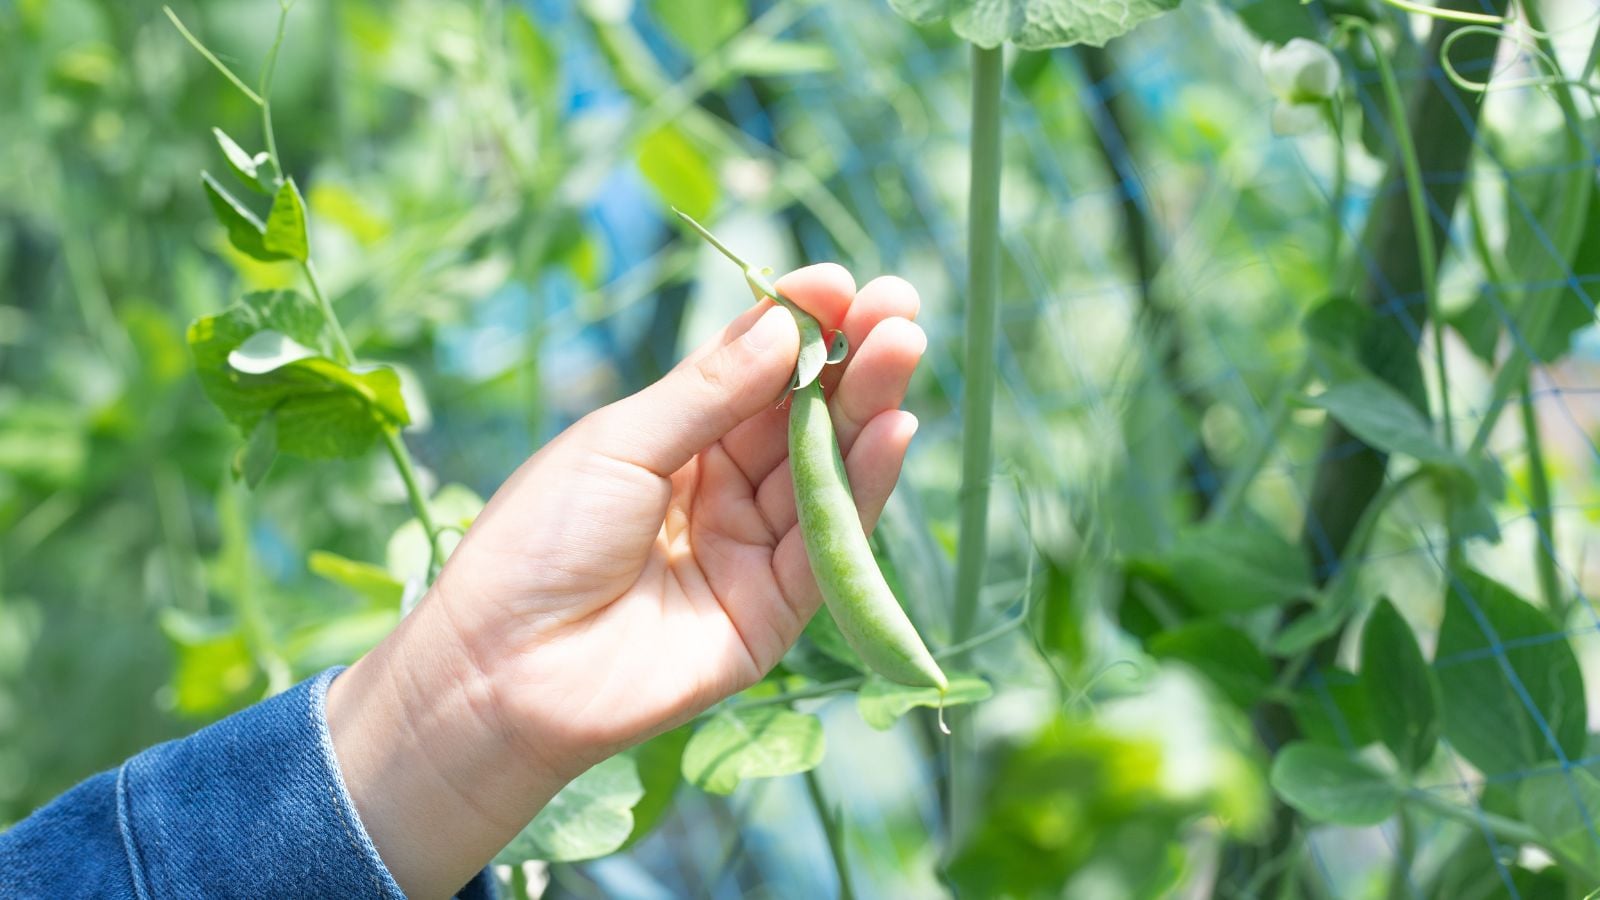
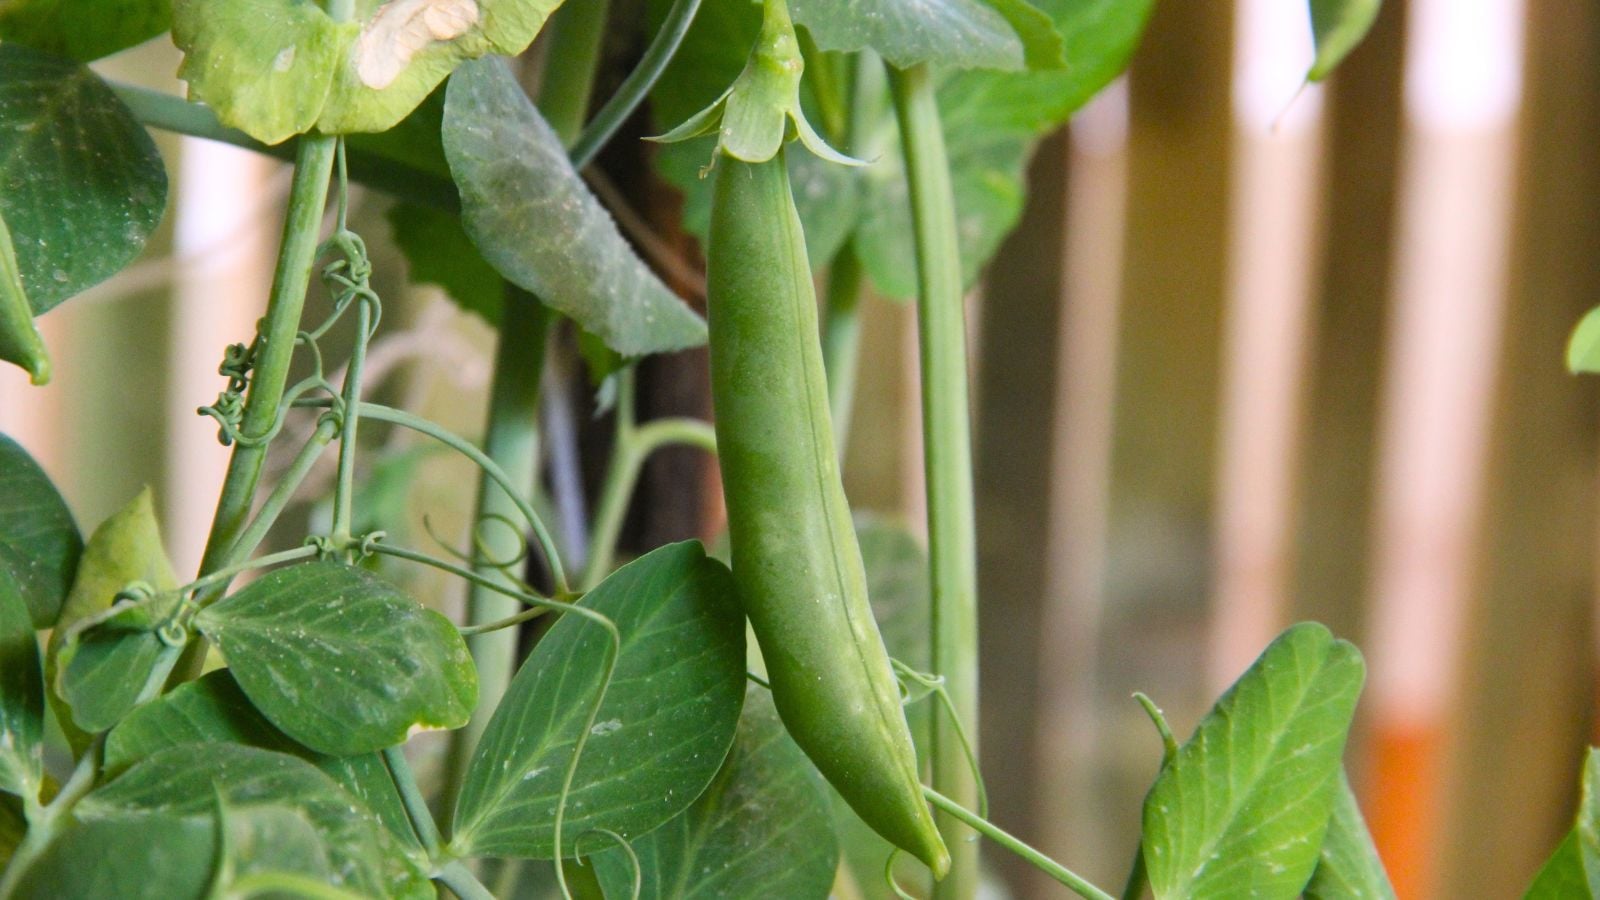
When you have surpassed the 50 to 60 days it takes to grow sugar snap peas, you get to the harvest stage. The best time to harvest is when the pods are plump and round. Start harvesting around the end of the range of days to maturity, and harvest often. Use scissors to free them from the vine without damaging them. Snip the stem above the pod.
Eat your peas fresh, chopped in salads, and sauteed lightly. They’ll keep for five to ten days in the refrigerator. If you freeze-dry them and store them in a sealed, dry container, they’ll last for years.