How to Grow Ginger Indoors in 7 Easy Steps
While ginger is a tropical plant, its adaptability allows us to enjoy it indoors in frosty climates. Whether growing ginger for a flavorful harvest or its lush ornament, the right situation brings lasting enjoyment. Explore how to grow the historic, invigorating tropical indoors with gardening expert Katherine Rowe.

Contents
Ginger is an ancient perennial herb with a distinctively warm, spicy flavor used in cuisine worldwide. Native to tropical forests of Southeast Asia, culinary ginger (Zingiber officinale) grows for its aromatic rhizomes, loaded with flavor and health benefits. It grows outdoors in frost-free climates (hardy in USDA zones 9-12). We can enjoy it indoors in cooler temperatures.
The Zingiberaceae family also houses other spices like cardamom and turmeric and some 1300 ornamental species. Ornamental flowering species include red, shell, and shampoo ginger (awapuhi), each with unique blooms in fascinating structures and colors. Some have variegated leaves (Alpinia zerumbet ‘Variegata’) for added interest in the houseplant collection.
Follow these seven simple steps to grow ginger indoors.
Ginger As Houseplants
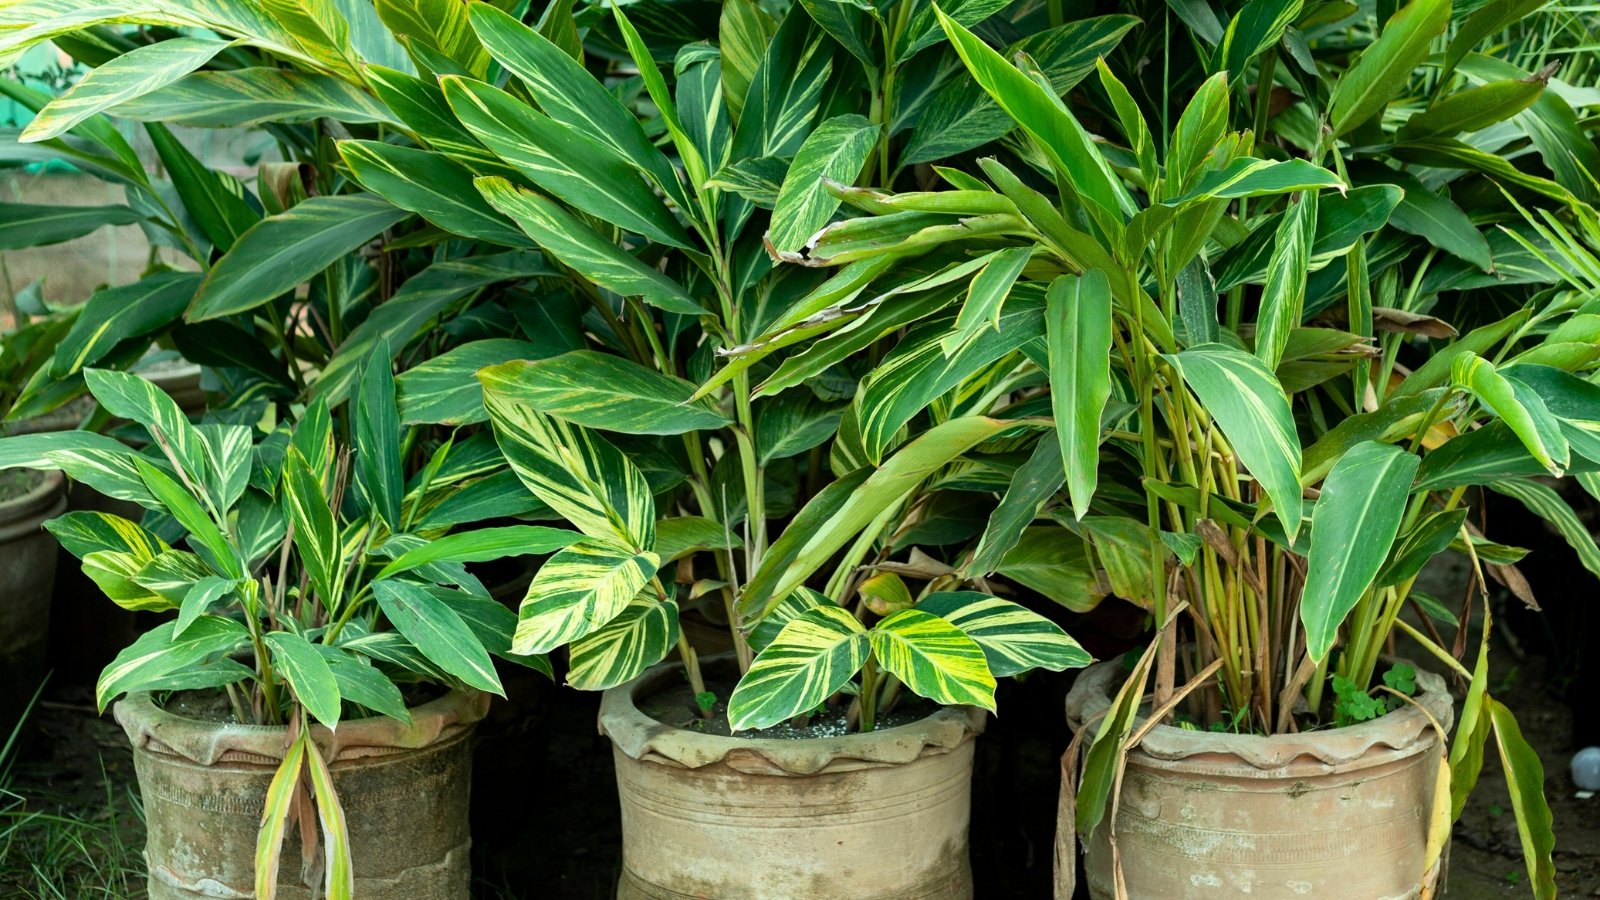
Ginger makes a fun and rewarding houseplant, whether growing ornamental or culinary varieties. Ornamental selections prefer similar cultural conditions as culinary varieties, although their lush, broad leaves and roots fill a pot more readily than the fine blades of Zingiber officinale.
Both culinary and ornamental types grow indoors all year, though they enjoy warm months outdoors in their active growing season. They won’t withstand temperatures below 40°F (4°C), so bring them inside or move them to a greenhouse as temperatures drop.
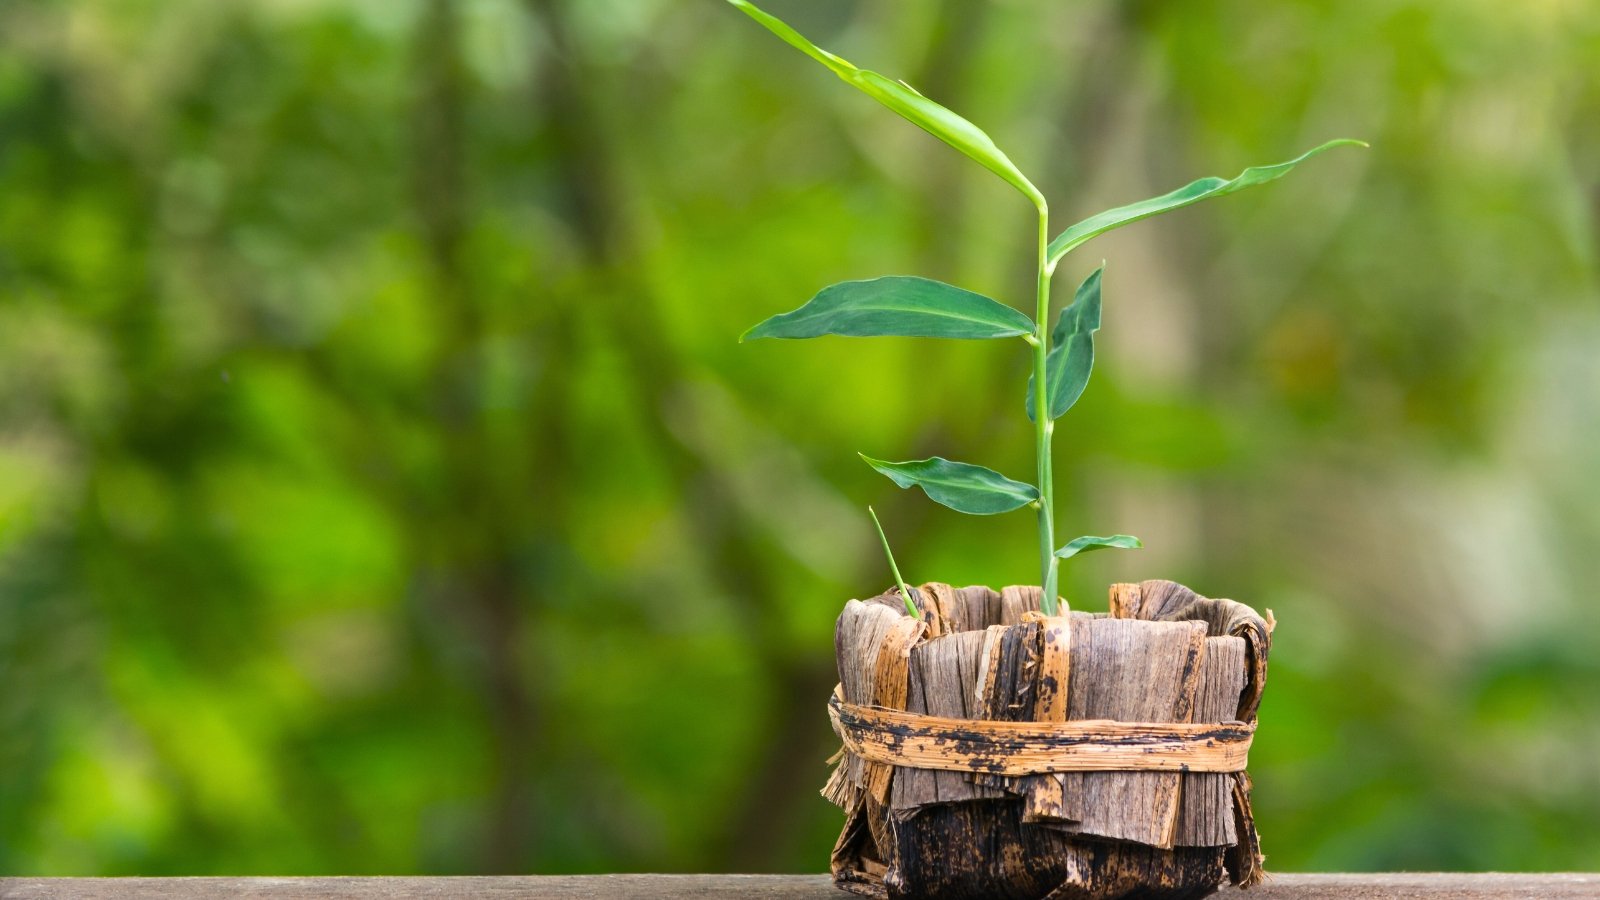
To grow culinary ginger, aim to start fresh rhizomes indoors in late winter. By mid-summer, you’ll have fresh, young, “green” pieces to harvest and a full harvest by fall.
Choose the Best Stock

To start growing edible ginger, begin with a thick, plump rhizome. Rhizomes are underground stems that produce roots and leaves. Cut off a two to three-inch portion of a knobby “finger” that contains at least two nodes or eyes. The eyes are where roots and shoots sprout, so a lack of them means the piece isn’t capable of growing.
It’s best to start with seed stock from a nursery or grower who sells knobs for the purpose of growing and harvesting. Seed ginger ensures hearty, untreated rhizomes from healthy stock. Growth is reliable and strong when it comes from healthy, large rhizomes.
Grocery Store Rhizomes
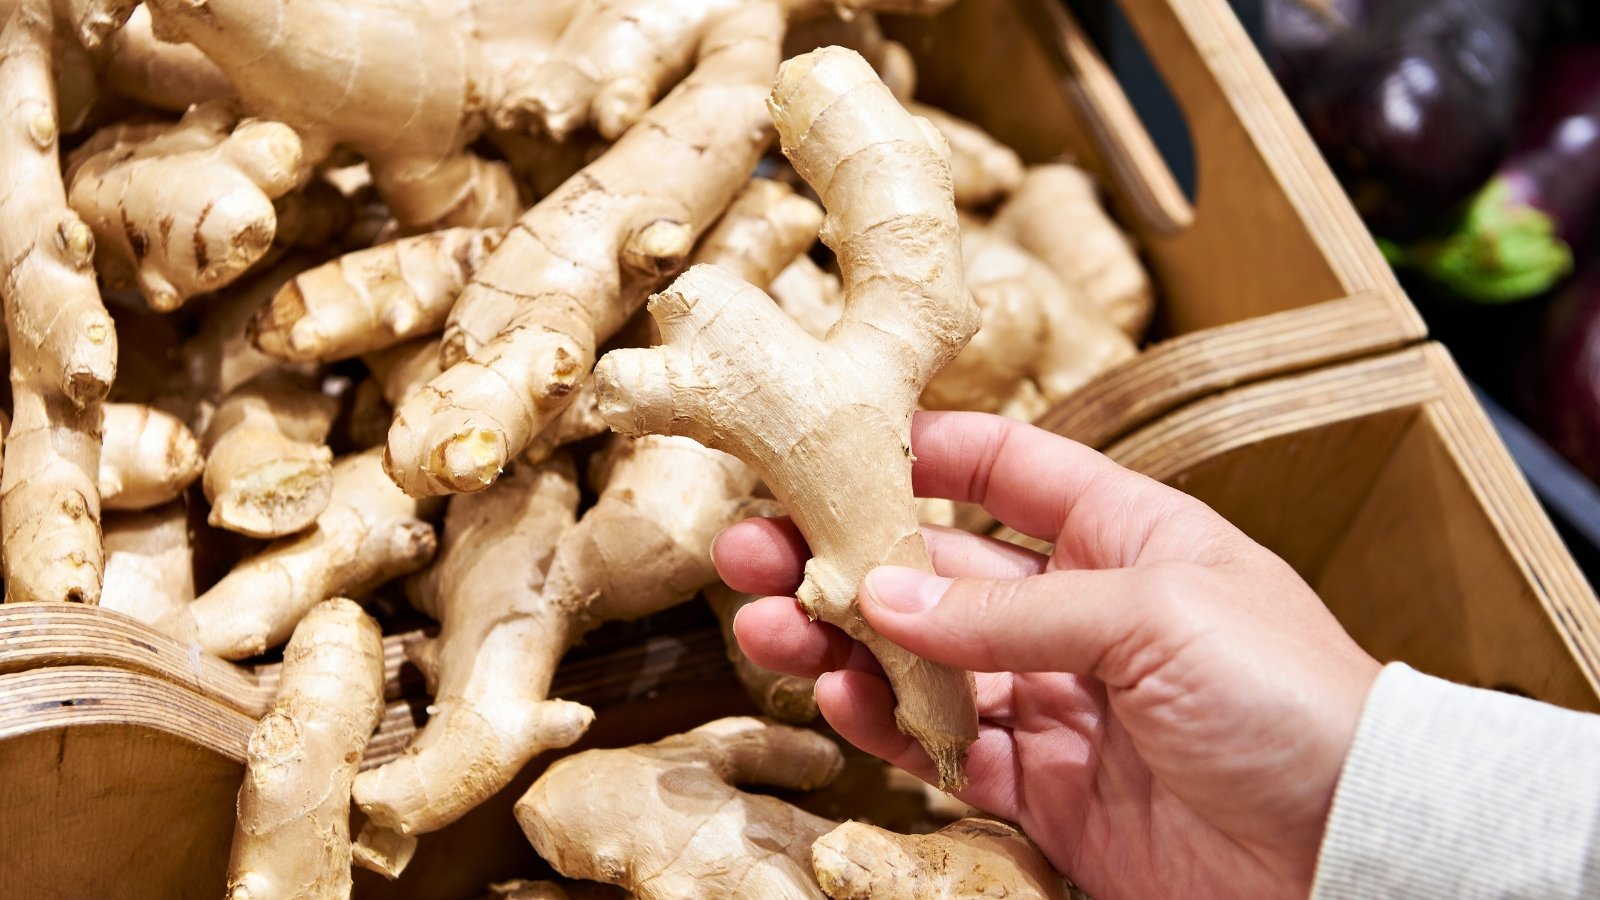
It’s also possible to use grocery store stock to root. Organic ginger is the most viable, as it doesn’t contain growth inhibitors used for conventional store-bought ginger. Growth inhibitor treatments prevent sprouting to prolong shelf life, and they’ll hinder sprouting and vigor at home. Organic, untreated, or seed-stock brings the most rewards.
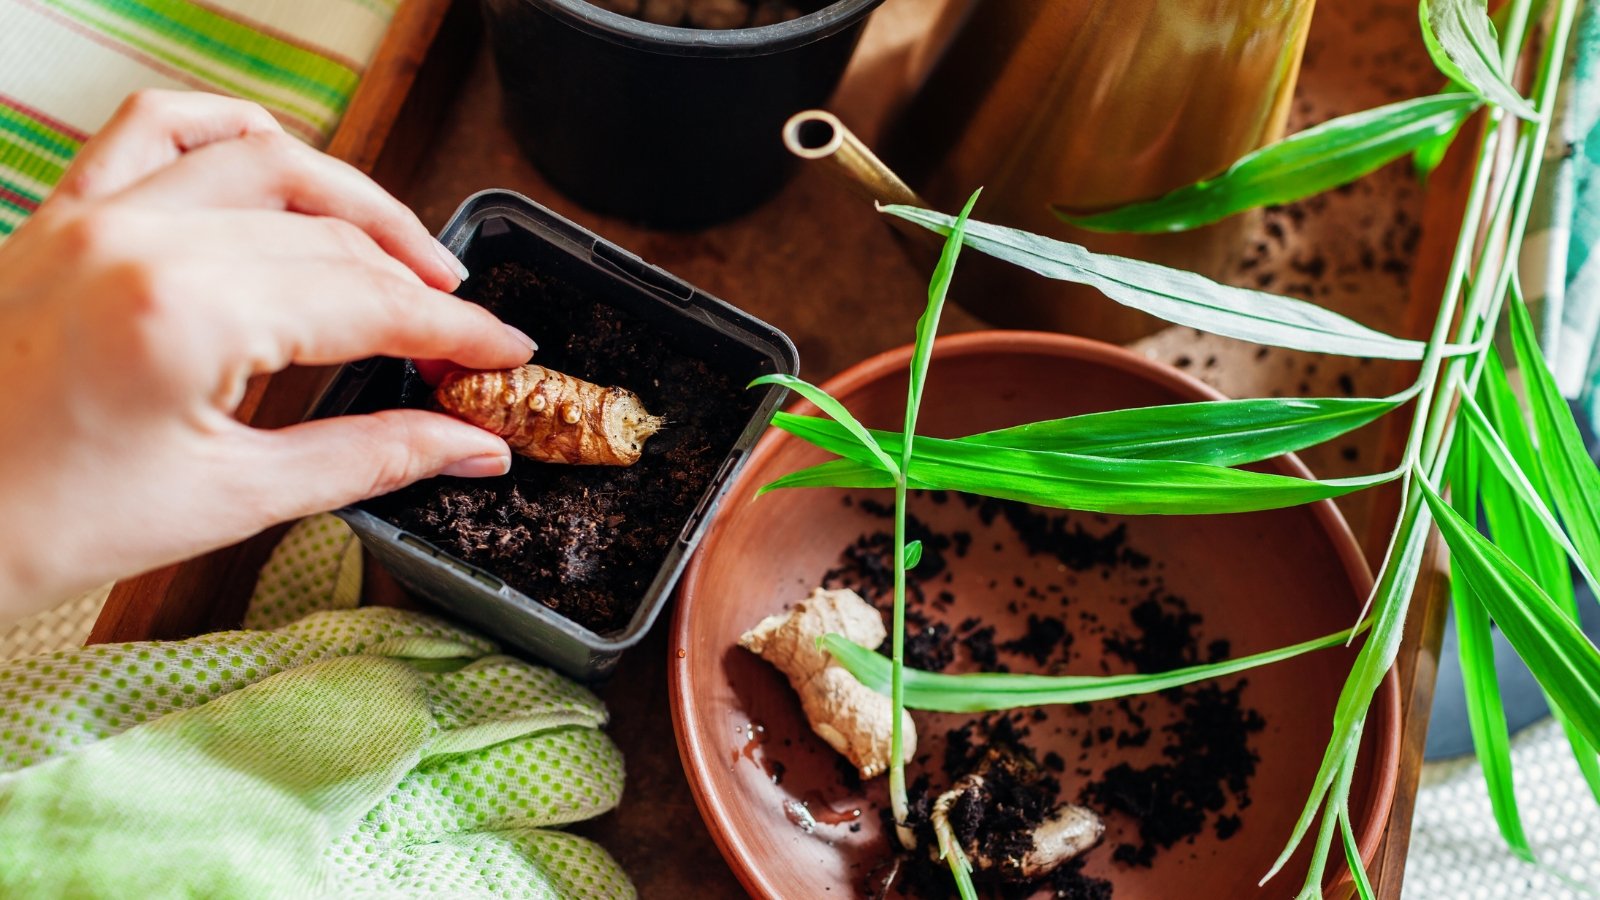
After breaking off chunky pieces, let them air dry for a day before planting. Drying lets the cut portions callous before going into the moist soil. Some gardeners soak the nubby fingers overnight to soften them for sprouting – both are optional and viable.
The Right Pot

Ginger has shallow roots and a tendency to spread horizontally rather than deeply as new rhizomes develop. For a single rhizome, a pot 8 to 12 inches deep with a diameter of 12 inches gives ample room for the future harvest to form. Place a few fingers in a 14-inch pot for a bigger yield.
Drainage is important, as the tropicals need regular water without overly saturated conditions. Keep a catchment saucer handy to capture runoff.
To fill those containers, the potting mix should be rich and well-draining. A high-quality organic mix formulated for containers is ideal.
Tuck the rhizome portion into the soil two to three inches deep with the growth nodes pointing upward. They don’t need much soil coverage for those eyes to produce sprouts and quickly reach the surface.
The Best Light

The tropicals need bright, indirect light to thrive. Grow indoor ginger in an area with several hours of dappled or filtered light. A bright window, out of direct sunlight, is a good situation. Direct sun, especially afternoon rays, can scorch stems and leaves.
East-facing windows work well, or slightly away from south or west-facing positions to miss intense sunlight. On short winter days, west and south-facing windows offer the most light. Year-round, these spots may be too intense or require a filtered curtain.
Keep Them Warm
Warm temperatures foster the best growth. Move containers outdoors in the spring when temperatures are consistently above 50°F (10°C). And move them back in when the temperature begins to lower in early fall. Ideal growing temperatures are in the low to mid-70s (21°C). Culinary ginger grows when soil temperatures are above 68°F (20°C), whether in a pot or the ground.
In cool conditions, the growth cycle naturally slows, and culinary selections enter natural dormancy. In the fall, culinary species begin to turn yellow brown, and drop leaves. This dormancy responds to cooler temperatures and shorter day lengths.
Placement near a window in cold climates is a cooler situation than the rest of the home. Keep them in a cozy, bright spot. Opt for a grow light if your space is darker.
Balance Water Needs

Gingers are water-loving plants. They need regular moisture and evenly moist soils for the best growth. Avoid oversaturation or waterlogged conditions (these can cause root rot). Keep soils from drying out between sessions.
Use tepid or lukewarm water at each session to promote humidity and avoid shocking the roots. Water deeply until it flows from drainage holes. Empty wet trays and saucers after pots have time to drain to avoid excess moisture absorption.
Reduce Winter Watering

Overwintering pots need much less water to retain even moisture. As growth naturally slows during dormancy, roots aren’t absorbing moisture or nutrients as readily. Overwatering during inactive growth results in roots sitting for prolonged periods in soggy situations.
Don’t water dormant, leafless specimens to prevent damaging the rhizome. Water in spring as new shoots appear.
Humidity

Our heated homes in winter become drying as moisture decreases. In their native environment, ginger enjoys high humidity. Levels around 50 to 60% are optimal. To raise the humidity level around the houseplant, place its pot near a dish of gravel or pebbles and water. The pebbles keep evaporate the water (and provide ambient humidity).
Grouping plants creates a little microclimate that boosts immediate humidity from soil moisture, evaporation, and transpiration.
When to Fertilize

A low-grade fertilizer is a good source of supplemental nutrition for the heavy feeders, especially in containers. Hold off on fertilizing established plants in fall and winter when nutrient uptake is slower. Resume fertilizing in spring as new growth emerges.
Fertilize new, late winter plantings by incorporating a slow-release granular at planting or a liquid feed as new shoots appear. Use an organic fertilizer for culinary varieties. A 5-5-5 or 1-3-1 (or similar) works well to avoid excessive nitrogen and rhizome burn. Slow-release granular feeds last a couple of months, while liquid feeds absorb quickly and require applications every 2-3 weeks in the active season.
Enjoy the Harvest

In the right situation, ginger grows with few maintenance needs indoors. They slowly develop new rhizomes to harvest for culinary uses and to propagate new plants. Leaves and stems are fresh and zesty when cooked.
After a few months, check by feeling around the roots lightly for a viable piece to pluck from the main stock. Taking small portions to use in the kitchen lets the remainder continue to grow and develop.
In six to eight months, the full rhizome will be ready to harvest and use or repot. Unroot the whole plant and peel away usable pieces. Save the largest ones for replanting the next viable crop. Use the remainder for fresh zest in cooking.
Store whole pieces in a cool, dark spot to use within a couple of weeks. Peel, mince, or chop the excess to freeze for future use. Putting a spoonful in ice cube trays with a bit of water is a handy way to incorporate them individually into dishes.


