How to Grow Beans for Beginners
If you’ve never tried growing vegetables before, beans are a great place to start. Gardening expert Madison Moulton walks beginners through every step of growing beans, from choosing between bush and pole types to knowing exactly when a pod is ready to pick.

Contents
Beans are one of the most beginner-friendly crops you can grow. Gardeners tend to reach for tomatoes first, but considering the number of problems they have, I think beans are a far better starting point. They’re not fussy about soil, and they produce generously with very little effort.
That said, there are a few decisions to make upfront that will shape the rest of your season (bush or pole, what to plant them in, when to get seeds in the ground, and so on). This guide is here to take you through all those decisions to make growing beans as a beginner as effortless as possible.


Varieties

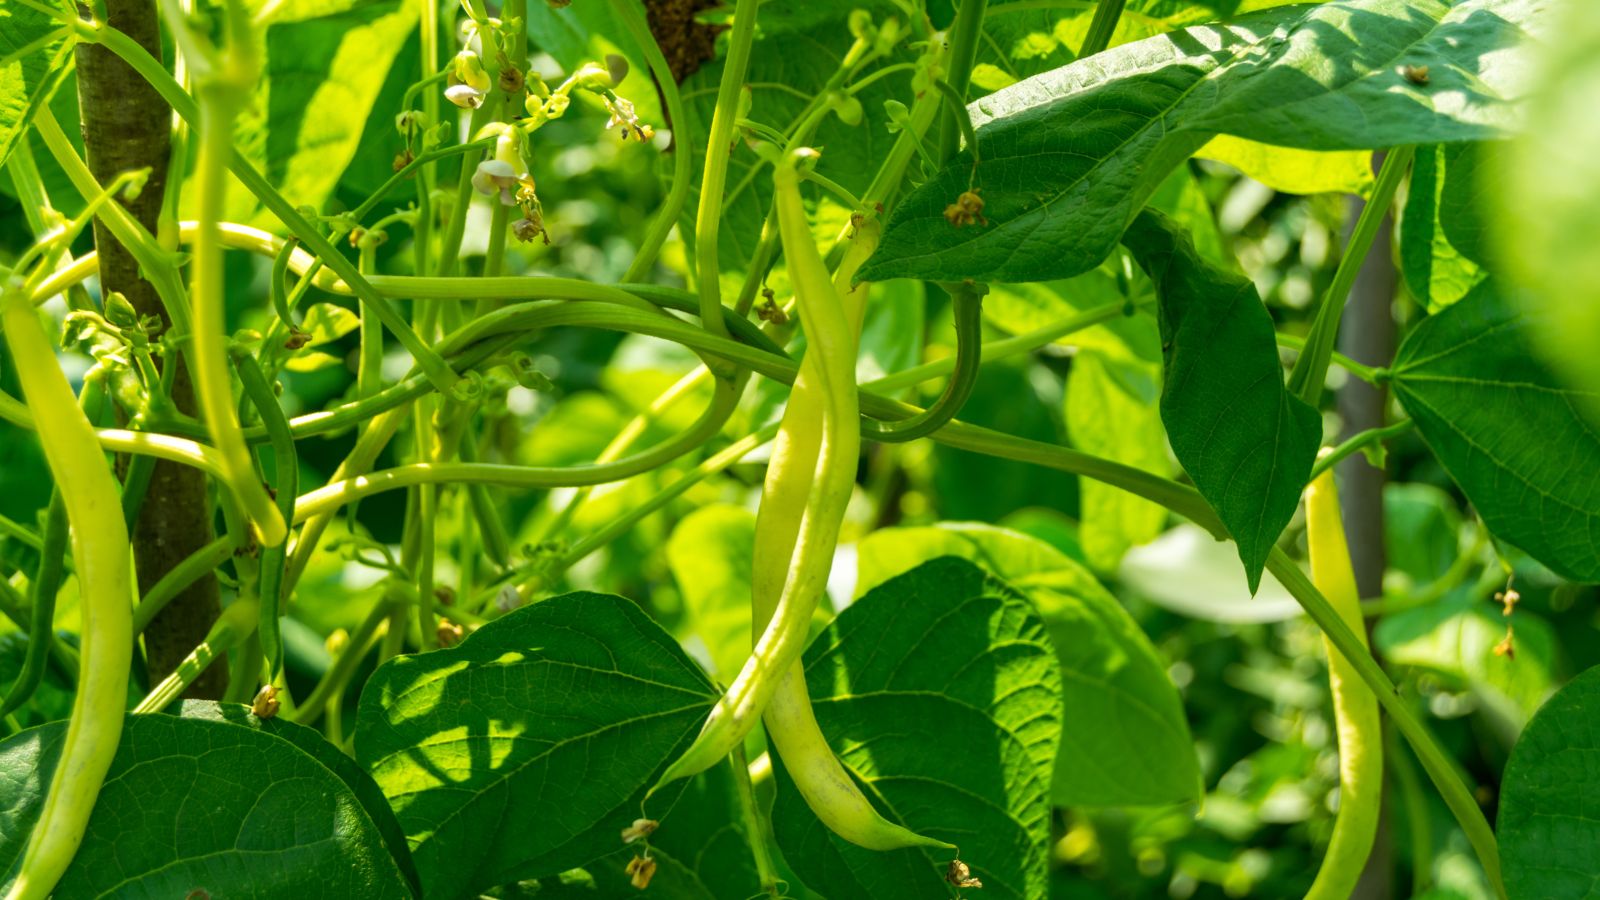
The first choice to make when you grow beans as a beginner is between bush beans and pole beans. Bush beans grow as compact plants and tend to produce most of their harvest in a concentrated window of two to three weeks. They’re ideal if you want a quick crop or if you’re growing in containers.
Pole beans climb (some reaching eight feet or more), so they need a trellis, teepee, or some kind of vertical support. In return, they produce over a longer period and tend to give you more beans overall.
For a first-time grower, a bush snap bean is probably the easiest starting point. ‘Blue Lake 274’ is one of the most popular for a reason. It has excellent flavor, a tender texture, and produces reliably. It’s an heirloom that’s been a favorite for decades.
‘Contender‘ is another strong pick, especially if your spring tends to be on the cooler side. It’s been a dependable performer since 1949, resists powdery mildew, and produces in about 50 days.
If you want something a little different, ‘Gold Rush’ has a delicate flavor. ‘Royal Burgundy‘ produces deep violet-purple pods that turn green when cooked, which is fun if you’re gardening with kids.
For pole beans, ‘Blue Lake FM-1K‘ is the climbing counterpart to the bush version, with the same classic flavor but a longer harvest window. ‘Kentucky Wonder’ is an heirloom pole bean that’s been around for well over a century.
If you’re looking for a gourmet option, ‘Maxibel‘ is a French filet bean that stays slender, tender, and stringless. It’s compact enough for containers.
When to Plant

Beans are warm-season crops, and this is the one thing you don’t want to rush. Seedlings will die before they get going if the ground is too cool.
Wait until at least one to two weeks after your last frost date, and make sure the soil temperature has reached 65°F (18°C). The ideal range for germination is between 70°F and 85°F (21°C–29°C).
Bush beans produce most of their crop at once, so if you want a steady supply rather than a single mass, sow a new row every two weeks through the first half of summer. This staggered approach (called succession sowing) keeps fresh beans coming for months. Stop sowing about 80 days before your expected first fall frost to give the last planting time to mature.
Beans don’t set pods well in extreme heat. If temperatures stay consistently above 90°F (32°C), plants may flower but drop those flowers without producing beans. Gardeners in very hot climates should plan to harvest before peak summer hits, then sow again in late summer for a fall crop.
Where to Plant
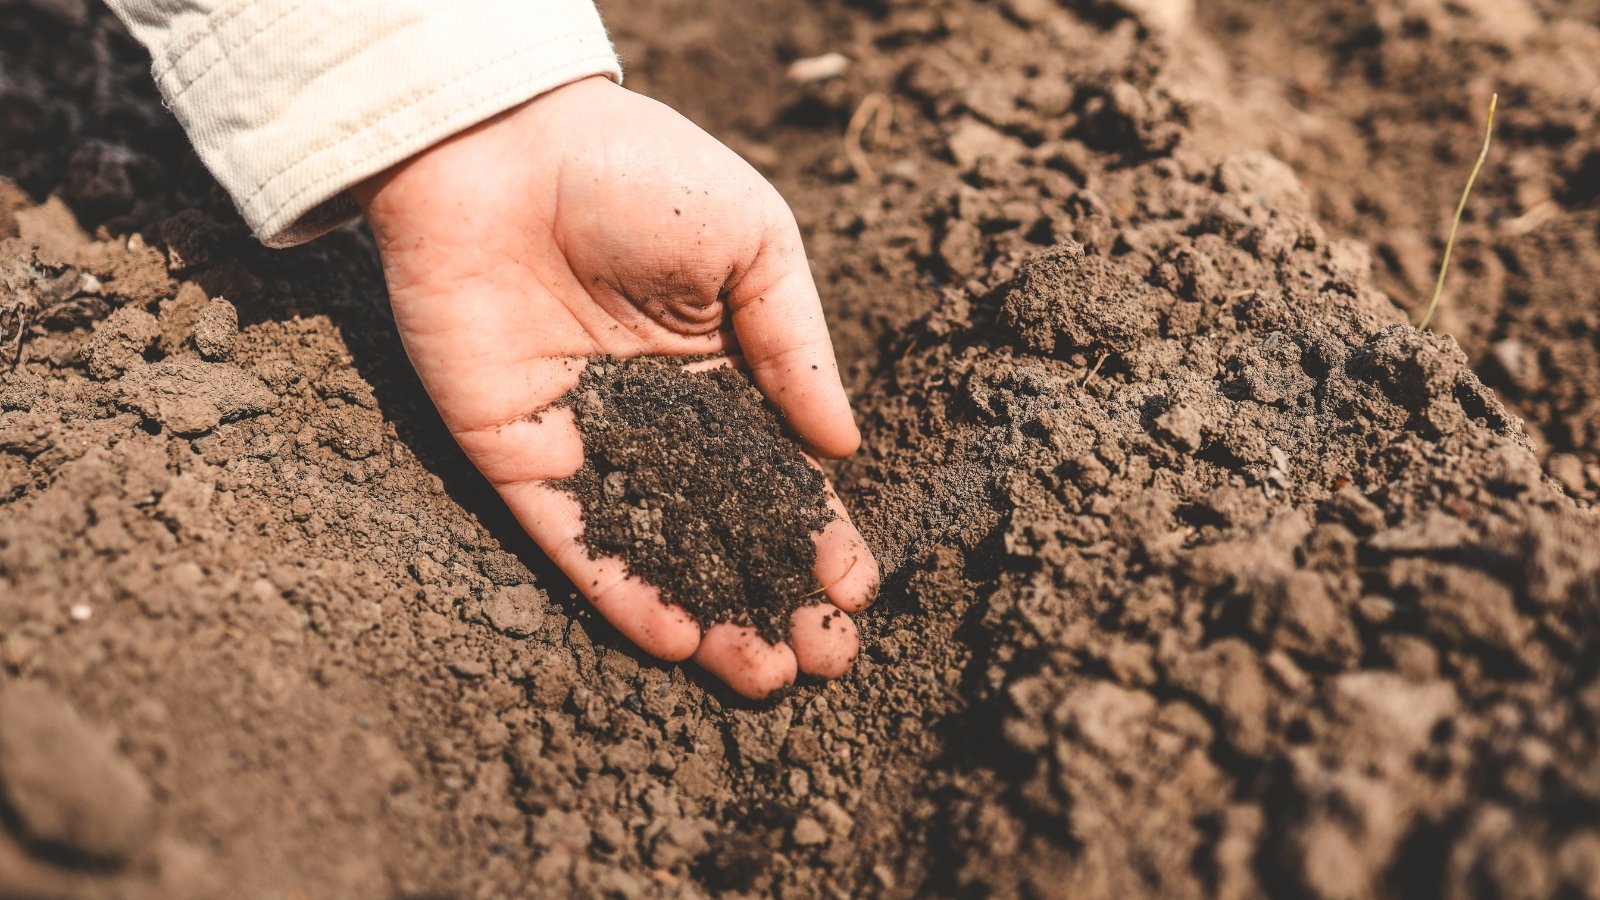
In-ground planting gives beans the most room to spread their roots and is the simplest setup. Work some compost into the top few inches of soil before planting, especially if your soil is heavy clay or very sandy.
Beans aren’t heavy feeders, but they do need loose, well-drained soil to perform well. If drainage is a concern, planting in slightly raised ridges helps prevent waterlogging around the roots.
Pole beans will need a support structure in place before you plant. A teepee made from bamboo stakes, a simple trellis, or even a section of sturdy fencing all work. Set it up first, then plant seeds at the base. It’s much easier than trying to install supports once the plants are up and growing.
Raised Beds

Raised beds are a great fit for beans because they warm up faster in spring (giving you a slight head start on planting) and offer naturally better drainage. Bush beans are especially well-suited to raised beds since they don’t need much vertical space and can be planted fairly densely.
If you’re growing pole beans in a raised bed, keep in mind that a tall trellis can create shade. Position it on the north side of the bed so it doesn’t block sunlight from reaching your other crops.
Containers
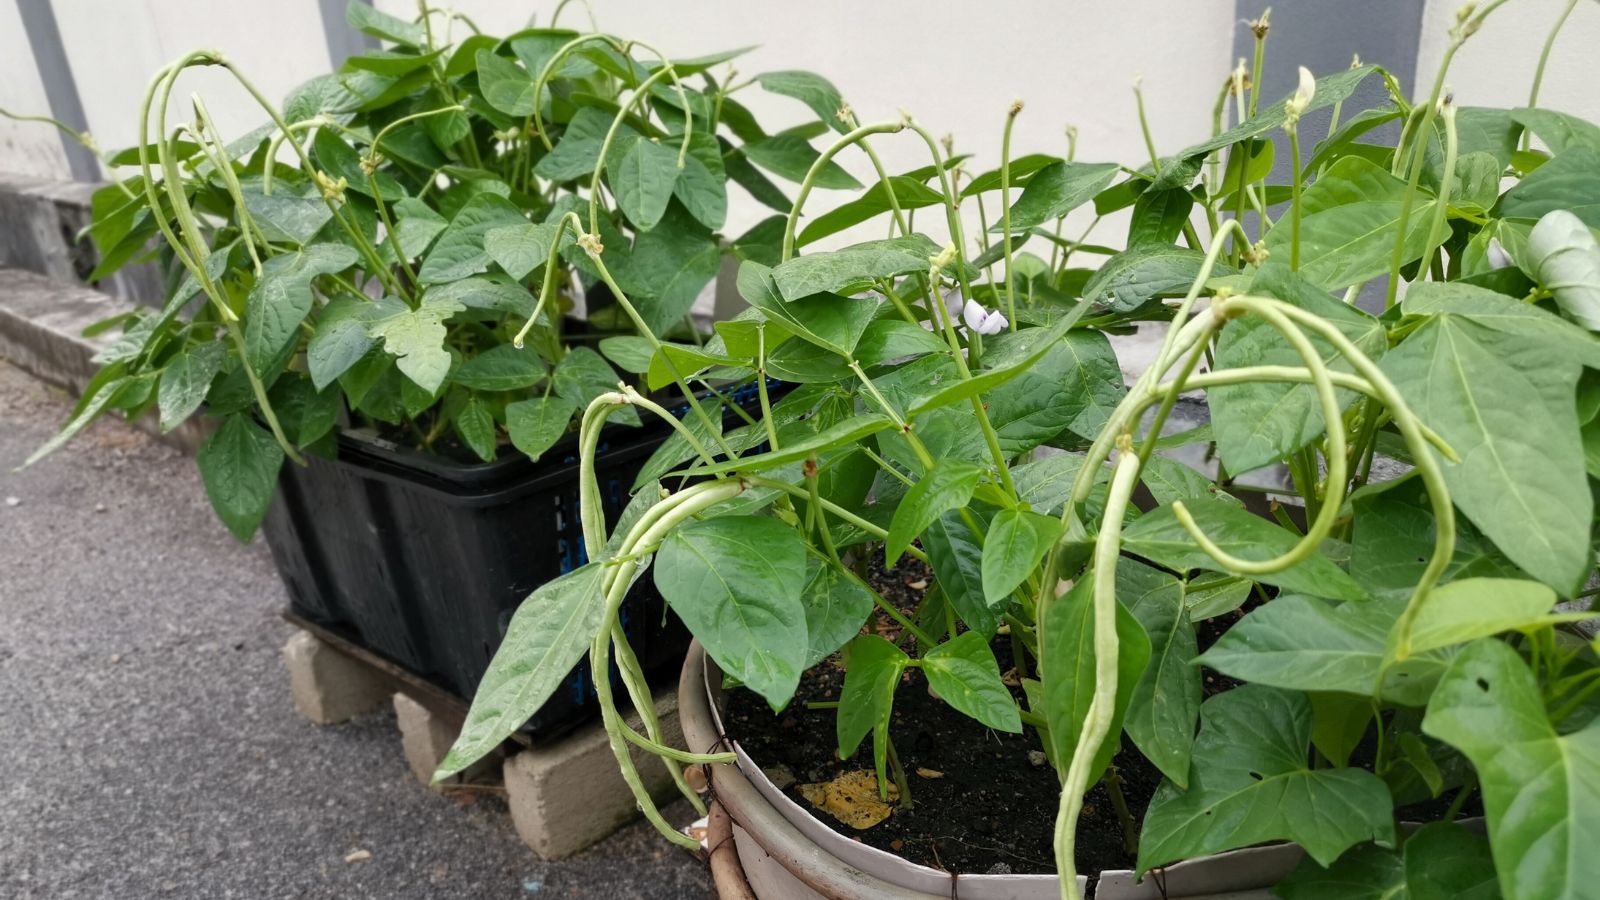
Bush beans adapt well to containers, and several varieties (including ‘Maxibel’ and ‘Royal Burgundy’) are specifically noted for their container performance. Choose a pot at least 12 inches deep with good drainage holes. A wider container works better than a deep narrow one, because beans grow relatively shallow roots and you’ll want room for several plants.
Use a good-quality potting mix. Containers dry out faster than garden beds, so expect to water more frequently, especially once plants start flowering. Pole beans can work in containers too, but you’ll need to provide a sturdy support and a large enough pot to anchor the weight of climbing vines.
Sun Requirements
Beans need full sun, which means at least six to eight hours of direct sunlight per day. They’ll tolerate some light afternoon shade in very hot climates, but production drops noticeably in anything less than full sun.
When choosing a spot, pay attention to what’s casting shade through the day. A location that gets morning sun and a little late-afternoon shade is fine. A spot that’s shaded until noon probably isn’t.
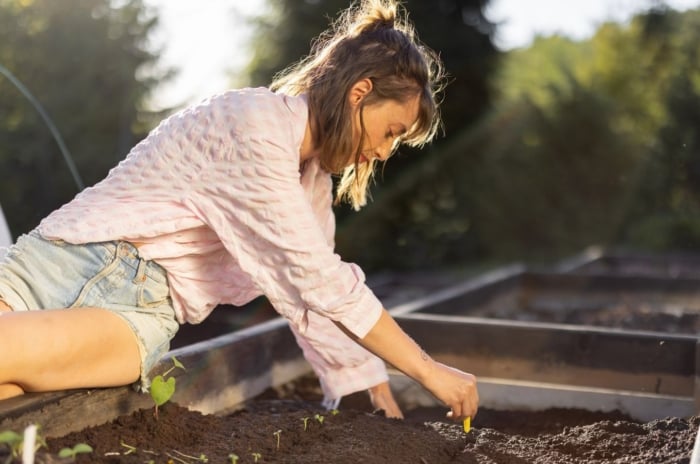
How to Plant
Direct sowing (planting seeds straight into the ground where they’ll grow) is the recommended method for beans. The seeds are large enough to handle individually, making spacing easy.
Plant each seed about one inch deep and four inches apart. For bush beans, rows should be about 18 inches apart. For pole beans, plant four to six seeds around the base of each teepee leg or along the trellis line, spacing plants about six inches apart.
Seeds germinate quickly in warm soil. You can expect to see sprouts in five to eight days. If your soil crusts over before seedlings emerge, gently break up the surface so they can push through.
Indoor Sowing and Transplanting

Beans generally don’t transplant well. Their roots are sensitive to disturbance, and seedlings that get jostled during transplanting often stall or produce poorly compared to direct-sown plants. This is why most seed packets recommend against starting beans indoors.
That said, if your growing season is very short or your spring soil stays cold and wet for a long time, starting seeds in biodegradable pots that go directly into the ground can work. The key is minimizing root disturbance. Harden seedlings off for a few days before planting them out, and don’t transplant until soil temperatures are warm enough.
How to Grow
Although beans are easy to grow, you can’t just plant and forget about them. Follow these care steps to keep them happy. Don’t overcomplicate anything when you grow beans as a beginner.
Water

Even moisture is the goal. Beans need about one inch of water per week like many crops, and consistent watering matters most during flowering and pod development. Drought stress at this stage leads to dropped flowers and misshapen pods.
Water at the base of the plant rather than overhead. Wet foliage invites fungal diseases, and beans are particularly susceptible to rust and mildew when leaves stay damp. Morning watering is best if overhead irrigation is unavoidable, since leaves dry faster in morning sun.
Fertilizing
These crops need very little supplemental fertilizer. In most cases, the compost you worked into the soil before planting provides everything they need for the entire season. If you notice pale leaves or sluggish growth (and watering isn’t the issue), a light dressing of compost or a low-nitrogen fertilizer can help. Avoid anything high in nitrogen.
Maintenance

Mulch around the base of plants to conserve moisture and suppress weeds, but wait until the soil has warmed and the seedlings are a few inches tall before applying it.
For pole beans, guide young vines toward their support if they don’t find it on their own. Most pole varieties are natural climbers and will wrap around anything they can reach, but a little early direction helps them get established.
Bush beans don’t usually need staking, though heavy-producing plants sometimes lean under the weight of their pods. A light mulch underneath helps keep pods clean and off the ground.
Watch for common pests like bean beetles and aphids. Hand-picking bean beetles is effective if you catch them early. Aphids can usually be knocked off with a strong stream of water. Rotate where you plant beans each year (ideally, don’t plant them in the same spot more than once every three years) to help prevent pest and disease problems.
Harvesting

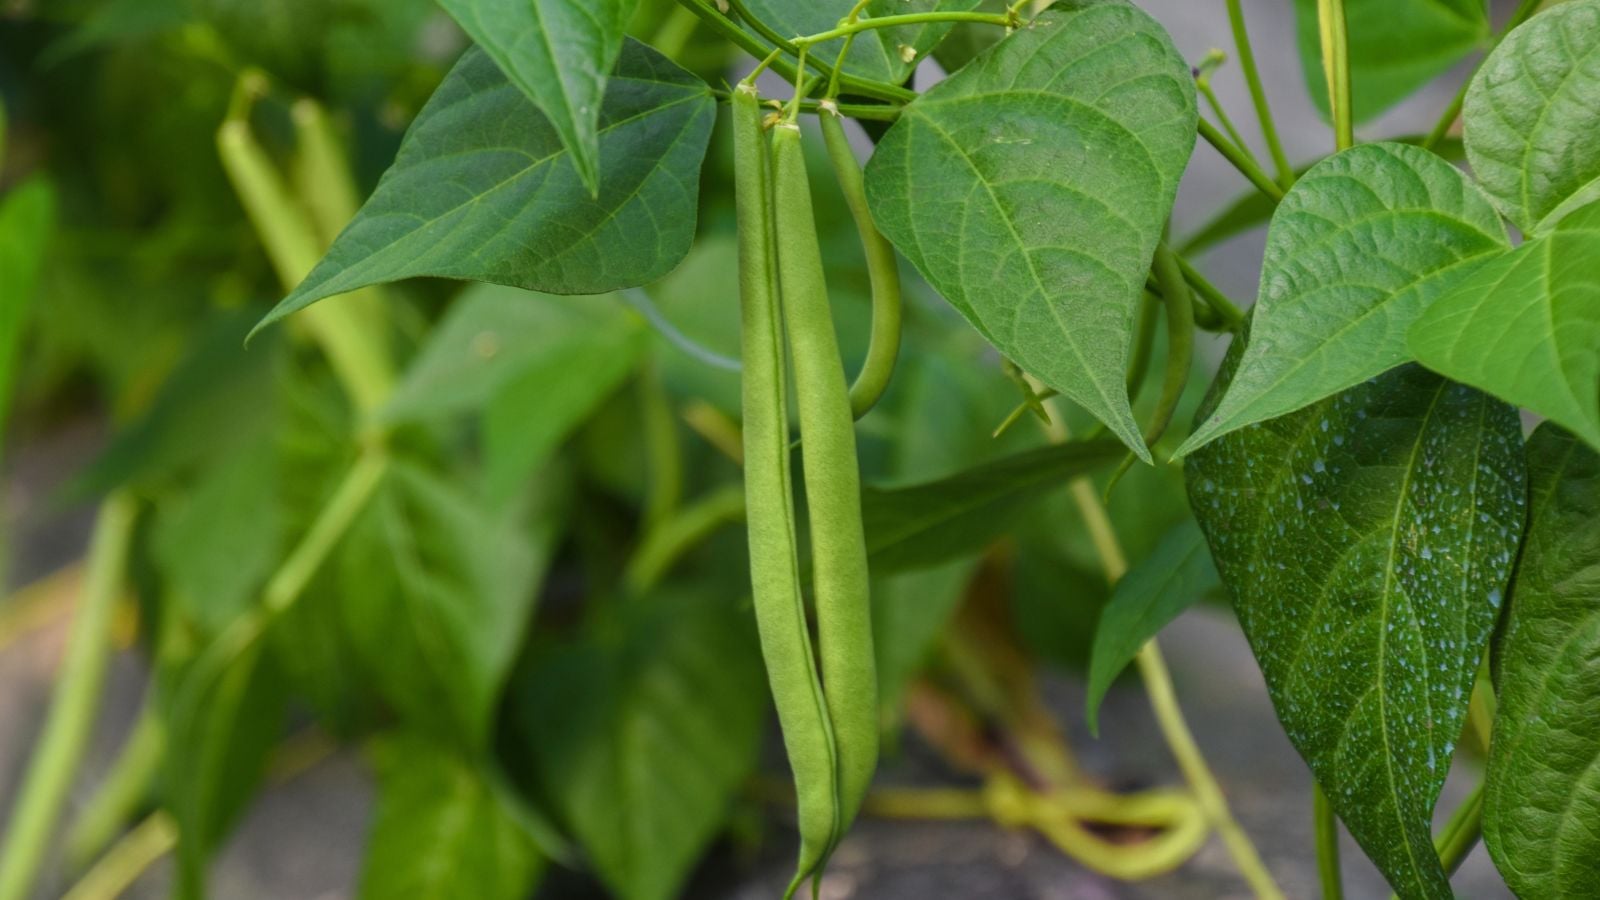
For snap beans, harvest when the pods snap cleanly in half. At this stage, the seeds inside should be just beginning to form. You’ll feel small bumps through the pod, but the beans inside shouldn’t be bulging.
Most snap beans are ready when pods are four to six inches long, depending on the variety. Filet types like ‘Maxibel’ should be picked even smaller when pods are pencil-thin and no more than a quarter inch in diameter. Hold the stem with one hand and pull the pod with the other. Yanking pods off carelessly can break branches that would have kept producing.
Pick regularly, at least every two to three days. Frequent harvesting signals the plant to keep producing. If you leave mature pods on the vine too long, the plant shifts its energy toward maturing seeds rather than making new pods.
After the final harvest, leave the plants in the ground. Those nitrogen-fixing root nodules add valuable nutrients to the soil as they break down.