How to Grow the Perfect Potted Herb Garden
Growing a potted herb garden is a worthwhile endeavor, whether it’s indoors or outdoors. If this is your first time, there are a few things to know that will set you up for success. Experienced gardener, Sarah Jay, covers how to set up and care for your herbs here.

Contents
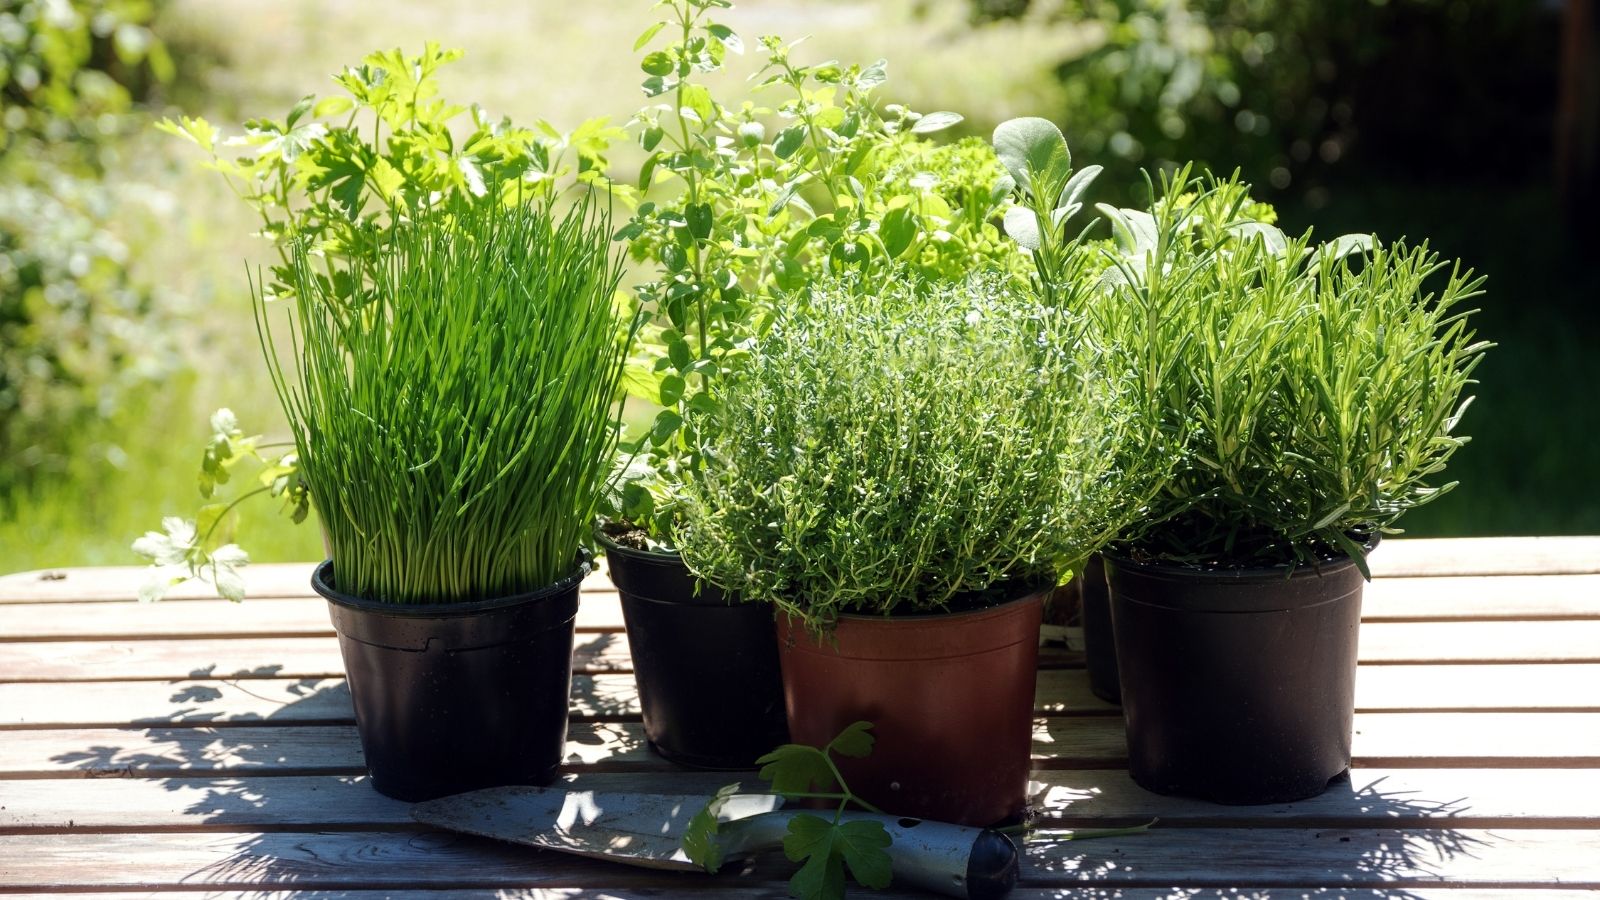
A potted herb garden is such a joy at the height of the season. This year, I decided to grow my herbs in containers and keep them close to my kitchen so I can harvest them as needed. I grabbed a few sprigs to tie together in an herb satchel that made the flavor of the soup I made so much better.
Keeping your herbs in pots adds adaptability to the garden. You have room to move each container around to find the optimal light, and you can bring them indoors when outdoor conditions aren’t suitable. You also have the ability to set your herbs up for the best growth as you formulate your soil.
Herbs are some of the easier edibles to cultivate, and they have multiple applications. As long as you know where to start and how to get going, you’ll have plenty of herbs for whatever purpose you wish. Teas, seasonings, and even cosmetics can be made with various herbs. So let’s discuss how to get your garden started.

Step 1: Assess the Space
Understanding the amount of space you have and where your potted herb garden will be located is very basic. But it might be easy to skip this step if you’re excited about planting seeds or transplants. So start by determining how much of an area you can dedicate to the garden.
If you’re growing on a patio, even a few small pots with herbs planted within them might be enough to fill out the space. In a larger garden with raised beds, you can always throw a few grow bags in the mix, or include a tiered planter to provide vertical interest.
Similarly, think about the kinds of herbs you want to grow. If you prefer perennials, like rosemary and lavender, you most likely need a larger planter. For annuals that tend to have a short lifespan or for those that die back quickly in summer, smaller pots are probably fine.
Compare the space needed to grow the herbs you like with the space you have. Then clear it out. If you need to add a stump next to a raised bed to keep the pot away from the ground, this is a good time to do it. If you’d like to grow in a sunny window, clear that off too!
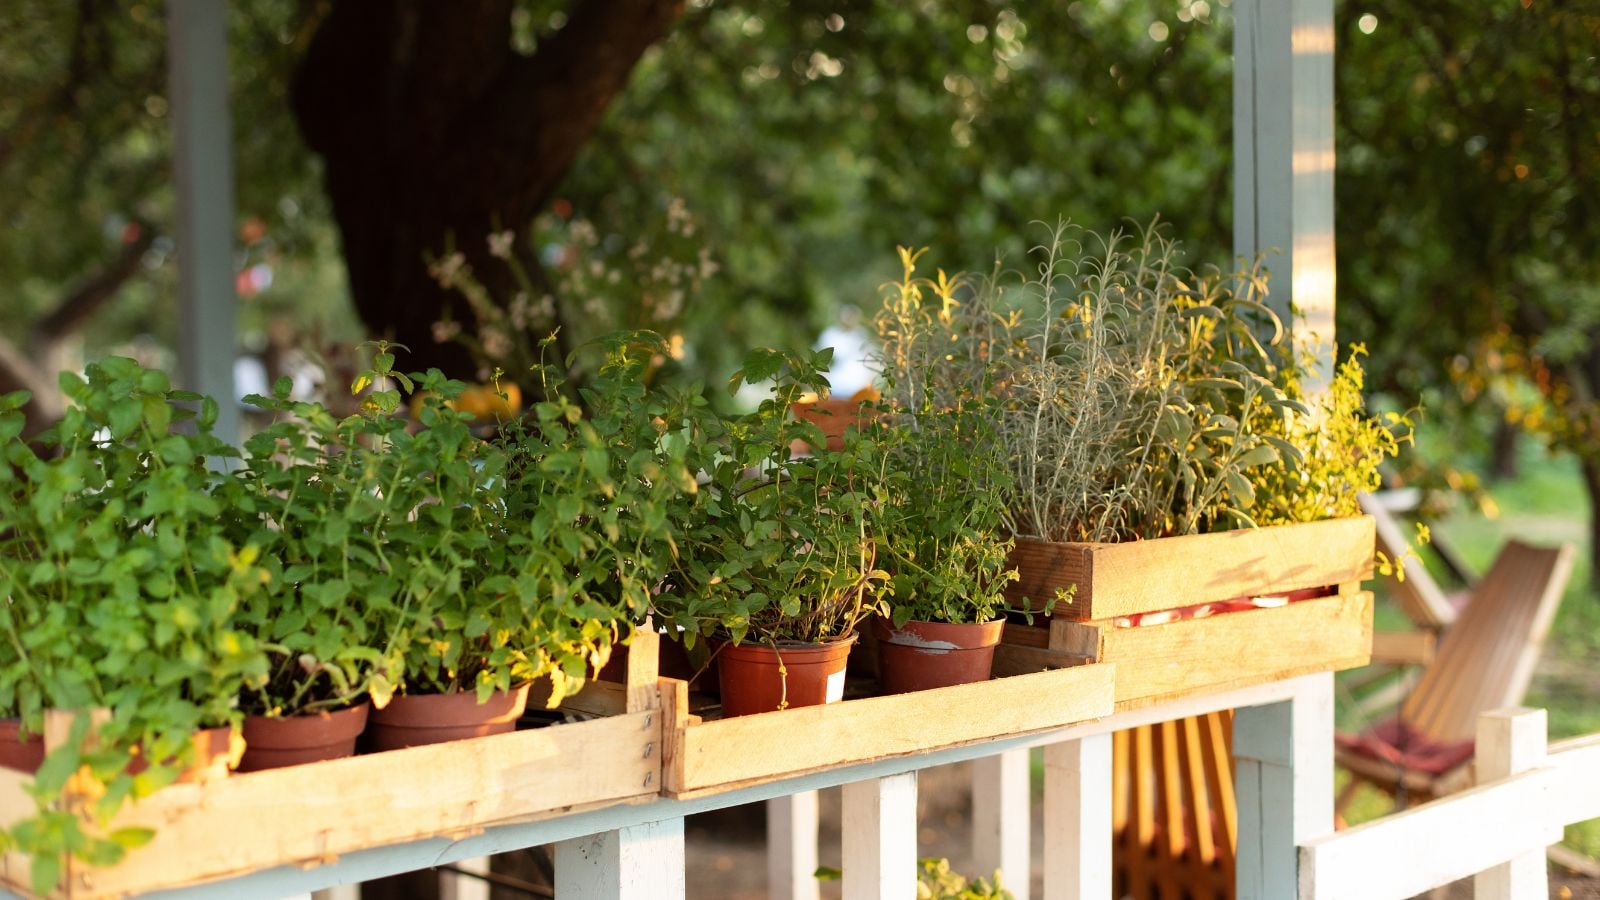
Step 2: Gather Your Pots

Many (but not all) herbs are tolerant plants that handle a wide variety of conditions. In that regard, your potted herb garden can be in almost any kind of container. For Mediterranean herbs, terracotta is a great choice, as it wicks excess water away from the soil. Ceramic is a close second best, and grow bags are also great. Plastic is fine, but you’ll water less with those. Don’t skip the hanging planters if you have room for those!
You’ve assessed the space, and now it’s time to get your containers together. If you don’t have the containers on hand, you can often find them at second-hand and resale stores. Your local big box nursery will definitely have something you can buy new. Of course, we at Epic have a few ideas of where you can locate good containers.
After you get your pots together, place them in the area where your garden will be and take a look. While your garden doesn’t have to be aesthetically pleasing, it is more fun to add a design element to the mix. If your garden is a beautiful place to be, you’ll be more likely to be in it regularly, too.
Step 3: Develop Your Soil
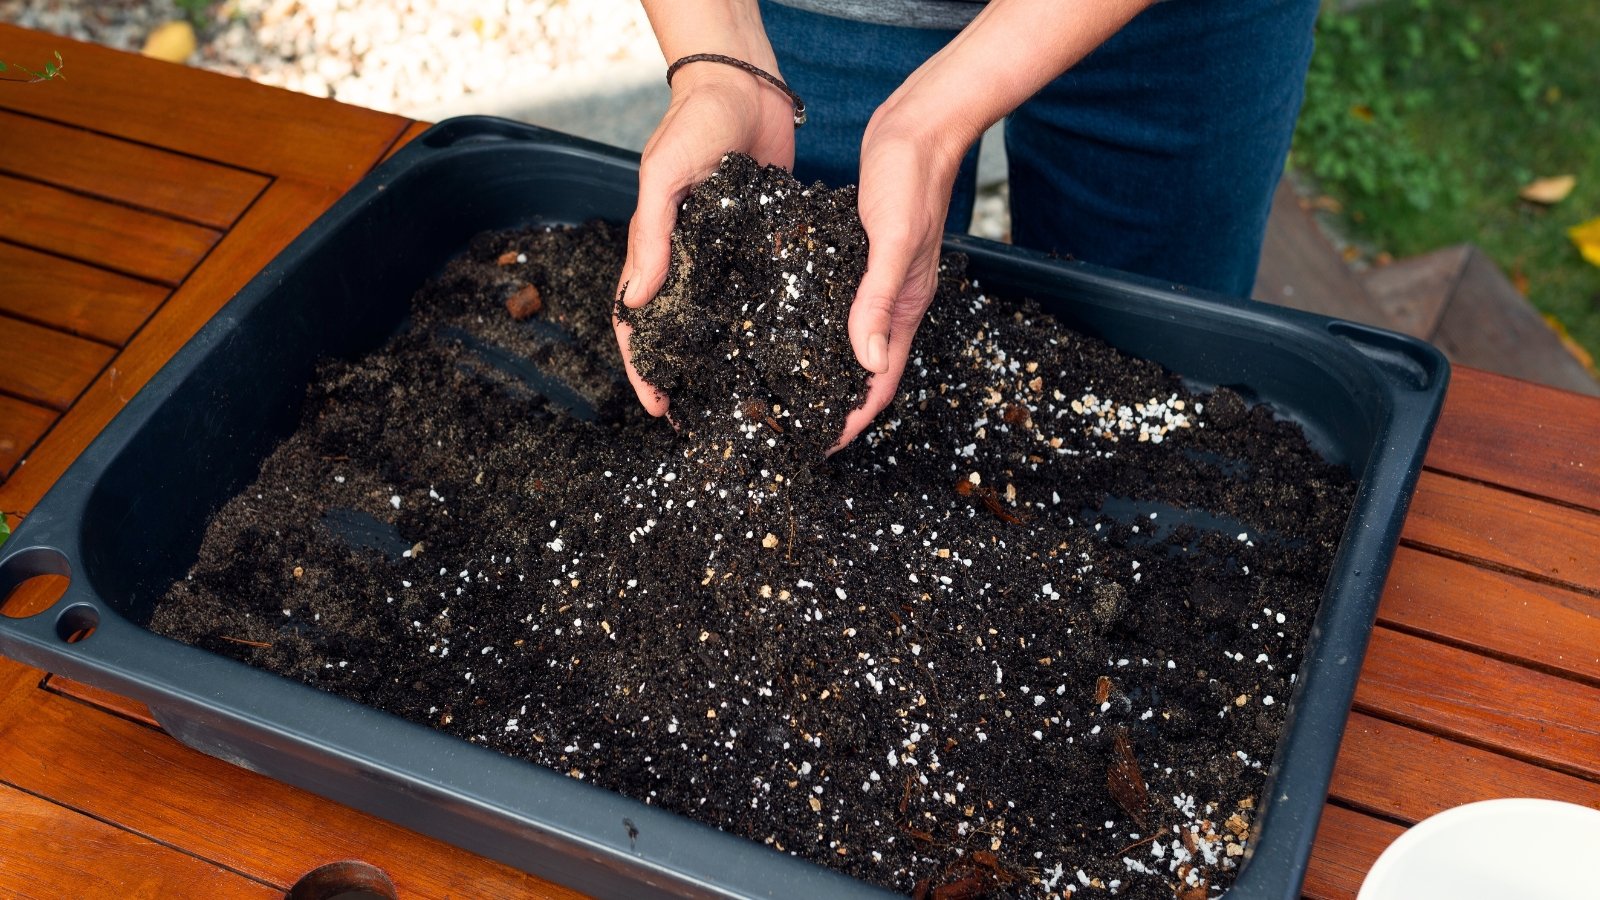
The best soil mix for a potted herb garden contains plenty of drainage materials and a good portion of water-retentive, nutrient-rich organic matter. You can always grow your herbs in a high-quality potting soil. However, the best mix is equal parts potting soil, perlite, and peat (or coco coir).
You can alternatively use compost in place of potting soil, but add a little more of your drainage materials if you go this route. If you’re creating a mix based on this recipe, hydrate the peat (or coir) and perlite before mixing them. Then fill your pots with the mix. Water the pots after you add soil to prime them for your herbs.
Step 4: Sow Seeds and Transplant

Once you’ve set it all up, you get to plant out your potted herb garden. If you have time, you can sow seeds directly into the pots. Note that if you go this route, ensure you sow enough seeds to fill in the area. If you sow one set of seeds per large pot, your seedlings are more likely to succumb to damping off. If you’re worried about this, sow your seeds in seed cells and then transplant later.
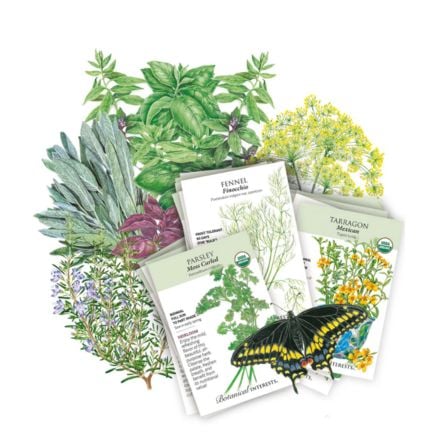
If spring is already in full force, it’s probably too late to sow herbs that take a long time to germinate. Unless you live in a frost-free zone, transplant these. Rosemary, parsley, lavender, and lemon balm require weeks to germinate. These are sometimes best bought elsewhere and transplanted.
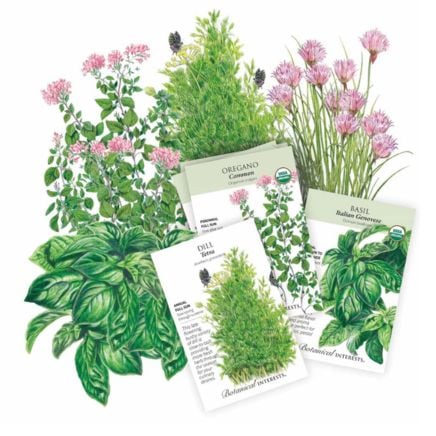
Plants like basil, mint, oregano, sage, and chives are all great for direct sowing. And you can plant more than one kind of herb in each container if there is room. Note that you’ll be harvesting these regularly, so they’ll probably stay small enough to share a planter with at least one more herb.
Step 5: Place Them Appropriately

Most herbs like full sun in mild spring conditions. Some handle heat like champs and last through the summer. You may have planned out placement already, but thankfully, you have the option of moving your potted herb garden around to give your plants the best possible light conditions.
For more sensitive herbs prone to bolting, like cilantro, keep them in partial shade in the hard afternoon sun if they’re outdoors. This will slow the bolting process slightly. Basil, rosemary, and lavender are all pretty good in the heat.
If you’re indoors, maximum lighting is essential. Use a sunny south or west-facing window, and supplement with a grow light if you don’t receive at least six hours of direct sunlight per day. Having more light than you need is easier to deal with than having less.
Step 6: Maintain Them
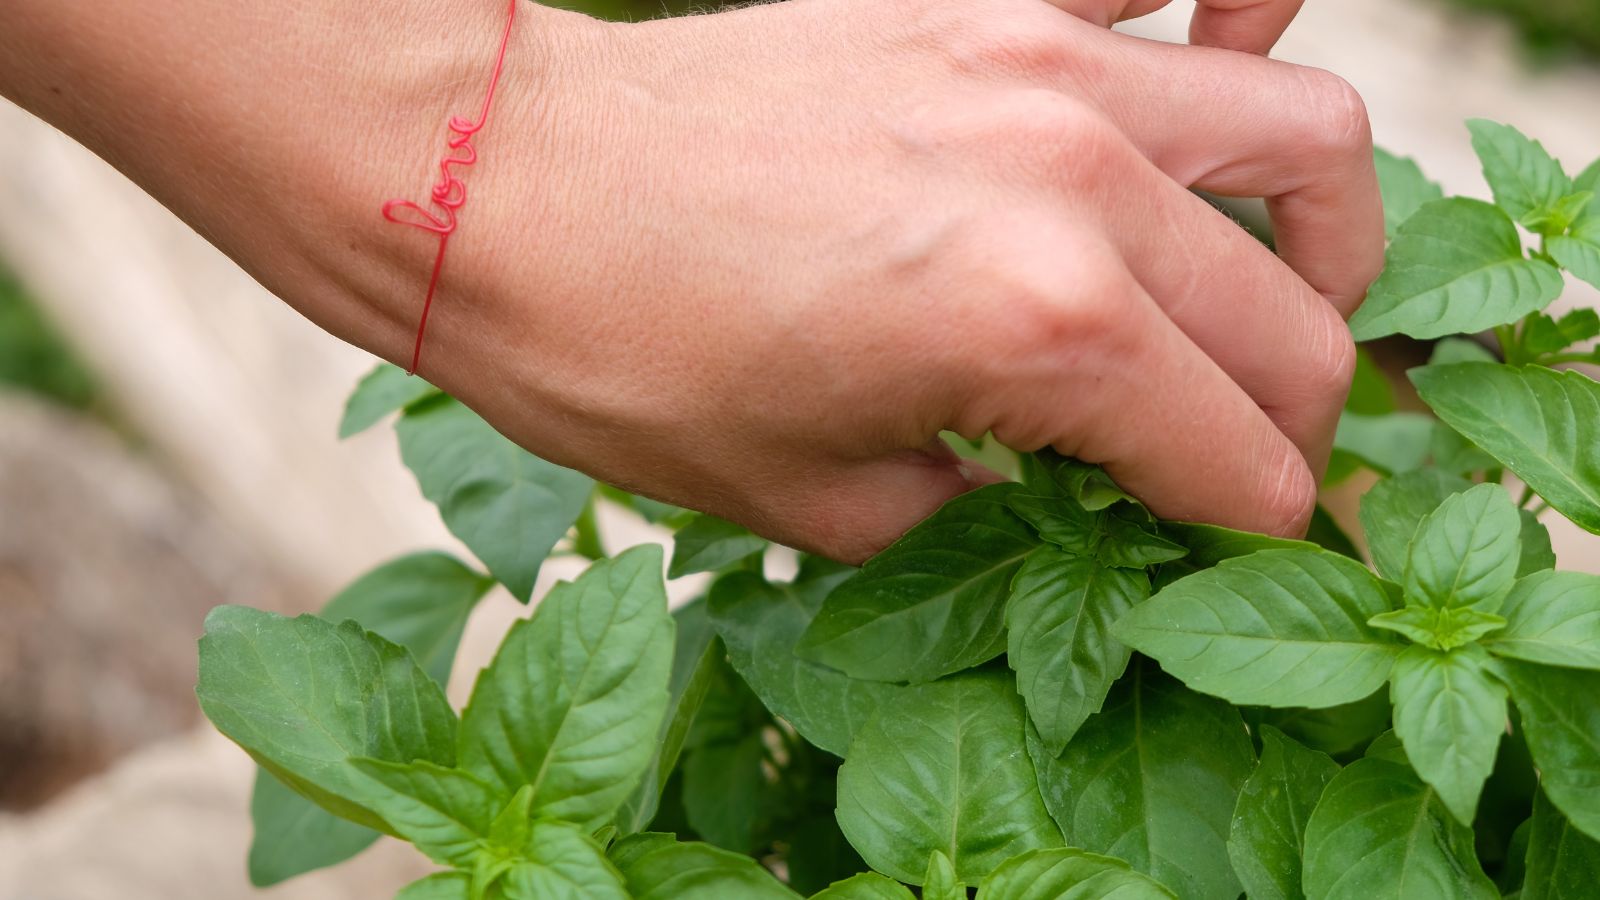
So now your potted herb garden is all set up, and all you have to do is foster healthy plants through the harvest period. If you’re growing basil, pinch the tips as the second set of true leaves forms. This gives you bushier growth and more leaves for eating. Plenty of other herbs respond similarly to pinching early on as well.
Water them regularly, and tailor your watering schedule to the type of herb. Woodier plants require less watering. Those with supple herbaceous habits will tend to need more water. Similarly, the kinds of pots you’re using influence how often to water. Plastic pots hold water longer than terracotta, for instance.
While most herbs have evolved to require little nutrition, it doesn’t hurt to use a liquid organic fertilizer in your watering regimen every couple of weeks through the growing season. Dilute this in water to ½ or ¼ strength. Use a balanced 10-10-10 or other equal ratio fertilizer.
Step 7: Harvest and Enjoy!
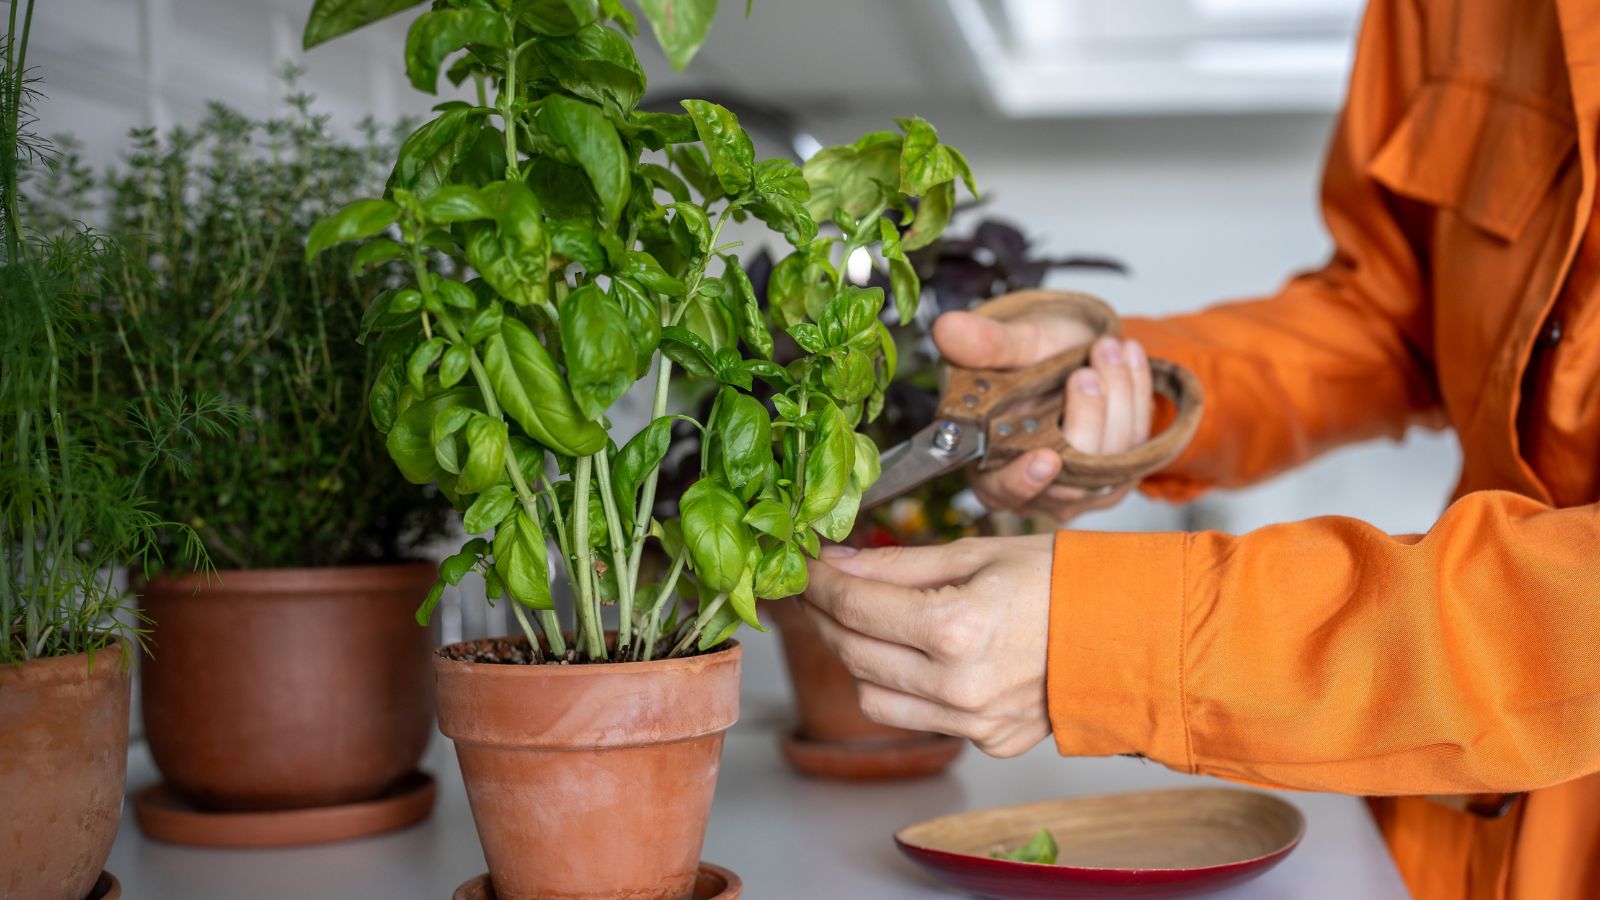
Herbs are best suited to regular harvesting, as they’ve been cultivated this way for centuries. Therefore, as soon as you can harvest ⅓ of your herbs, feel free to do so! Some herbs will not do as well if you don’t harvest them.
Herbs best used fresh include basil, chamomile, parsley, and dill. However, all herbs can be dried for use. Some, like oregano, thyme, and rosemary, have an even more concentrated flavor when hung upside down to dry for a few weeks before use.
If you’re not sure where to start, taste a few leaves and experiment with the flavors. Crush dried herbs and store them in airtight containers for several months. You’ll be glad you took the time and effort to cultivate your own potted herb garden.