How To Harvest and Store Mint
Knowing how to harvest mint ensures you'll have a continuous supply. Horticultural expert Lorin Nielsen explains the right way to harvest and store mint for later use!
Contents
Learning how to harvest mint is essential if you’re a mint-lover! Cool, aromatic, and refreshing, mint is one of the most popular herbs in the world. From delicious sauces to desserts, cocktails, curries, and mint tea, mint can be used in many recipes.
There are so many benefits of mint, with tons of uses beyond the kitchen. For example, it is a common ingredient in beauty products. You can also find it in toothpaste, mouthwash, chewing gums, and so on.
Currently, there are over 30 kinds of mints that grow natively in all continents except Antarctica. The most commonly used varieties include spearmint and peppermint, both of which are famous in the culinary world. Mint can be consumed fresh, dried, powdered, or frozen.
If you are a fan of cool and refreshing mint flavor, you can take your love of mint to the next level and grow mint in your garden. Growing mint is quite easy. However, it is important to mention that the mint plant can become invasive, which is why gardeners often grow mint in containers. Grow mint in a pot, make sure you don’t have runners spreading to nearby soil, and get ready to harvest your mint plant like a pro!
How you harvest your mint plays an important role in the plants’ growth and overall health. This makes it essential to learn all about the best practices when it comes to growing mint in the ground or container. It is also important to learn how to store mint the right way.
When to Harvest Mint

The best time to harvest mint leaves is right before flowers appear, usually midway through the growing season. However, you can start collecting individual leaves as soon as the plants reach at least 4 inches in height.
For fresh use, pick green leaves from the plant as required. If you want to collect mint in bulk, you should be able to harvest your mint plant 3 to 4 times throughout the growing season. The plant generally will grow new foliage within two or three weeks. Keep the soil moist around your plant for quick recovery.
Harvesting mint should occur in the morning, as the dew is starting to evaporate from the leaves. At this time of day, the essential oils in the foliage are at their most potent. As a result, the leaves will have an intense aroma and flavor.
Another important factor to consider when harvesting mint is the lifespan of the plant. For most gardeners, the best approach is to stick to regular harvesting to keep the plant busy producing foliage instead of going to seed. But if your plant has already started to bolt to seed in the garden, you can harvest before the flowers appear for the best flavor. Mints can pick up a slightly bitter note once flowers are in bloom.
How To Harvest Mint
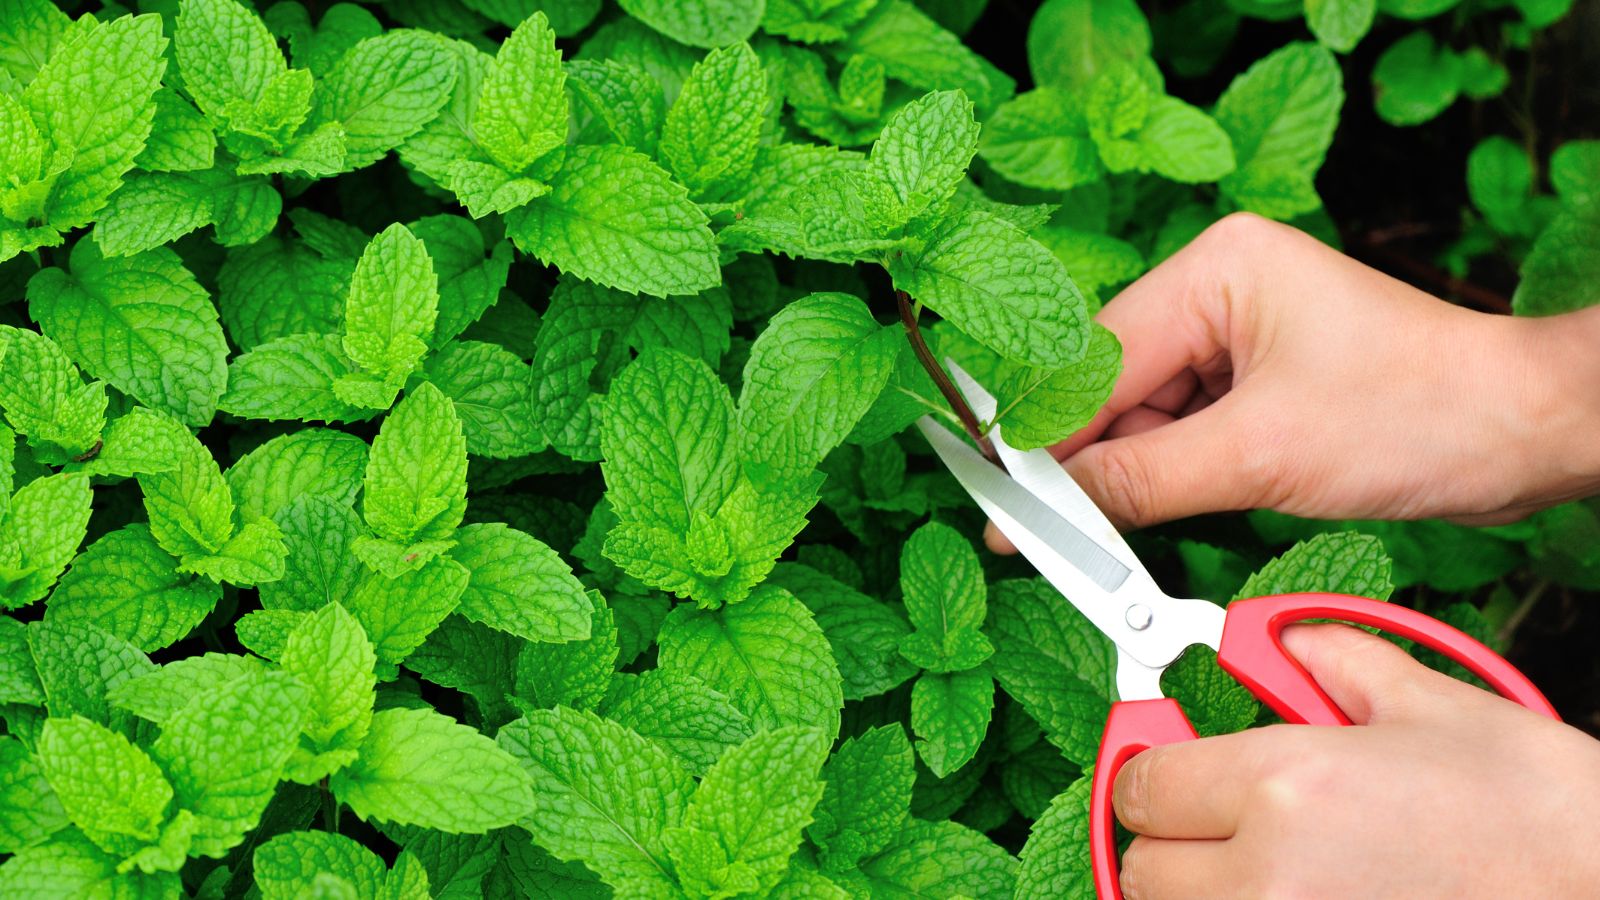
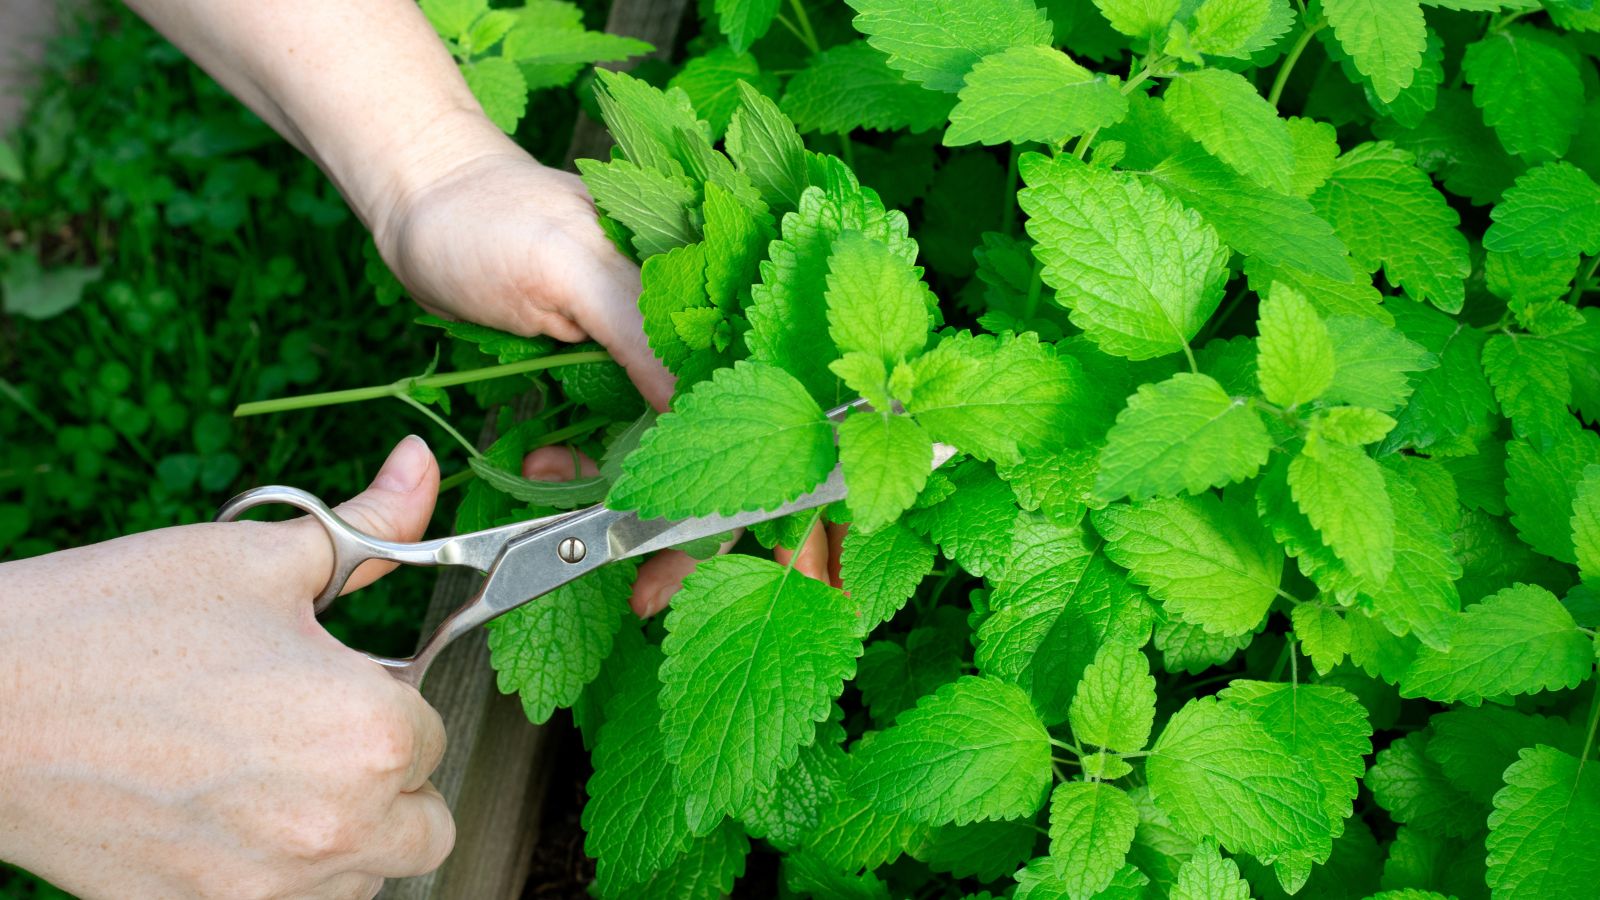
Harvesting mint leaves can’t get any easier. If you need just a few leaves for a recipe or tea, simply pluck individual leaves directly off the stems. On the other hand, if you want to harvest in bulk for storing or need a lot of mint for cooking, cut stems and leaves using pruning shears or a pair of sharp scissors. Remove the leaves from the stems for fresh use, or tie stem ends together for drying.
For large harvests, wait until just before flowering when the flavor is most intense. Pick yellowed leaves off the plant before you harvest, and then cut each stem above the first or second set of leaves on the lower part of the stem. This ensures your mint can continue to produce chlorophyll for its own needs as it recovers.
Keep in mind that young leaves are more flavorful. Make sure you pick the smaller leaves on the top first. Doing so will not only help you enjoy more flavorful leaves, but it will also encourage new growth. With regular pruning, your mint plants will grow bushier and produce more flavorful foliage.
If possible, avoid taking more than two-thirds of a specific plant as over-harvesting can shock mint plants, especially those in the first harvesting season.
An important tip to remember is that you should not harvest by breaking the stem. Instead, always use a sharp and sterile tool like pruning snips to make clean cuts. A broken stem is more at risk of contracting diseases, whereas a clean cut will scab over and keep the mint less at risk.
How To Store Fresh Mint
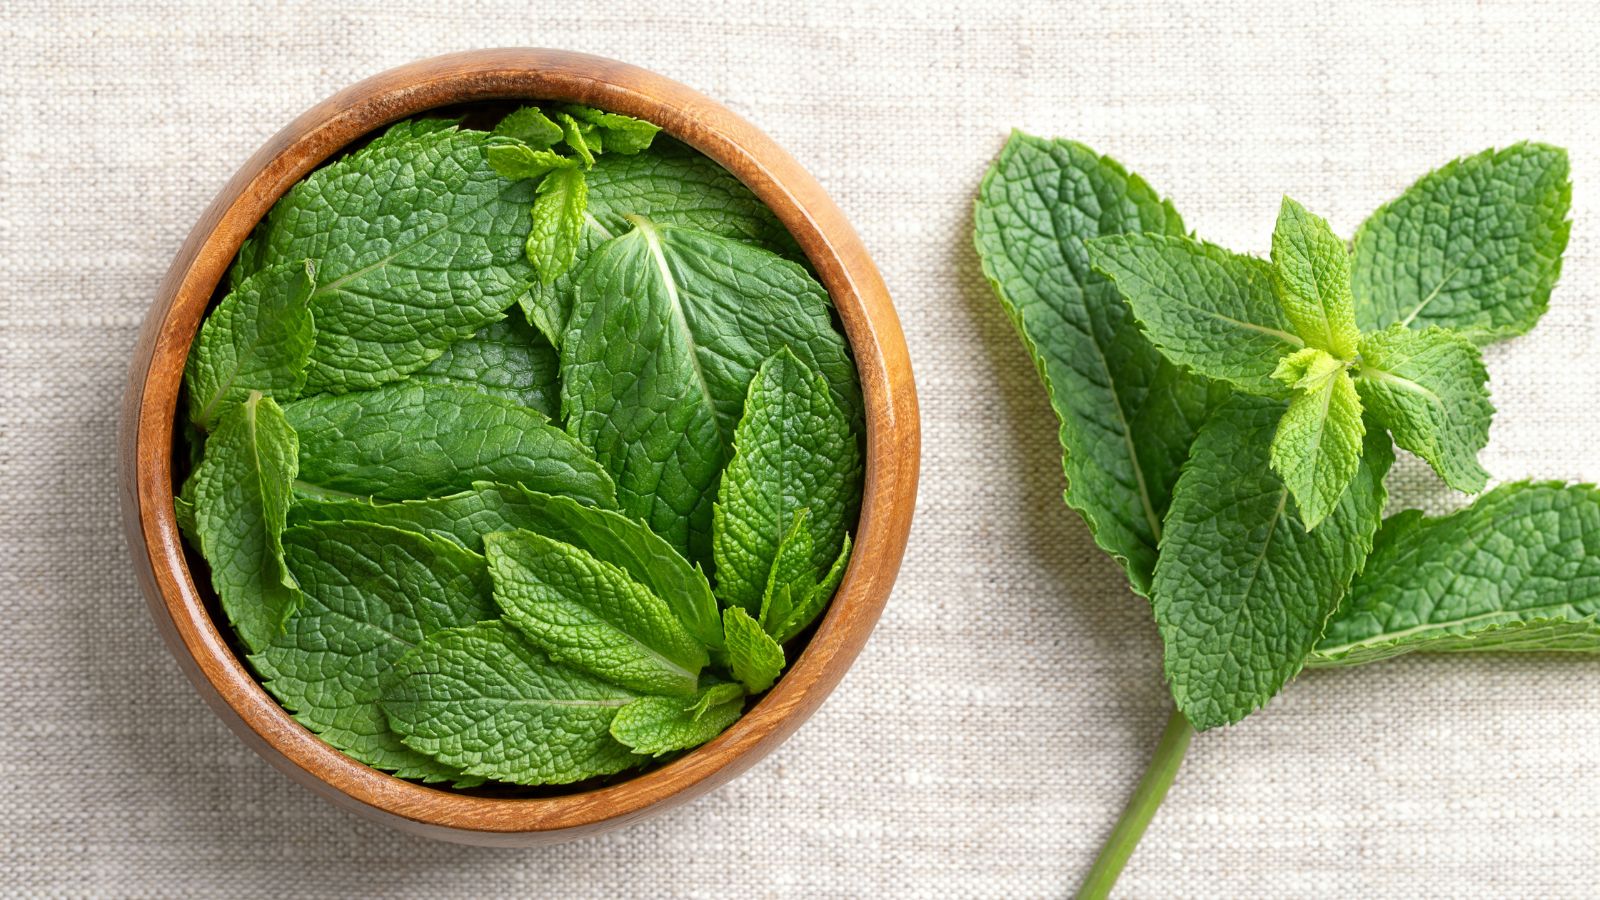
Newly harvested mint prefers to be stored in cooler temperatures. Refrigerator storage is ideal. You can loosely wrap harvested mint leaves in a damp paper towel and place them inside a perforated plastic bag. Storing this way can keep the mint fresh for 7 to 10 days.
Alternately, take your fresh stems and place them into a glass or jar with 1 to 1.5 inches of water in it. Loosely drape a plastic bag over the top to act as a dome and keep humidity up. Every day, change the water for clean, fresh water. Stored this way, your mint can last 10 to 14 days.
How To Dry Mint
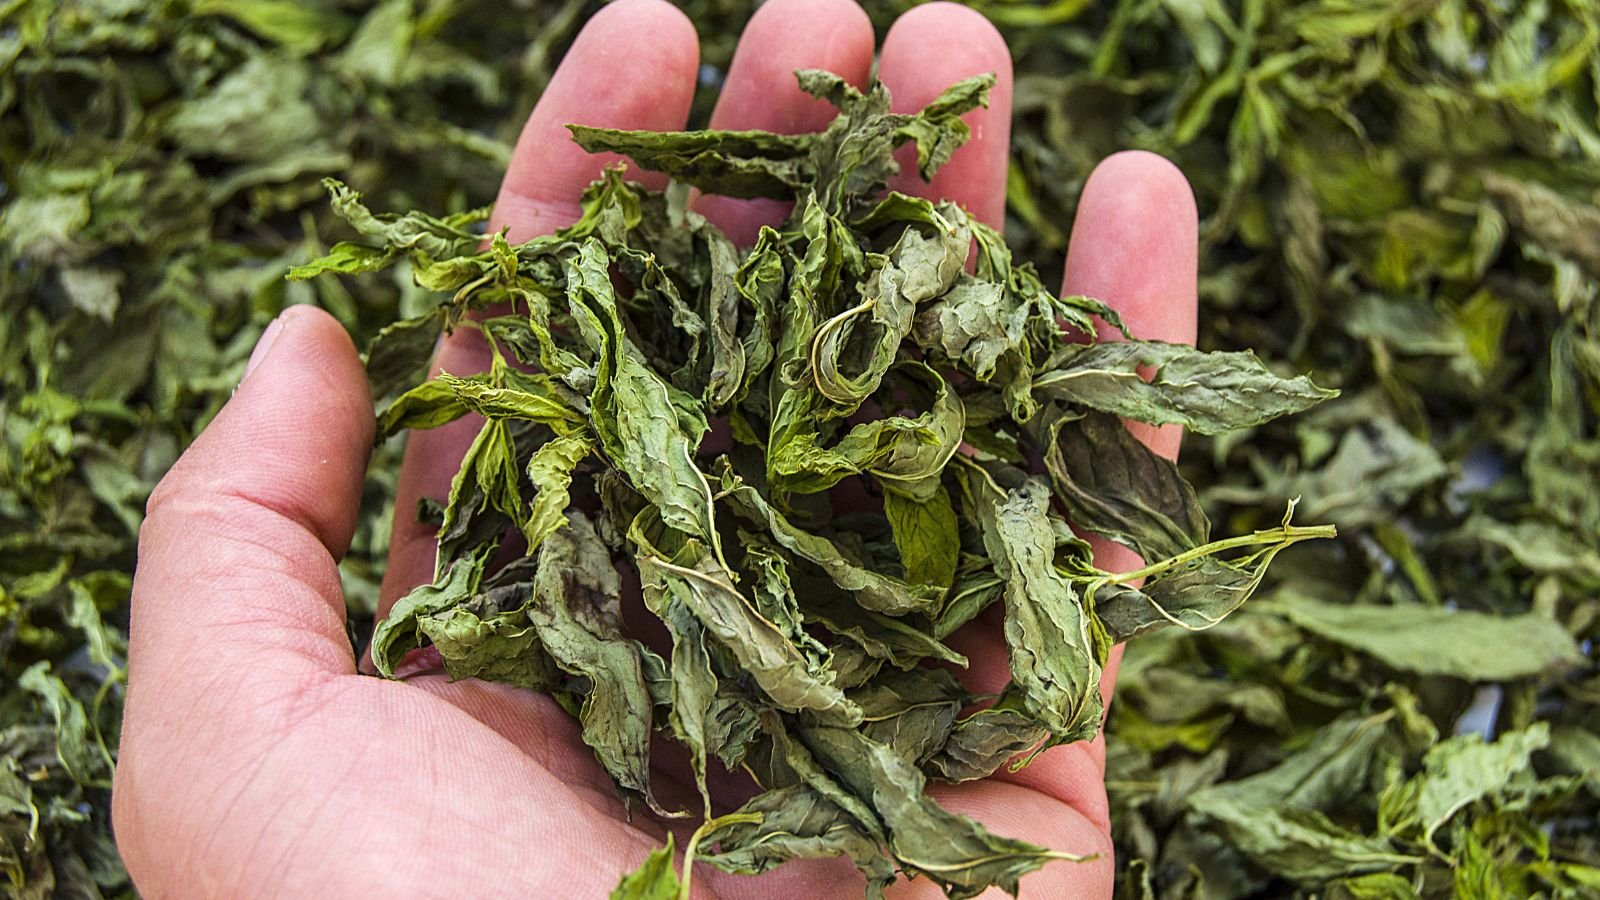
It is true that dried mint cannot compete with its fresh counterpart in terms of aroma or flavor. However, drying mint leaves is an excellent way to store mint for long-term use. Wash the stems with cold water before drying. However, to lock in maximum flavors, avoid using heat when drying.
While you can opt for an air-only dehydrator or box fan drying method, hang-drying is also an option. Hang a bunch of mint stems upside down in a dark and well-ventilated space. Cover the leaves in a brown paper bag and leave the bunch to dry. Mint leaves take around 1 to 2 weeks to dry. Once the green leaves easily crumble, carefully remove them from the paper bag and separate the leaves from the dry stem.
Once you have dried your garden mint, it’s a good idea to cure it. Place it into a glass container like a mason jar. Every day, open the jar and thoroughly mix it. This allows any remaining moisture in the mint leaves to equalize and reduces the risk of mold formation. You can also add a moisture-absorbing packet to the jar to remove any remaining moisture if desired.
Properly dried and stored mint can retain its fragrance and flavor for around 1 to 3 years. Try to use mint within the first year for the best flavor. If you’d like to share your herbs with friends, this is a great way to do so!
How To Freeze Mint
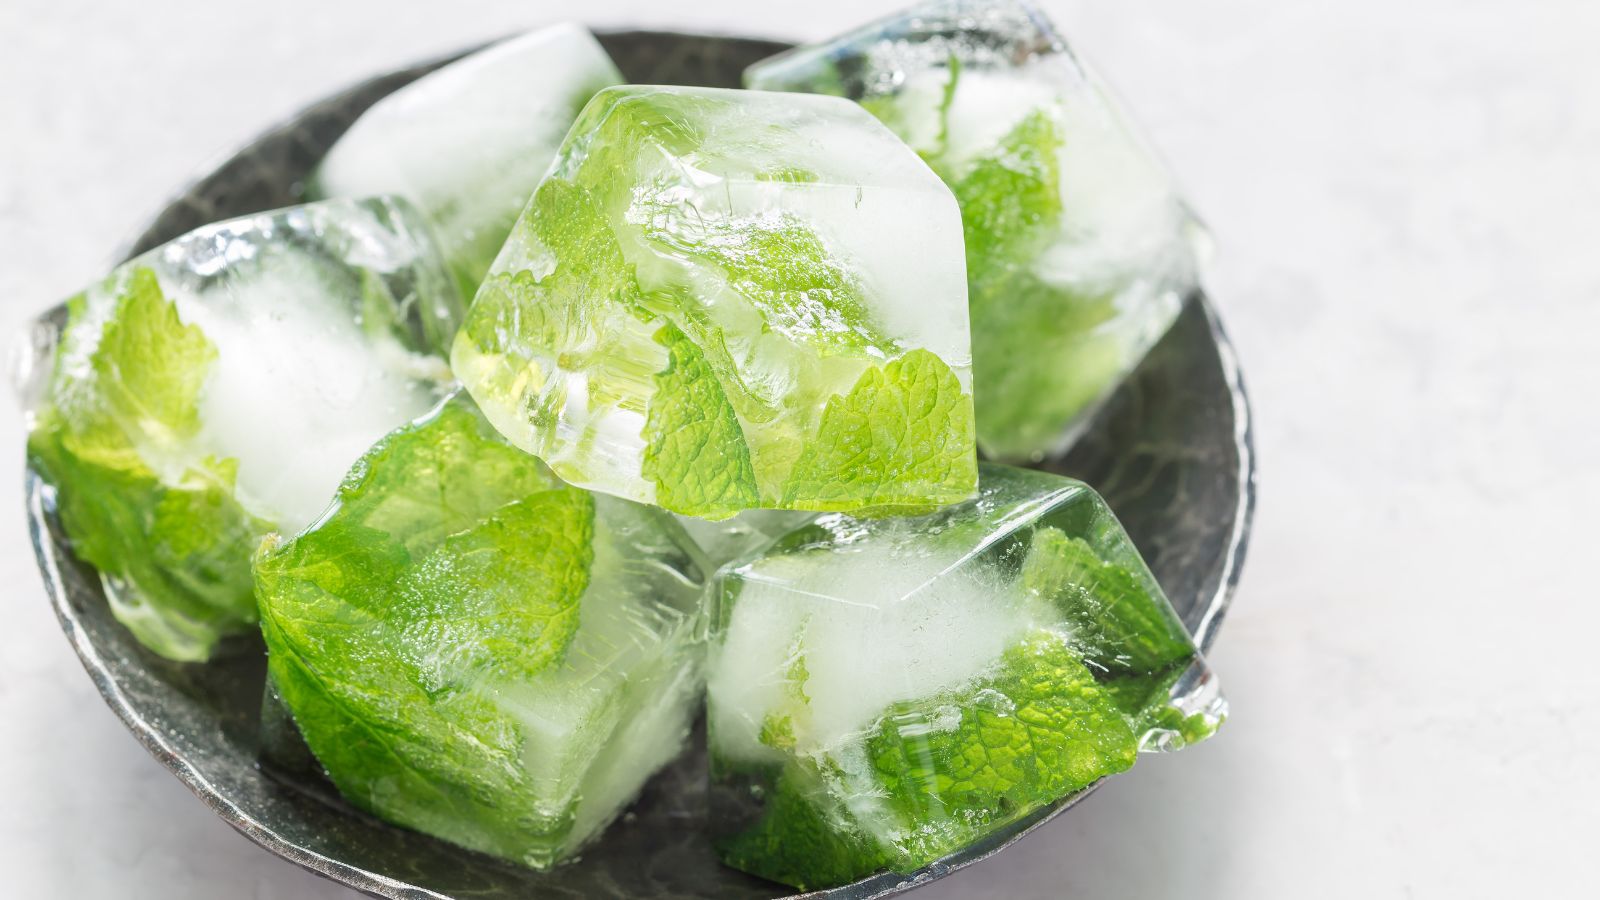
If dried mint isn’t your thing, you can also freeze mint for later use. As before, harvest your mint from the garden, but then prepare it for freezing methods. There are two that are effective.
The first option is to rough-chop the leaves into smaller sizes, and then pack them into ice cube trays. If desired, measure the quantity in advance for ease in later recipe use. Add just enough water to act as a binder between the leaves, then freeze. Once frozen solid, remove the mint ice cubes from the tray and put them in a freezer storage bag. The mint ice cubes can be used in iced tea, recipes, and more. They will keep well for at least three months.
A second option is to line a baking sheet with parchment paper, and then lay whole mint leaves out on it without overlapping. Freeze for 2-3 hours until the leaves are completely frozen, then put them into a freezer bag. This is an excellent option if you have a variety of peppermint, spearmint, or other mints you need to freeze all at once. While your leaves may be soft when they defrost, they are quite effective for use in cocktails or salads later.


