9 Ways to Keep Your Herbs Alive All Winter
Fresh and dried herbs are soothing throughout winter in savory cuisine, warming teas, emollient salves, and refreshing home fragrances. To protect our favorites and perpetuate all the benefits they bring, extra winter care may be in order. Explore how to best overwinter herbs with gardening expert Katherine Rowe.


Contents
Plenty of our most-used and loved herbs are winter-hardy and make sturdy perennials across growing zones. Those hardy to your USDA zone are the best options to withstand winter and all its fluctuations.
There are also annual, tropical, and tender selections to bear in mind – those that won’t survive cold winters or are borderline hardy in your area. The “iffy” growers you hope to continue enjoying need extra protection unless you live in a warm, frost-free climate. Annuals like basil and cilantro are easy to replant each season for a fresh start, but you can bring them indoors for a continual harvest. And unique favorites are worth trying to carry over.
In addition to possible winter temperature extremes, herbs contend with excess moisture from rains and snowmelt, drying winds, and frost heaving. Give them streamlined winter protection to keep the harvest going until spring’s flush.
Take Inventory of Hardiness

Depending on the selection, herbs are annual, biennial, or perennial. Many hail from Mediterranean or tropical climates, and cold hardiness varies drastically. Annual and tropical selections die back in cold conditions; bring these inside to enjoy them fresh all winter.
Hardy, perennial herbs overwinter in place, depending on your hardiness zone and microclimate. They benefit from winter dormancy to produce vigorous new growth and flowering. Those hardy to your zone can stay in the ground or their pots (with special measures for containerized herbs in cold climates).
Winter-hardy herbs include:
- Chives
- Chamomile
- Lavender
- Lemon Balm
- Tarragon
- Oregano
- Thyme
- Sweet Cicely
- Horseradish
- Fennel
Tender perennials are those borderline in your climate. These selections (rosemary, lemon verbena) are vulnerable to cold damage and need extra measures of protection.
Cut Back

Tall, woody perennial herbs like rosemary, lemon verbena, and bay laurel benefit from a late fall/winter cutback. After a few heavy frosts, cut stems to four to six inches above the soil level.
Waiting until after heavy frost avoids prompting new growth. All energy this time of year should go toward root development for overwintering rather than producing leafy growth (which gets zapped with freezing temperatures).
Save the trimmings for use in the kitchen, aromatherapy, teas, and salves. Hang them in a cool, dry spot for a few weeks until leaves crisp.
Mulch for Protection

After frost and cut back, add an insulating layer of mulch around the roots. Two to three inches of weed-free straw, bark chips, pinestraw, or leaves are suitable materials.
Mulch insulates roots and protects them from heaving (lifting) as soils freeze and thaw. Tender perennials like lemon verbena and rosemary benefit from thicker mulch. Wait until after heavy frost to add three to five inches of much. Applying too early risks making roots too warm and more susceptible to winter damage.
In colder zones (5 and lower), add extra insulation. Add mulch to the crowns or surround with evergreen boughs for a blanket of protection. Floating row covers, or a simple hoop tunnel system work atop in-ground or raised beds.
A wire cage filled with leaves (chicken wire or similar) forms a cylindrical frame and insulating cushion to last all season. Remove thick mulch, boughs, and cages in the spring as temperatures warm to allow new growth to emerge.
Screen From Wind

Wind is a climate factor with a great bearing on herbs in winter. If you live in a gusty area, they can be drying and quickly deplete stems, roots, and surrounding soils of moisture. To protect against winter winds, grow herbs in a protected area. Evergreen trees, hedges, and walls provide a natural windbreak (as long as the herbs still receive plenty of sunlight).
If winds are a regular issue, pot up those you want to save and move them to a sheltered location or create a temporary screen. Straw bales or bagged leaves form an insulating barrier. Burlap panels anchored to rebar or stakes serve as a seasonal buffer.
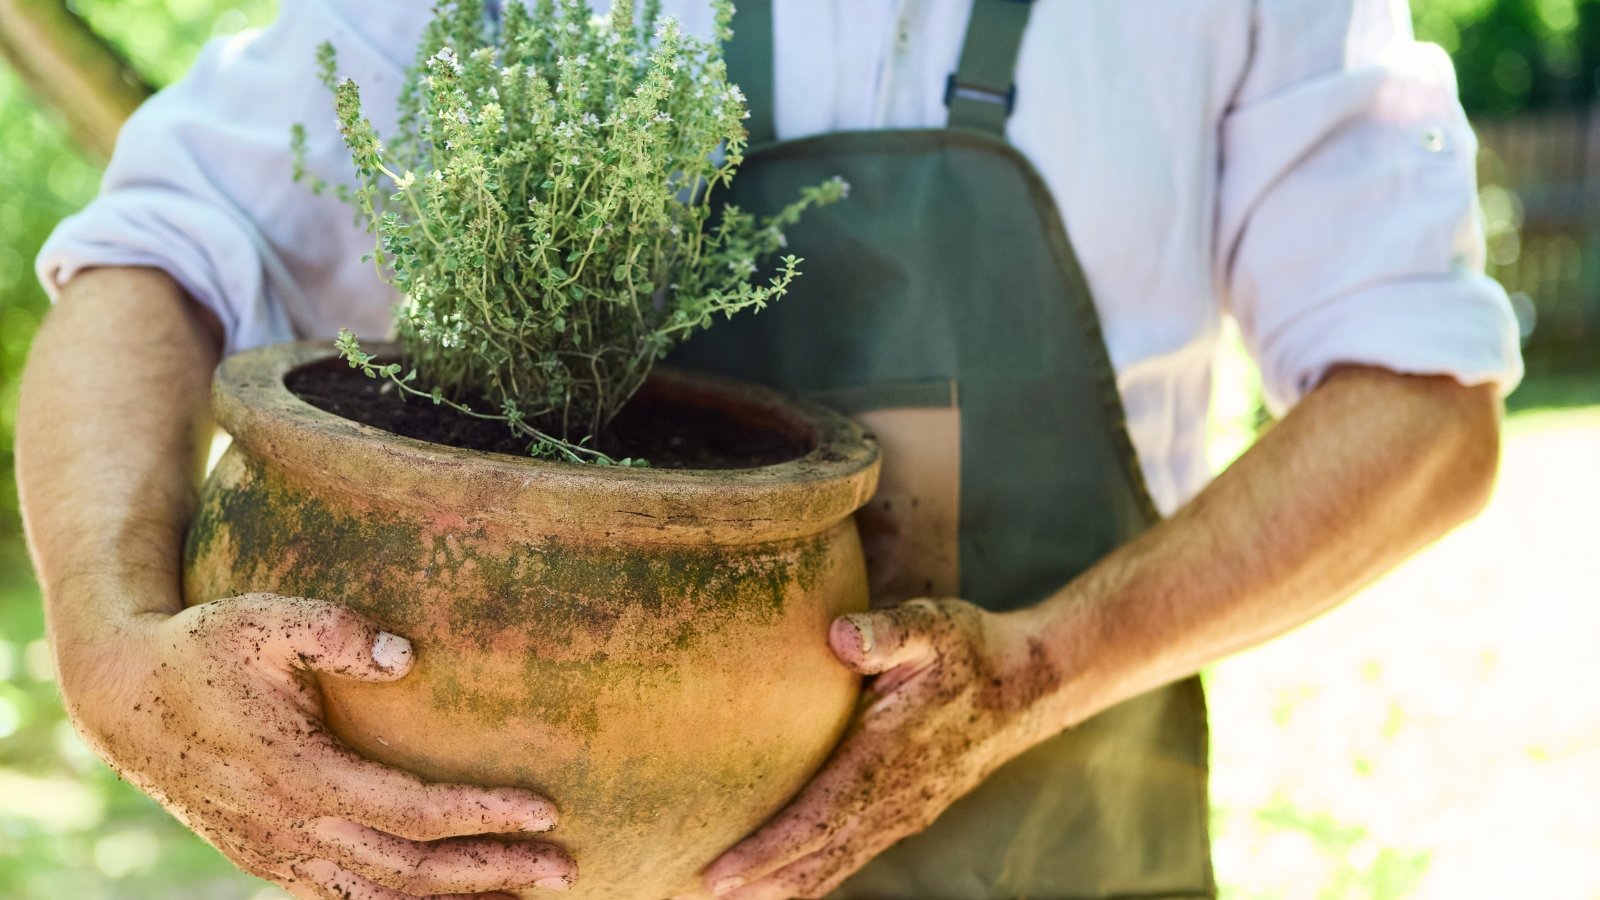
Shelter Potted Herbs
Move potted herbs inside for the ultimate winter protection. Even hardy varieties can come in if you want to enjoy them fresh for the season. Before moving potted herbs indoors, deadhead any remaining flowers and cut off dead or diseased growth.
Move Indoors

Herbs are easy to grow outdoors, but making the transition inside is a big move. Some gardeners move them gradually by bringing them in for the night and back out during the day for several days.
Consider light exposure for your selections before placing them. Many will need bright light from a sunny windowsill or south-facing spot. At least six hours of exposure is ideal. Others tolerate lower-light situations. They also do best in cool locations free of hot or cold drafts (take care not to have them touch a chilly windowpane or sit too close to a fireplace or heater).
Growth naturally slows this time of year, and while they may show some fresh leaves and stems, they may also sit quietly until spring’s warmth. Leaf drop is common as they transition from outside to indoors.
Reduce watering this time of year, and use a soil touch test as an indicator. If soil is dry to the depth of one inch, water thoroughly. If not, hold off. Herbs usually prefer humidity around 50%. Heated air may have a drying effect; to raise the humidity around the plant, place the pot on a tray of pebbles with water—or mist leafy stems once or twice a week.
Unheated Space
An enclosed, unheated space is another great option. Bring potted specimens into a garage, basement, shed, or cold frame. They benefit from a little natural light in these spaces but tolerate low or no light, too. The best indoor temperature range is between 40-60°F (4-16°C).
Periodic watering is necessary to keep roots from drying out, and it’s a good idea to check soil moisture every few weeks. Ensure the pot has good drainage and err on the dry side rather than keeping the soil too wet. Overwatering during less active growth leads to fungal issues and root damage.
Overwintering Pots Outside

There are several ways to overwinter perennials, including hardy herbs, in pots and containers. Potted specimens lack the benefit of surrounding soil mass, and their above-ground situation exposes them to surrounding air temperature with little protection. The soil is prone to freeze and thaw cycles, which can lead to root disturbance and damage.
Potted selections need to be hardier than their in-ground counterparts to survive outdoors. A good rule of thumb: leave those two zones lower than your growing zone (for example, a zone 7 gardener could opt to leave out a specimen hardy to zone 5).
Digging a hole for the container to sit in mimics in-ground planting. Mulch around the surface as you would garden growers. Or, cluster and huddle pots together next to the house.
Insulate pots with mulch like shredded bark, woodchips, straw, or leaves. Mulch heavily all around the group, or use bagged leaves for easy removal in the spring. Evergreen boughs and frost cloth are other insulating options. A floating row cover is handy for a large group.
In late winter, before new growth emerges, gradually uncover winterized containers. Take care to harden them off for spring by removing the protection over a few days. These herbs may break dormancy earlier than their in-ground counterparts.
Take Cuttings

Fall’s flush of growth is prime for taking cuttings to root and pot up for growing indoors. Enjoy flavorful leaves all season as they grow, and transplant seedlings outdoors in spring.
To take soft stem cuttings, use fresh, pliable, woody stems and:
- Cut a four to six-inch piece of stem and remove the lower ⅔ of leaves
- Optional: Dip the stem in rooting hormone, tapping off any excess
- Plant the cutting in at least two inches of moist, well-draining potting mix.
- Place the pot or tray in a bright, warm location, avoiding direct sunlight. Grow lights are helpful to provide ample exposure.
- Mist/water as needed, keeping the soil evenly moist.
- When the cutting resists a gentle tug, roots are in place and ready to be repotted.
- Bump up the seedlings into four-inch pots to overwinter indoors. Move them outside in mild conditions. New plants will be tender.
Root in Water

Clippings from many herbs root in water if you want to skip potting them in soil. Some herbs, like basil, live in water indefinitely. Stick a few clippings in water on a sunny windowsill for winter use.
Take several four to six-inch cuttings of green, pliable stems. After removing the lower leaves, place them in shallow water. Avoid the temptation for long, flowing stems – shorter stems let the cuttings develop roots without exerting excess energy. It also helps prevent stem rot.
Use glass like small mason jars, baby food jars, or other transparent containers. Put several cuttings in the same vessel to increase rooting hormones in the water and save space.
Many of our favorite herbs root easily in water for staggered crops:
- Basil
- Lemon verbena
- Mint
- Lemon balm
- Sage
Start Seeds Indoors

Some annuals readily self-sow (coriander, feverfew, dill) and pop up in the spring. An option to get them started early is to sow seeds indoors for transplanting after the final frost. Starting seedlings early gives them a jumpstart on root development and earlier production as the weather warms.
Collect seeds in the fall after flowerheads dry, or start fresh with seed packs. Begin sowing in accordance with weeks out from your final frost. Sowing guides are helpful in determining how early to start seeding. With a few basic seed-starting supplies, nourishing fresh starts is a rewarding late winter activity.


