10 Cheap and Easy Garden Edging Ideas Anyone Can Implement
A clean edge makes the whole garden look more intentional, and it doesn't have to cost much. Gardening expert Madison Moulton shares ten simple, affordable edging ideas that work for any skill level.

Contents
A clean border between the lawn and a bed, or between a path and a planting area, instantly pulls everything together visually. It’s one of the easiest ways to make an overgrown or untidy garden look intentional. It also serves a practical purpose by keeping grass from creeping into your beds or holding mulch in place.
While it can get expensive and over the top if you go all out, it doesn’t have to be. Some of the most effective options cost almost nothing, and most can be installed in an afternoon without any specialized tools.
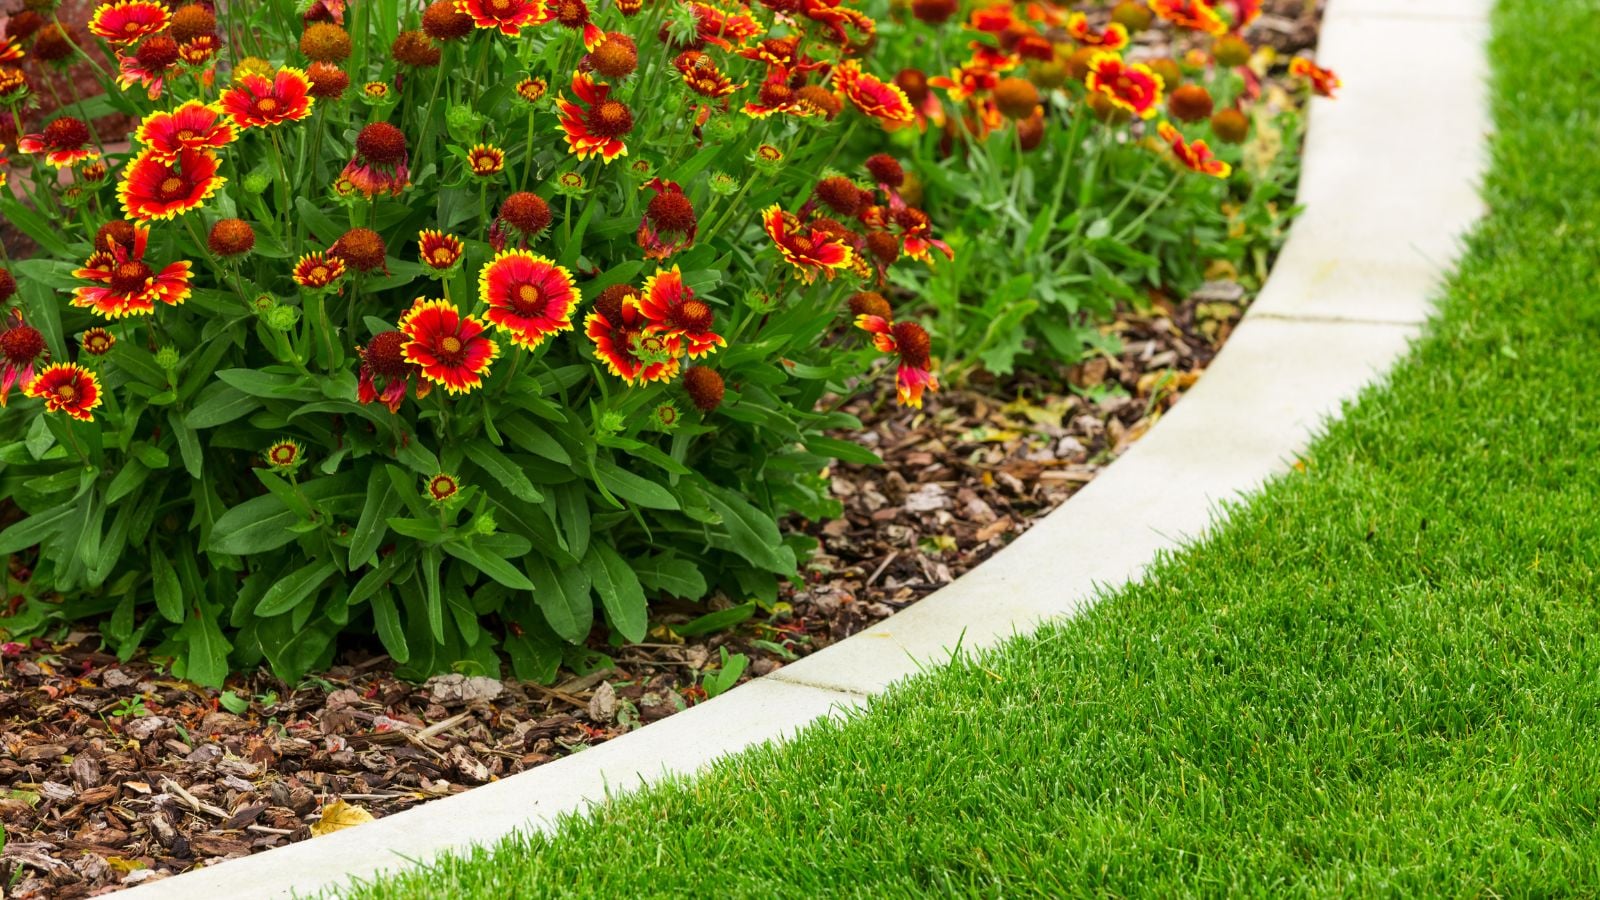
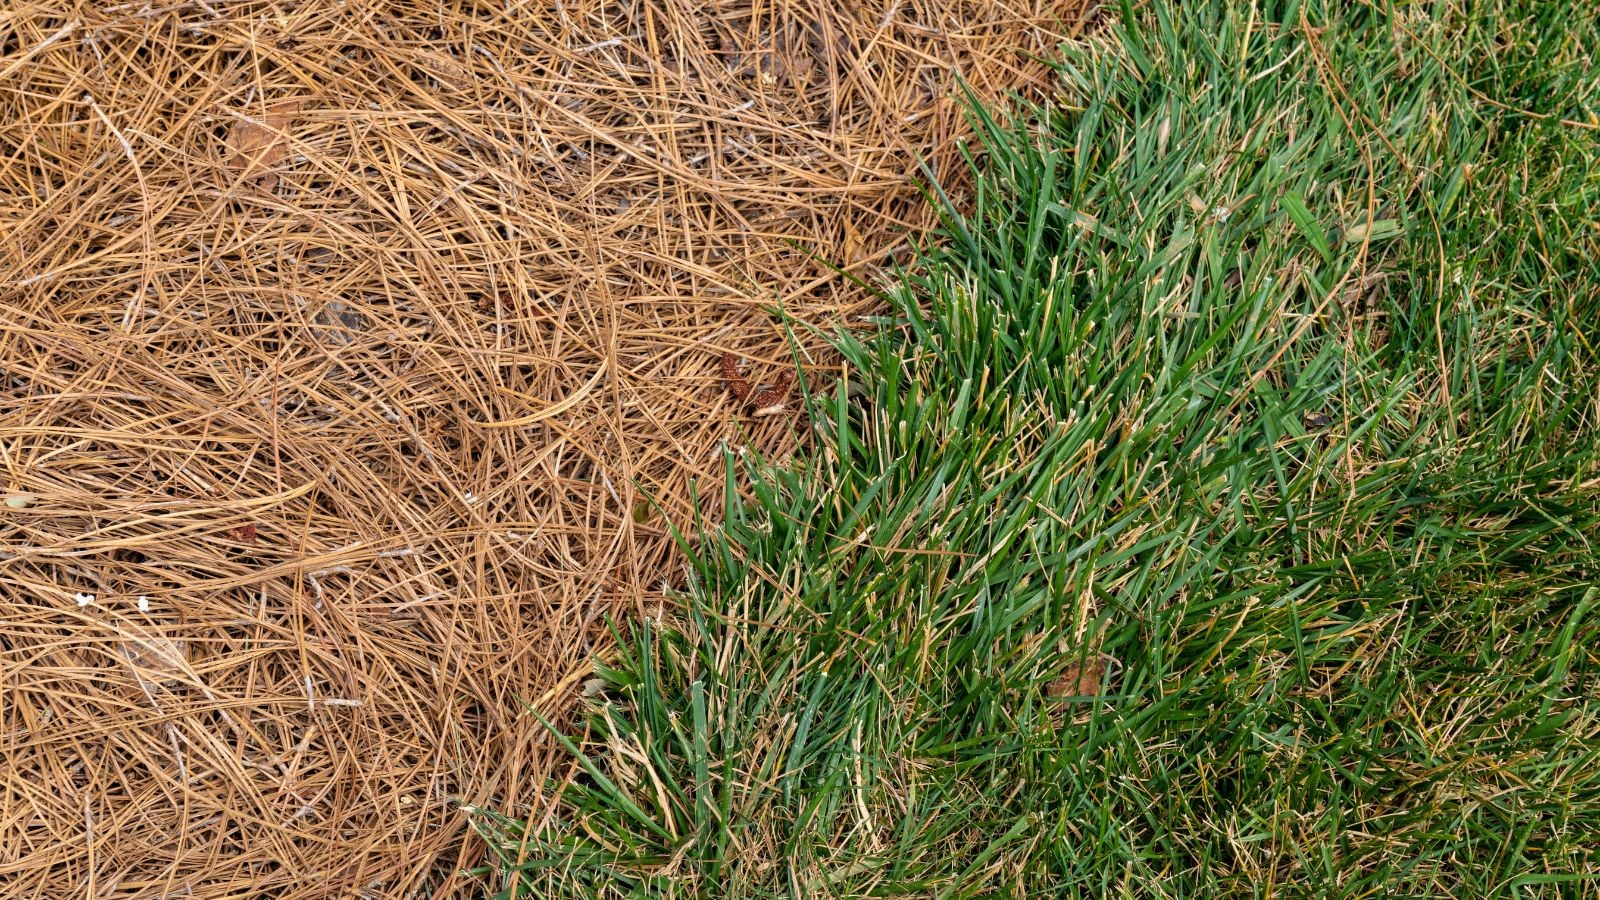
Trench Edging
The simplest option is also the cheapest: no materials at all. A clean, V-shaped trench cut along the edge of a bed creates a sharp line between lawn and garden that looks surprisingly polished. Use a flat-edged spade or half-moon edger to cut straight down about four inches along the border, then angle the cut back toward the bed to create a small channel.
The catch is maintenance. Without a physical barrier, grass will creep back in and the line softens within a few weeks. You’ll need to re-cut the edge a few times per season to keep it looking crisp. But if you’re on a tight budget and don’t mind the upkeep, this easy garden edging gives you a professional result for only the cost of your own effort.
Brick

Brick is one of the most traditional easy garden edging materials, and it tends to look good with almost any garden style. Laid flat in a row, bricks create a clean, low-profile border. Set vertically (or if you’re feeling fancy, at a diagonal), they add more visual texture.
Either way, the installation is straightforward. Dig a shallow trench, lay a base of sand for leveling, and set the bricks in place.
Reclaimed bricks from demolition sites or salvage yards are usually cheaper than new ones and have a weathered look that suits a garden better than something fresh out of the box. Brick is durable, handles freeze-thaw cycles reasonably well, and doesn’t need replacing for years.
Natural Stone
If you’re after a less uniform look, stone or river rock arranged along the edge of a bed blends naturally with plantings. The irregular shapes create a relaxed, organic border that works especially well in cottage gardens or informal landscapes.
Collecting your own stone (from your property, a friend’s farm, or a local landscape supply yard) keeps the cost low. Larger, flatter stones tend to stay in place better than small round ones, which can shift over time. To install, just set the stones along the border and press them into the soil to anchor them.
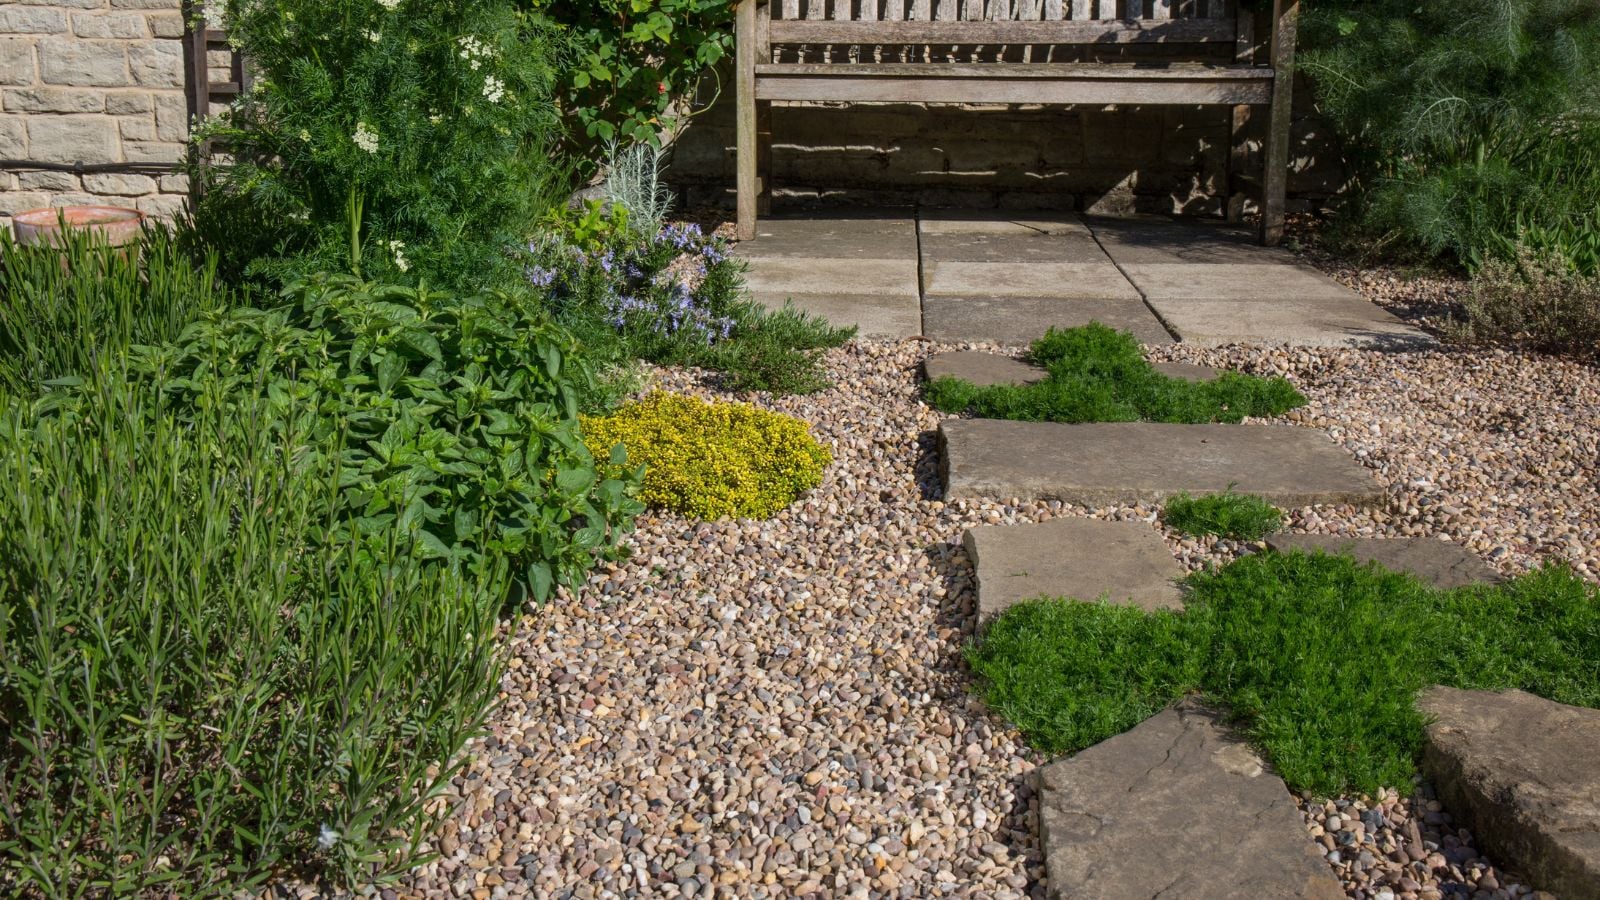
Gravel or Pebble Border
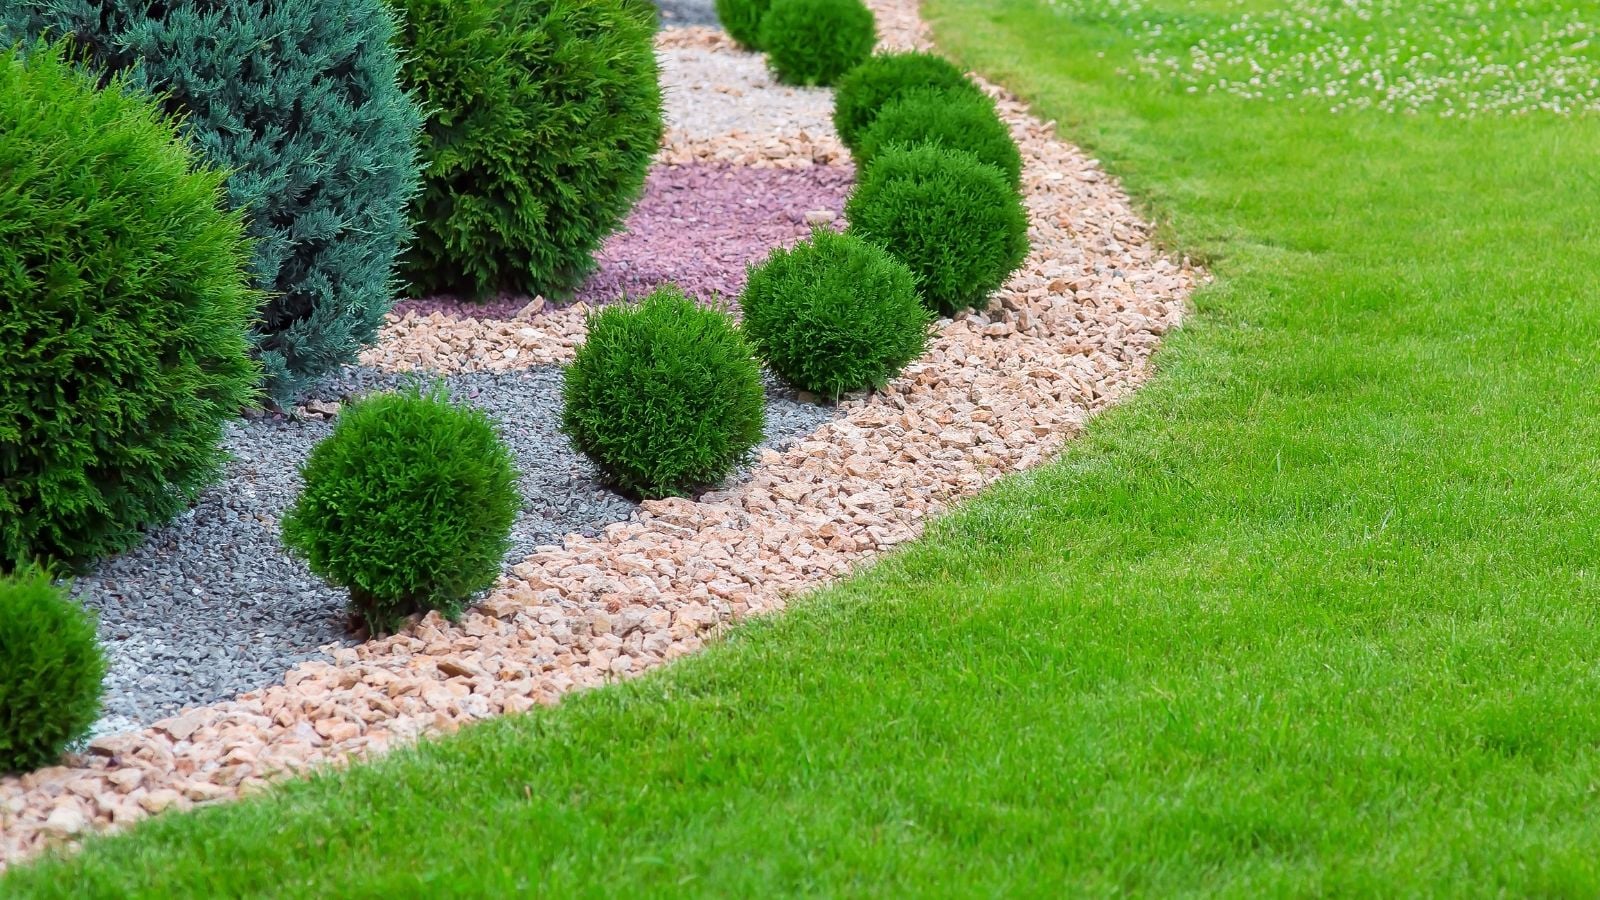
A strip of gravel or pebbles between the lawn and a garden bed creates a clean visual break and doubles as a mowing strip, which makes trimming along the bed much easier. Pea gravel, river rock, and crushed stone are all popular choices, depending on the kind of look you’re going for.
Dig a shallow trench about six inches wide, line it with a barrier to suppress weeds, and fill with your chosen material. The barrier layer is important, as without it, weeds push through the gravel within a season and the edging becomes much higher-maintenance.
Timber
Landscape timbers are inexpensive and (an even bigger bonus) easy to install. They create a sturdy, straight-line border that works well for vegetable beds, raised areas, or anywhere you want a more structured look.
Lay this easy garden edging along the border and secure them with rebar or spikes driven through holes into the ground. For curves, timbers aren’t the best choice, as the planks don’t bend. But for straight areas and right-angle corners, they’re one of the quickest ways to establish a clean, defined edge.
Pressure-treated timbers last longer, though some gardeners prefer untreated wood around edible gardens. Whatever you use to seal and protect the wood, make sure it’s safe for your plants before installing.
Metal Strip Edging

Metal edging creates the thinnest, most precise line of any edging material. It’s nearly invisible once installed, which makes it a good choice if you want clean separation without the edging itself being the focus. Steel and aluminum are the most common options, sold in long strips that push into the soil along a trench line.
This easy garden edging bends into smooth curves that are difficult to achieve with rigid materials like brick or timber. Steel will develop a rust patina over time, which can look attractive in a naturalistic garden. Aluminum stays bright but is lighter and more prone to shifting in loose soil.
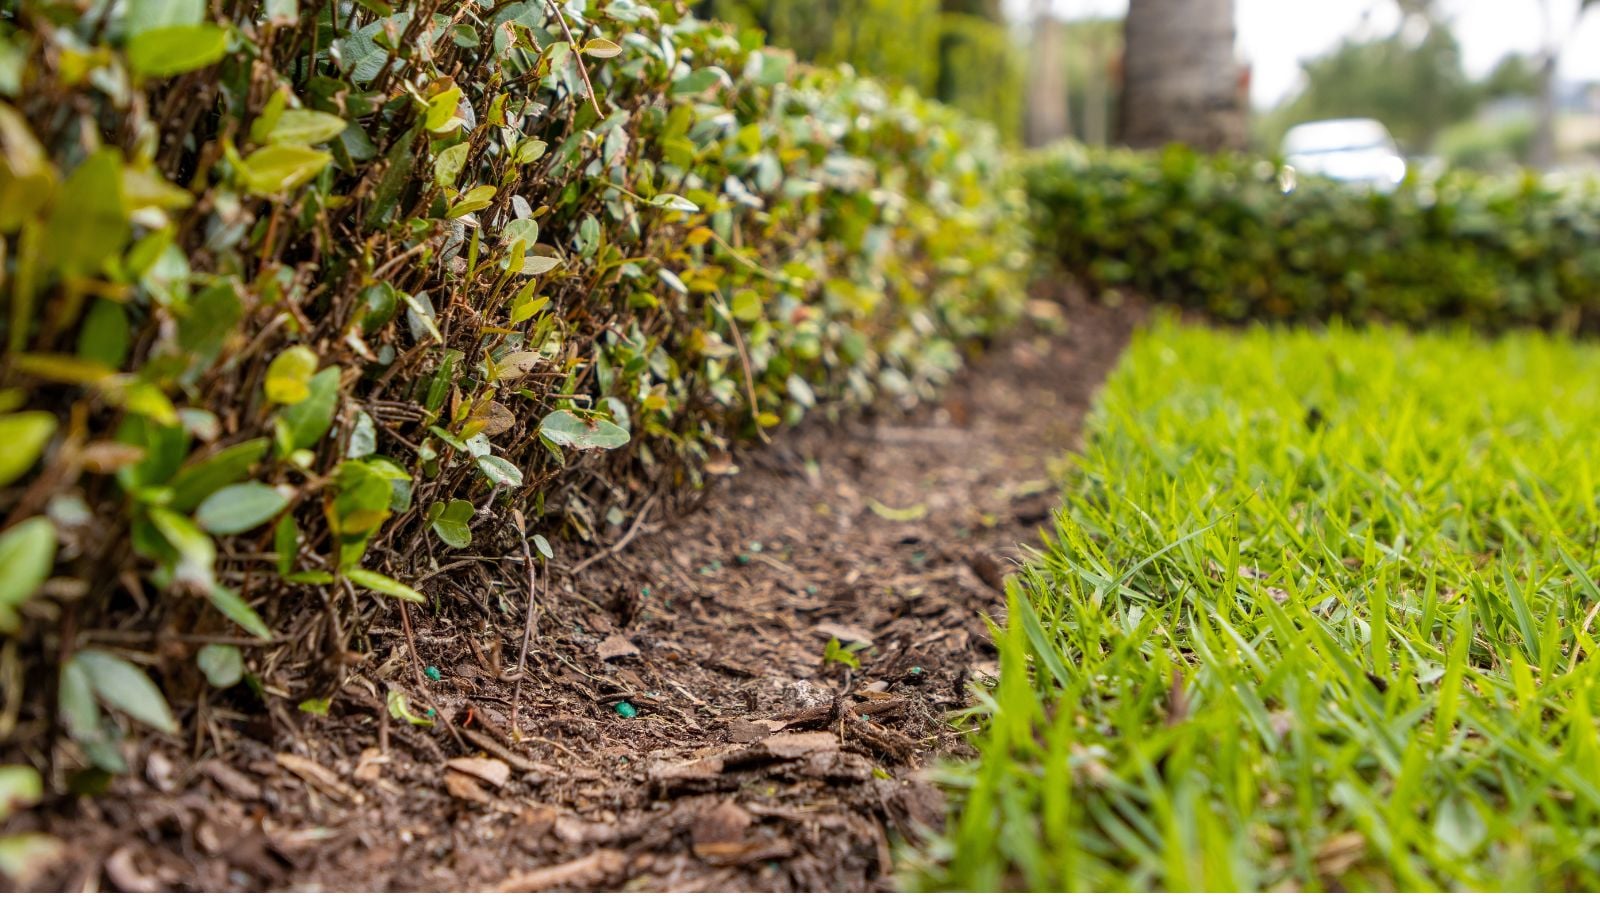
Mulch Border
If you already mulch your beds, extending the mulch a few inches beyond the planting area creates an easy garden edging that transitions gradually from bed to lawn. It’s the least formal option on this list, but it works well in relaxed garden styles and costs nothing extra if you’re buying mulch anyway.
The trade-off is that mulch breaks down and needs topping up once or twice a year, and it doesn’t stop grass from creeping in the way a physical barrier does. Pairing a mulch border with a shallow trench cut underneath gives you the visual softness of mulch with a more defined separation below the surface.
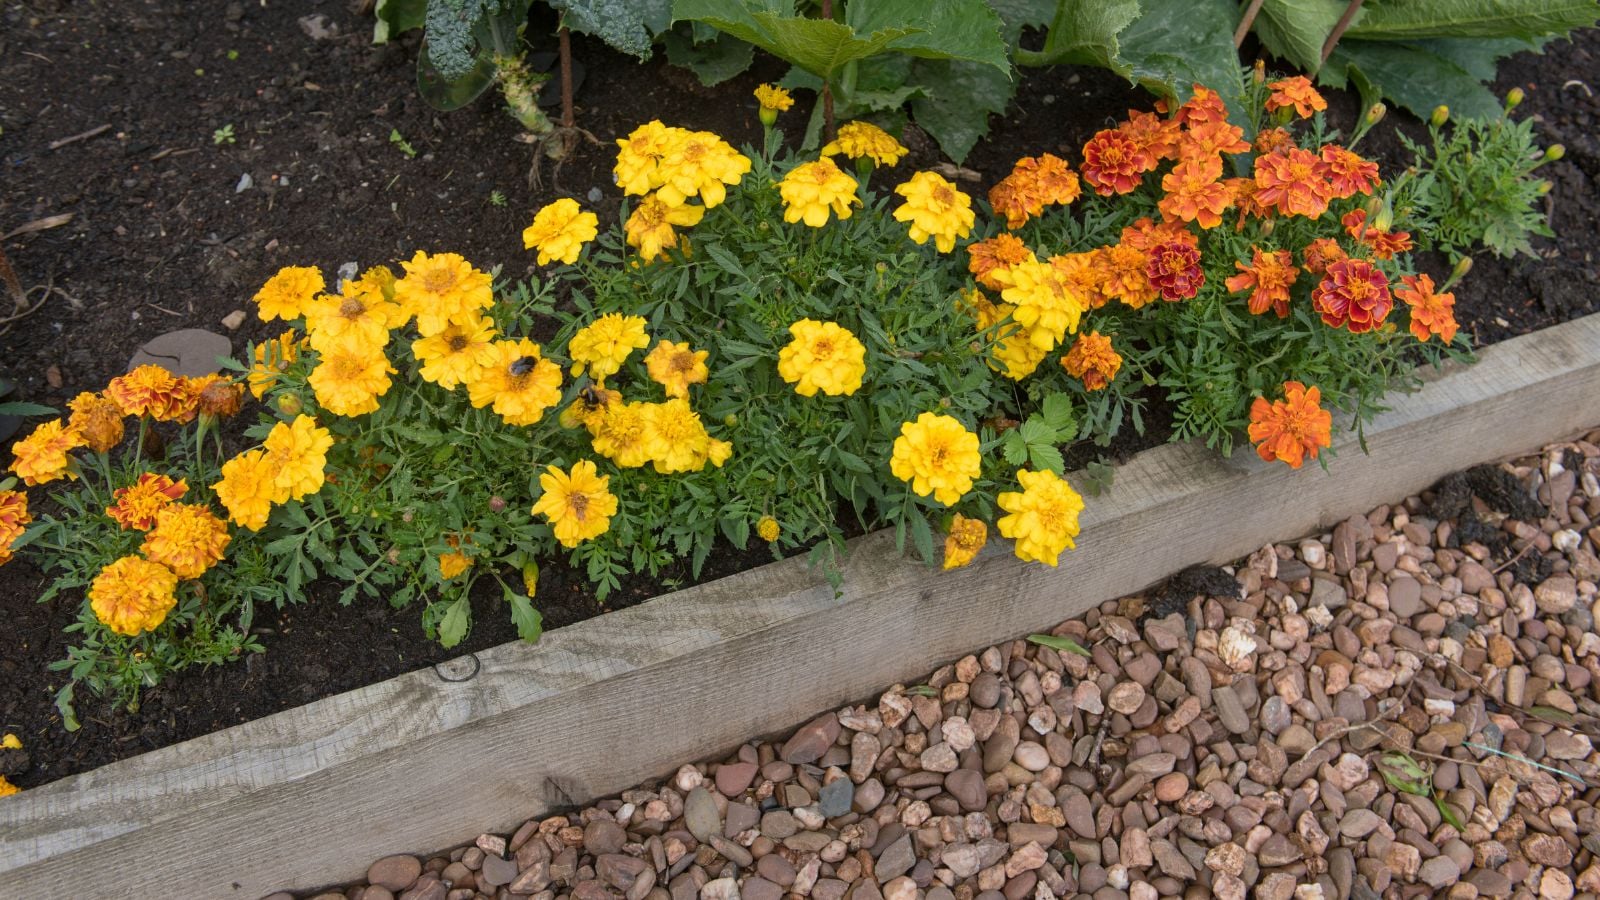
Plants as Edging
Low-growing plants planted in a tight row along the front of a bed serve as a living border with a beautiful organic look. The plants do the visual work of defining the edge while adding color and texture that a brick or stone border can’t.
This approach takes longer to establish than installing a hard material, since the plants need time to fill in. It also requires some maintenance (trimming, occasional replacement), and it won’t stop grass from creeping the way a physical edge does. It’s better for an edge along an existing path than one right up against a lawn.
With the cons aside, I think a mature plant border is one of the best-looking edging options available for a natural look, and the plants become garden features in their own right.
Log Rounds
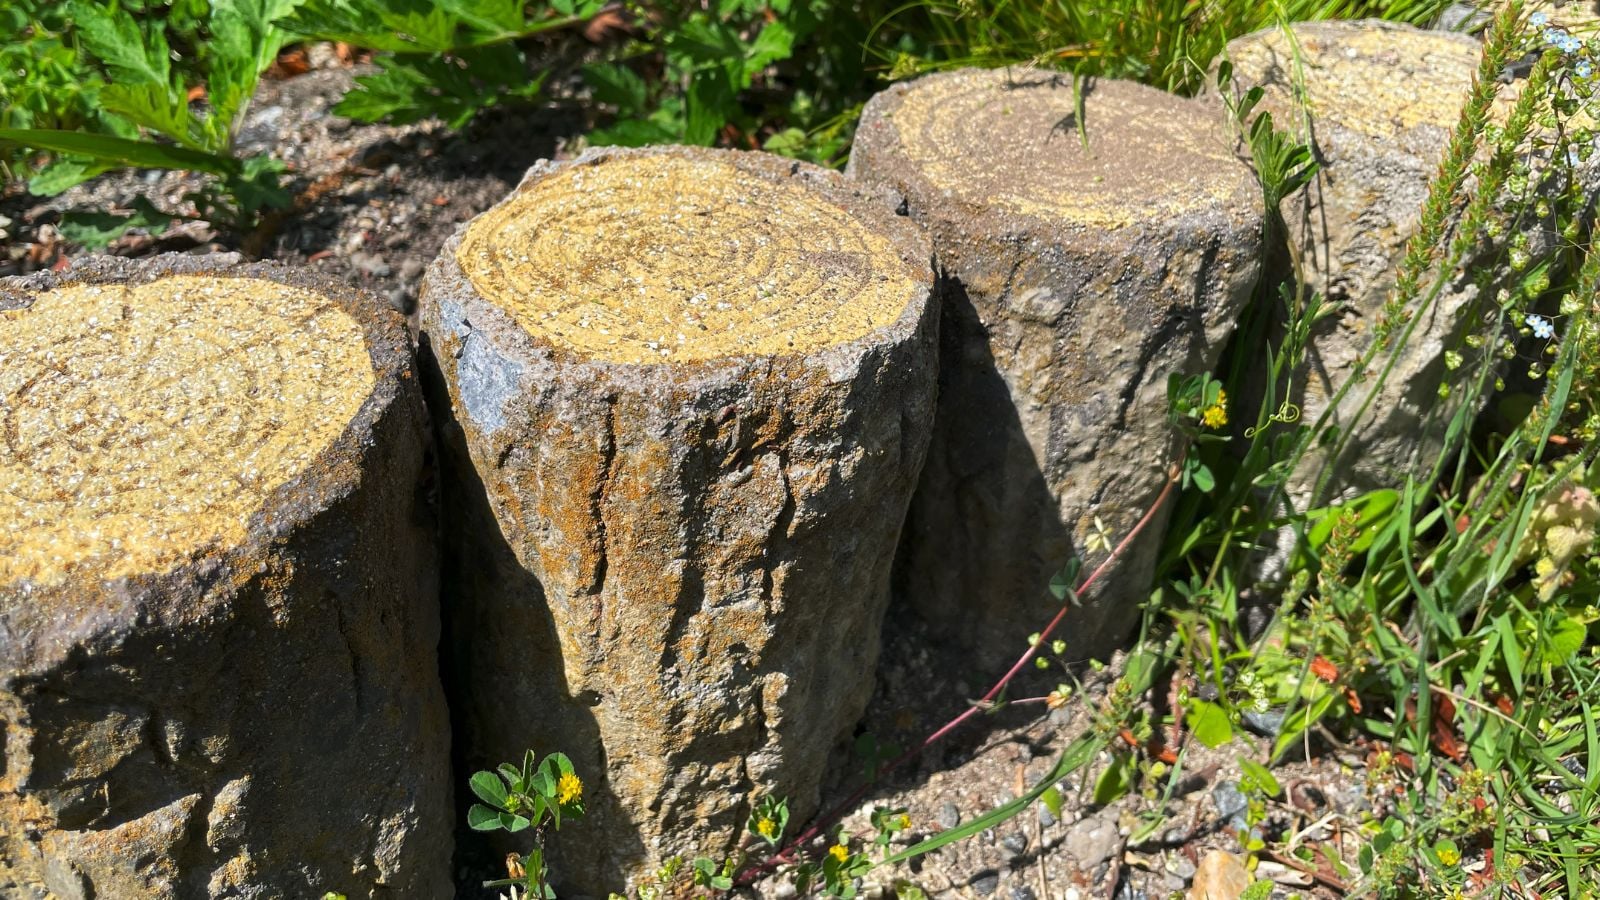
Slices of tree trunk set vertically into the ground create a rustic border with some real character. The uneven heights and natural bark give a woodland look that suits informal gardens, cottage plantings, and spaces where a perfect edge would feel out of place.
If you have access to fallen trees or a neighbor who’s had one taken down, the material is free. Cut the trunk into rounds about six to eight inches tall, dig a shallow trench, and set them upright.
The main drawback is longevity. Untreated wood in contact with soil will eventually rot, and depending on the wood type and your climate, you may need to replace sections every few years. Hardwoods last longer than softwoods.
Pavers
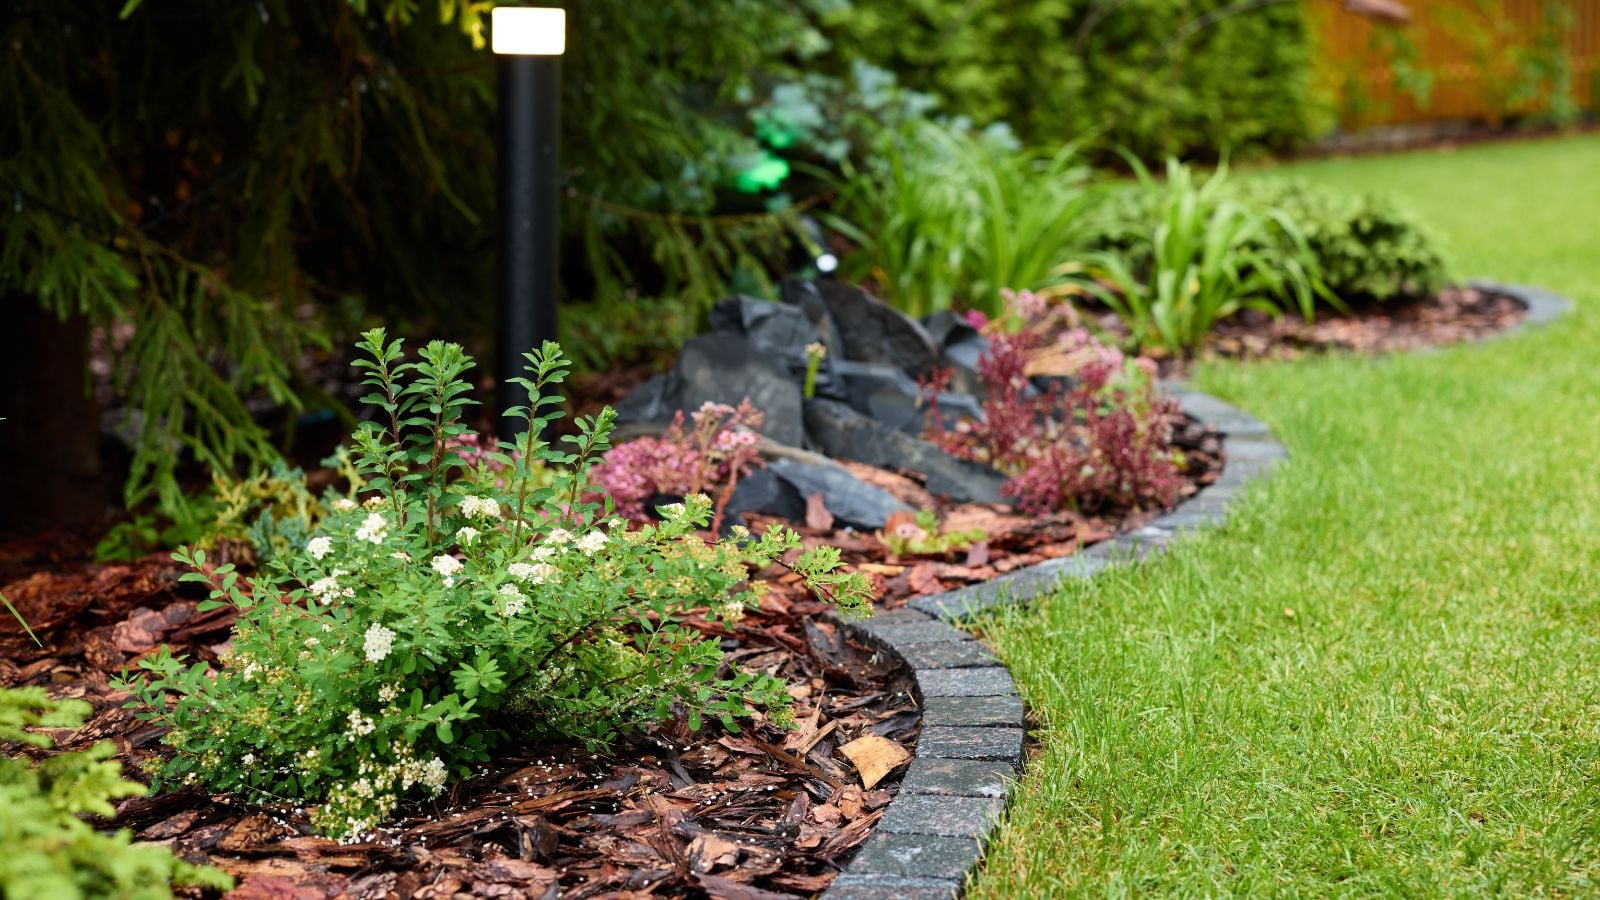
Pavers are widely available at any home improvement store, come in a range of shapes and sizes, and cost less than natural stone while offering a similar clean look. Scalloped pavers are the most common for garden edging, but turning them upside down for a flat, straight top gives a more modern appearance.
Set them in a shallow trench with a sand base, the same way you would brick. They’re heavy enough to stay in place without mortar and durable enough to handle years of weather without cracking. For a seamless look, choose pavers in a color that complements your existing hardscape so the edging ties the whole landscape together.


