How to Direct Sow Marigolds in the Garden
This spring, direct sow marigolds for blooms that keep going through late summer. They’re some of the best companion plants in the veggie garden, acting as a trap crop and nematode repellent. The flowers of any marigold are beautiful. Experienced gardener, Sarah Jay, covers what you need to know to sow these in your garden now.


Contents
I love to direct sow marigolds in the spring, just after the threat of frost has passed. In late spring, I get tons of happy yellow and orange flowers that keep blooming almost until my first frost. As long as I stay on top of it and I use the right timing, I can enjoy marigolds when it’s hot, through Halloween.
These lovely flowers are perfect in containers as tomato and sweet potato companions, luring pests away from their companion crops, and attracting pollinators. They’re wonderful cut flowers, lasting at least a week in a vase. So there are numerous reasons to plant them, and multiple benefits to enjoy.
Direct sowing them is pretty simple, but if you’ve never done it before, there are some things to note. From the right timing to soil prep, to choosing the right varieties, there’s so much you can do to ensure your marigolds are perfectly nestled into the garden. Then let them seed out, and they’ll show up next year.
Kilimanjaro White African Marigold

Kilimanjaro White African Marigold Seeds

Lemon & Tangerine Gems Signet Marigold

Lemon & Tangerine Gems Signet Marigold Seeds
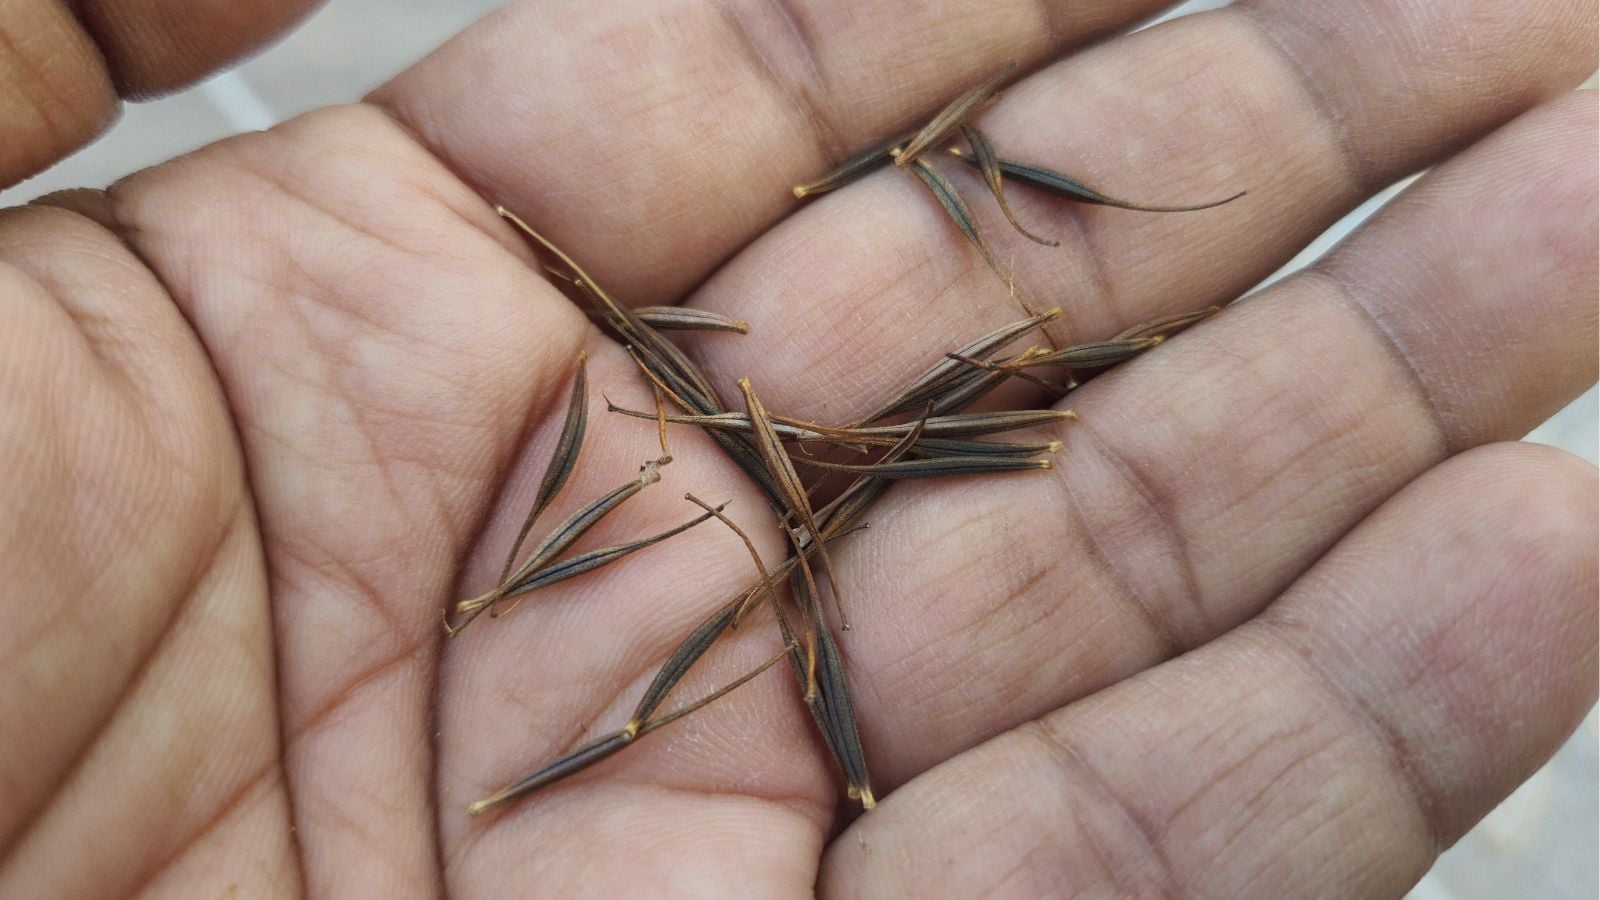
Step 1: Locate Seeds
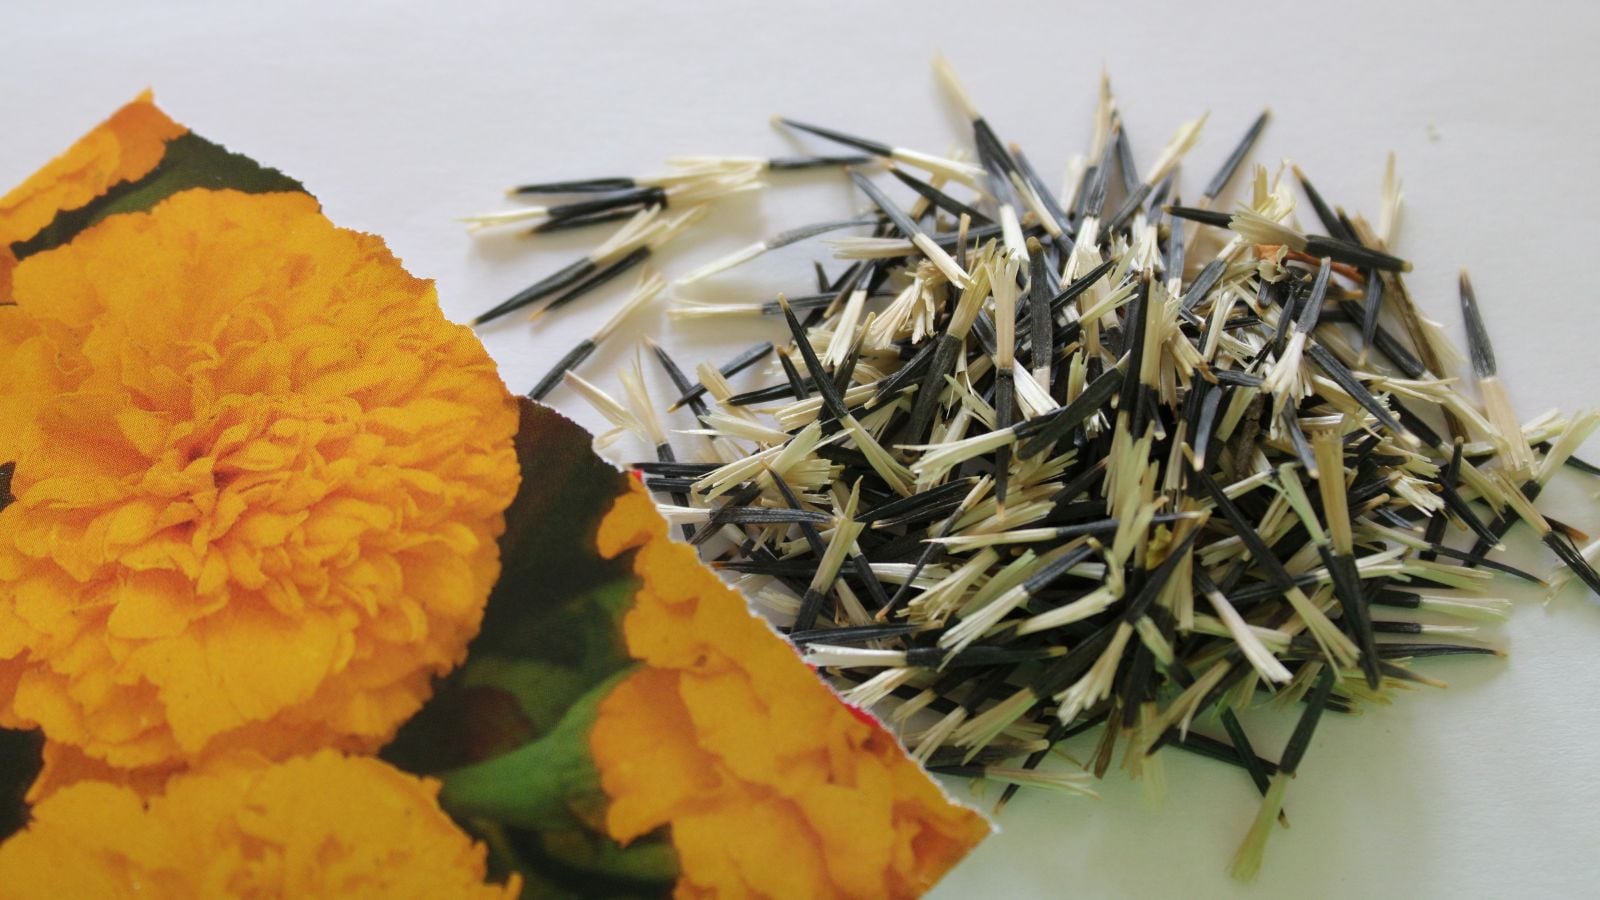
To start, do you know the kinds of marigolds you want to grow? There are three main types: French (Tagetes patula), African (T. erecta), and signet (T. tenuifolia). African marigolds reach three to four feet tall, and are the best for controlling nematodes around sensitive crops like tomatoes. Signets produce small blooms and have the shortest stature, while French marigolds are mid-size and have both double and single-petaled flowers.
Find a good seed supplier, and locate the kinds of marigolds you want to grow. Of course, we’re biased and recommend ‘Red Cherry’ French marigolds, or any of our Botanical Interests varieties, which range from tiny signets to white, dense African double-blooms. Maybe it doesn’t matter to you, and you want to sow a packet of seeds you have on hand. Thankfully, no matter the type you choose, the process is the same when you direct sow marigolds.
Step 2: Use Proper Timing
The best time to direct sow marigolds is one to two weeks after your average last frost date, when soil temperatures are 70 to 80°F (21-27°C). If your season is short, at less than two months, you can sow your seeds in a seed cell or container indoors on a heat mat. If you must sow them indoors, do it four to six weeks before your last frost.
As long as you get this timing right, your marigold flowers will be ready in two to three months. But you have to plant them first, so let’s discuss how to prepare your site for the seeds.
Step 3: Prep Your Soil

Average soils are good for marigolds. In containers, basic potting soils are perfect, and in garden beds, ensure the soil isn’t too heavy or sandy. You need good drainage, so heavy clay can be an issue. Amend clay with well-rotted compost and drainage materials, like perlite or agricultural grit. In sand, compost is often enough.
In raised beds, a good garden soil supports the growth of these flowers. If your soil is already slightly rich, well-draining, and has a pH around 6 or 7, you’re good to go.
Step 4: Plant Marigolds
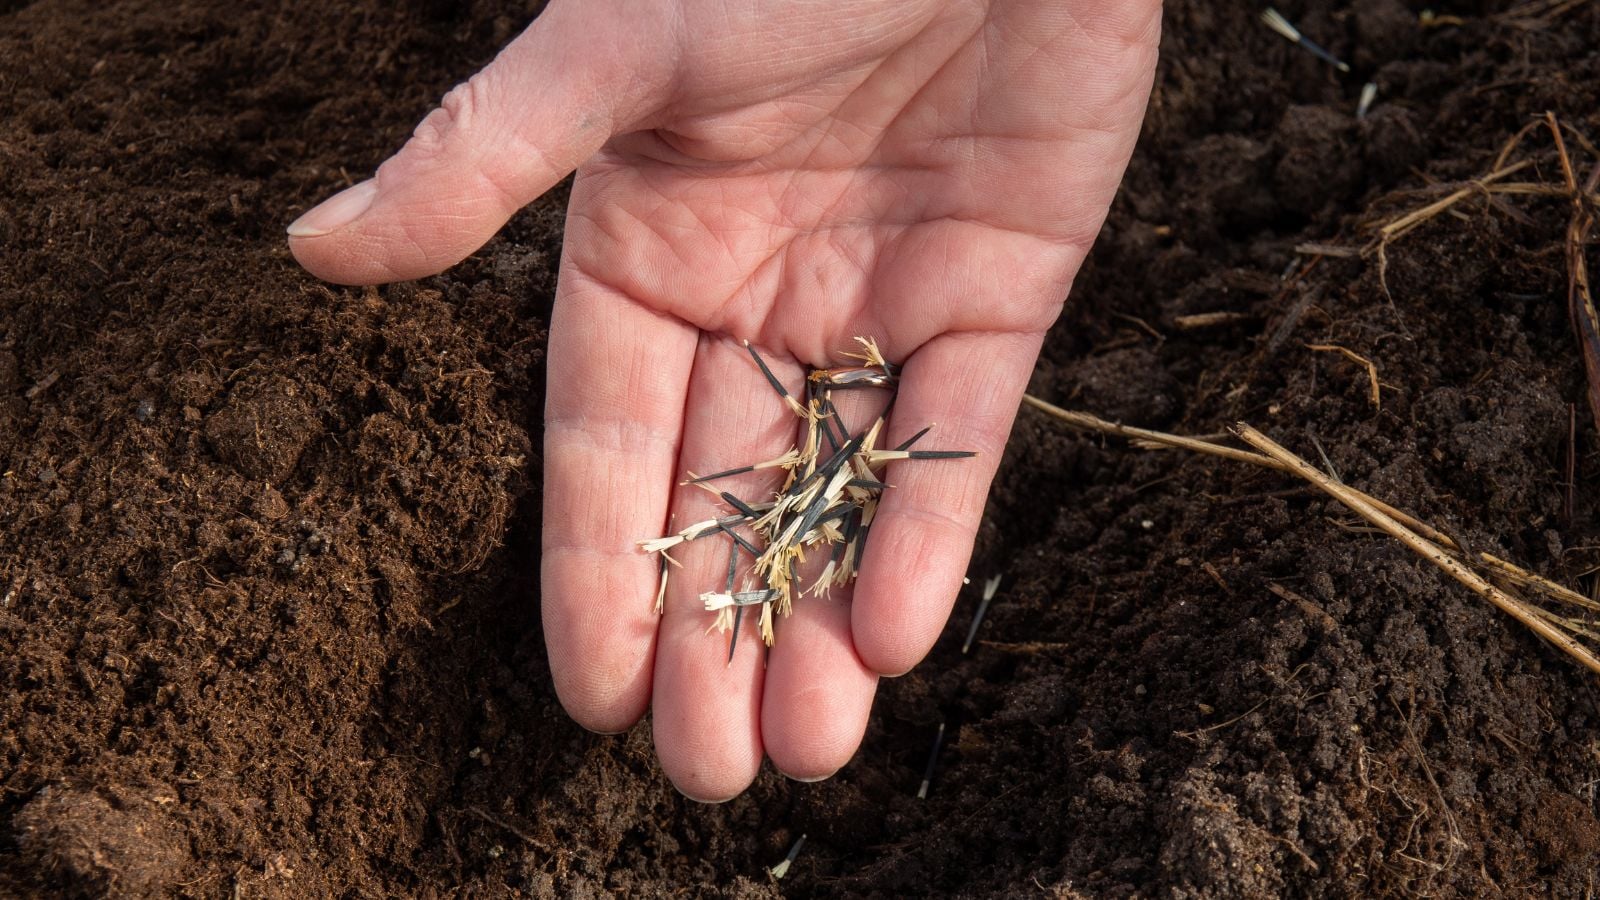
For smaller varieties, sow a few seeds every eight inches, at a depth of ¼ inch. When you direct sow marigolds that are large and grow up to a few feet each, give them about 18 inches between your groups of three. Use the seed packet to determine how to space your plantings.
I tend to take the seed heads from last year’s plants and just plant the entire dried seed head in my garden the following year. You can most likely get away with sowing with closer spacing, and if your seeds are more than a year old, sow more to ensure they sprout. Keep the soil moist, and within a few days to a couple of weeks, your seeds will emerge.
Thin them according to your desired spacing or follow the seed packet recommendation, choosing the healthiest seedlings over those that are struggling.
Step 5: Monitor Them
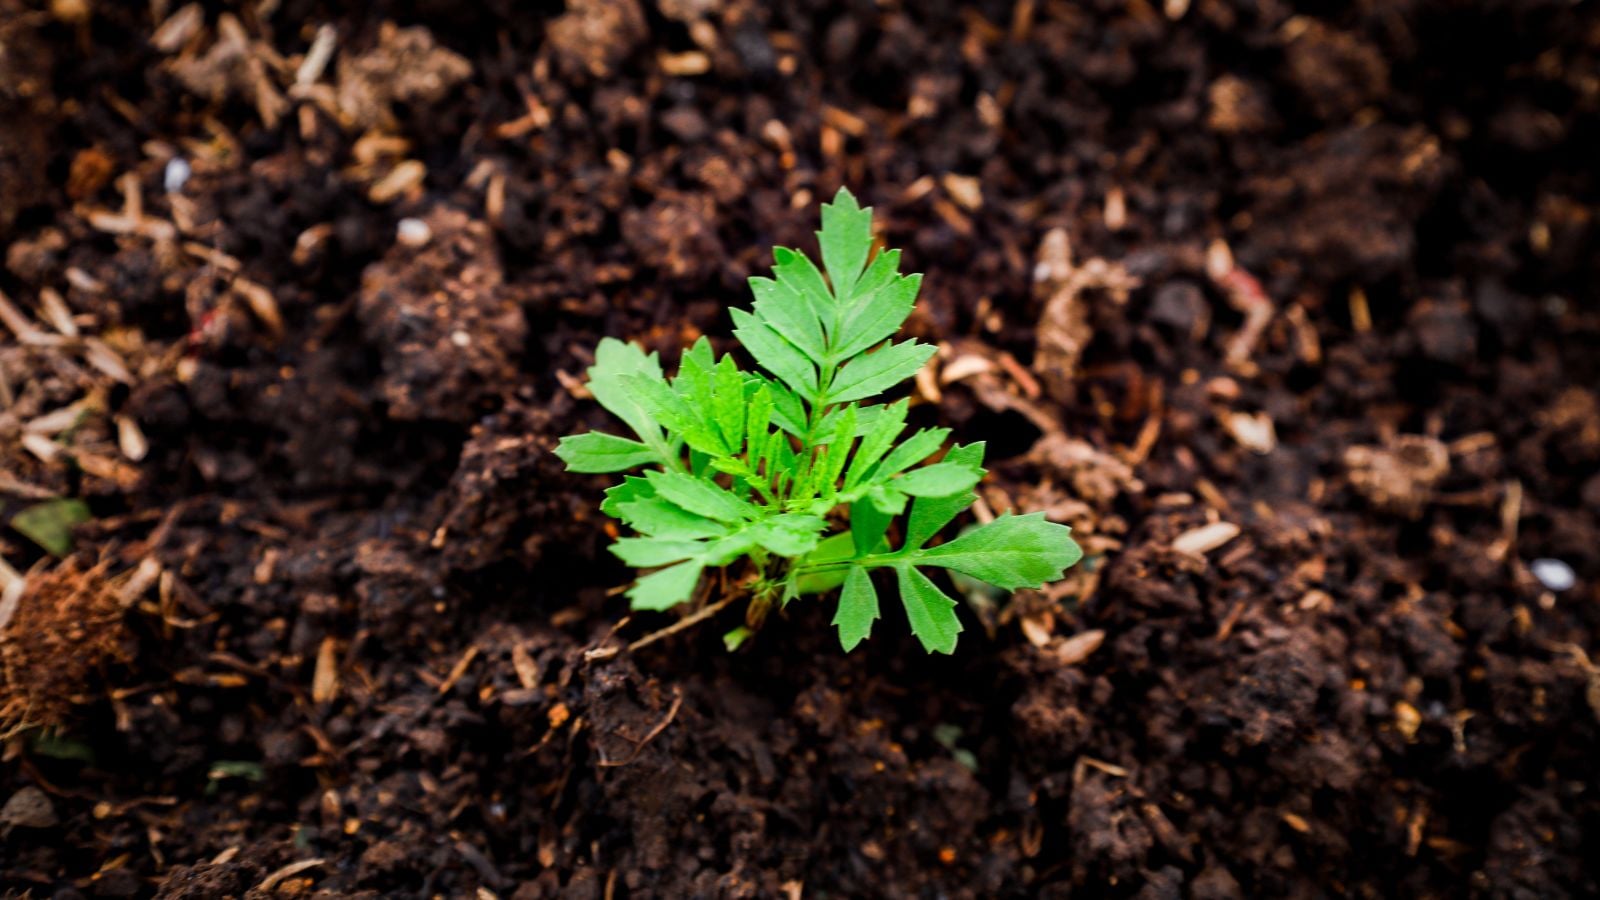
Once they emerge, you should keep an eye on your plants to ensure they don’t succumb to pests and diseases before they really get going. While they can be good trap crops that are terminated as pests take hold, they need to flower before they’re effective in that regard. You can blast them with a strong stream of water from a hose to knock off sap-sucking pests in the meantime.
You’ll also want to ensure they’re not subject to snap freezes without protection, or keep them from being destroyed in an intense thunderstorm with hail and high winds. Shelter them for the first few weeks if any of these conditions arise. However, if you planted tons of them, you can probably sacrifice a few here and there.
Once you get one bud, pinch it off to promote more blooms. If your larger varieties get floppy, stake them to keep them upright. Deadhead those you don’t want to spread around.
Step 6: Watch Them Thrive

Once you direct sow marigolds and they get to their blooming phase, you have the privilege of enjoying them and reaping their benefits. If you’re growing them with your other plants as a trap crop, let them get diseased and infested with pests, and then remove them at their base. Throw them out instead of composting them to prevent the spread of pests and disease.
Cut them for flowers, harvesting in the cooler parts of the day. Wait for blooms to be open, but not so long that they’re wilted. Immediately pop them in some water to keep them fresh. You can also just let them do their thing in the garden, and enjoy their sunny nature as they bring in pollinators.

Step 7: Let Them Reseed
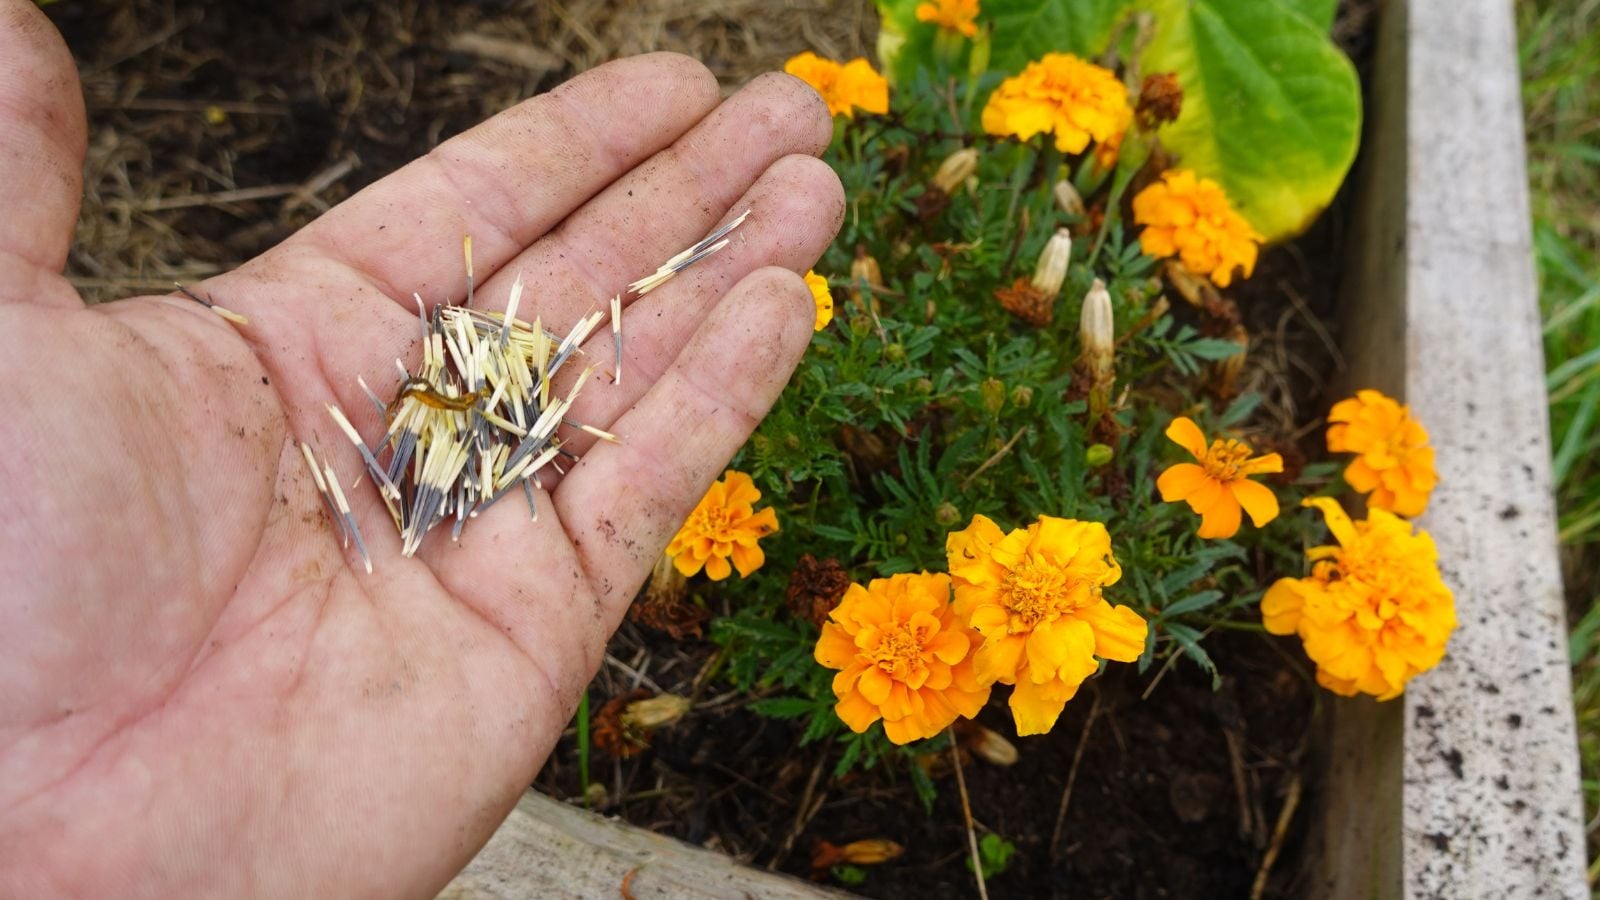
One thing I inevitably do every year (sometimes unintentionally) is let them seed out to reproduce again the next year. The seeds are resilient and handle the cold temperatures of winter in my region with ease. I’ll take a few seed heads on a dry day to plant in spring when the time comes again.
This is not a completely necessary step, but it will save you money as you plan for next spring’s garden.


