How to Use Fallen Winter Branches in Your Raised Bed
Did you know you can use winter branches in raised beds? There are multiple uses for the small twigs and branches that fall from trees, and even the ones you prune. Master naturalist and experienced gardener Sarah Jay shows you how here!

Contents
After dormant pruning and during my pre-spring cleanup, I gather a lot of winter branches. Raised beds are a good place to use them, and aside from that, I keep them handy for composting. While I have my preferred modes for these branches, there are other ways to reap the benefits these materials provide.
Wood bits are composed of cellulose, hemicellulose, lignin, and other chemicals. When piled over soil, wood can tie up nitrogen, making it harder for plants to access it. When used properly, though, wood is an incredible resource for the garden, especially wood that originates within the garden itself.
By using your leftover branches and twigs, you maintain a closed system, where all materials within the garden remain, contributing to its future. Of course, you don’t want to simply throw the wood in piles in your raised bed. Here’s how to use them!
Mira Garden Trellis Large

Great support for ornamental plants or sprawling and climbing edibles like berries, grapes, peas, or beans. Self-standing over container, instant privacy screen, no assembly.
This product is hand-crafted and requires additional handling time. Shipping can take up to 4 weeks.
Buy at Epic Gardening ShopGather the Wood

To start, gather your branches. These could be fallen branches leftover from winter storms, or the twigs and branches that remain after your winter pruning. You want to use branches and twigs that are six inches in diameter or less.
If you find wood larger than that diameter, place it in a pile to the side. Some of these could be used for firewood if they’re dry and new enough. Those that have been sitting for a while can remain and become a habitat for insects, fungi, bacteria, and archaea. Or you can make a wood pile out of them that serves as a wildlife shelter.
Size Them Up
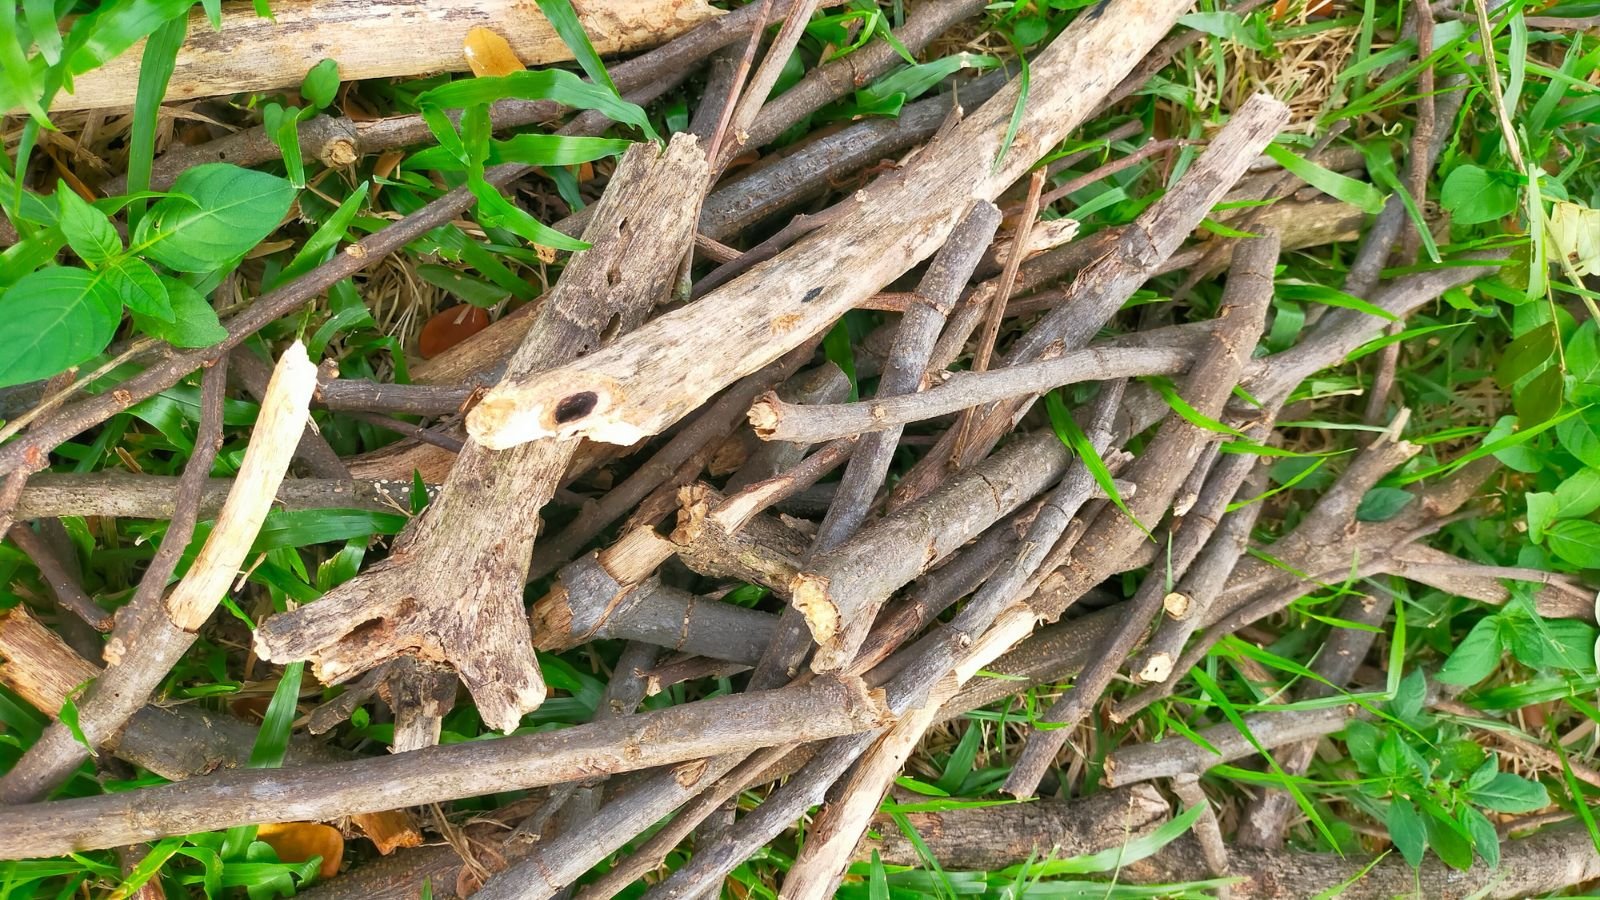
Once you gather them, use pruners and loppers to cut them to the appropriate size. Raised beds benefit from twigs and branches laid in a single layer. So cut any forked branches so you can use single sticks, one at a time. Cut them into sticks that can be used singly.
After you’ve cut them up, group similarly-sized branches and twigs together. This will make it easier for you to work with them after you decide what you want to do with them.
Line the Bottoms of Beds
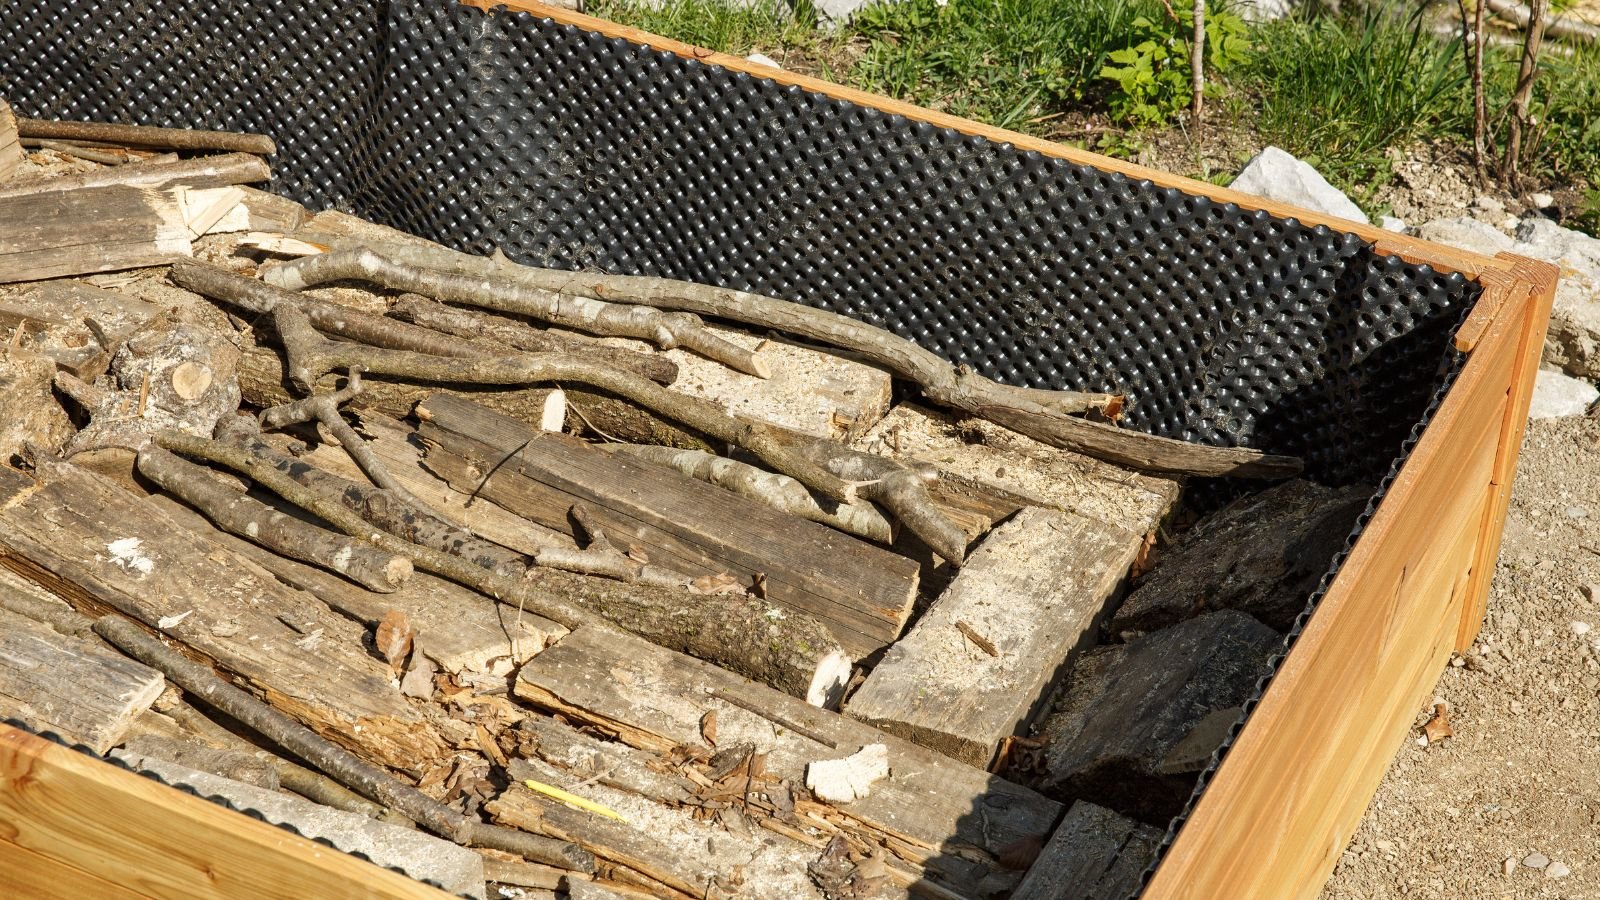
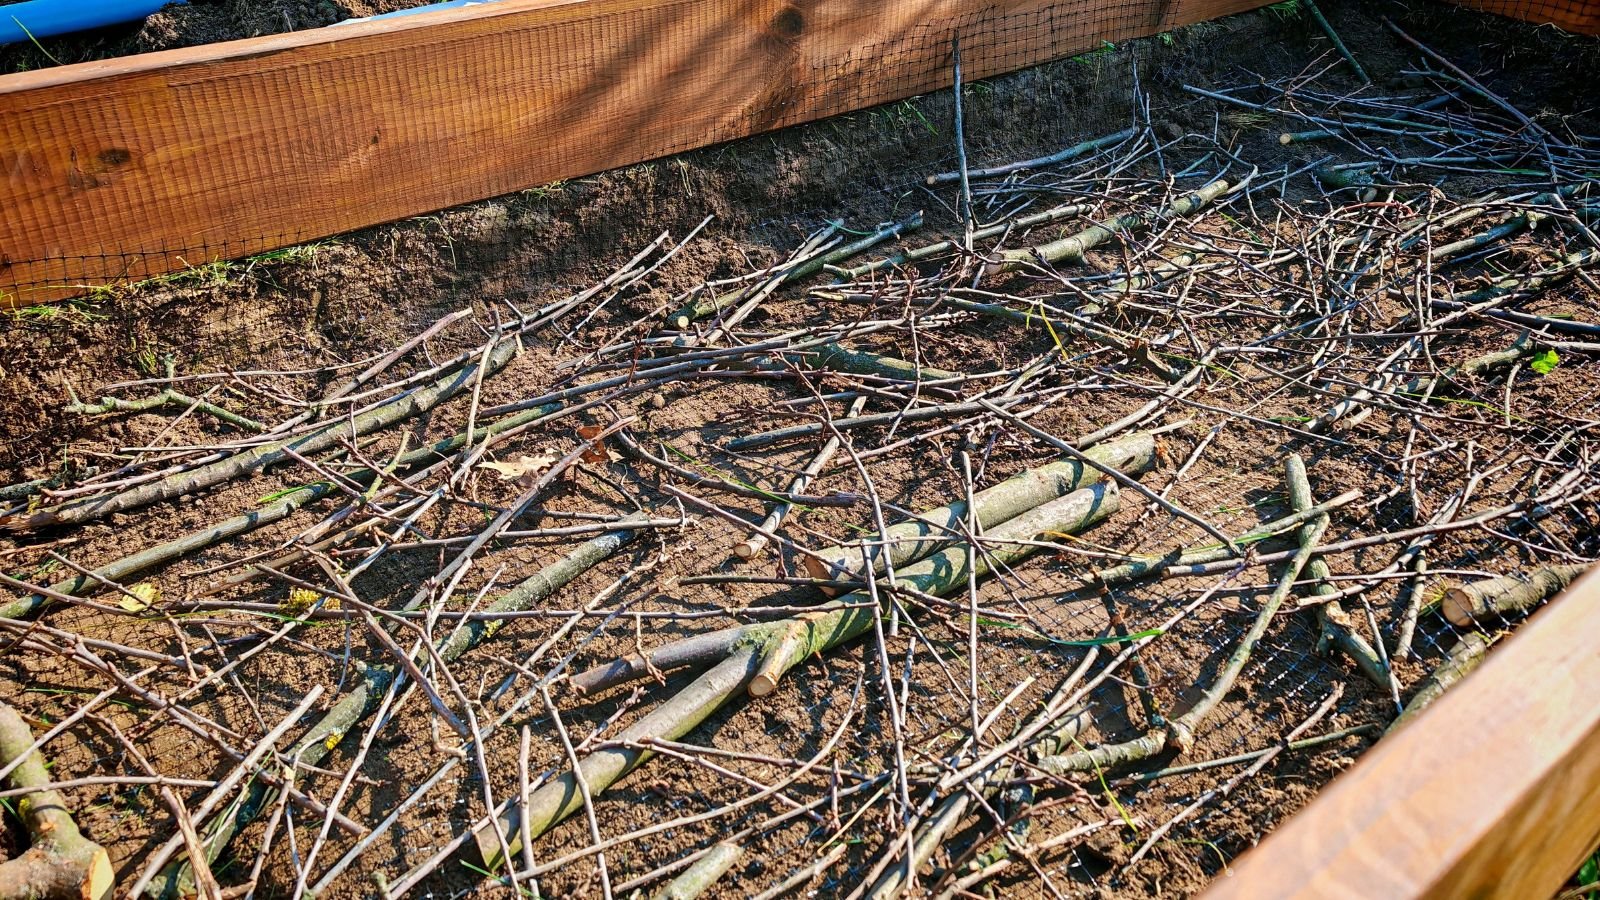
One cool use for these bits is lining the bottom of your raised beds with them. This provides a water-retentive, nutrient-rich base for your garden’s soil. As long as you can make a pile of branches and twigs that allows at least eight inches of planting area above, you’ve got a great base.
Lay your largest branches on the bottom. Then top with smaller wood pieces and twigs. Fill in any gaps or holes with wood chips, fallen leaves, or garden soil. You decide which, and a combination of all of these is totally appropriate. The goal at this step is to limit air pockets that can obstruct the transfer of water and nutrients between soil and plants.
Then top with your garden soil, and when the time is right, plant it out! This is a light hügelkulture method that occurs in raised beds instead of mounds.

Weave Them to Make Raised Beds
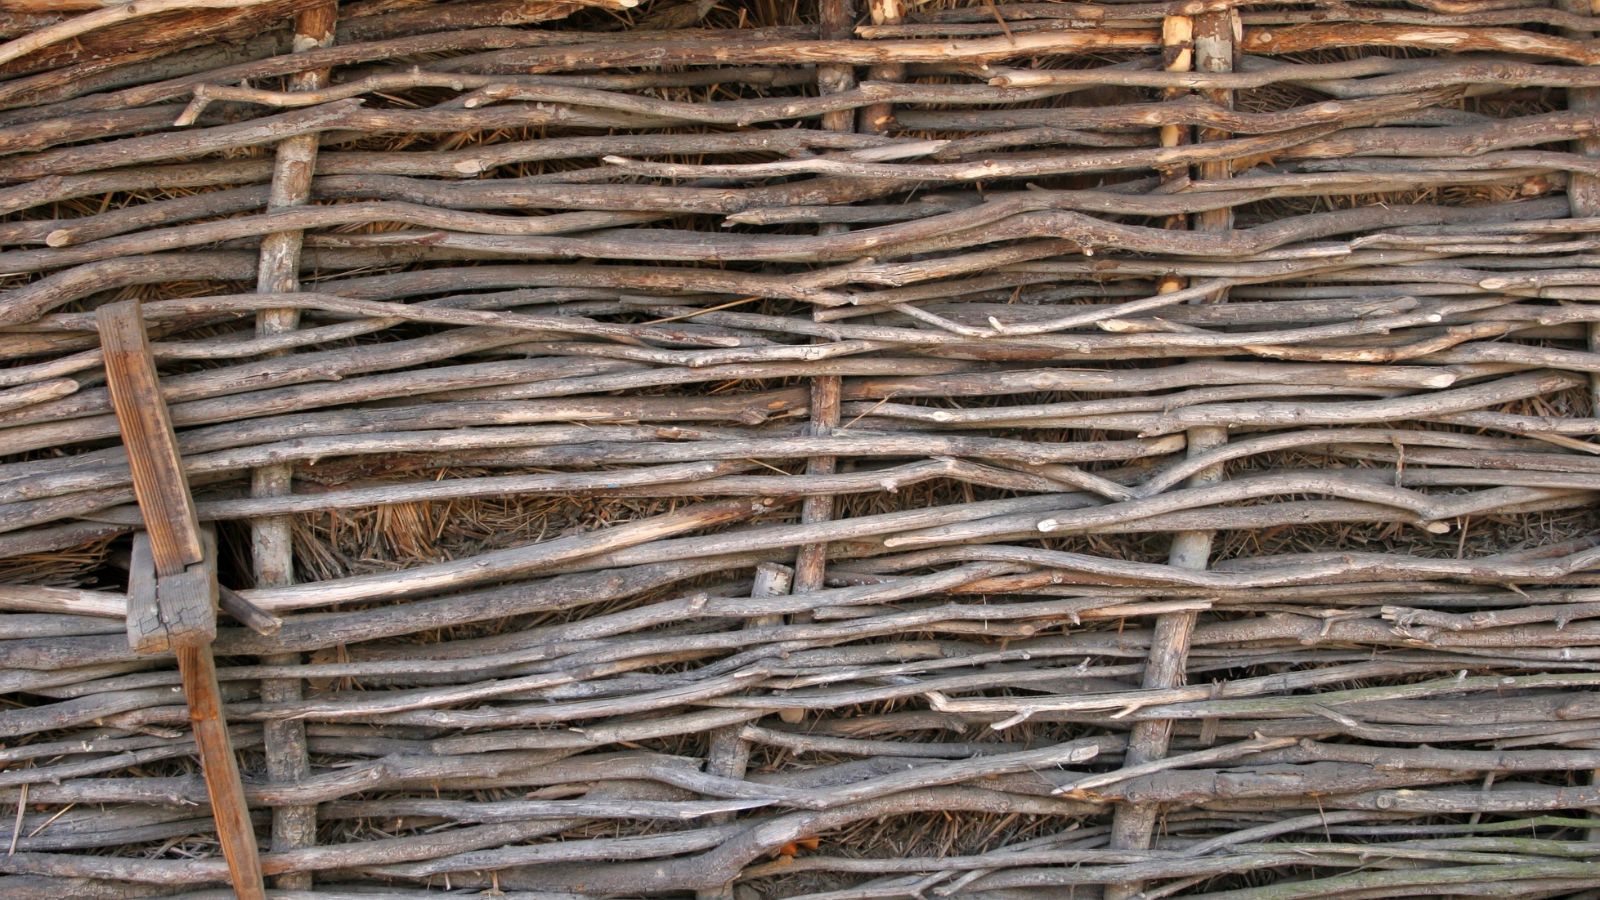
If you don’t have a bed yet, use your winter branches! Raised beds can be formed from stacked branches. The concept is similar to a dead hedge, but in a rectangular, raised bed formation. Use two branches per side, cut down to the height of your beds as stakes. Then attach or weave smaller branches between. Then weave in twigs to fill in gaps.
After it’s built, fill your raised bed with soil and plant it out! This is a great option for gardeners who have a large volume of branches to use.
Make a Trellis
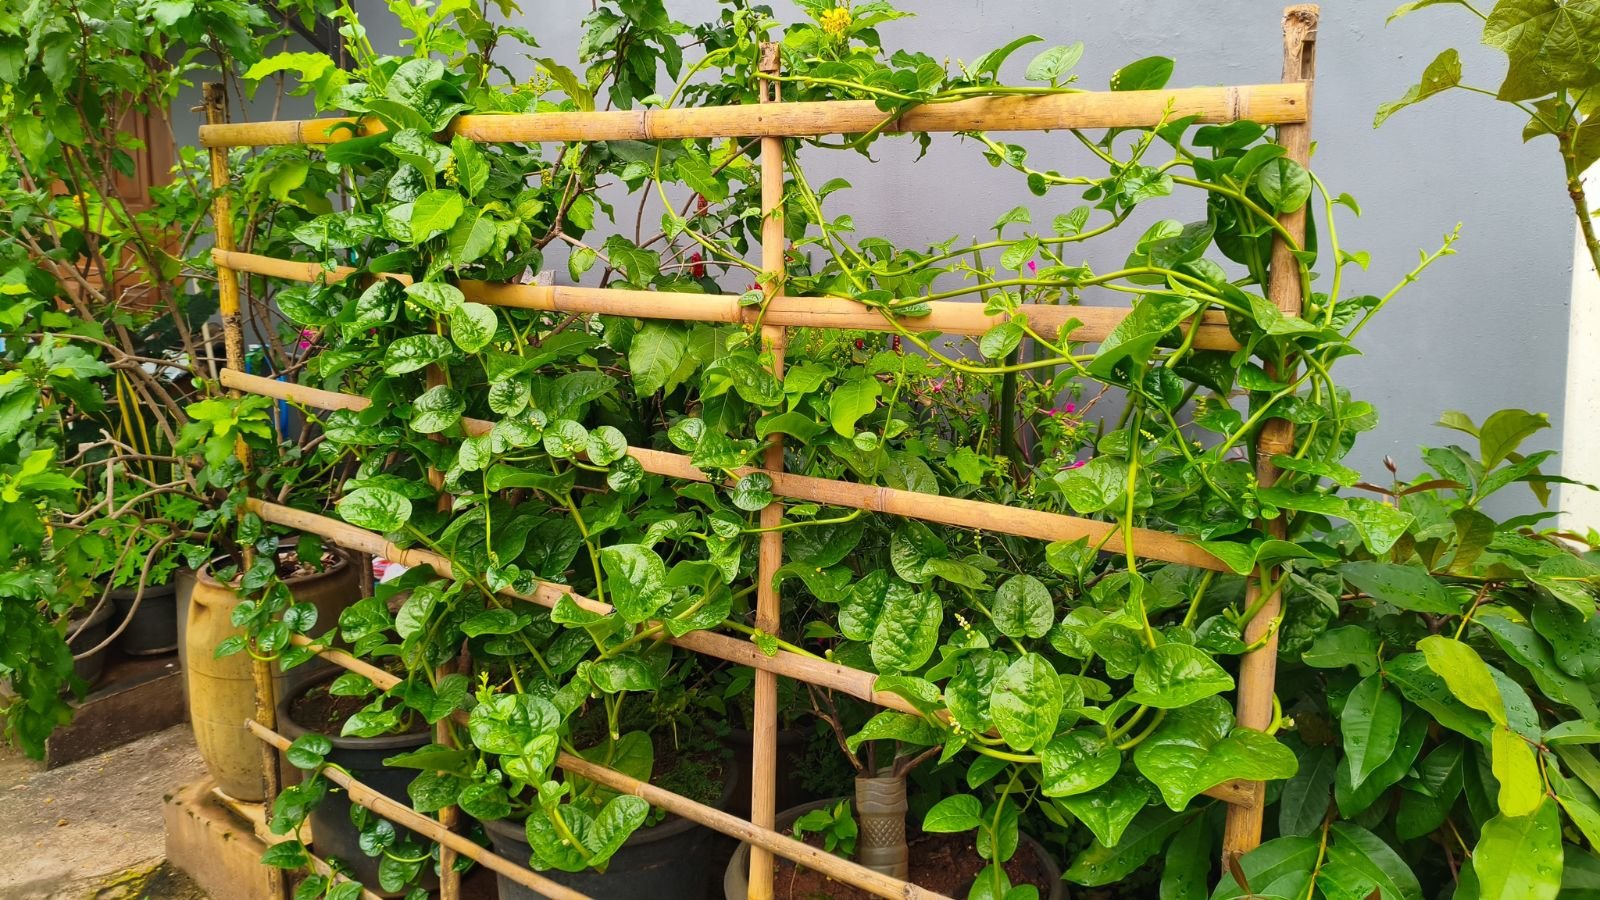
If you already have plenty of beds, and they’re already filled, there’s another way to use winter branches. Raised beds planted with peas, cucumbers, gourds, or any vining plants benefit from a trellis. Use the leftover wood to support climbing plants as they grow within the bed.
While metal trellises are great, reusing wood in your garden to build a trellis, or even employing one sturdy branch as a stake, saves money. It also saves you the time it takes to wait for one to be shipped to you. Grid trellises, teepees, and A-frames are all easy to construct.
Mulch With Them

If you don’t need to fill a raised bed, make one, or make a trellis, you can shred those leftover pieces of wood and mulch with them. This is a viable way to reuse winter branches. Raised beds with plants already growing in them will benefit from a layer of shredded wood mulch.
Organic wood mulch protects the bare soil around plants, and locks in moisture, keeping the soil warm when it’s cold and cool when it’s hot. As the wood breaks down, it adds to the structure and leaches nutrients into the soil. These same facts apply to all organic mulches, with varying rates of accompanying decomposition.
If you don’t have time to shred the wood on your own, you can rent a shredder or chipper from your local big box store. Most hardware stores have hourly equipment rentals.
Key Takeaways
Before you throw those wood pieces out or pile them together, consider using them in your raised beds. There are multiple ways to do it!
- After you gather your winter branches for raised beds, cut them to the proper size and sort them.
- Stack them in a tiered manner at the bottom of a raised bed. Fill gaps with organic matter, and top with garden soil for a semi-hügelkultur bed.
- Build a raised bed with them by weaving them together, similar to a dead hedge.
- Use them to build an A-frame, teepee, grid, or stake trellis.
- Shred them and mulch your raised beds with them.


