How to Plant Microgreen Seeds
In this guide, Epic Gardening Founder Kevin Espiritu covers the step-by-step process of planting microgreen seeds, from preparing your tray and adjusting water pH to sowing, watering, and creating the dark environment seeds need to germinate.


Contents
If you’ve already gathered your microgreens supplies, you’re ready to plant microgreen seeds. The process itself is quick (probably 15 minutes from start to finish), but a few details in the setup make the difference between a tray of dense, even microgreens and a patchy mess with bare spots and clumps.
This is where the grow either gets off to a strong start or doesn’t. Most problems people run into with microgreens (mold, uneven germination, leggy growth) can be traced back to something that went wrong at the planting stage.


Prepare the Tray

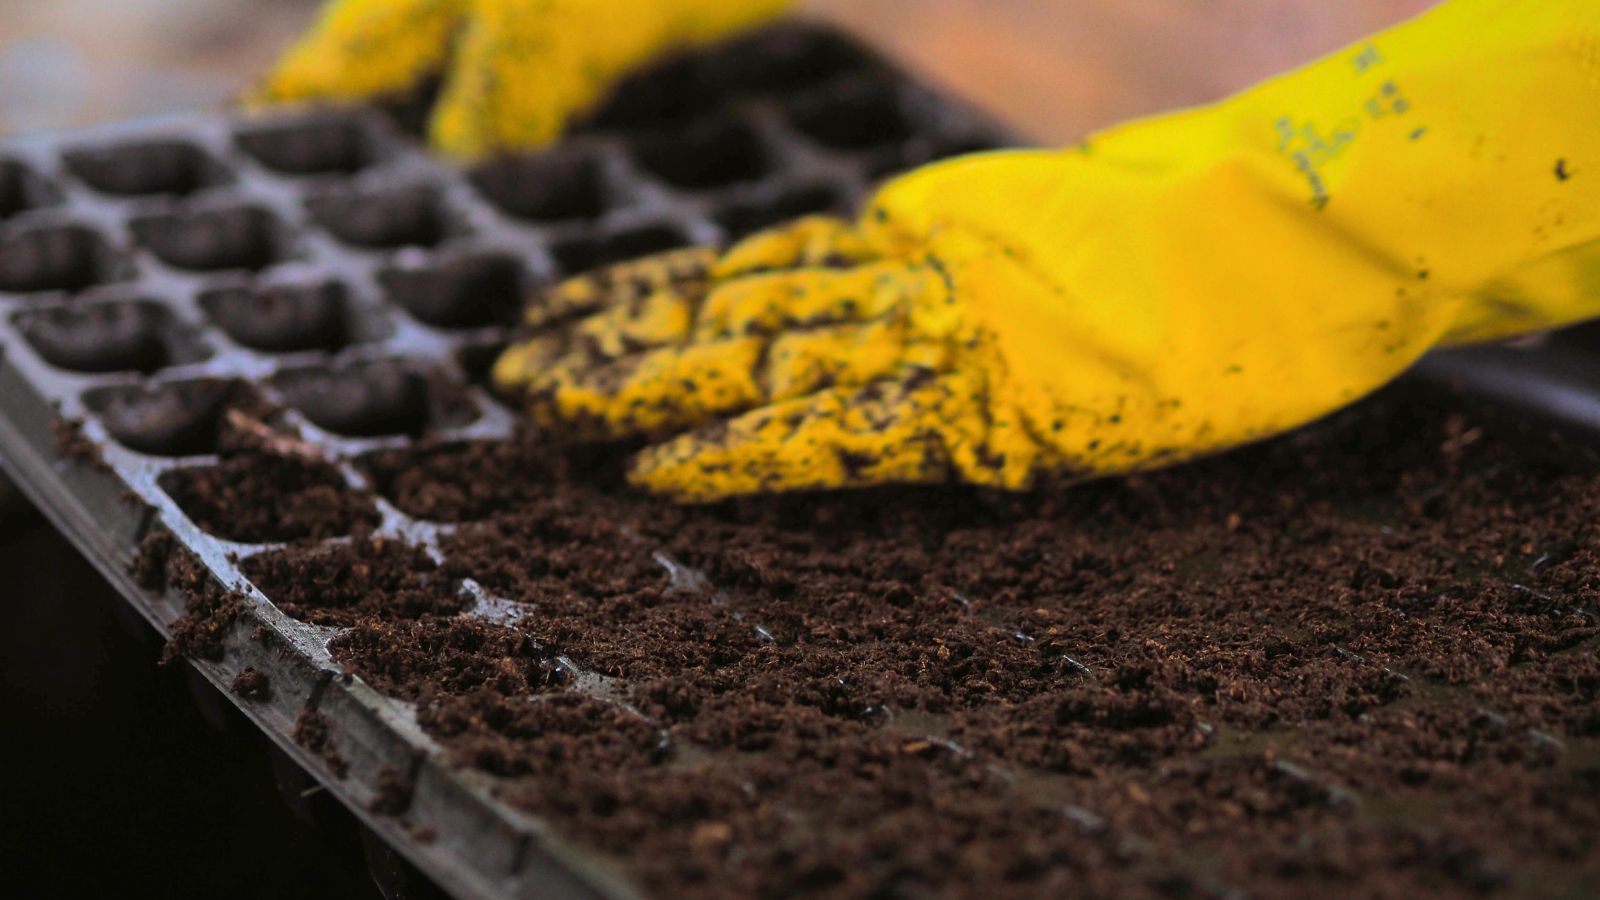
How you set up your tray to plant microgreen seeds depends on the growing medium you’ve chosen. If you’re using microgreen growing mats, just lay the pad flat in your 10×20 tray and you’re done with this step.
For coco coir or soil, spread the medium across the tray in an even layer about an inch deep. You don’t want it packed down — loose and level is the goal.
pH Your Water

Microgreens prefer a slightly acidic environment, so you’ll want to adjust your water before it touches anything in the tray. Aim for a pH between 5.5 and 6.0. If you’re not sure how to test and adjust pH, a simple digital meter and a bottle of pH down solution make the process quick.
Once your water is balanced, pour about four cups into the tray to saturate the growing medium. The medium should be thoroughly moist but not sitting in a pool of standing water.
Make Sure You Have a Smooth Surface
This step to plant microgreen seeds only matters if you’re growing in coco coir or soil. After you’ve added the water, take a moment to smooth out the surface of the medium so it’s as uniform as possible. Bumps and divots lead to uneven seed distribution, which leads to uneven growth. Seeds that end up in a low spot tend to clump together and compete, while seeds on a high ridge dry out faster than the rest of the tray.
A flat hand or the back of a small board works well for leveling things out.
Plant Your Microgreen Seeds

Grab your seeds and sprinkle them across the surface of the tray, aiming for even coverage. How densely you sow depends on seed size. Small seeds like basil need a lighter hand because they’re easy to oversow and clump. Larger seeds like radish or sunflower need heavier coverage than you might expect. Each seed still only produces one microgreen, regardless of how big the seed itself is.
If you end up with a few bare patches, don’t worry too much. Once the seeds sprout and start to grow, small gaps tend to fill in. Label your tray with the variety and the date so you can keep track of timing, especially if you’re running more than one tray at a time.
For anyone who wants to get creative, you can sow different seed varieties in separate sections or patterns within the same tray. It’s not necessary, but it makes for a more interesting-looking harvest.
Give Your Seeds Some Water

Once your seeds are sown, mist them generously with pH-balanced water from a spray bottle. You want the seeds to be sitting in a consistently moist environment — don’t hold back. Dry seeds won’t germinate, and seeds that dry out partway through the germination process tend to stall and fail. A thorough misting at this stage sets them up to sprout evenly.
Black It Out

Microgreen seeds germinate best in warm, dark conditions. Take your second tray, mist the inside with water (this helps maintain humidity), flip it over, and place it directly on top of the planted tray. Make sure no light is getting through the edges.
Keep the covered tray somewhere in your home that stays around 70°F (21°C). All you need to do for the next three to four days is mist the seeds every 12 hours or so to keep them from drying out. It’s fine to lift the cover and check on progress. A quick peek won’t disrupt anything.


