How to Overwinter Potted Mums
Potted mums fill bare gardens in the fall with their flowers. They bloom at the end of the growing season, which is why they’re commonly available at stores at the end of summer. Though some mums are hardy, others are frost-tender. They need special care to survive the winter, especially if they’re growing in pots.


Contents
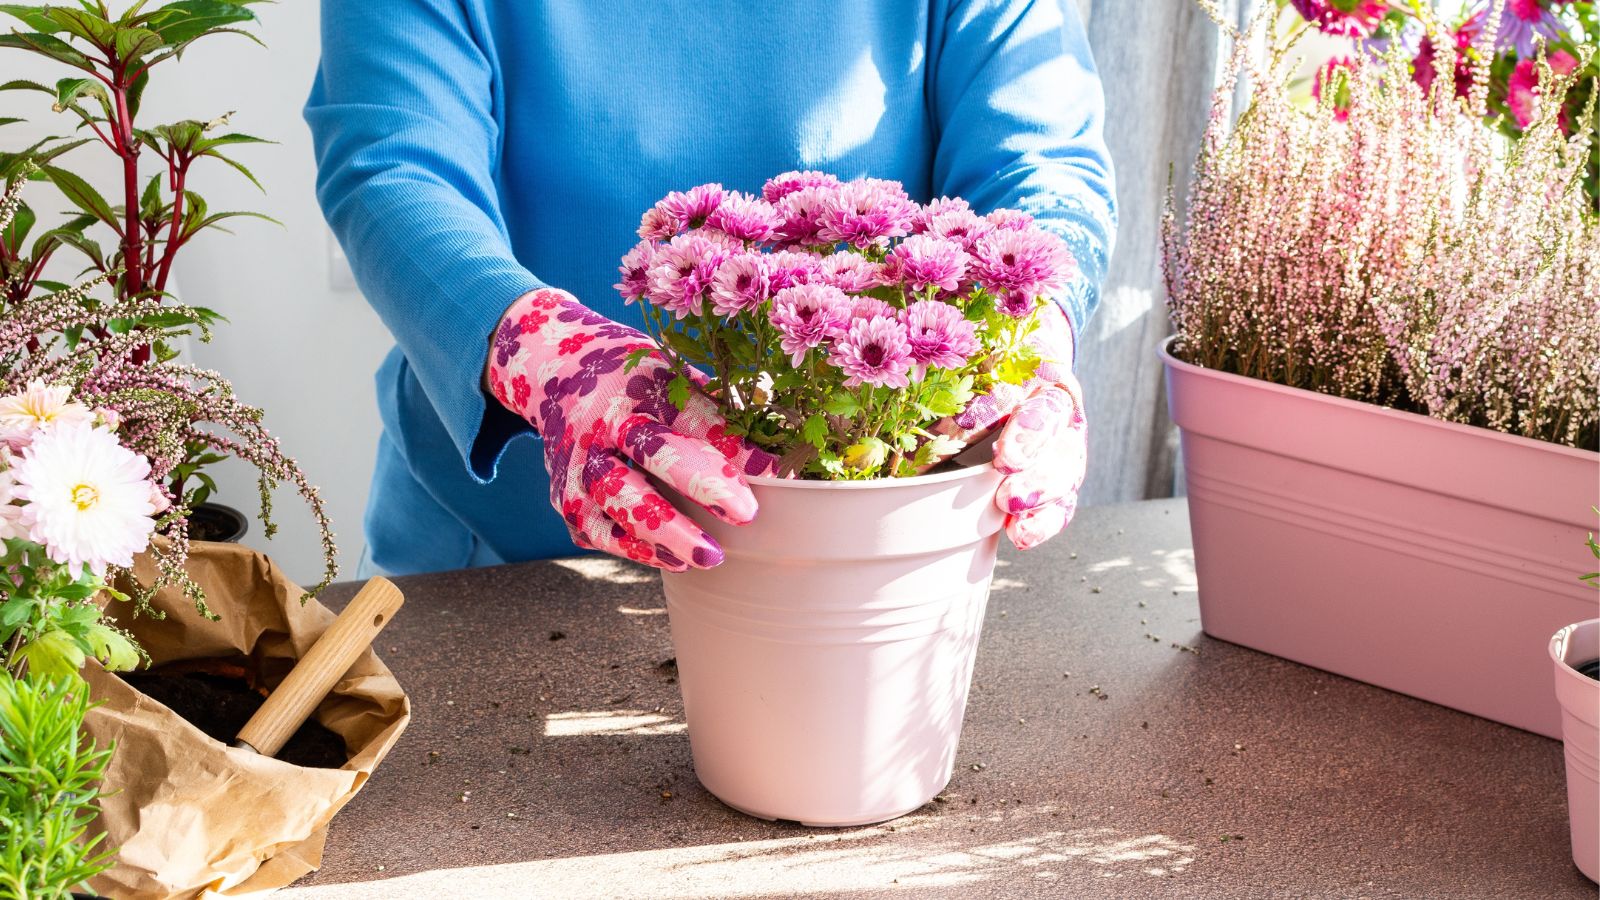
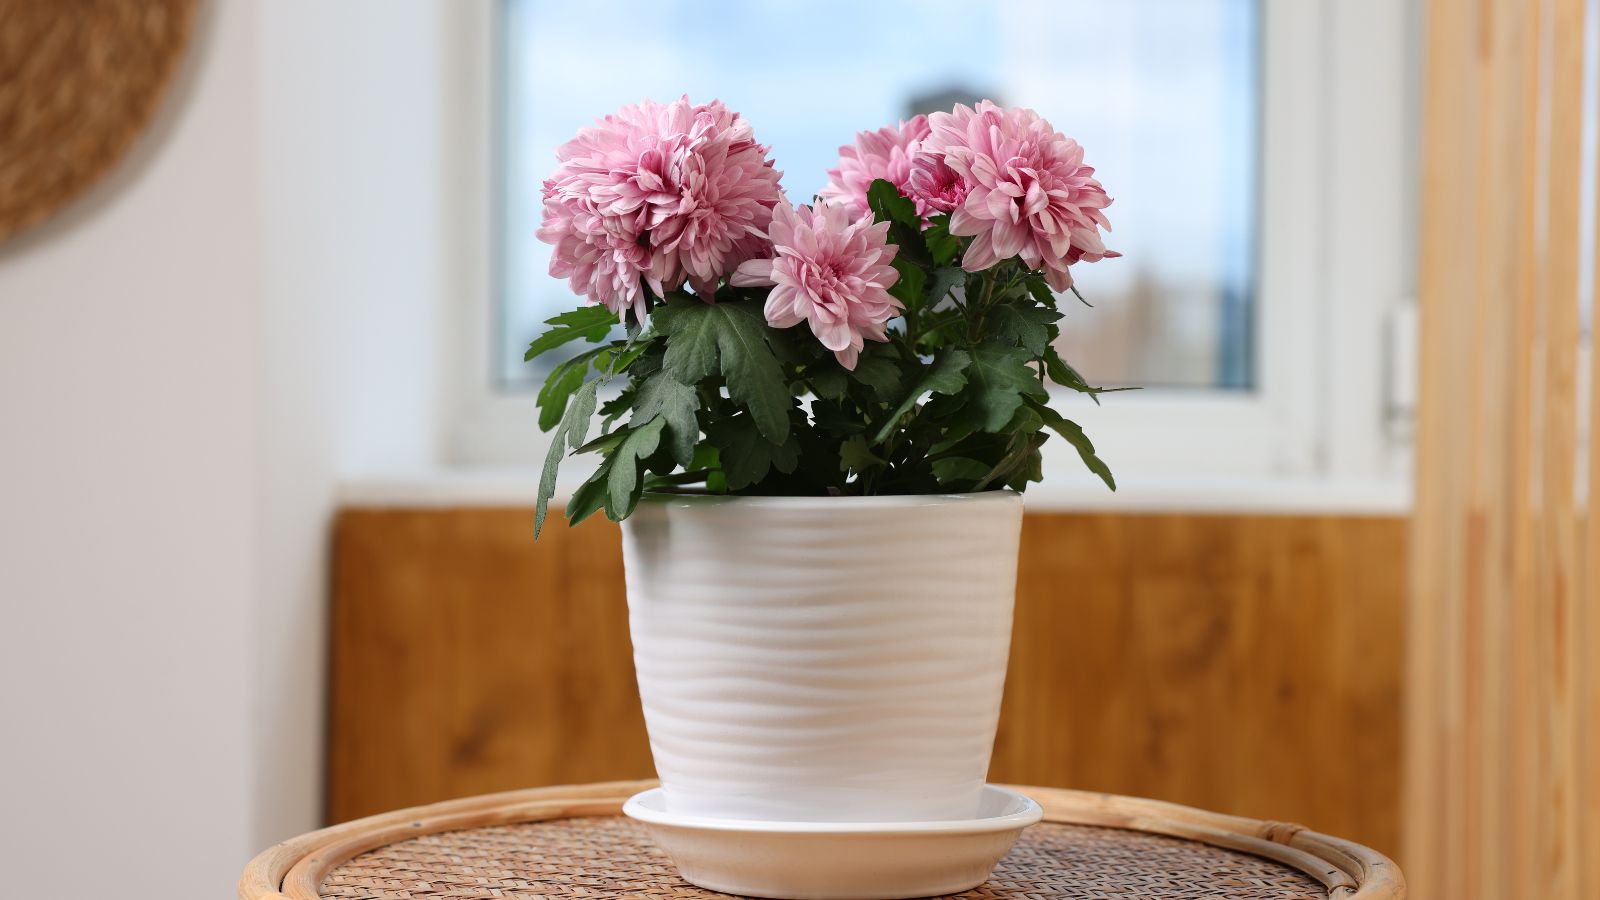
After buying a beautiful potted mum this fall, you’ll want to ensure it survives the winter! Some extra care will ensure your perennial makes it through the frigid, harsh weather of the cool months. Potted mums are more susceptible to cold damage than those growing in the ground, and if you want to overwinter potted mums, they need extra protection to make it through.
Mums, or chrysanthemums, are flowering perennial plants that sprout in spring. They die back in the fall and winter seasons as they pull nutrients and energy into their roots for safekeeping. If they don’t have sufficient time to enter dormancy, they may not make it through harsh freezes and frosts.
There isn’t a single specific way to overwinter potted mums, as there are various methods for keeping them alive and protected. Which method works best for you depends on your local climate. Gardeners in cold climates will want to use extra protection, while growers in mild climates may let their mums overwinter outdoors.
Identify the Type
Before we start, it’s important to determine what kind of chrysanthemums you have. Some species are incredibly frost-hardy, while others are extremely tender. Once you know the mums you have, you’ll be able to learn how to overwinter your potted mums.
Florist Mum

Florist mums are varieties of Chrysanthemum x morifolium, a hybrid mum species. These cultivars are often more frost-tender than perennial and garden types, and they need extra protection to survive the winter. To get giant flowers, growers treat them with a harsh regimen that discourages ample root growth.
Without roots and ample stolons, or underground shoots, the potted mum is more susceptible to frost damage. It’ll struggle to sprout new growth in spring, and the few shoots it has may die before then if they’re not properly protected.
It’s best to overwinter potted florist mums indoors in a cool room. It’s difficult to keep them alive outside, especially in regions with harsh winter climates.
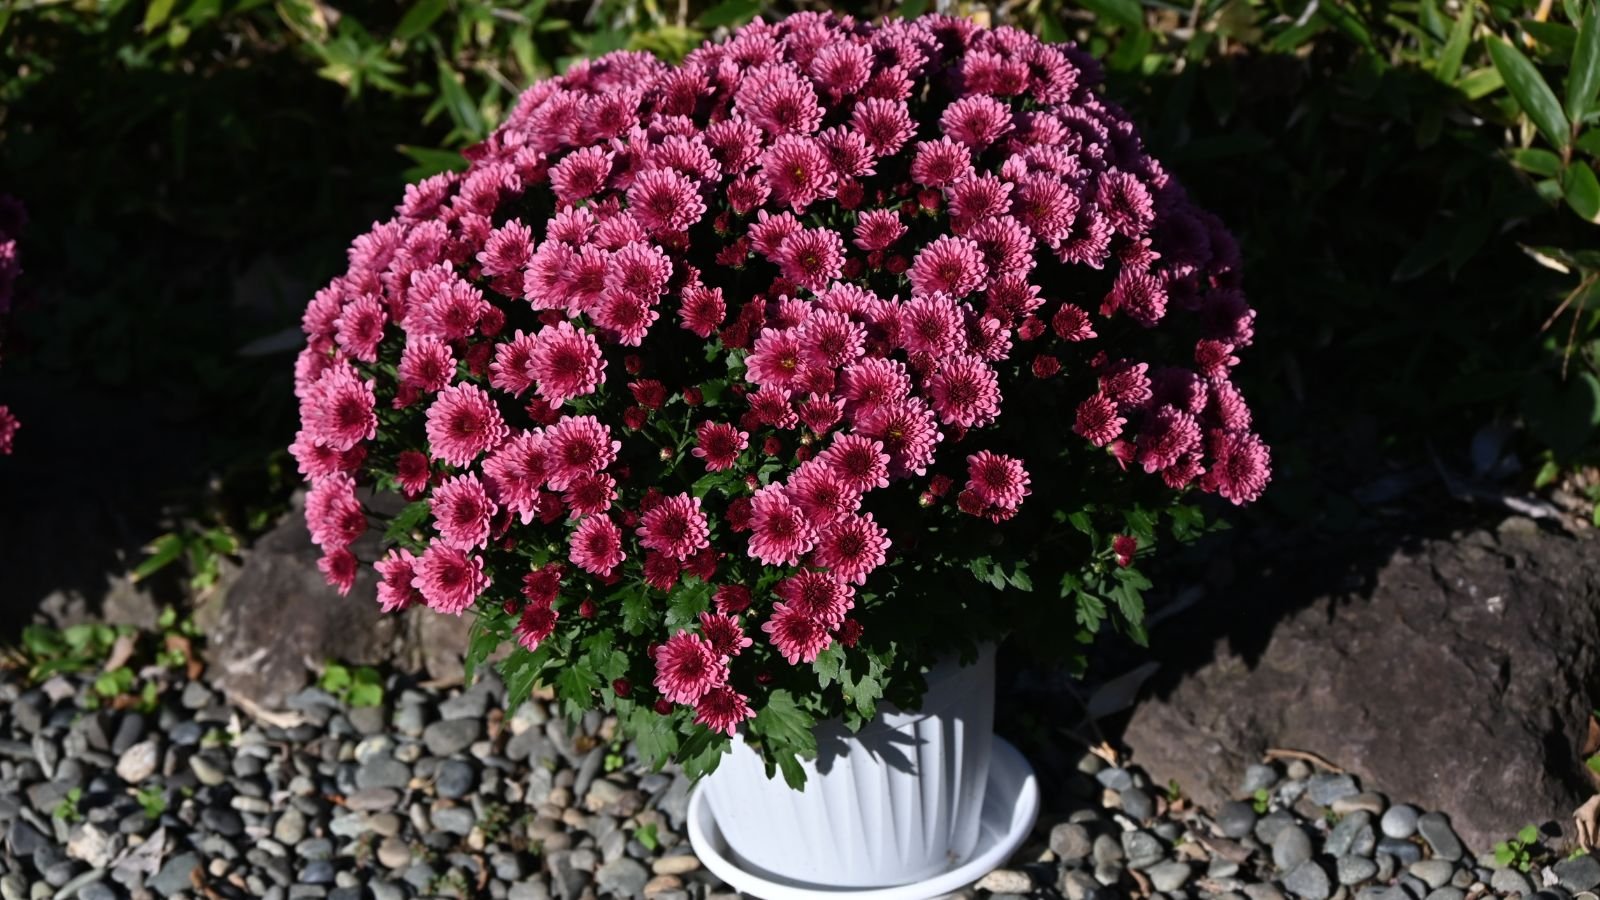
Perennial Mum

Perennial mums, including hardy and garden mums, are frost-tolerant cultivars that sprout again and again in the garden. They reliably overwinter in the ground, though they need some care to survive in pots.
Most mums sold at grocery stores and garden centers have “hardy” on their label, regardless of their cold tolerance. Growers often use the word for marketing purposes rather than for informative ones, and it’s difficult to trust what the labels say. Look to the mum’s scientific name to determine its true hardiness levels.
Additionally, potted plants are more susceptible to cold damage because they rest above the ground. Their roots lack the insulation that in-ground shrubs have from the soil.
Overwinter Mums Outdoors
The easiest way to overwinter potted mums is outdoors in a protected area. This method works well for gardeners with mild winter climates in USDA hardiness zones 8 and above. If frosts and hard freezes are common in your region, consider overwintering the potted mums in a cold frame or indoors.
Note, too, that chrysanthemums need cold weather to thrive. They’ll die out in warm winter regions like those in zones 10 and above. Consider growing them as cool-season annuals in hot climates.
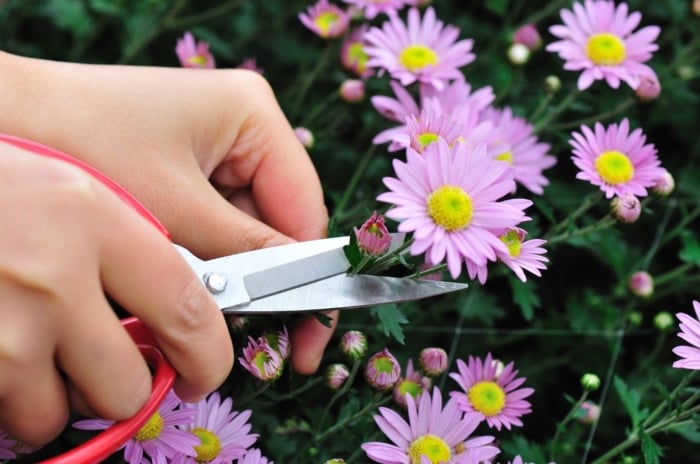
Prune Spent Flowers
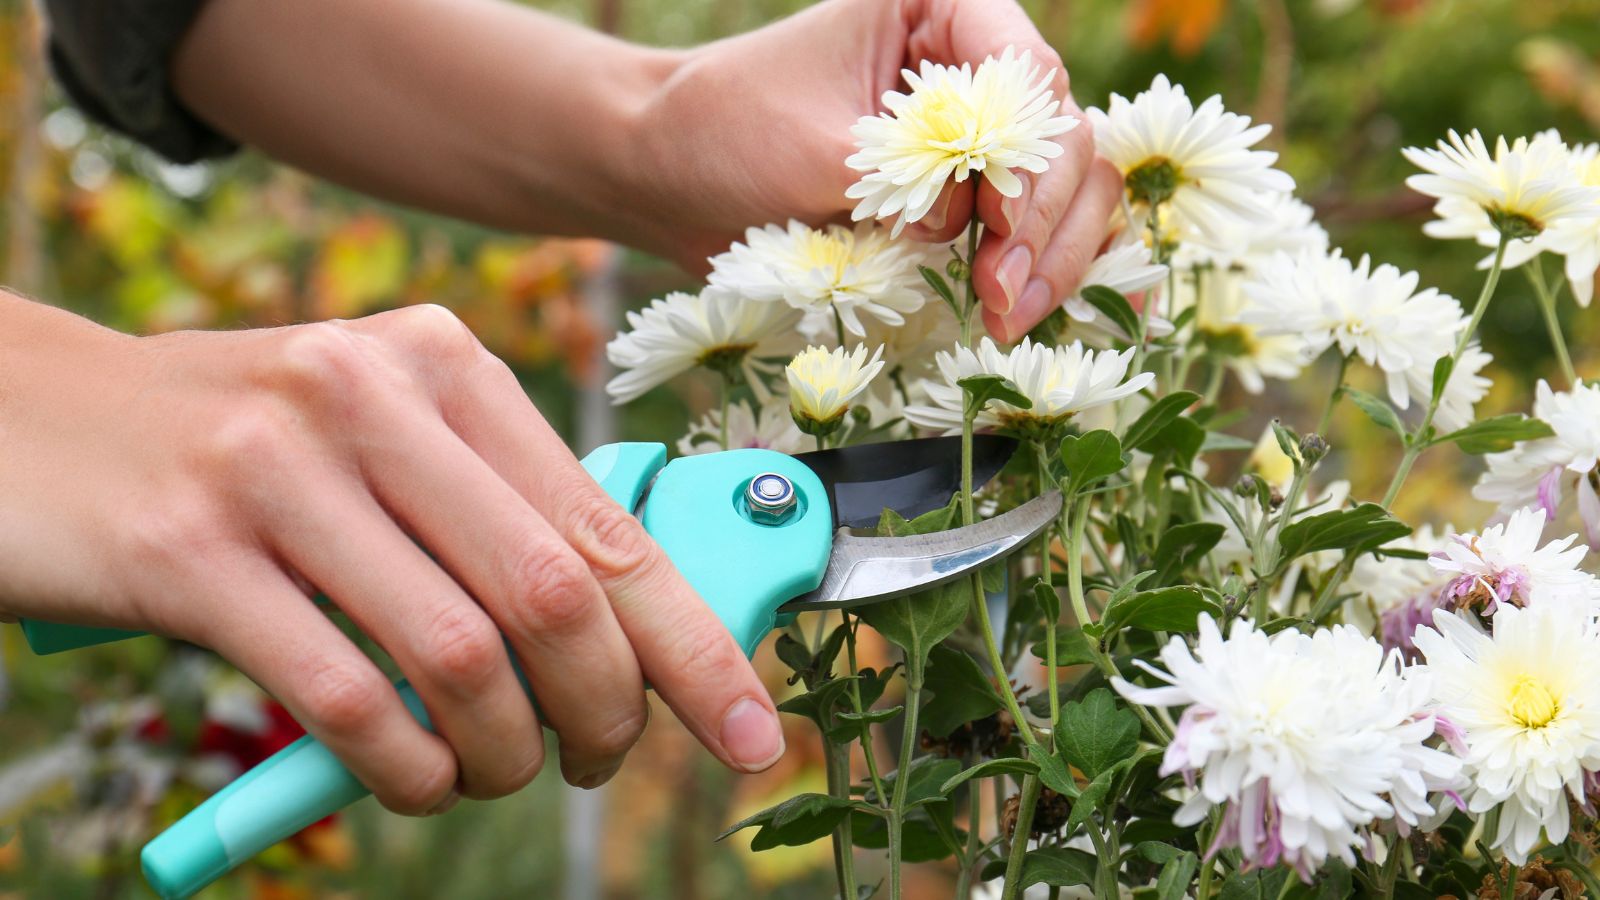
When you overwinter potted mums outdoors, start with a proper pruning regimen. As the plants die back at the end of fall, they pull their nutrients and resources deep into their roots. Help speed along this process by trimming spent blooms and by cutting the stems back to within a foot of the ground.
Also, remove any diseased, damaged, or pest-infested stems and leaves. Throw healthy clippings in your compost, and bury diseased debris a foot deep underground.
Mulch the Pot
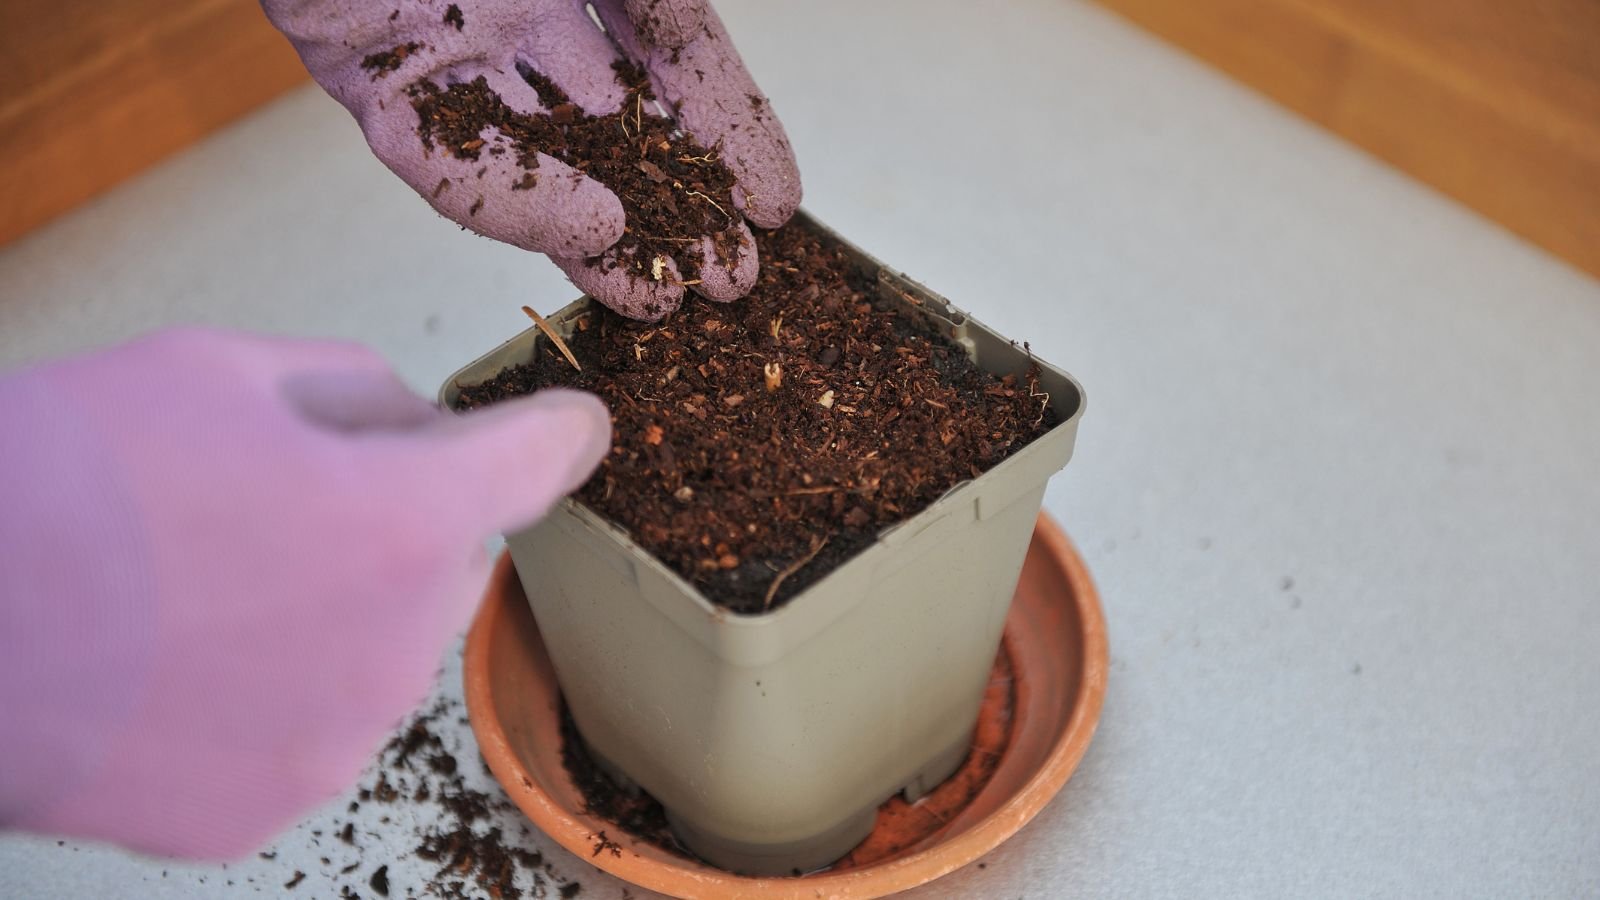
Mulch is a protective layer that insulates the roots. It’s exceptional in the garden, and it’s also useful for potted plants. Simply place a layer two to three inches thick above the soil in the pot. Water it well to help the amendment settle inside the container.
Compost is the ideal mulch, as it both protects and feeds potted mum plants. It decays into nutrient-rich organic matter that’s full of humus, a beneficial soil particle. The more you feed your specimens with compost, the healthier they’ll be during the growing season.
Alternatives include straw, coco coir, or chopped leaves. Use whatever organic amendment you can find in the yard, or purchase bagged mulch from a garden center. Some stores, like landscape supply companies, offer mulch in bulk. Buy in bulk to save money. You’ll also minimize plastic use by choosing this do-it-yourself option!
Wrap Burlap

After adding mulch, begin the process of adding protection to overwinter potted mums. Burlap is a superb material for insulating the container. It’s what growers use to wrap B&B trees and shrubs to keep the roots warm amidst winter cold. You may use it to blanket the potted plants and insulate their root zone.
In the absence of burlap, use old blankets or carpets instead. Any thick fabric will do. The goal is to create a mini insulation chamber that traps heat near the plant. Instead of escaping on cold nights, the heat will radiate near your mum’s roots.
Ensure there are no gaps in the burlap, and secure it to the container with rope or clamps. Have the burlap reach the ground so it captures the heat radiating from the soil below.
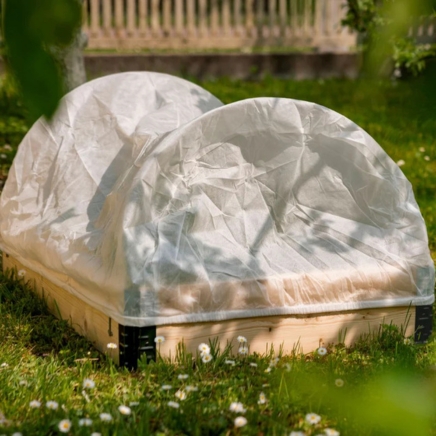
Cover with Frost Cloth
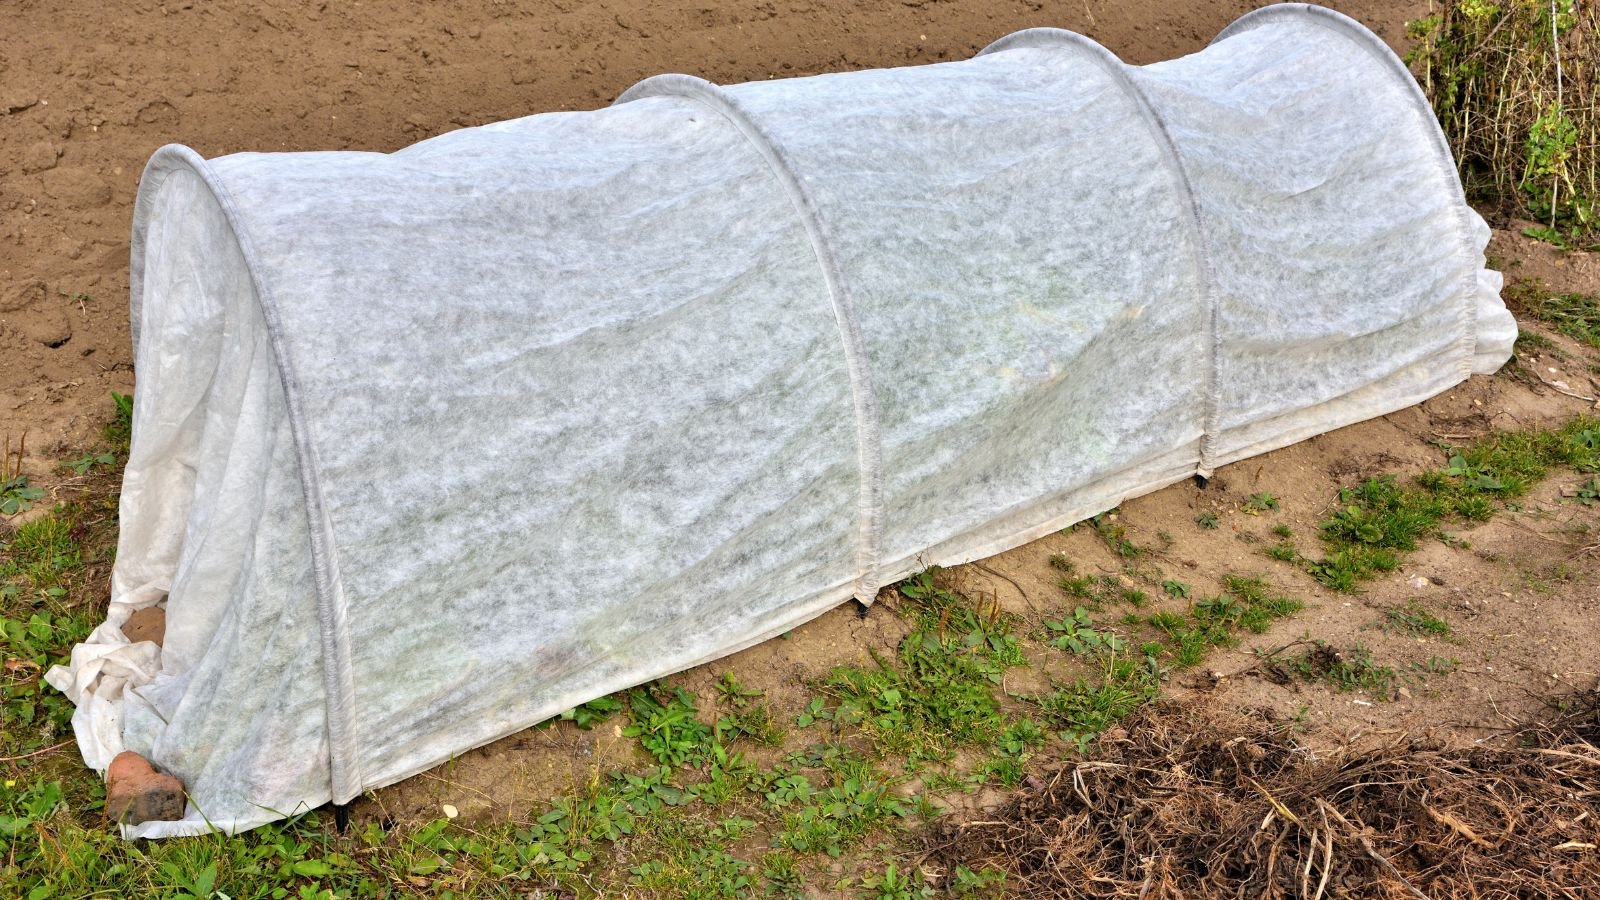
Frost cloth is a protective fabric that’s lightweight. It lets air and moisture through while it traps heat underneath, keeping the tender stems of your mums safe and warm. It also goes by the name row cover, as you can use the cloth to prevent pests from reaching your perennials in the spring.
Cover the mums by blanketing them with the frost cloth. Wrap the cloth around the stems and the burlap below, and secure it to the soil with bricks, stones, or similarly heavy objects. It’s important to leave no gaps that’ll let heat escape from the potted specimens.
If it gets too hot, the mums will think it’s time to sprout new growth. Keep them dormant by removing the frost cloth on warm days. This will prevent early sprouts by keeping the plants under consistent chill. Add the cloth back if hard freezes or frosts are in the weather forecast.
Place Under Cover

Provide additional protection by moving the mums under cover. Don’t leave them out in the open where snow, ice, and rain will pelt them during the winter. Overwinter them under a porch, patio, or balcony covering that provides some protection from the elements.
Once the weather warms in spring, you may move the plants back out in the garden and remove their protections. Undo the burlap, take off the protective cloth, and transition the plants once the danger of frost has passed.
If you notice new sprouts growing in late winter when frosts are abundant, continue using the protective measures until the cold weather dissipates. Late spring frosts can harm tender new growth, and it’s important to keep the mums safe from unpredictable weather.
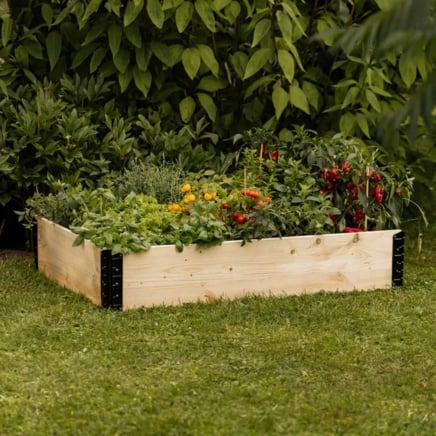
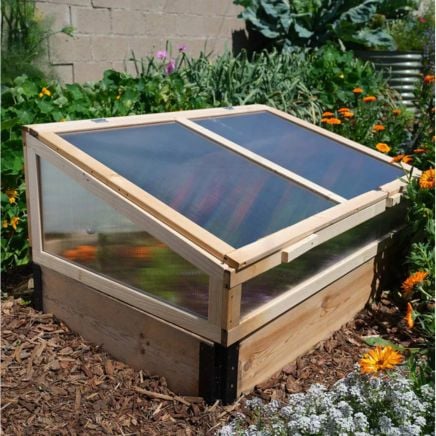
Move to a Cold Frame
A cold frame is like a mini-greenhouse. It consists of a raised bed with a covering on its top that provides insulation for overwintering crops and flowers. Because it rests on the ground, it traps the heat that escapes from the soil and radiates warmth around your perennial mums.
A cold frame works well in regions with harsh winters. It’ll keep the mums dormant and prevent them from sprouting, and it’ll warm them enough so they survive the cold months. Use it to overwinter potted mums in hardiness zones 3 through 8.
Remove Spent Blooms

As with the above process, using a cold frame begins with a proper pruning regimen. Wait until the plants begin to die back in late fall. Then, snip their spent flowers and prune the stems so they’re a foot long.
Remove any pest-riddled leaves or diseased debris, and bury the waste deep underground to prevent the problems from returning. Throw healthy clippings in the compost, or set them on your garden beds to decay.
Bury the Pots

You don’t have to unpot your mums! Simply move the pots into the cold frame, then use the soil inside it to bury half of the pots. Keep them partially submerged so the plants benefit from the ground’s natural heat.
Most cold frames have open bottoms that let you use the soil underneath them. If your frame has a bottom, you’ll need to add mulch inside it to submerge the containers in. Add wood chips, straw, or coco coir, and use the amendments to cover the pots.
Transplant into Cold Frame

If your frame is small or you’d like to maximize the space, consider transplanting the mums directly into the soil. Start by removing their pots. Gently lift them out, and loosen their roots a bit.
Dig holes in the soil, then set each mum inside a hole. Cover the roots, and water the area well. The potted plants will need water every four to six weeks to stay moist, but not soggy. They drink less water during the winter than during the growing season, as they’re not putting out active growth when it’s cold.
Open and Close Lid

On warm, sunny days, you may open the frame’s lid to allow air and light inside. This will prevent the box from heating up too much in late winter, which will discourage early sprouts from growing. Open the lid on warm days, then close it on cold days and nights.
If you haven’t opened the lid in a few days, open it up to let air inside. Damp, stale conditions invite rots and fungi, and so it’s best to aerate the site every two or three days.
Once the last frost is over in spring, leave the lid open to let the plants acclimate to the outside. Transplant them or unbury their pots when you’re ready to move the mums into the garden.
Overwinter Mums Indoors
And finally, you may overwinter potted mums indoors! This is best for keeping florist mums alive, and for growers with harsh winters in hardiness zones 4 and below. The plants will stay in their pots inside, and they’ll be ready to sprout new growth when you move them outside in spring.
Prepare the Plants
As with the above overwintering processes, this method also begins with pruning. Remove any spent blooms and prune the stems so each is a foot tall. This will encourage the plants to enter dormancy for the cold season.
If you notice insects or pests on the leaves, use a hose to spray them off. Also, cut off any dead or damaged growth. If pests are particularly troublesome, consider spraying the perennials with neem or horticultural oil to provide protection indoors. Wear a mask, and spray the leaves outdoors away from flowers and wildlife habitats.
Find a Good Spot
Choose a well-lit and cool location to overwinter potted mums indoors. Avoid areas near heaters or hot ovens, and select a site with bright, indirect sunlight. The goal is to keep the mums cool enough to stay dormant but warm enough to survive.
If the plants are fully dormant, you may store them in a darker spot, like a garage or pantry. They don’t need light while they’re dormant.
While the plants are inside, water them occasionally to prevent them from fully drying out. Overwatering causes root rot, especially while the plants are resting. Let the top two or three inches of soil dry out, then water the plants well.
Move Outside
If the plants are still dormant in spring when late frosts are present, you may move them outside to acclimate to the changing conditions. If, however, they have new sprouts, wait until the weather warms before moving them outside.
Actively growing mum plants are more susceptible to cold damage than dormant ones, so it’s crucial to check their stems for new growth before moving them.