How To Plant, Grow, and Care for Peas
Learning how to grow peas is one of the best things you can do. These versatile, delicious veggies are huge producers and extremely healthy.

Contents
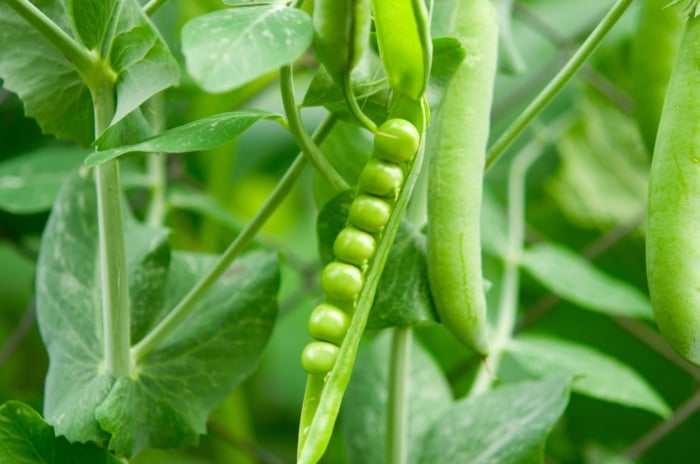
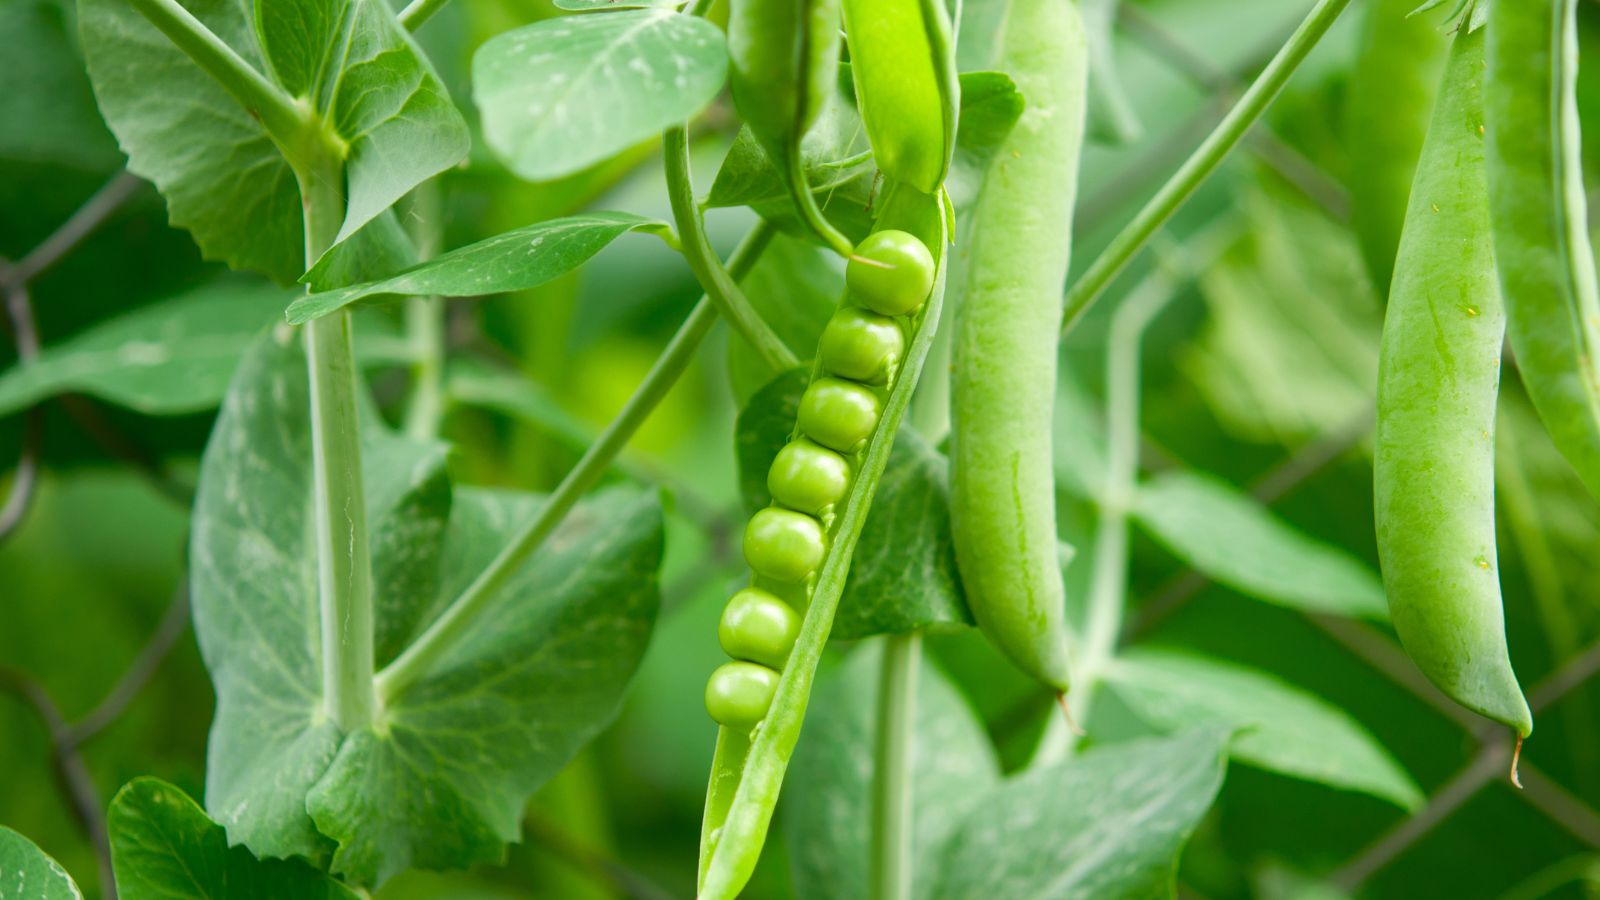
Have you ever wondered how to grow peas? Green peas are one of those tastes that embody spring: bright green, crisp, and sweet. Knowing how to grow peas in the vegetable garden gives us a never-ending supply, and everyone should devote some garden space to this cool-season crop. But peas have an interesting history, too!
Before humans developed agriculture, sweet peas were an abundant crop and a staple food that hunter-gatherer peoples foraged regularly.
Interestingly, the Romans believed that freshly picked peas were poisonous, so they dried all peas before consumption. This was the common practice until a French gardener under the reign of King Louis XIV developed a pea hybrid called petits pois. These smaller, delicious fresh peas exploded in popularity with the king and thus spread to worldwide appeal. Now people all over grow peas.
While we think of peas as a vegetable nowadays, the pod is biologically considered a fruit, and the sweet-tasting peas are seeds. All peas are part of the legume family, along with beans and other podded produce.
Let’s dive into the world of growing Pisum sativum, the pea plant. We’ll go over how to grow peas, what environments are optimal, and even how to store them for eating later!


Quick Care Guide

|
Scientific Name
Pisum sativum
Days to Harvest
Varies with cultivar, 50-70 days
Light
Full sun or partial shade
Water
Water sparingly, ½” to 1” per week as needed
|
Soil
Well-draining soil blended with compost
Fertilizer
Minimal to none
Pests
Root maggot, cutworms, thrips, spider mites, aphids, leafminers, cucumber beetles, army worms, pea weevils, pea moth
Diseases
Damping off, crown rot, root rot, anthracnose, powdery mildew, downy mildew, fusarium wilt, mosaic virus, pea enation virus
|
Pea Varieties
You’ll need to decide which type you want when planning how to grow peas! There are three different varieties of the same plant species that we consider peas today. Let’s go over a few differences and some good varieties to grow for each.
English Peas
Also referred to as shelling peas, standard peas, garden peas, green peas, or common peas, these all fall under the botanical name Pisum sativum var. sativum. Once removed from the pod, you can eat these peas fresh or store them in a number of ways.
However, English varieties don’t have edible pods. The pods are fibrous and tough, so remove them and either compost them or throw them away.
- Green Arrow: Heavy yielder that resists wilt and powdery mildew. Grows to harvest in 68 days. 24–30 inches tall.
- Little Marvel: Ready in 62 days. Dwarf heirloom variety with 18–28 inch vines and small pods.
- Tall Telephone (Alderman): Old heirloom variety that grows up to six feet in height, maturing slowly over 75 days. Requires support.
- Maestro: Under three feet in height. Tolerant to many pea diseases, and harvest-ready in 60 days.
- Lincoln: Heirloom variety, 18–30 inches in height. Requires trellis. Matures in 62 days.
- Dakota: Quicker-growing variety ready in 57 days. Early season variety that grows 22–26 inches in height. Disease-resistant.
Snow Peas

Most commonly referred to as snow peas, these peas are also called edible pod peas or Chinese peas. Pisum sativum var. saccharatum peas are best when the small peas inside the pod are just starting to form. They’re also referred to as flat-podded peas. Throw them into stir-fries or eat them raw.
Once the seeds are mature, the outer pod becomes tough and fibrous, and the pea seeds turn bitter. At that point, they’re best used as seed peas for future gardening. Plant seeds from these pods for more peas!
- Little Snowpea: Early season dwarf variety, ready to harvest in 50 days. 24 inches or shorter with purple flowers.
- Dwarf White Sugar: Stringless early dwarf variety with white flowers. 50 days from seed to harvest.
- Golden Sweet Peas: Golden podded snow pea with attractive purple flowers. Harvest in 61 days.
- Royal Snow: A rare purple-pod variety that grows in 61 days. 30-inch vines with pink flowers.
- Mammoth Melting: High-yielding flat pod pea that matures in 65 days, four- to five-foot vines. Requires support.
- Oregon Sugar Pod: Ready in 68 days.
Snap Peas

Sometimes called sugar snap peas, Pisum sativum var. macrocarpon combines the best of both varieties above. The small peas inside the pod swell up and become sweet and flavorful, like English varieties, and the pod is edible and tasty for fresh eating or in stir-fries.
Snap peas are the best choice if you’re planning to harvest the tendrils or young shoots of the plant to eat. These are the most popular type of peas among most home gardeners, although they’re the youngest type, developed in 1952!
- Sugar Sprint: A prolific and stringless pea that grows in 62 days. Requires trellis.
- Cascadia: Heavy-yielding over 60 days, grows to about three feet tall. Disease-resistant.
- Sugar Magnolia: Deep purple pods that make for easy harvesting after 70 days. Lots of tendrils.
- Sugar Ann: Early variety snap pea that stores well in the refrigerator. Fast-growing at 52 days.
- Spring Blush: 70 days to harvest. Rare two-toned snap pea pods that grow up to six feet. Requires trellising.
- Sugar Daddy: Self-supporting 24-inch pea plants, ready for harvest in 65 days. Good disease resistance.
- Super Sugar Snap: Tall five-foot vines that require support. Great flavor you can harvest in 58 days.
Planting

Peas are a cool-season crop. Most people plant peas in early spring as soon as the soil is workable, as they can tolerate light frosts. Plant six weeks before the last frost date if the ground is warm year-round.
Planting peas in fall is also an option. Plant eight to 10 weeks before the first frost for best growth and the largest fall harvest.
In California or the Gulf states, many people grow peas from seed all winter and early spring. The plants prefer cooler temperatures. Gardeners in the south typically sow peas as a mid or late fall crop. The seeds go dormant throughout the winter and sprout as soon as possible in the spring. This ensures an early spring harvest.
Unlike many other plant types, plant your entire cool-season crop of peas at once, whether early-season or late-season plants. This gives your plants the maximum time to produce before it becomes too warm or too cold. Planting peas like this ensures you’ll have an abundant crop with a steady harvest over a few weeks rather than a large crop all at once.
Location
As peas tolerate partially shaded conditions, plant your peas in beds that receive anywhere between four to eight hours of sun or a mix of dappled shade and sun. This means that peas can go in areas that other vegetables can’t!
When choosing how to grow peas, you can plant them nearly anywhere if you’re using self-supporting or dwarf varieties. However, vining varieties need trellising or staking to offer support as they grow.
Larger pea plants require more support. If you’re planting a variety that is anticipated to reach five to six feet in height, have your trellis in place when you plant so that the peas can climb.
Avoid planting in areas with high winds, as pea vines are sensitive and can suffer damage if blown off their supports.
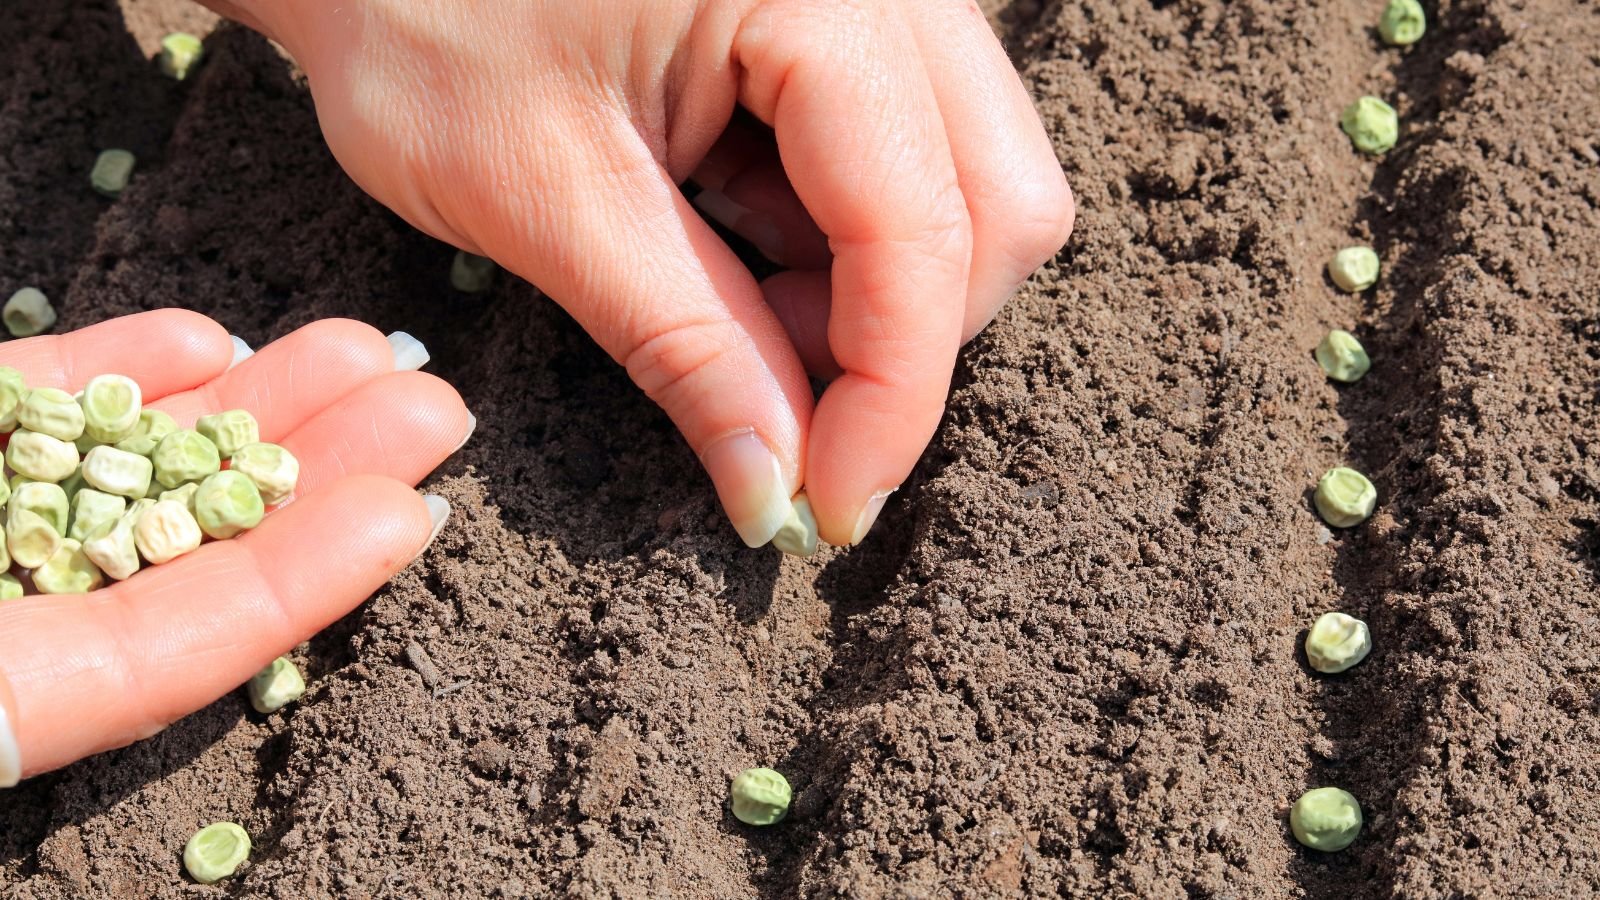
Peas prefer to be direct-sown deep in the soil, unlike other types of seeds. Plant seeds 1.5 to two inches deep, with two peas per hole. Once they have sprouted, thin as necessary per seed packet directions.
You can plant a row of peas on either side of a trellis to increase the size of your crop yield. Self-supporting varieties do not require support but can sometimes benefit from it if they are heavy-producing types.
Pea seedlings benefit from an inoculant like Rhizobia that helps them absorb nitrogen from the air and soil. Inoculants are available as a powder. Wet the pea seed and roll it through the inoculant just before planting for best growth.
How to Grow
Now it’s time to talk about the care needed to grow peas from seed. Stick to these tenets, and you’ll be set!
Light

While peas can handle full sun (eight hours a day) conditions, they are more tolerant than other plants of part-shade conditions. The minimum amount of light is six hours per day, but you can grow peas on as little as four hours of full sun if they get occasional dappled shade.
Watering
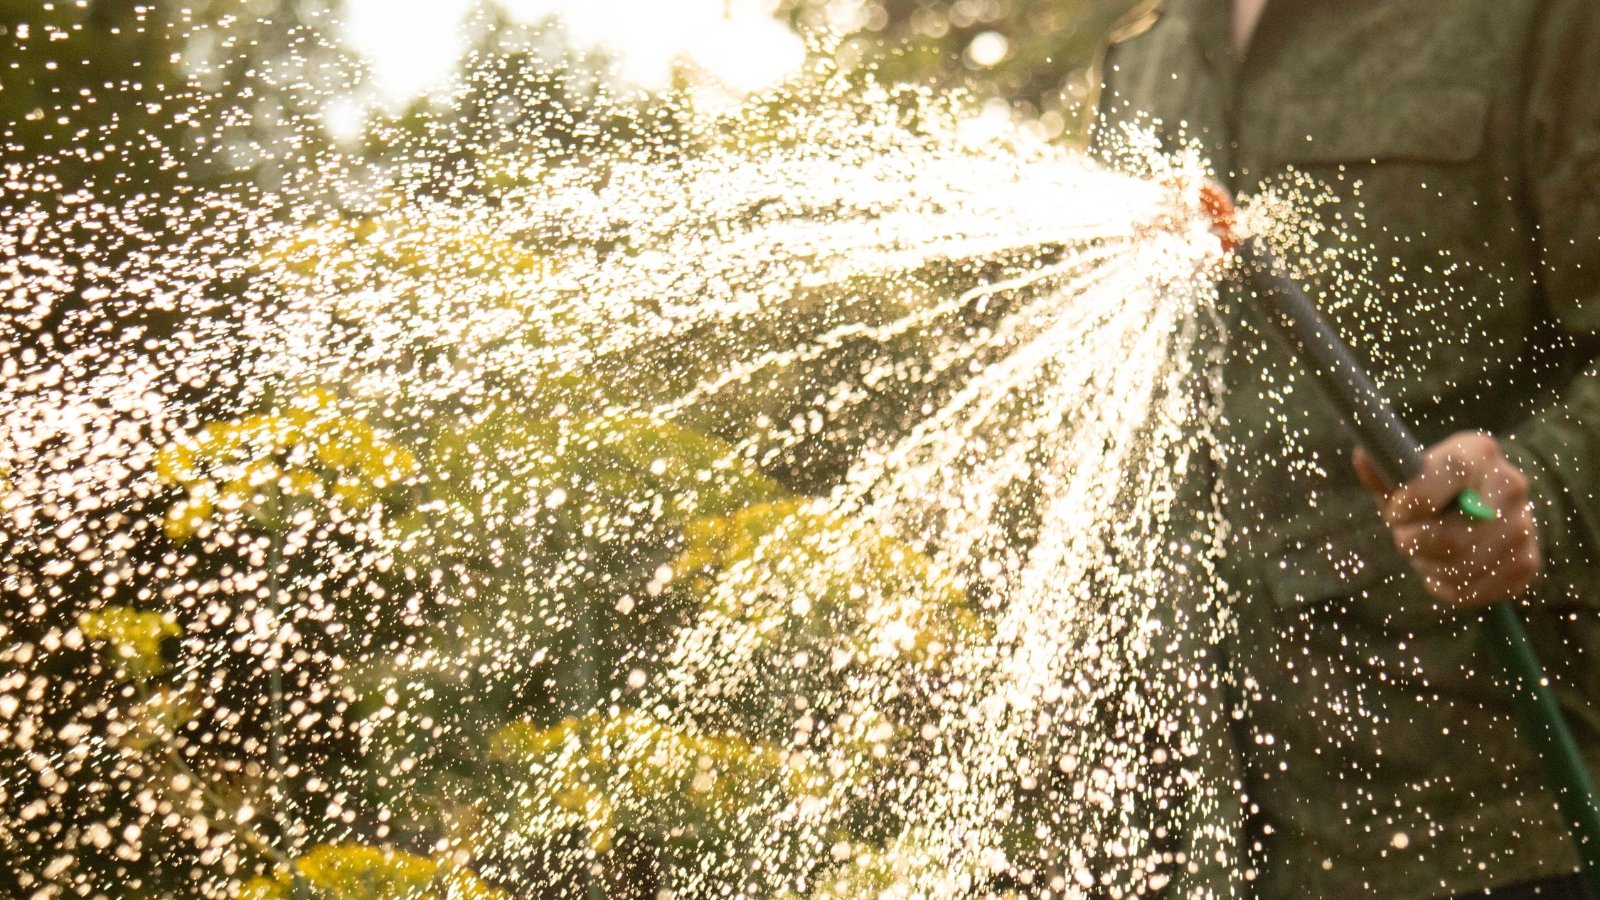
Finding the right balance of moisture for your pea plants can be tricky. While peas do like moist soil, they don’t like wet soil as they are susceptible to root rot.
Water half an inch per week during germination and when the plants are small. Gradually increase to one inch of water per week to promote production when the plants reach maturity.
Warmer weather causes dry soil. Place about two inches of mulch around your pea seedlings to keep soil moisture from evaporating from your well-drained soil. The goal is to keep the soil uniformly damp.
Soil

A sandier soil spurs peas to produce more quickly, but overall, peas prefer loamy, well-drained soil with lots of organic material. Organic matter like compost absorbs any excess water and reserves it for the plants.
If you are planting in the fall, your peas may prefer richer and denser soil than in the warmer months. This keeps the soil moist and protects their roots in the cooler weather of the fall months.
Peas prefer a soil pH between 5.6 and 6.8. Do a soil test to optimize your soil. They are nitrogen-fixing plants, which means they will supplement and replace nitrogen in the soil.
Temperature
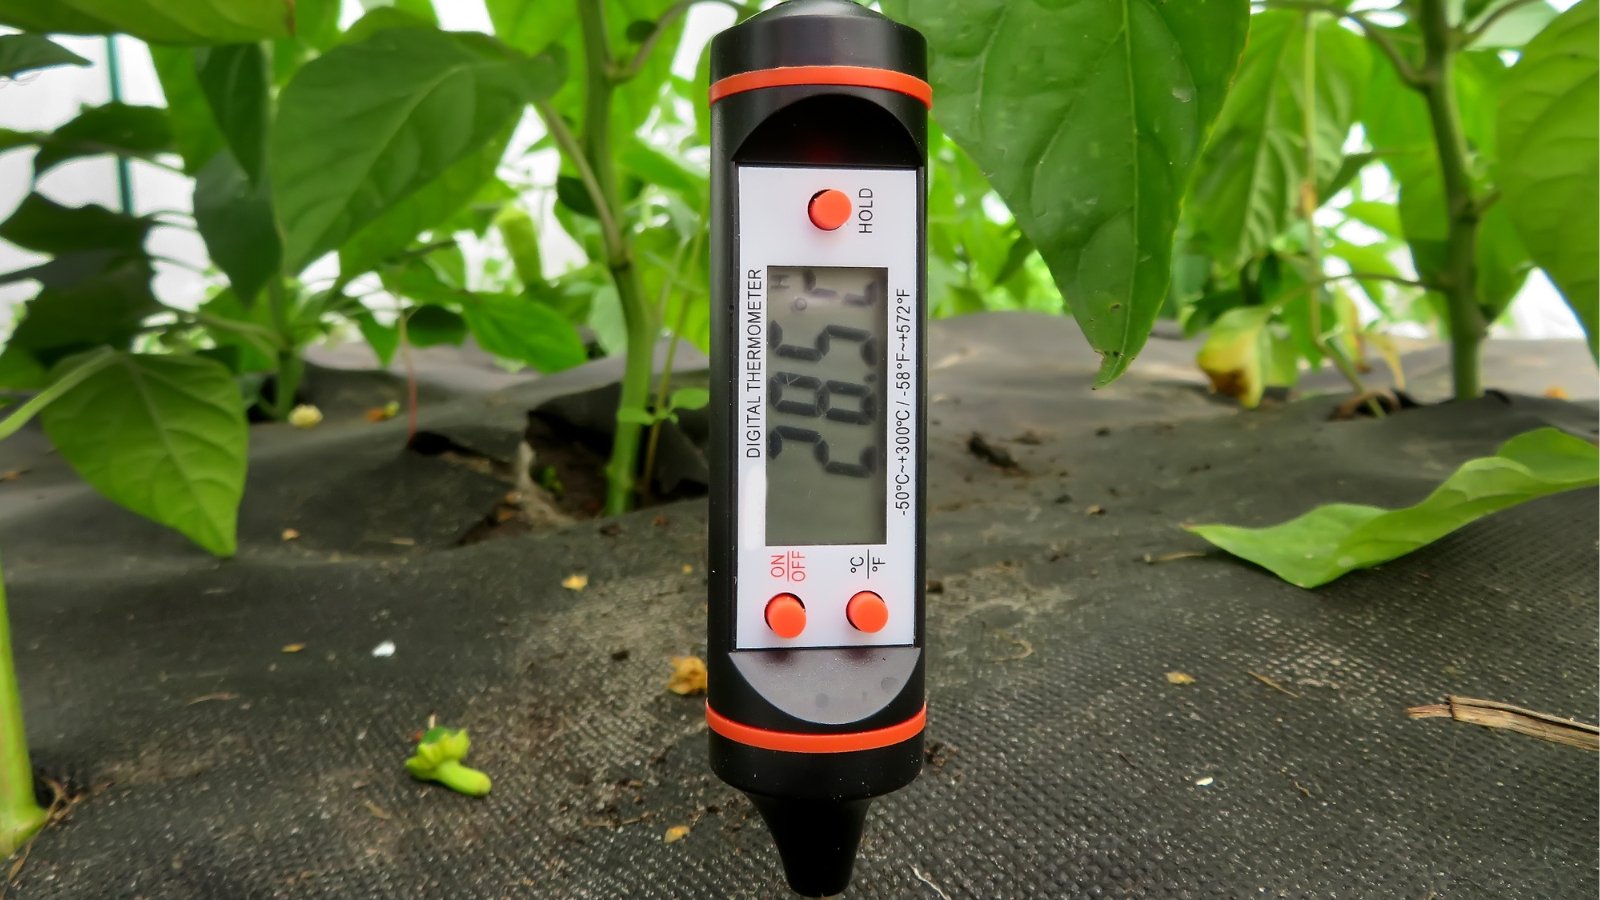
Outdoors, 55°F to 70°F (13°C to 21°C) is the perfect temperature range for pea production. Peas grow well in cooler temperatures too but may not produce as heavily until the temperature warms to 55°F (13°C) or higher.
Peas don’t like hot weather conditions. Temperatures that regularly reach 75°F (24°C) or higher will cause heat stress. Above 80°F (27°C), they wilt and die back. You’ll need your plants to reach full maturity and produce before the weather gets too warm.
Fertilizing

Generally, peas do not require much fertilizer. If you wish to, use a balanced low-NPK fertilizer to offer a small boost. However, if your soil is rich in organic matter and has some aged garden compost or aged manure worked in, there’s no need for fertilizer.
When the plants are about six inches tall, spread a thick layer of compost around them to add a little nutrition and to maintain soil moisture. Otherwise, they need little extra fertilizer.
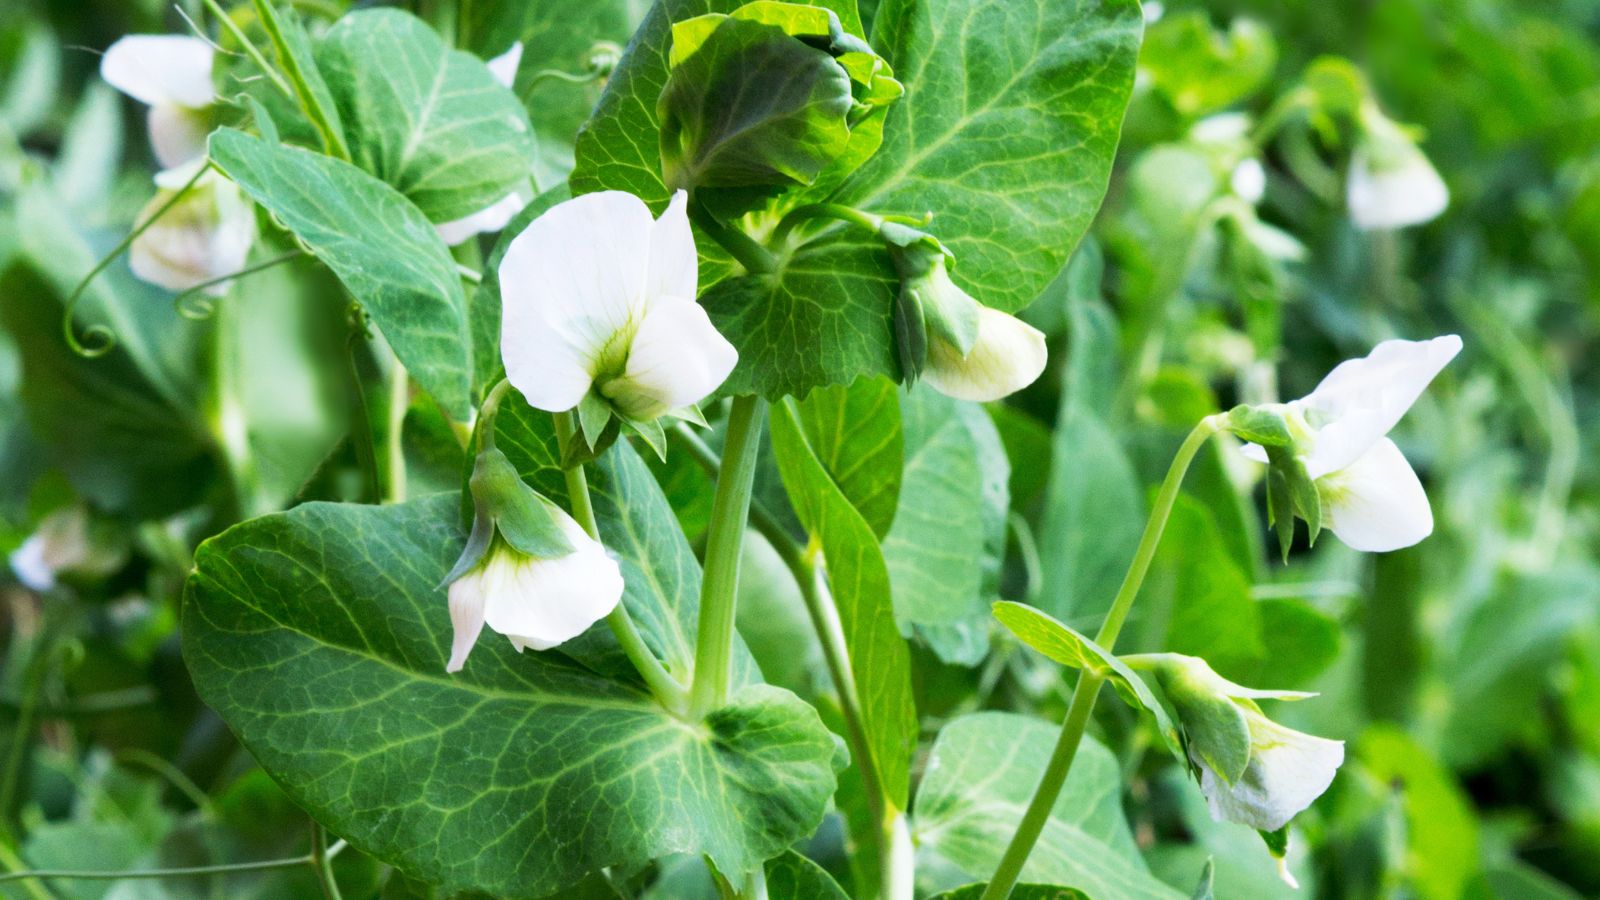
Pruning & Training
While the self-supporting shorter pea types don’t need training, the vining types do. As the pea plants grow, gently hook the tendrils onto the bottom of your trellis. Use either a trellis made of strings attached to posts or a commercially made wooden trellis.
The bright green pea tendrils will wrap around the trellis and hold on. As they continue to grow, they may occasionally require a little direction. Even without human assistance, they’ll find their way up on their own.
While peas do not require much pruning, many people harvest small amounts of pea tendrils or shoots. Tender and tasty, these bits of young plants are an edible and delicious addition to salads or other culinary delights.
To harvest tendrils and shoots, wait until your plant has grown above the base of the trellis and is anchored. Trim the first pair of leaves and any attached tendrils beside them, leaving all other leaves and tendrils to hold on. This encourages the vine to fork and produce more growth.
When you harvest peas and you don’t anticipate any further produce, cut off all of your vines at ground level. Mulch the pea greens and leave the roots in the ground to deteriorate and release all their nitrogen back into the soil.
Propagation
eas are easiest to propagate from seed. To harvest peas for seed, allow some fat, perfect-looking pea pods to remain on the plant. The higher the quality of the pods you leave, the better the seeds will be.
Over time, they will turn brown and dry out. You’ll know it’s time to harvest peas for seeds when the seeds rattle inside the inedible pods. At that time, pick the pods and remove the pea seeds.
Dust off any chaff, fibrous strings, or material clinging to the peas’ exterior. Spread them on a tray, and allow them to dry in a comfortable indoor location. Any remaining chaff could rot or mold, so make sure the seeds are clean.
Once these have dried fully, place your peas into a clean and dry envelope. Add a desiccant packet to remove any moisture from the envelope, seal it, and mark it with the date. Your seeds should remain viable for up to three years.
Replanting
Before planting your homegrown garden pea seeds, place them in water for 12 to 24 hours to absorb some moisture. When you plant, coat your seeds in an inoculant powder and then plant peas as described above.
Unlike other plants, garden peas do not do well as transplants. They have fragile, delicate roots that are easily damaged. If you want to risk it, use a peat pot and plant it directly in the soil. However, it is best to direct-seed.
The yield for one pound of seeds is around one bushel of garden peas, or two bushels of pea pods, depending on what type of pea you are growing. You’ll be able to plant one 100-foot row with a pound of seeds. For home consumption, grow around 40 plants per person per season. Save extra pea seeds for about three years before they go bad.
To maximize space in your garden, plant peas with spinach, lettuce, radishes, or any other fast-harvest plant. You can also plant with potatoes or cucumbers. The only vegetables they don’t do well with are onions and garlic.
Harvesting
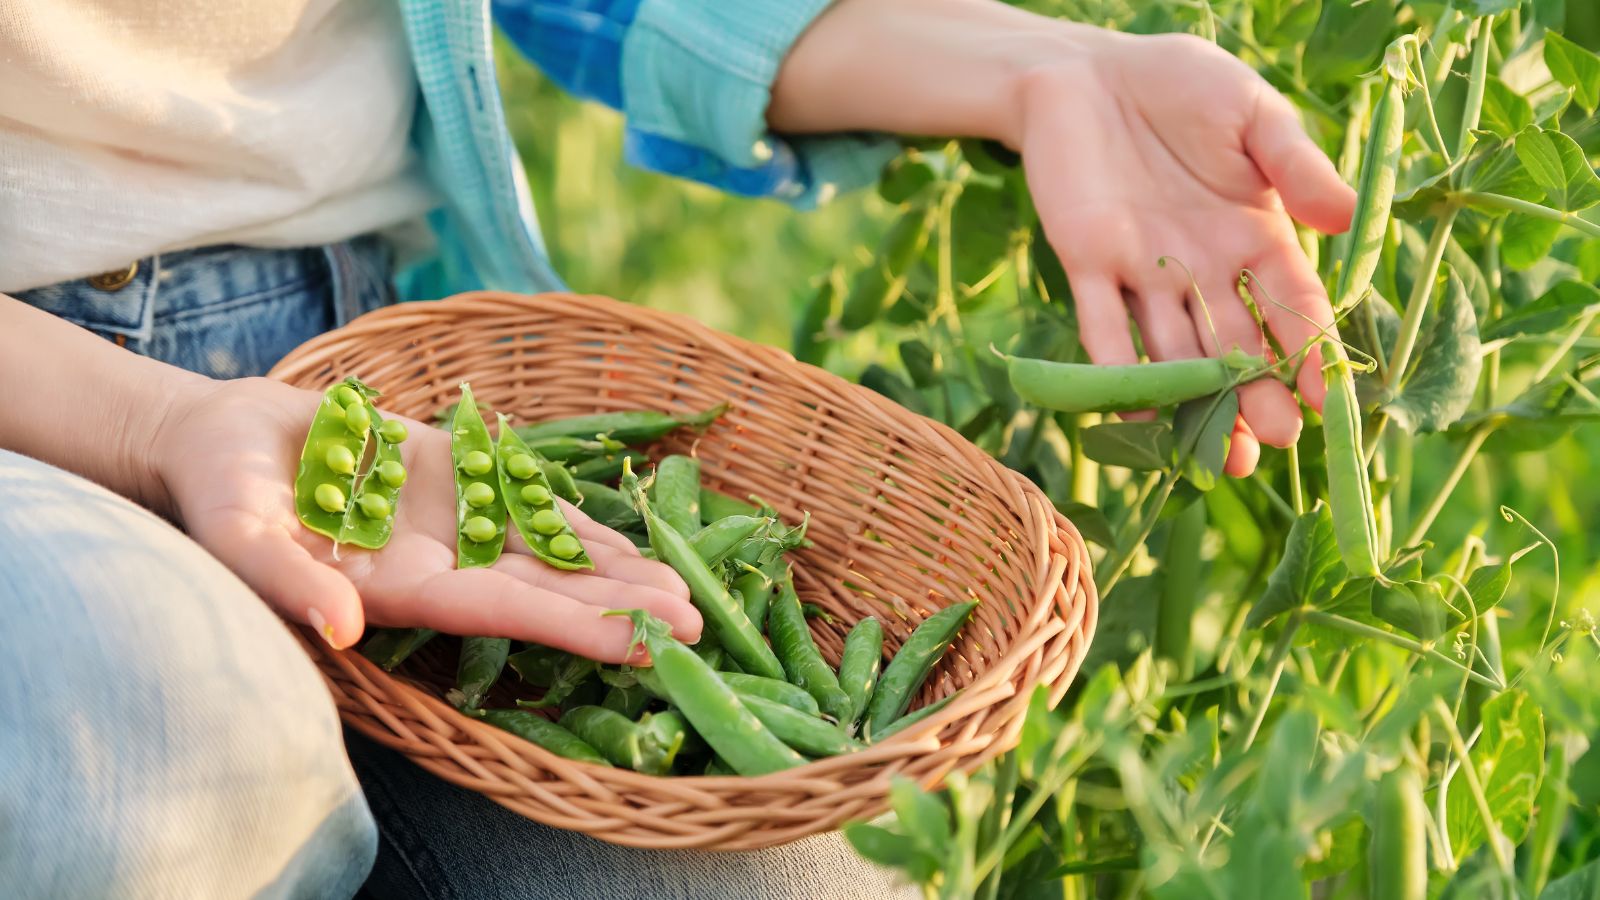
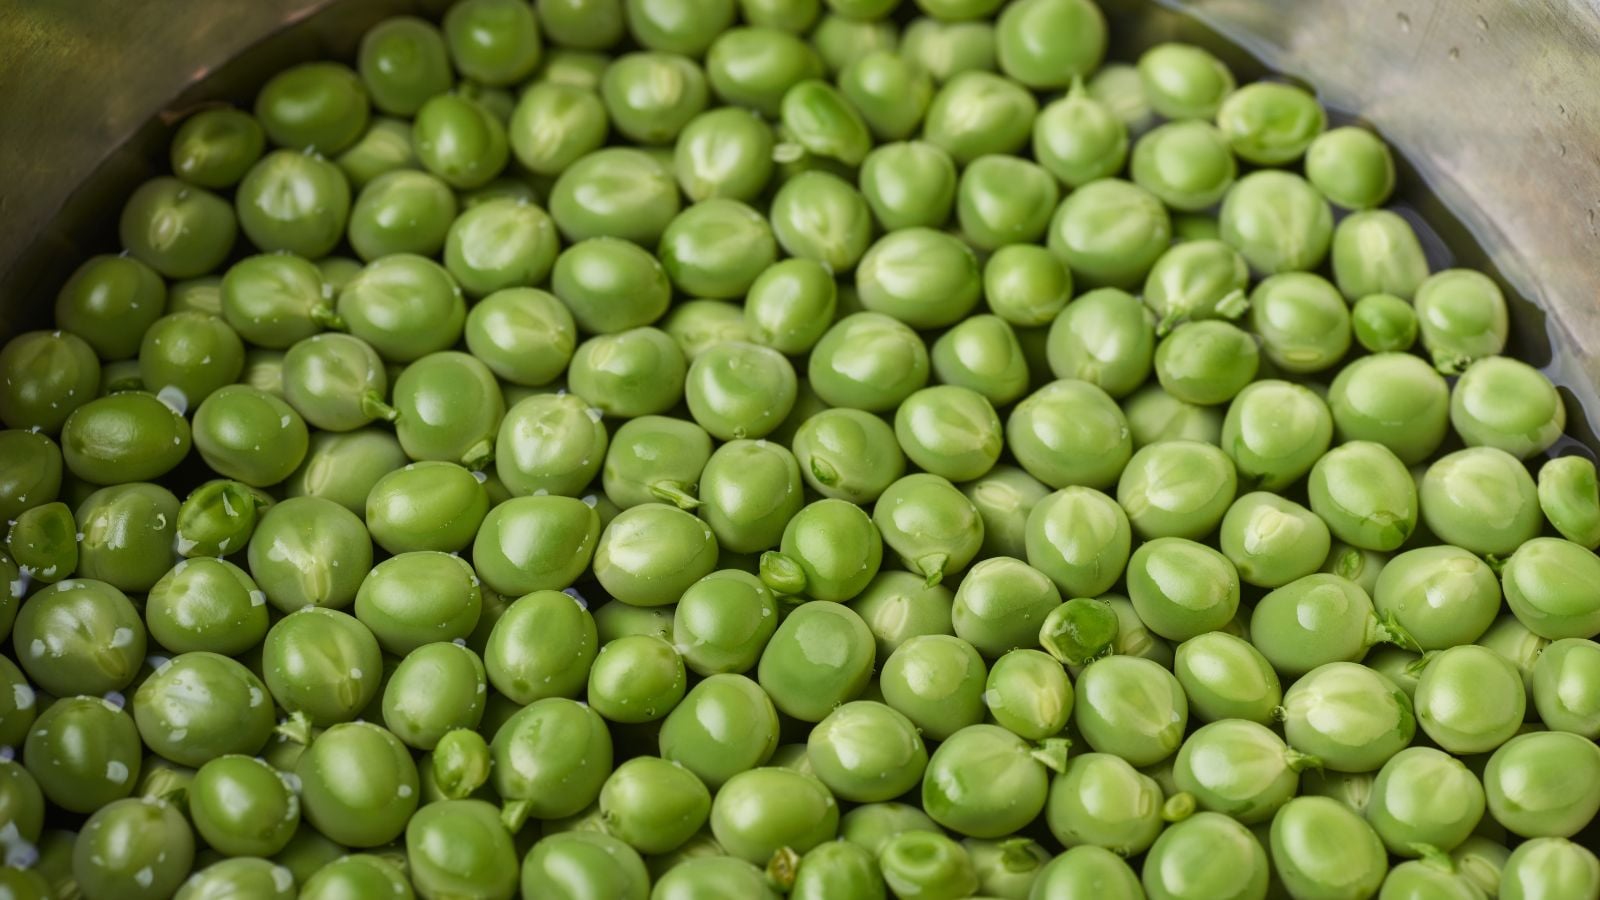
Most types of garden peas are best when they’re fresh off the plant! This holds true for all three major varieties of peas. However, you can store them. Let’s go over the best ways of harvesting and storing your peas.
Harvest peas in stages. Each type of pea matures at a different rate and will be harvested at a different point.
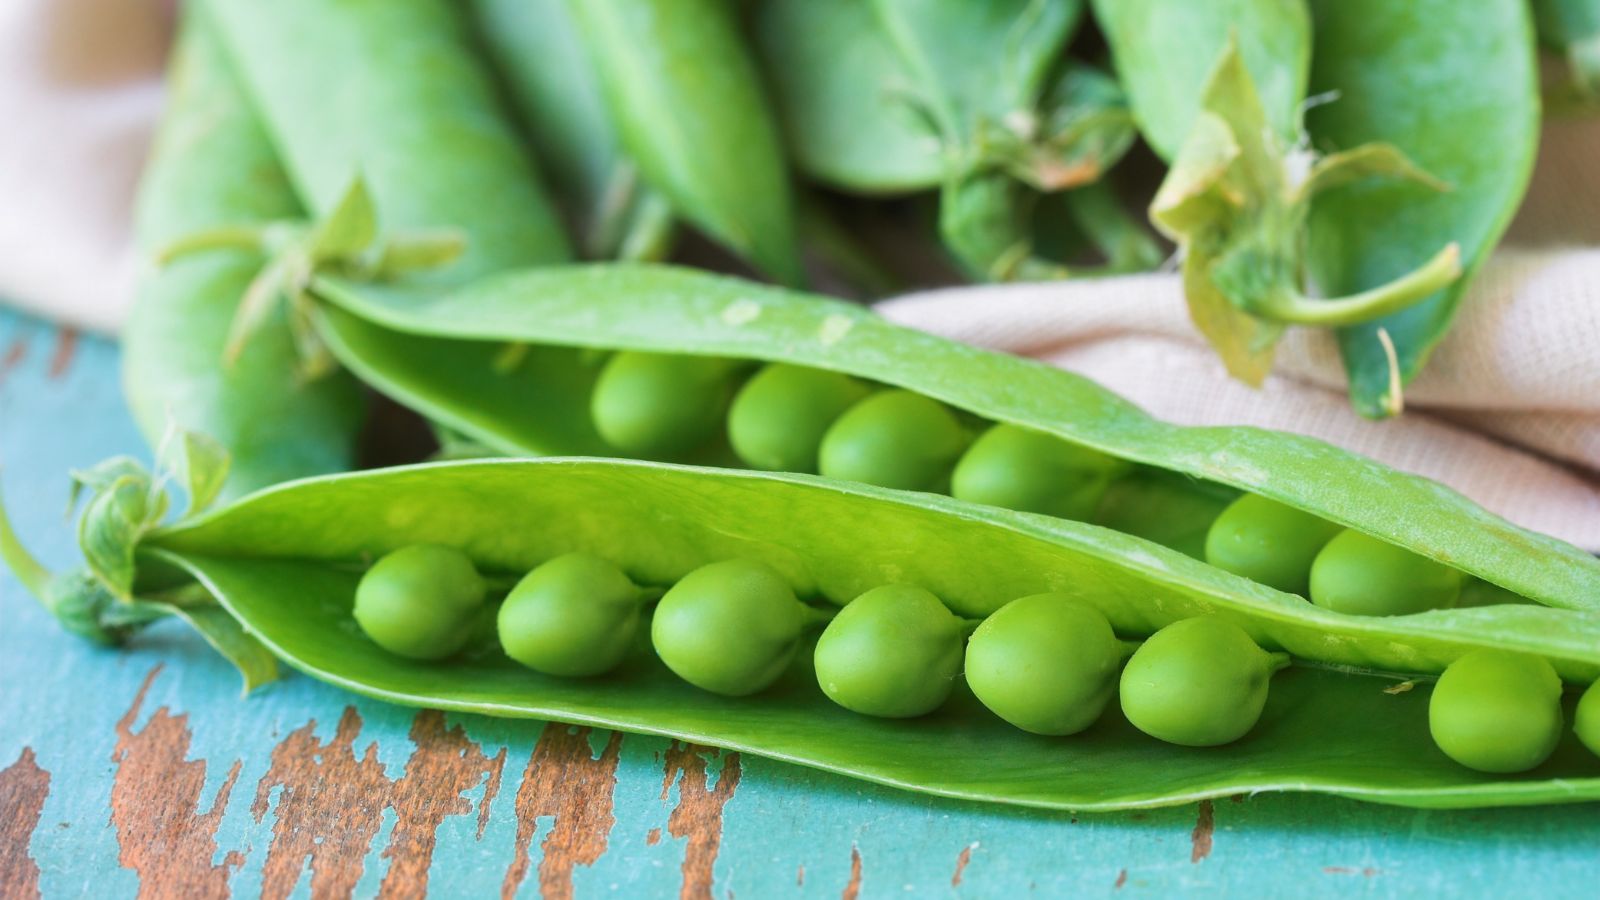
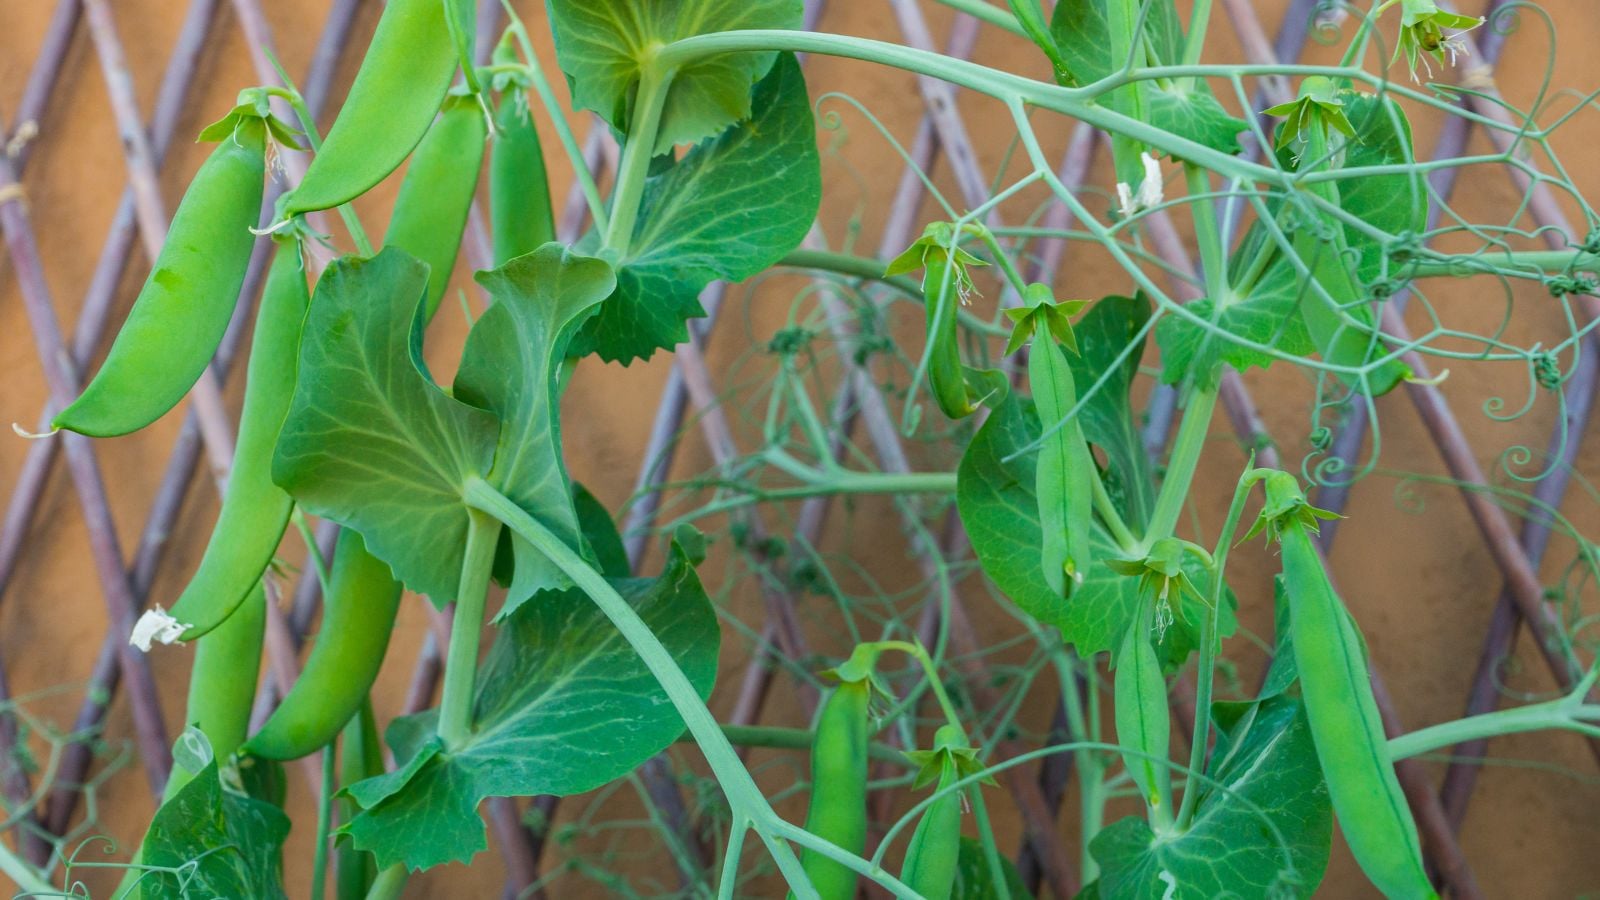
Pick shell peas when they reach their full pod size, with the peas inside the pod feeling full-sized but tender. Pick snow peas when you can see the beginnings of peas forming inside but while the pods are still flat. Harvest snap peas for eating when the edible pods are completely plumped up and close to full pod size, but while they are still juicy and fat.
If you are growing peas to harvest seeds, leave the pods on the plant until they dry out and the seeds rattle around inside.
Harvest with scissors or use clippers to snip off the stem just above the pea pod. If you don’t have scissors handy, use one hand to hold onto the pea plant while the other pulls the pea free. This prevents damage to the vine.
Using your garden peas within a few hours of picking them nets the best-tasting peas you’ve ever had. However, you have options if you have too many to eat or want to store peas for the winter.
Storage
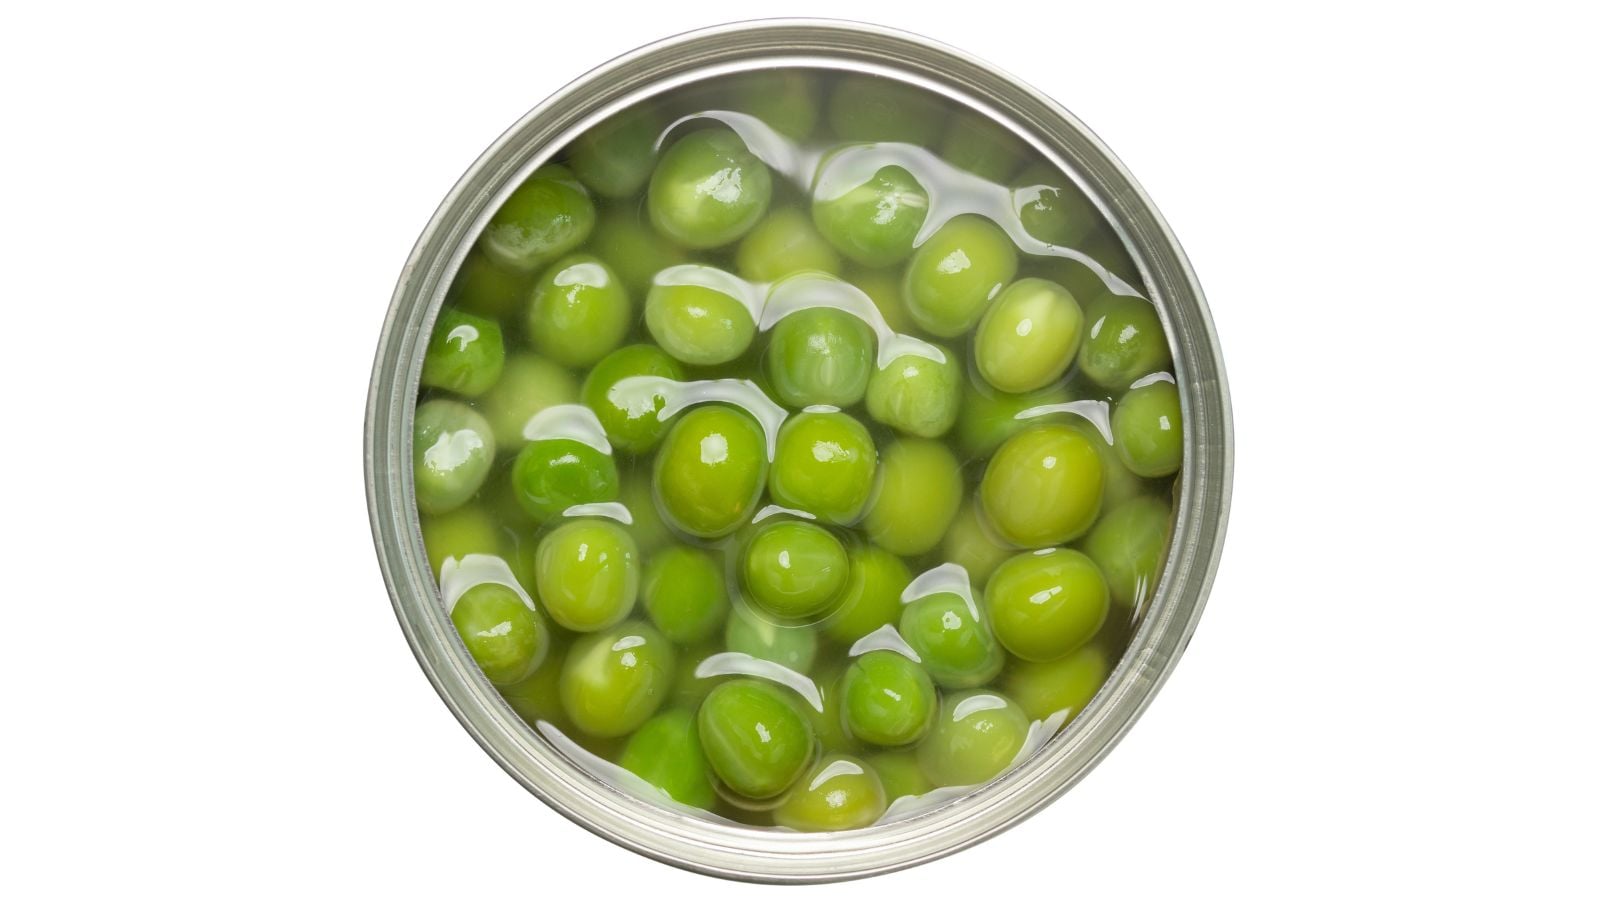
You can can most English shelling peas. As peas are a low-acid food, you must use a pressure canner to prevent spoilage.
You can freeze all types of peas. Snow peas and snap peas can go in the freezer in the pod. Snow peas withstand this process more easily than snap peas and lose less moisture while frozen. Note that all frozen peas should be stored in an airtight container.
You must shell English shelling pea varieties before freezing. For English types, follow this process: shell peas, blanch them in boiling water, and then place them in ice water to stop the cooking process. Dry them thoroughly before putting them in the freezer.
You can freeze-dry both snap peas and snow peas, although snap peas are better for this process. There is no need to shell peas in this case. This creates crunchy, delicious dried peas. Store them in an airtight container with a desiccant packet to remove moisture.
You can also dehydrate peas, both in-pod and out. Store dehydrated peas in an airtight container with a desiccant packet. Dried shelling peas last for four to five years in an airtight container, whereas in-pod peas last for less time, and you should use them within a year or two of harvest.
Store your preserved peas in a cool, dark, and dry location like a pantry or cupboard.
If you’ve harvested peas to use within a few days, refrigerate them. Place in-pod peas in a ziplock bag with a paper towel and press the air out after washing and drying them. The paper towel absorbs excess moisture and keeps them fresh. Use within three days for the best flavor.
Eat pea tendrils and pea shoots the same day as harvest. These do not store well, so if you are not going to use them, compost them or turn them under the soil surface.
Troubleshooting
When you grow peas, they can be tricky to troubleshoot, as they are susceptible to a wide variety of pests and diseases. Even if they are not diseased or infested, they can occasionally have other problems. For many of these problems, practice crop rotation and maintain your garden’s cleanliness to prevent them.
Growing Problems
If your plants are producing no flowers, you may have a lot of nitrogen in your soil, boosting plant growth. This is a good time to pinch back the ends of your vines, harvesting those tasty pea shoots and tendrils for a salad. Pinching them back encourages flower production.
Woody, fibrous pods occur when you don’t harvest your peas early enough. Check your pea plants regularly and harvest pods right as they ripen. A pea plant can produce more pods throughout its lifespan, and regular harvests encourage more pod growth.
Pea plants that stop producing pods and turn yellow are suffering from too much heat. They can rapidly die at this stage if the weather does not turn cool. Plant early varieties or heat-resistant cultivars in warm regions to avoid this problem.
Pests
Some types of root maggot will devour the tender roots of pea plants. These can be complex to combat, but maintaining a colony of beneficial nematodes in your soil helps with soil-level pests.
Cutworms love to chew through vines. Place a collar or tube around the base of your plant, pressed slightly down into the soil. This keeps the cutworms at bay.
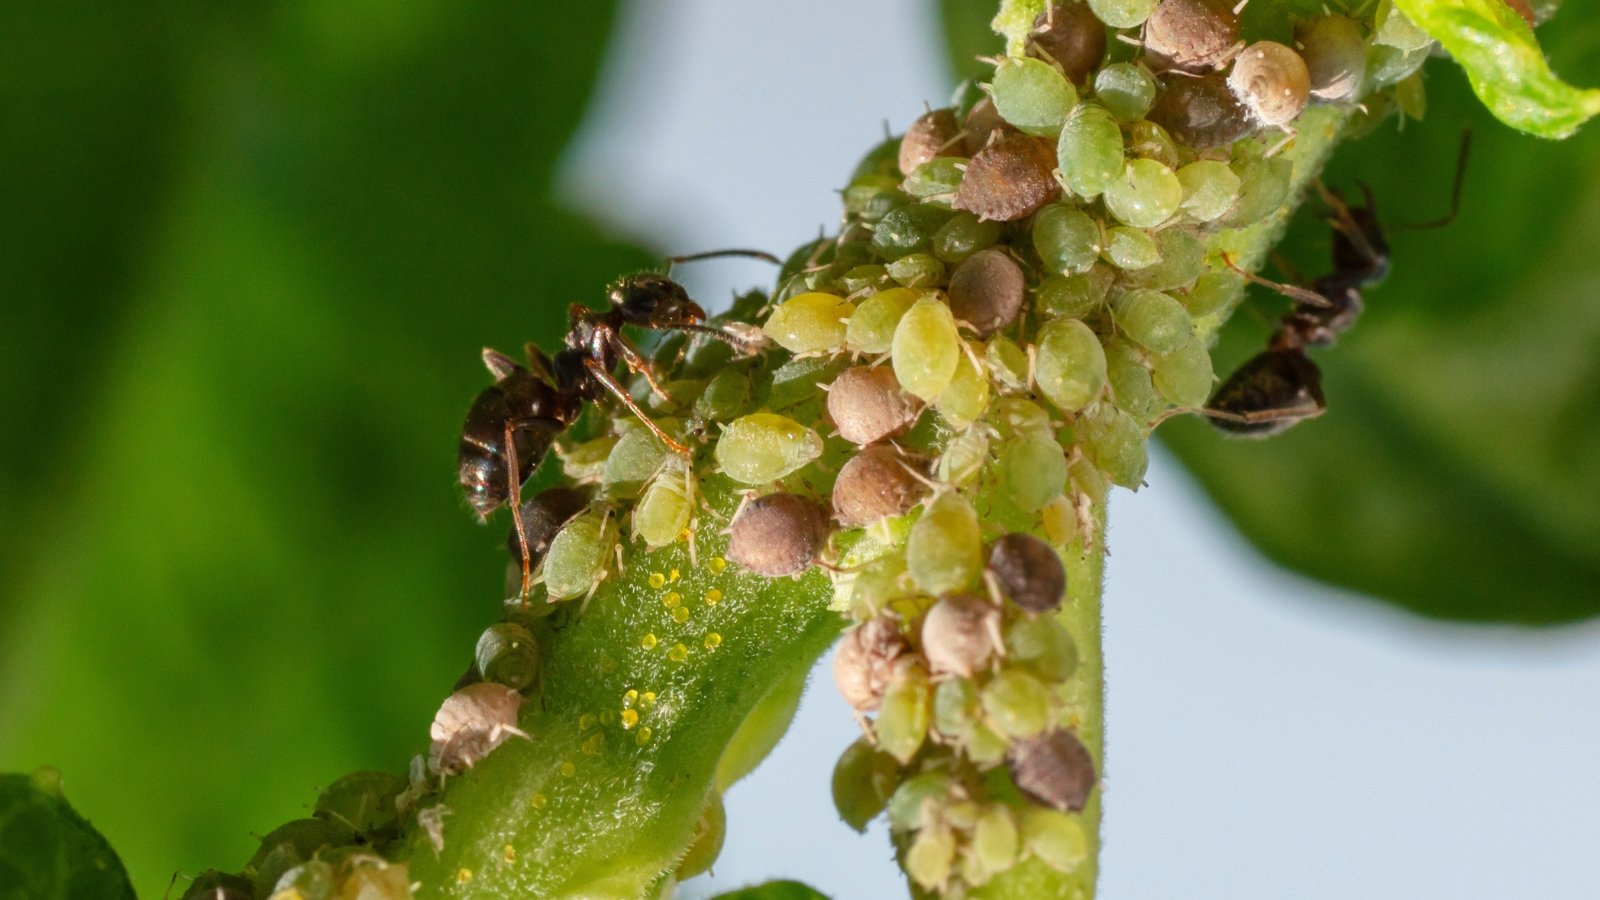
Thrips, spider mites, and aphids all congregate on peas, both the fruit and the vines themselves. You can wipe out all three of these sap-sucking pests by spraying a coating of neem oil on all plant surfaces.
If you’re finding tunnels in your leaves, they may be under attack by leafminer larvae. Remove any infested leaves and destroy them.
Cucumber beetles will consume peas as well. Some pea cultivars are resistant to pests. If you have seen cucumber beetles in your yard, plant those resistant cultivars and mulch around your plants to slow their progress.
Armyworms can skeletonize the leaves of your plants. BT sprays will help you eliminate them. Bacillus thuringiensis (BT) is a bacterium that will poison most caterpillar species.
Finally, the pea weevil can cause notched leaves and holes in flowers. Use a pyrethrin spray to kill off weevils. This also eliminates other beetle species.
For most of these insects, floating row covers protect plants from infestation.
Diseases

Damping off, or seedling wilt accompanied by a dark, water-soaked stem, is caused by a fungal infection in the soil. This fungus is common in humid areas. To avoid it, plant seeds in warmer soil that is well-draining and rotate your crops annually to prevent fungal development.
Crown rot and root rot are common problems for pea growers. Improve your soil drainage and destroy plants suffering from these rot issues.
Another fungal disease that regularly plagues pea vines is anthracnose. This fungus responds well to copper-based fungicides.
Both powdery mildew and downy mildew are risks in your pea patch. You can treat both with a fungicide, and they also respond well to regular applications of neem oil.
Finally, there are a few diseases that require plant destruction. While no treatments exist for these plant diseases, catching them quickly on one plant protects the rest of your crops. Practice crop rotation and good garden hygiene to prevent them altogether.
Fusarium wilt causes yellowing of the leaves and an orangish discoloration on the stems. It resides in the soil. Avoid planting susceptible plants in that location for a few years or remove and replace the soil in that container.
Mosaic virus is spread by aphids and leafminers. This causes dark and light mottling and distortion on leaves. To protect your garden from mosaic virus, eliminate aphids and leafminers before they can spread the virus to your plants.
Pea enation virus is also spread by aphids and is fatal to your plants. If both your plants and their pods show deformation, and the leaves are blistering, remove the affected plants and destroy them.
Frequently Asked Questions
Are cowpeas a type of pea?
While their name might imply it, cowpeas are not peas. While they are also classified as a legume, cowpeas are actually a type of bean. Also called black-eyed peas, crowder peas, southern peas, and yardlong beans, cowpeas have different needs than peas do for optimal growth conditions and shouldn’t be mixed up with the other peas. They are best grown if treated just like beans.
What can you plant right after growing peas?
A common choice right after growing peas in a patch is cucumber, as they can often use the same trellis to grow on and can be trained to grow upright. However, choose resistant cultivars if you’ve had any issues with fungal soil infections like fusarium wilt. Cucumbers love the added nitrogen that deteriorating pea roots leave in the soil.
If you’ve found cucumber beetles in your peas during the season, avoid planting cucumber. Consider instead a crop that is not susceptible to cucumber beetle damage.
Do peas need to climb?
Yes. Have your peas planted by a trellis or pea sticks for support. Their tendrils will grab on and climb.
How long does it take peas to grow?
Depending on the variety, peas take roughly 50 to 75 days to mature.
What month do you plant peas?
It depends on your frost dates. When planning how to grow peas, it’s best to sow peas in early spring or mid-spring in most USDA hardiness zones. In warmer zones, they can be sown in fall. Most of the time, this means February through April or October.
How many peas do you get from one plant?
A healthy pea plant will produce roughly 30 edible pods.
Do peas produce more than once?
Yes, Harvest the edible pods as they mature, and you’ll have a continuous harvest until weather conditions are inhospitable for the plant.