How to Grow Garlic Indoors in 5 Easy Steps
Can you grow garlic indoors? The answer is yes! You may cultivate tender garlic foliage in apartment gardens and indoor rooms. All you need is some garlic, supplies, and a well-lit room. Join garlic grower Jerad Bryant to learn how to cultivate this root crop indoors with five easy steps.


Contents
Indoor garlic growing is a niche hobby. Most gardeners prefer to plant cloves outdoors in the fall for summer harvests. So, why would you want to plant this bulbous perennial indoors?
If you, like me, prefer eating garlic on everything, you’ll want to try growing this crop indoors year-round. Your potted specimens won’t produce large bulbs, but they will sprout edible leaves that you may snip off to eat. They need little care to thrive, and they’ll produce leaves indoors when nothing else grows outside.
Garlic leaves have a sweet-savory taste that blends well with fresh and prepared dishes. Chop them up in salads, or leave them whole in stews and sautés. Not only are they versatile in the kitchen, but they’re also easy to grow indoors.
These five straightforward steps will guide you through the process if you want to grow garlic indoors. Try this method indoors while your garlic crop overwinters under cover outdoors. Or, try it if you live in an apartment or condo with limited gardening space.
Step 1: Select Your Garlic

To grow garlic indoors, start by choosing a variety you’ll enjoy eating. The leaves resemble the cloves, so it’s best to select a good-tasting variety you know you love. If you’re unsure what type you like, simply choose organic bulbs from the grocery store and use their cloves for planting.
It’s best to choose softneck types, as they don’t need cold weather to thrive like hardneck garlic. Hardneck garlic grows a scape with mini-cloves called bulbils or bulblets. Softneck types lack a scape, and they’ll thrive in the warmth of the indoors.
Elephant garlic is actually a type of leek, though its bulbs taste and cook like garlic. It’s a hardneck type and grows best outdoors.
Instead of planting cloves indoors, you may also plant perennial garlic chives. This species, Allium tuberosum, grows leafy foliage and small bulbs that are both edible.
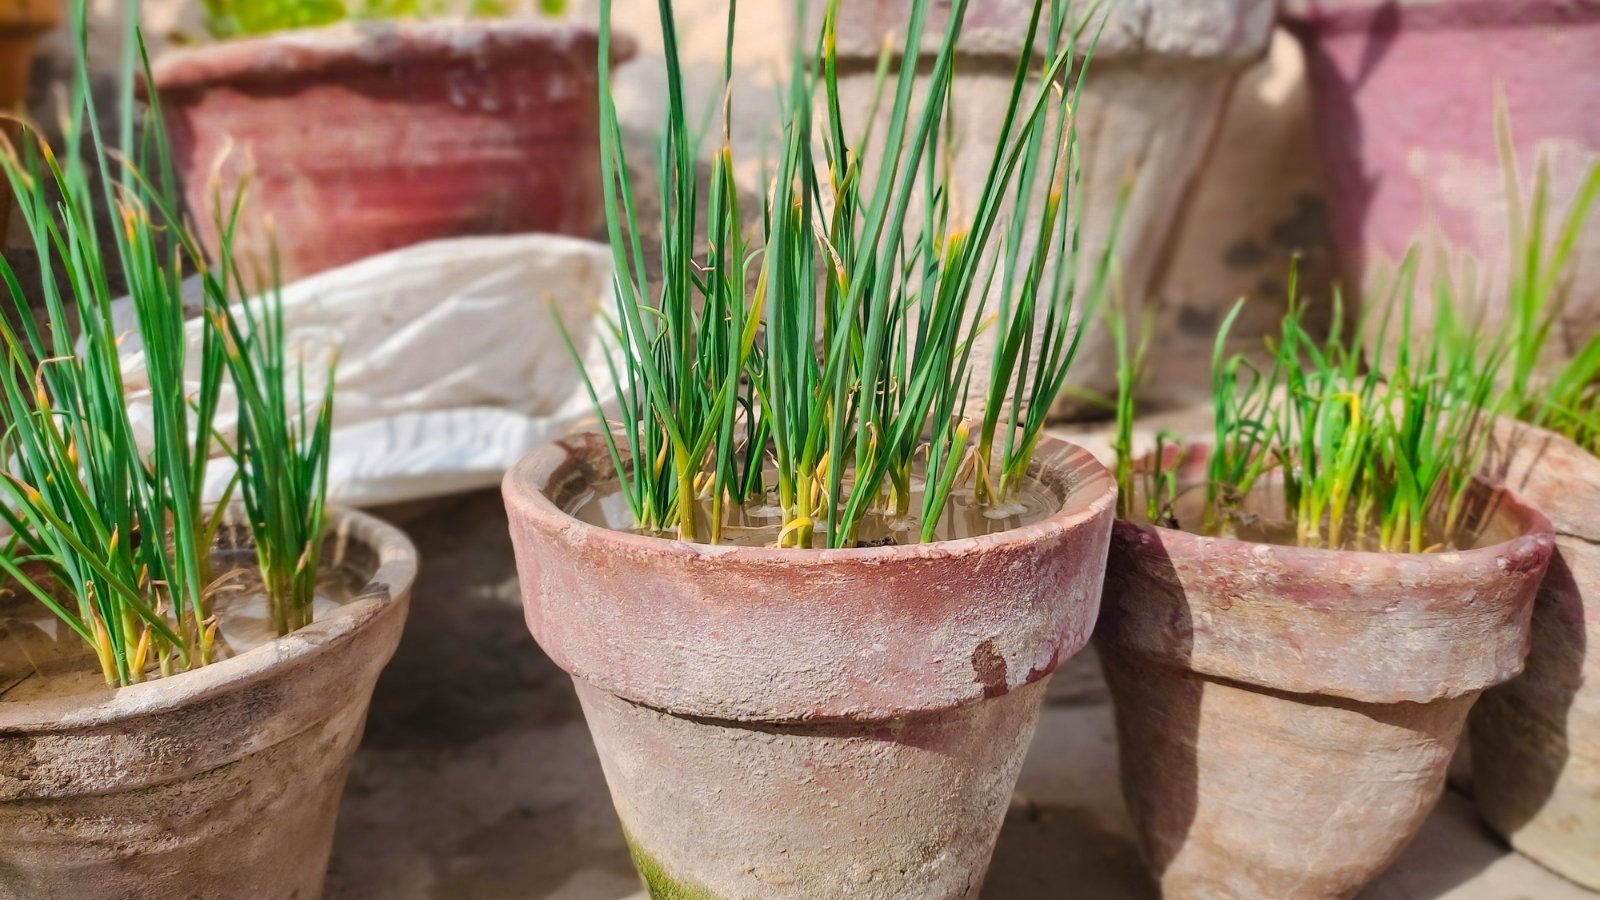
Step 2: Prepare Growing Site
This perennial needs direct sunlight to thrive. It’s best to grow the bulbs in pots near a sunny window with at least three hours of daily direct sunlight. In dark rooms, consider adding plant grow lights to brighten the space.
This bulb prefers growing in well-drained soil. It’s especially prone to root rot indoors, and it’s best to keep the soil on the drier side to prevent mushy roots. Add perlite, vermiculite, or pumice to your soil mix to boost the drainage.
Outside, water drains into the soil. Indoors, you’ll want to set up pots with bottom trays to capture excess moisture. Use individual saucers for round pots, and place square or rectangular bottom trays underneath seed starting trays.
A single clove needs a pot eight inches deep and more than four inches wide. Use multiple small pots, or plant many cloves in a single large container. Because you’re cultivating the foliage and not the bulbs, you may pack the plants close together in the containers.
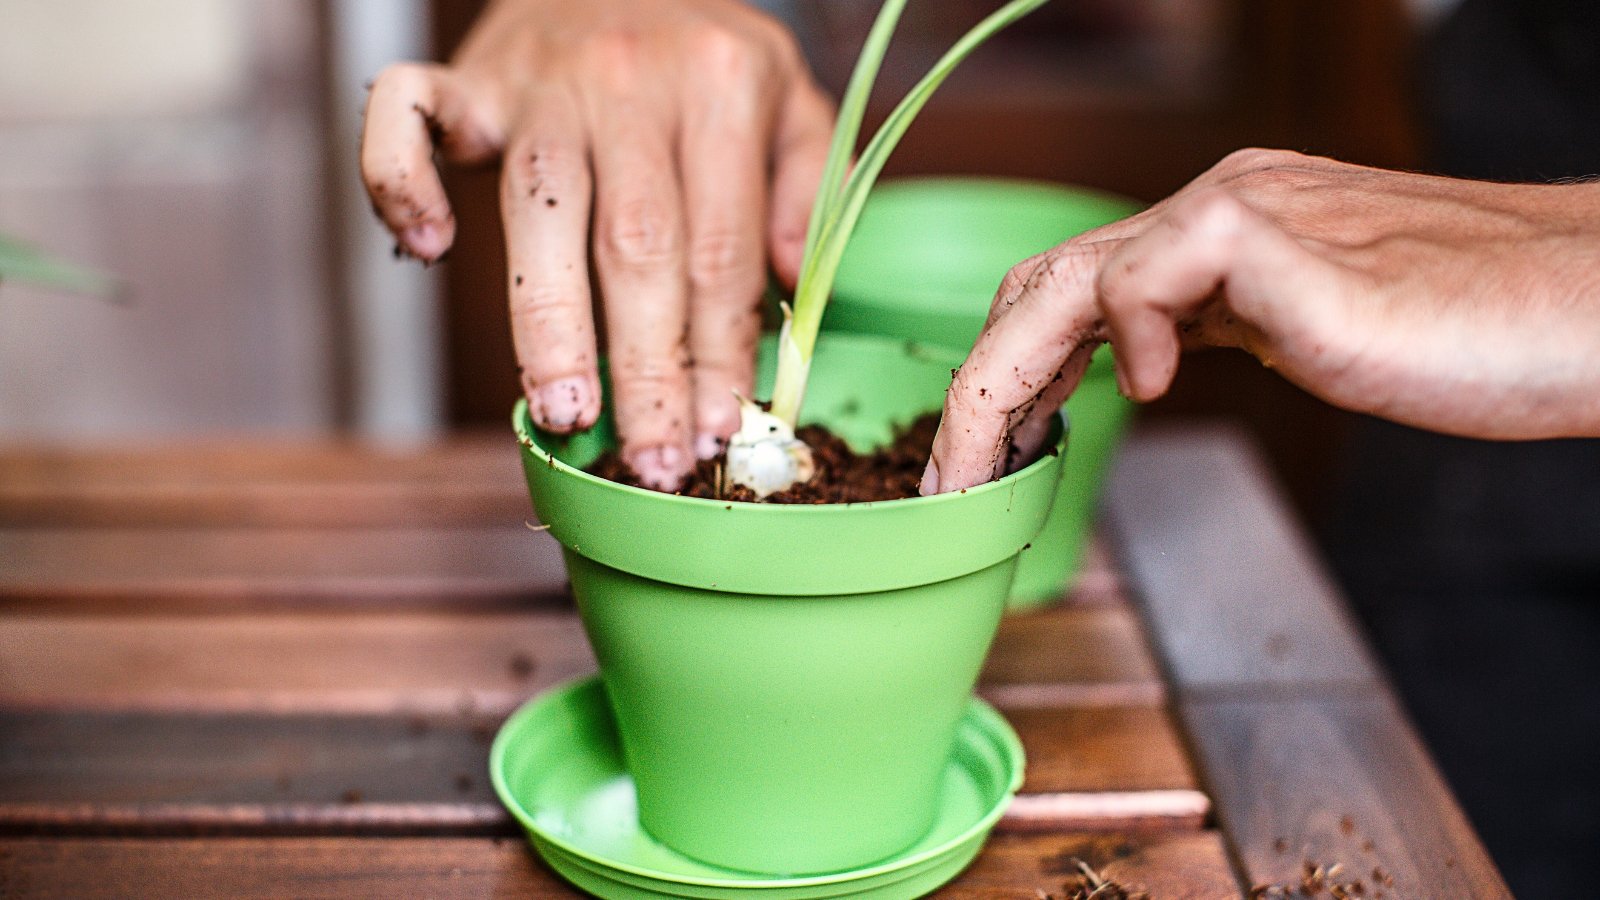
Step 3: Plant Cloves
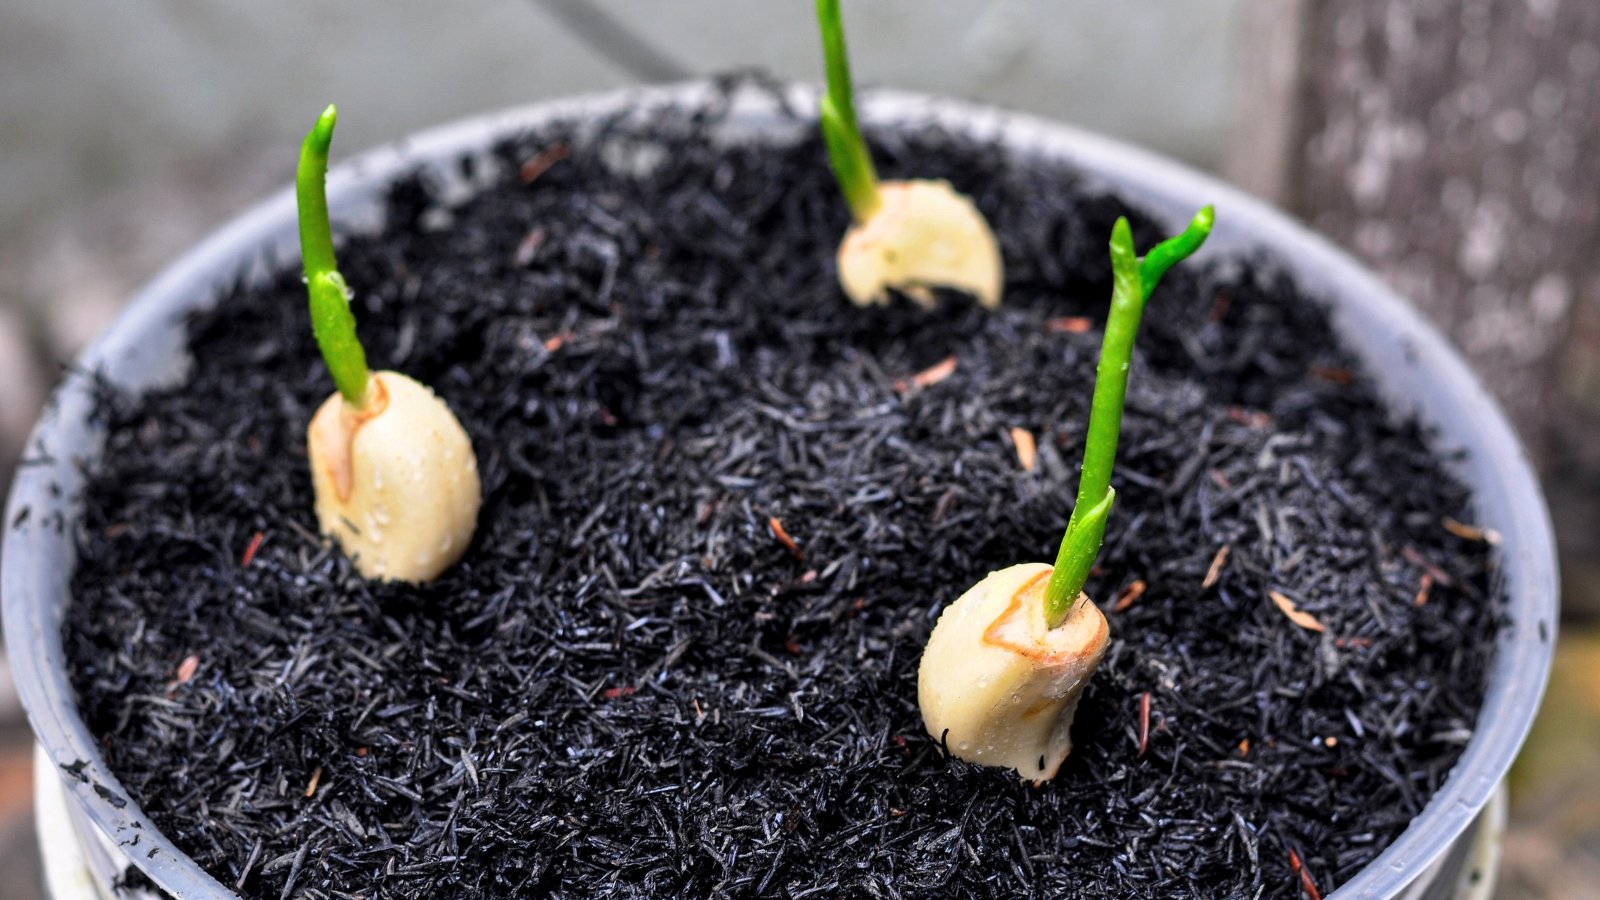
Once everything is set up and ready to grow garlic indoors, it’s time for planting! Some growers choose to suspend their cloves in jars of water to encourage them to root. It’s far easier to plant the cloves in pots with dirt; that way, you won’t have to worry about transplanting them in the future.
Start by filling your pots with a few inches of soil. Plant the cloves two to three inches deep in the pots, and cover them with dirt. After planting, water each pot well to saturate the soil.
Repeat the process for each garlic clove. You don’t need to unwrap them. Simply separate them from the bulbs and plant them in containers.
Step 4: Water Sparingly
This onion relative is prone to fungal conditions that cause rot. This is especially true indoors, where the plants may not receive as much sunlight as they prefer. Discourage diseases by watering sparingly.
First, wait for the upper surface of the soil to dry. Then, check the pot with your finger. Stick it in the soil under the surface and see if it’s moist or dry. If it’s dry, water well to saturate the soil. If it’s moist, wait a few days before checking again.
Also, avoid letting the pots sit in excess water. Once the moisture drains into the trays, dump it out into the sink. The garlic may rot if it sits in standing water.
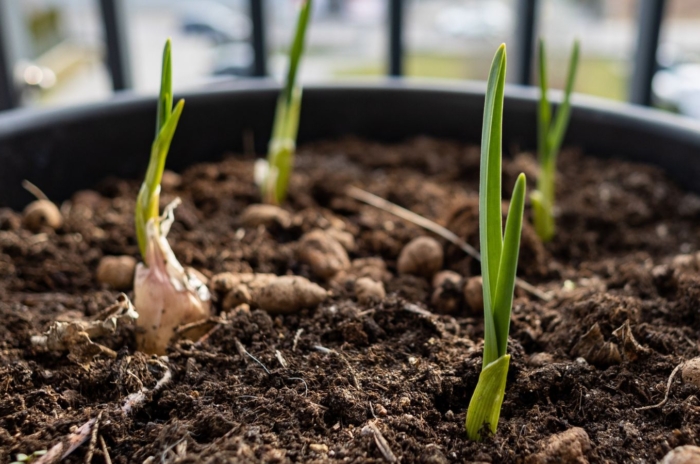
Step 5: Trim Leafy Growth
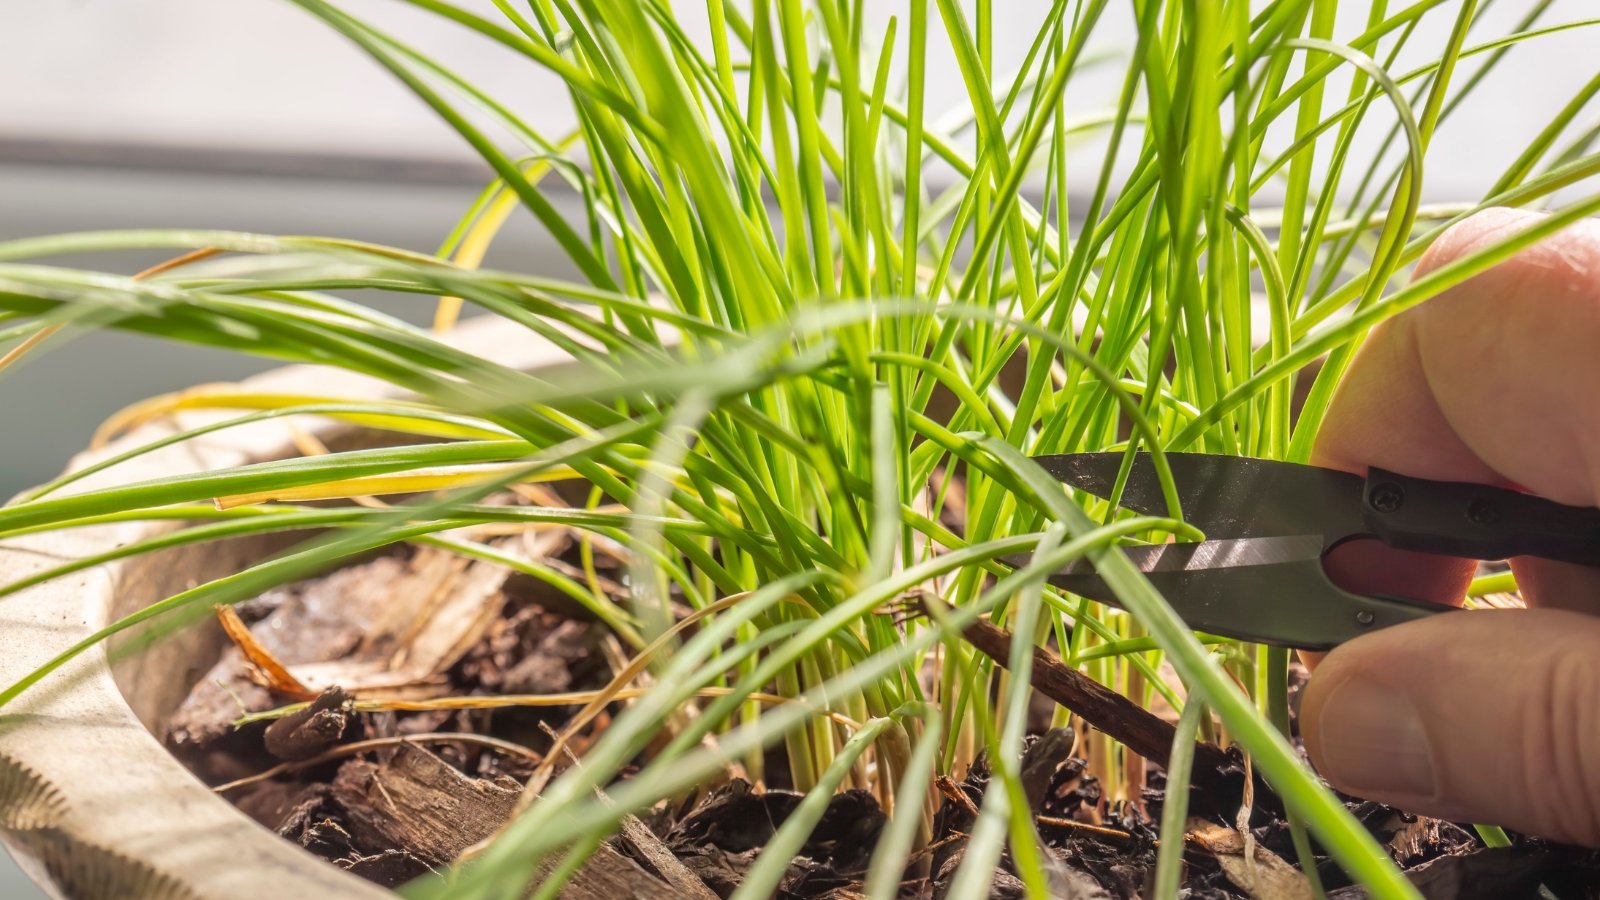
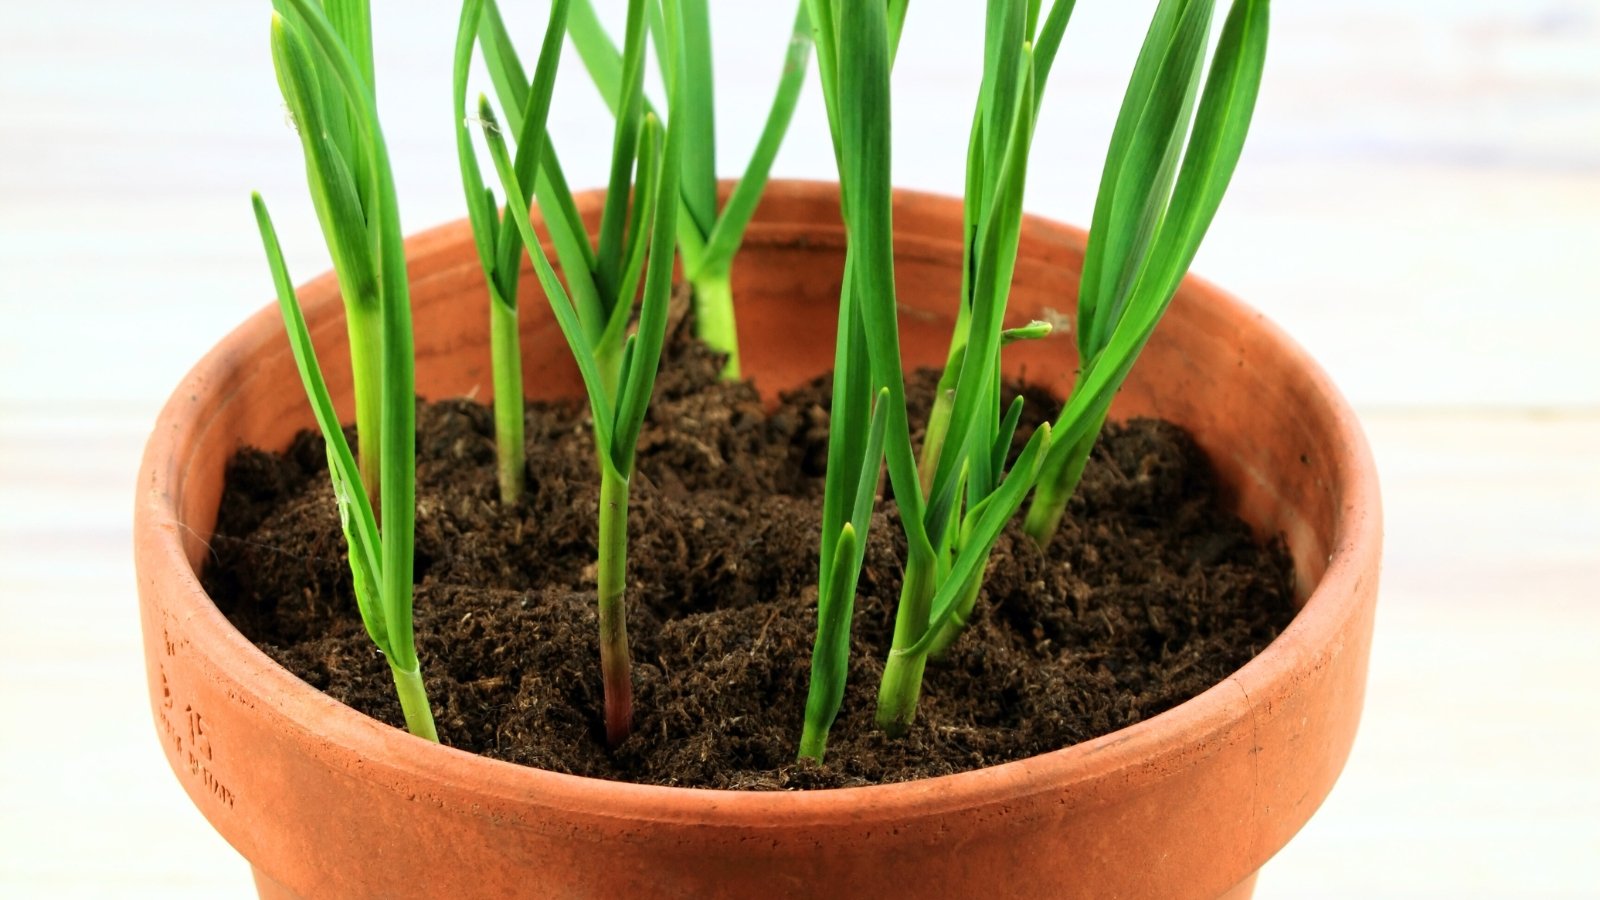
Here comes the fun part! Sit back and wait for leafy garlic growth to appear. As the leaves grow, you may snip them at their base to use in fresh or cooked meals.
For best results, let the sprouts grow before snipping them. Ensure you leave each plant with a leaf or two so it can photosynthesize, and trim the lower leaves first.
If leaves don’t appear, the bulbs may be suffering from diseases or cultivation issues. Remove a clove from its pot to inspect it. If it’s healthy, replant it and wait. If it’s mushy, remove the cloves and plant another round of garlic in clean pots with fresh soil.
What to Do After
Garlic won’t grow forever indoors. It’ll need replanting, or you’ll have to replace the cloves with new ones. If you dislike replanting and want a long-lasting perennial for indoor growing, plant garlic chives instead of bulbs.
Plant Garlic Outdoors

Once the leaves die back, you have two options. Save the small cloves for planting outdoors in the fall, or throw them in the compost and replace them with new ones indoors.
If you choose to plant them outdoors, wait until the optimal planting time for your region. In frost-free climates, refrigerate them for three to four months before planting them during the coolest months of the year.
Most growers should plant cloves outdoors between October and November. The plants will grow roots before winter arrives, and they’ll poke above the soil with leafy growth in the spring.
Replace Cloves
If you want to continue to grow garlic indoors, simply remove the old cloves and replace them with new ones. You may use the same soil if there weren’t any issues with diseases or pests. All you’ll need to do is add fertilizer to replace the used-up nutrients.
Use a well-balanced fertilizer and water it in well while the plants are actively growing. Avoid splashing the leaves, and wash them off if any fertilizer lands on them.
Continue fertilizing the plants while they sprout new growth. Do so once a month, and follow the fertilizer’s instructions for proper dosing.
Key Takeaways
- Indoor growing produces leaves, while outdoor growing produces bulbs.
- If you want a true perennial, plant garlic chives seeds instead of cloves.
- This crop needs well-drained soil to thrive. Use a free-draining mix for best results.
- The plants will die back a few months after planting. Replace them, or plant them outside to promote bulbous growth over the next few seasons.
Frequently Asked Questions
Can you grow garlic indoors all year round
Yes, you can! Follow the instructions above, and do so at any time of the year.
How do you grow garlic indoors in water?
Stick toothpicks slightly in each clove, but don’t stick them all the way through. Then, suspend the cloves over jars of water using the toothpicks. They’ll sprout roots in a few days, and leaves will emerge a few days after the roots appear.
Can I grow garlic indoors in a pot?
Yes, you can! Use pots, trays, or whatever containers you can get your hands on.