The Beginner’s Garlic Planting Guide: Timing, Varieties, and Soil Preparation
Garlic from the store is tasty, but have you ever grown your own? Spicy and savory, garlic is relatively easy to grow and is also healthy. Join gardening expert Melissa Strauss to walk through the basics of growing garlic as a beginner.

Contents
Growing up in an Italian household, food (both cooking and eating it) was not simply a utilitarian activity. In Italian and many other cuisines, there are certain ingredients that have substitutions. Others are simply impossible to do without, and one of them is garlic.
Garlic adds depth and nuance to recipes, and it has excellent health benefits. Garlic possesses antibacterial, antiviral, and antifungal properties. It’s excellent for your digestion and, as a result, your immune system. It may help lower blood sugar levels and cholesterol levels, making it heart-healthy. It’s even used in some places as a natural remedy during cold and flu season.
Even for a beginner, garlic is relatively easy to grow once you understand its needs and the right timing. It makes a great companion in the garden, as many pests dislike the scent and will steer clear of things planted nearby. Even rabbits will stay away from it.
Store-bought garlic is delicious, but there is nothing quite as potent as freshly harvested bulbs. Planting your own means an ample supply of this healthy, pungent, and versatile staple ingredient. If you’re hoping to get started growing your own garlic this season, here are some tips for beginner garlic planting.
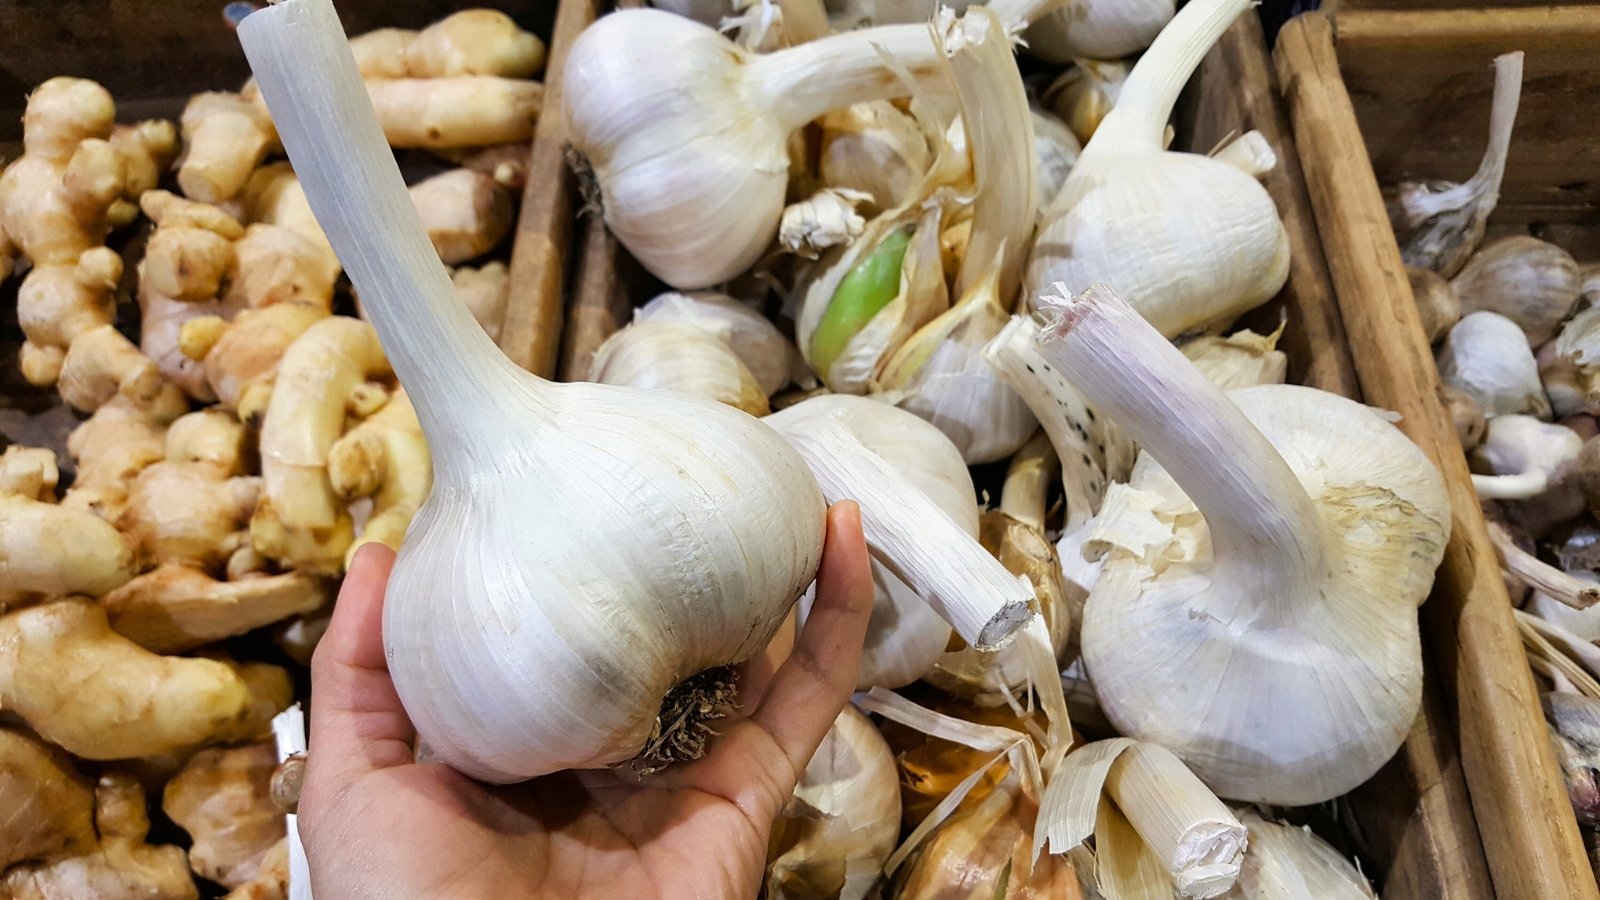
German White Stiffneck Hardneck Garlic

German White Stiffneck Hardneck Garlic

Select the Right Variety
For the beginner planting garlic, there are two main types to choose from: hardneck and softneck. Your climate will play the most significant role in determining which type will grow best for you.
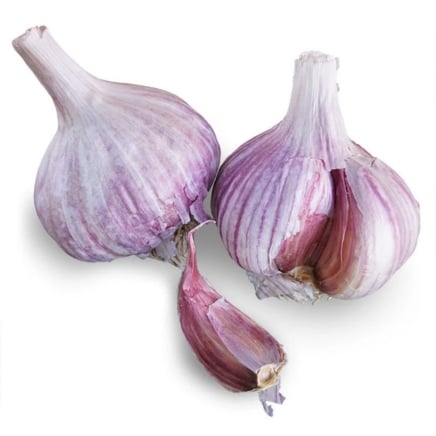
Hardneck
Hardneck garlic produces a single ring of large, easy-to-peel cloves. The flavor is typically stronger, spicier, and the more complex of the two. There is a greater variation of flavors between varieties, and they produce tall flowering stalks or scapes. These are edible and have a milder flavor.
For cold climates, hardneck garlic is the one to choose. This bold-flavored type keeps for about three to six months, which is not as long as softneck, but it has unrivaled flavor. Choose this type if you’re trying beginner garlic planting in zone 6 or lower.
Softneck
Softneck garlic doesn’t require a winter chill time, so it’s better suited to southern gardens. In zones 7 and higher, this is the way to go. The flavor of softneck garlic is milder and less complex, but it’s still great for cooking with. It’s better for using raw and in lightly cooked dishes, in my opinion.
Softneck produces more cloves per bulb; instead of a single ring, it typically produces layers of smaller ones. The cloves are smaller and somewhat more difficult to peel. They typically don’t produce a flower stalk, but that energy goes into developing bulbs faster.
This type also stores better, and will keep for 6-12 months if you cure it properly. This is the type that you can braid, which looks lovely hanging in the kitchen with bundles of herbs.
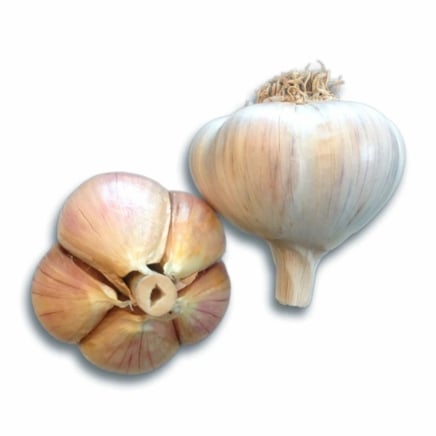
Elephant
Elephant garlic is not true garlic, but it bears mentioning for beginner garlic planting. It’s technically a type of leek with a milder, onion-like flavor. The bulbs are extra-large, as are the cloves. It’s easy to grow, but if you really want garlic flavor, this isn’t the best type. However, for a beginner, elephant garlic is a cinch to grow, and if you want a guaranteed crop, it’s a fine place to start.
Wait for the Right Time
Timing is important, and climate is the greatest determinant of planting time. For the most part, fall is garlic planting time, but when in fall varies. If you’re a beginner and want a simple solution, you can safely plant in October in most climates.
Zones 3-8
In most climates, early fall is the ideal time for beginner garlic planting. In any zone where the ground freezes, it’s important to time it right. Your garlic needs about four to six weeks to establish some roots before dormancy. However, you don’t want them to send up green shoots. Those green shoots are at risk of frost damage if they pop up too early.
Fall planting will produce the largest, most robust cloves as it gives them several months of cold exposure. If you recall, hardneck varieties in particular need that exposure to cold if you want them to develop properly. Depending on your first anticipated frost date, plan to get your garlic seeds in the ground between September and October.
Zones 8-10
In warmer climates, you can hold off on planting until October through December. If you have mild winters, even January planting will work. The soil should be cool enough to encourage root growth, but not promote early sprouting.
Cool soil is the main factor in the success of your crop. Root growth occurs when the soil is between 50-60°F (10-16°C). In the South, you can pre-chill your cloves for six to eight weeks before planting, but it’s not necessary if you’re growing a type adapted to your climate. This will enable you to grow hardneck varieties with some success, though.
Choose the Right Location
This is one of the more important factors for a beginner to focus on when planting garlic. Once you get this right, garlic is quite easy to grow. Look for a location with full sun. Garlic needs a minimum of six to eight hours of sun to grow large, strong bulbs with good disease resistance.
Well-drained soil is absolutely essential to success. Garlic rots easily in poorly drained or compacted soil. Raised beds are excellent for growing it, especially if you live in a region that gets a lot of rainfall. In the Southeast, in particular, a raised bed is ideal.
Make sure there is good airflow, and plant in a space where you’ve not grown garlic or onions in the past three to four years. This will significantly reduce the occurrence of pests and diseases.
Prepare the Soil

Garlic does all of its growing underground, so the soil should be loose and light. Compacted soil will result in poor development. Loosen the soil you’re planting in at least 8-12 inches down using a garden fork. Raised beds are great for this reason, because you have more control over the soil.
This is a heavy feeder as plants go, so mix in plenty of compost or manure to enrich the soil. This also helps to loosen the soil and help it retain more moisture and nutrients. Garlic prefers a slightly acidic environment, so adding organic material also helps with this.
Before planting garlic, work in a balanced, organic fertilizer. You can use a 10-10-10 formula, or a combination of other materials. Blood meal, alfalfa meal, and fish emulsion are all good natural nitrogen boosters. Shape the soil into raised rows about 12-18 inches apart. Smooth the surface to ensure even and uniform planting of your cloves.
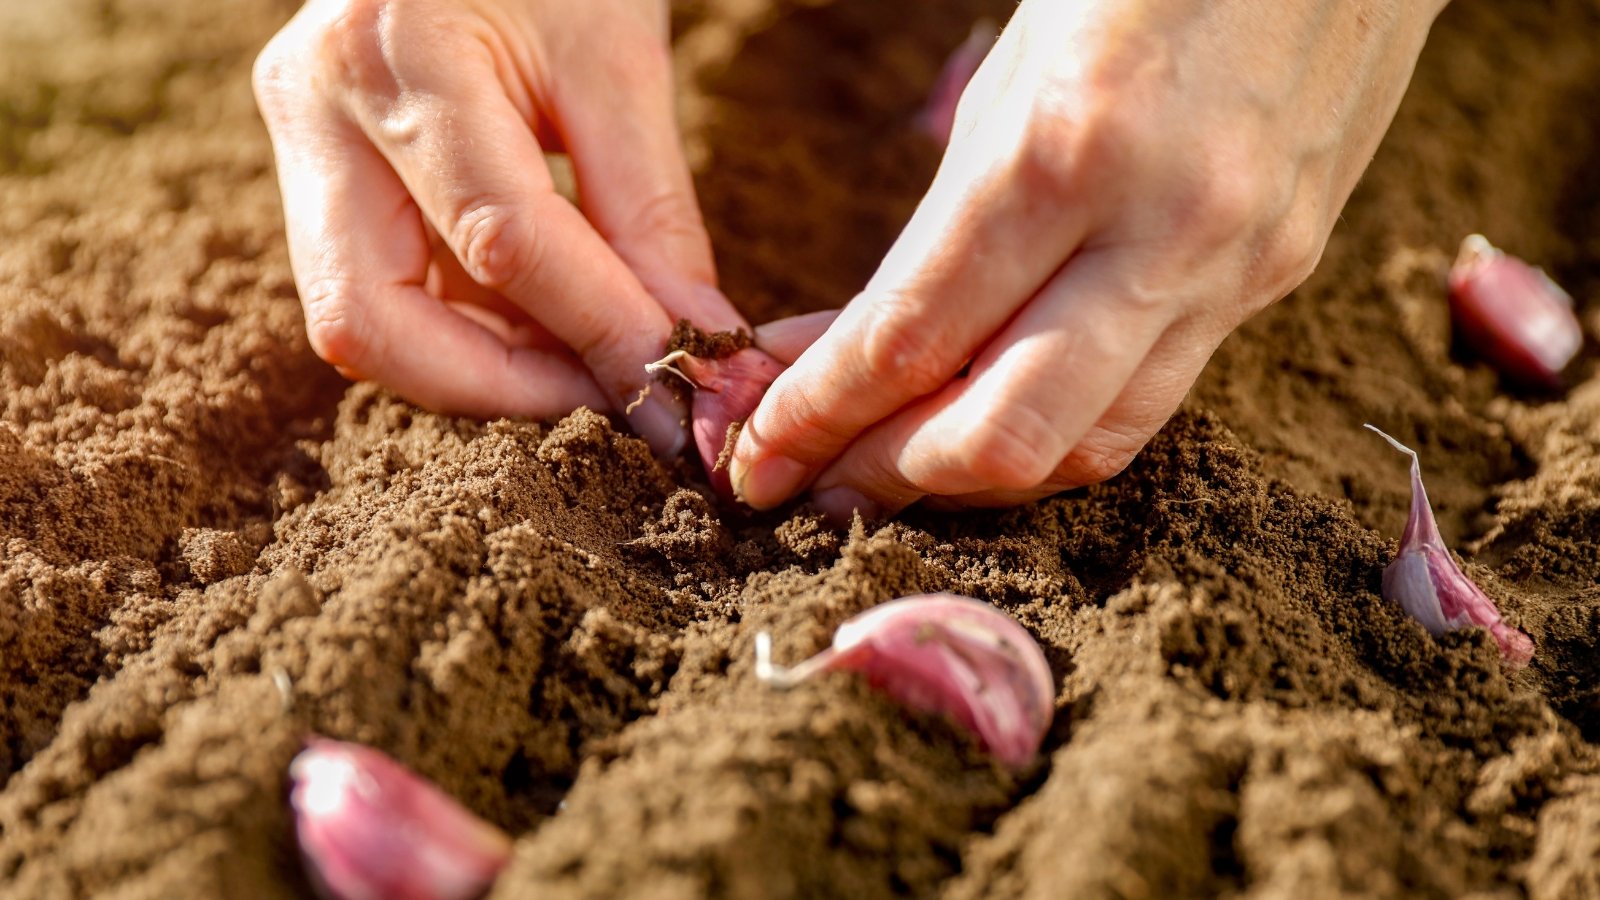
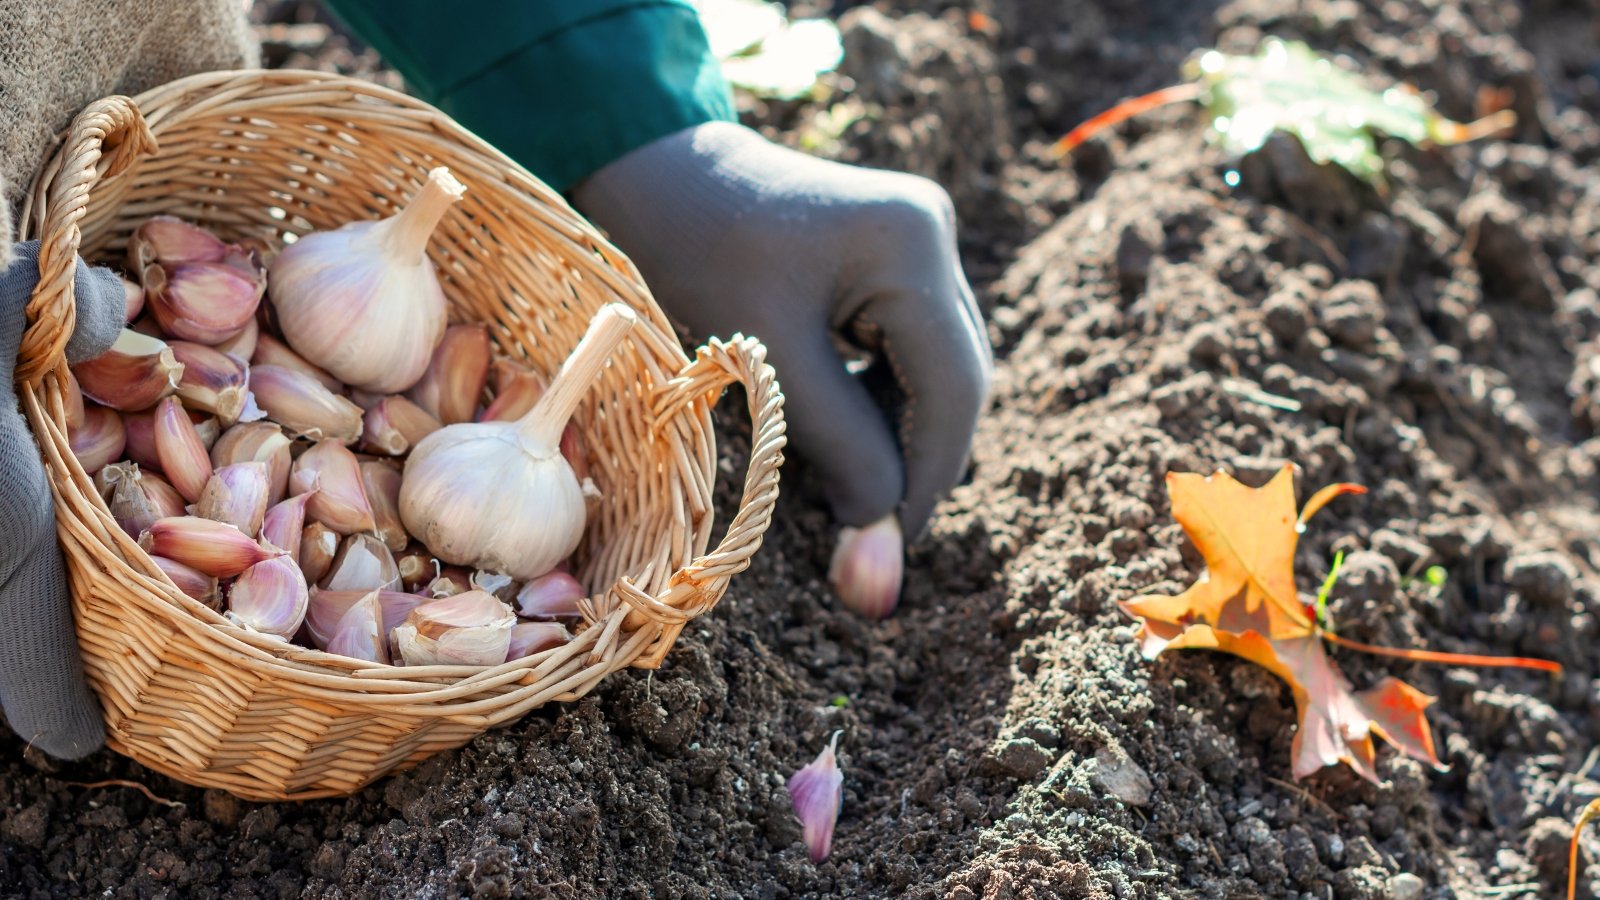
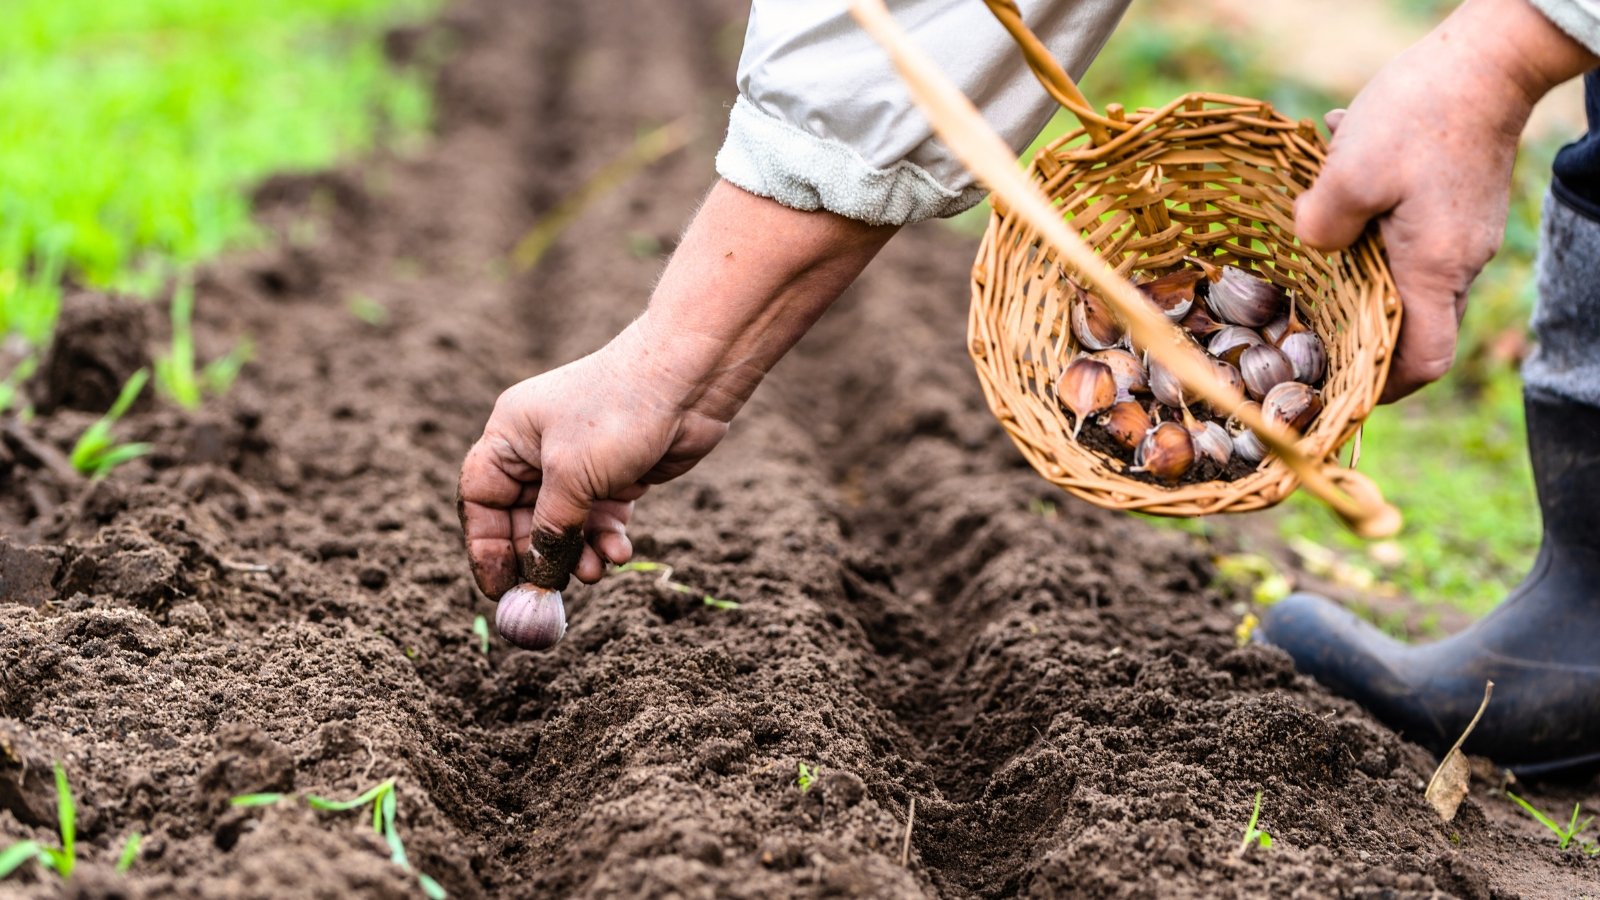
Prepare the Bulbs
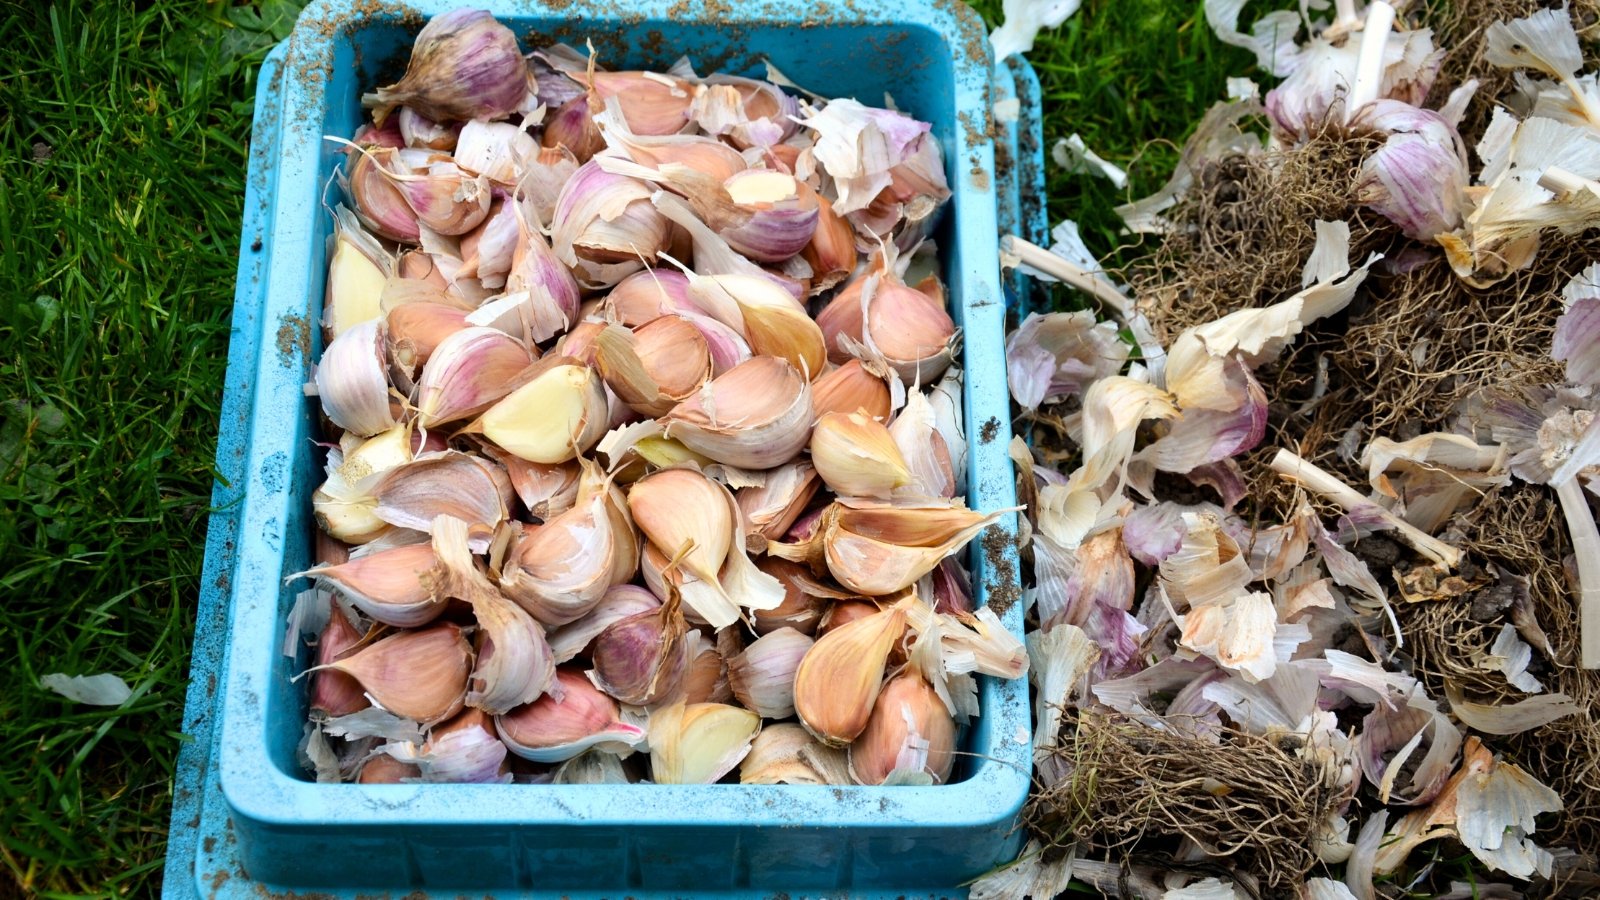
Preparing your bulbs for garlic planting as a beginner is simple, but a necessary step. Your bulbs may come in differing states that make the process more or less complicated. You should wait until about 24-48 hours before planting to prep them.
Just before planting, separate the bulbs into individual cloves gently. Leave the papery skins intact to protect against rot and diseases. Sort through the cloves, selecting the largest ones for planting; these have the most energy. You don’t have to toss the smaller ones, just use them for cooking!
Optionally, you can pre-treat them for more success. To prevent fungus, you can dip your cloves in a solution of 1tbsp of baking soda and 1 tbsp of liquid seaweed mixed with one quart of water. Let them sit in the mixture for about 10 minutes. Rinse them, and then optionally dip them in alcohol for one to two minutes. Pat dry.

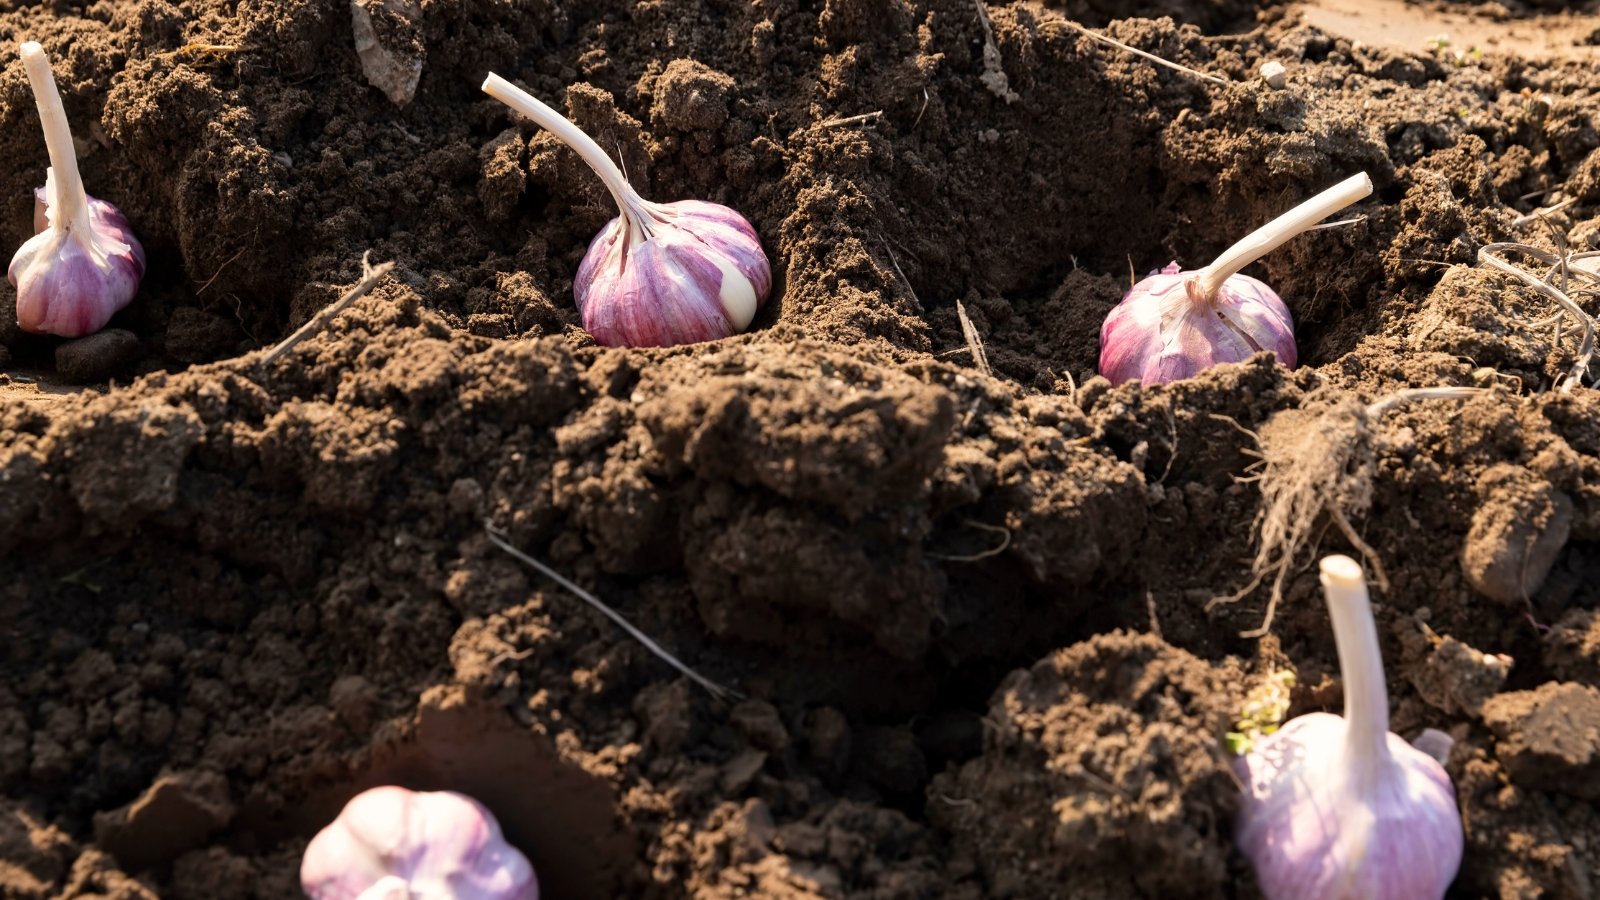
Plant at the Right Depth and Spacing
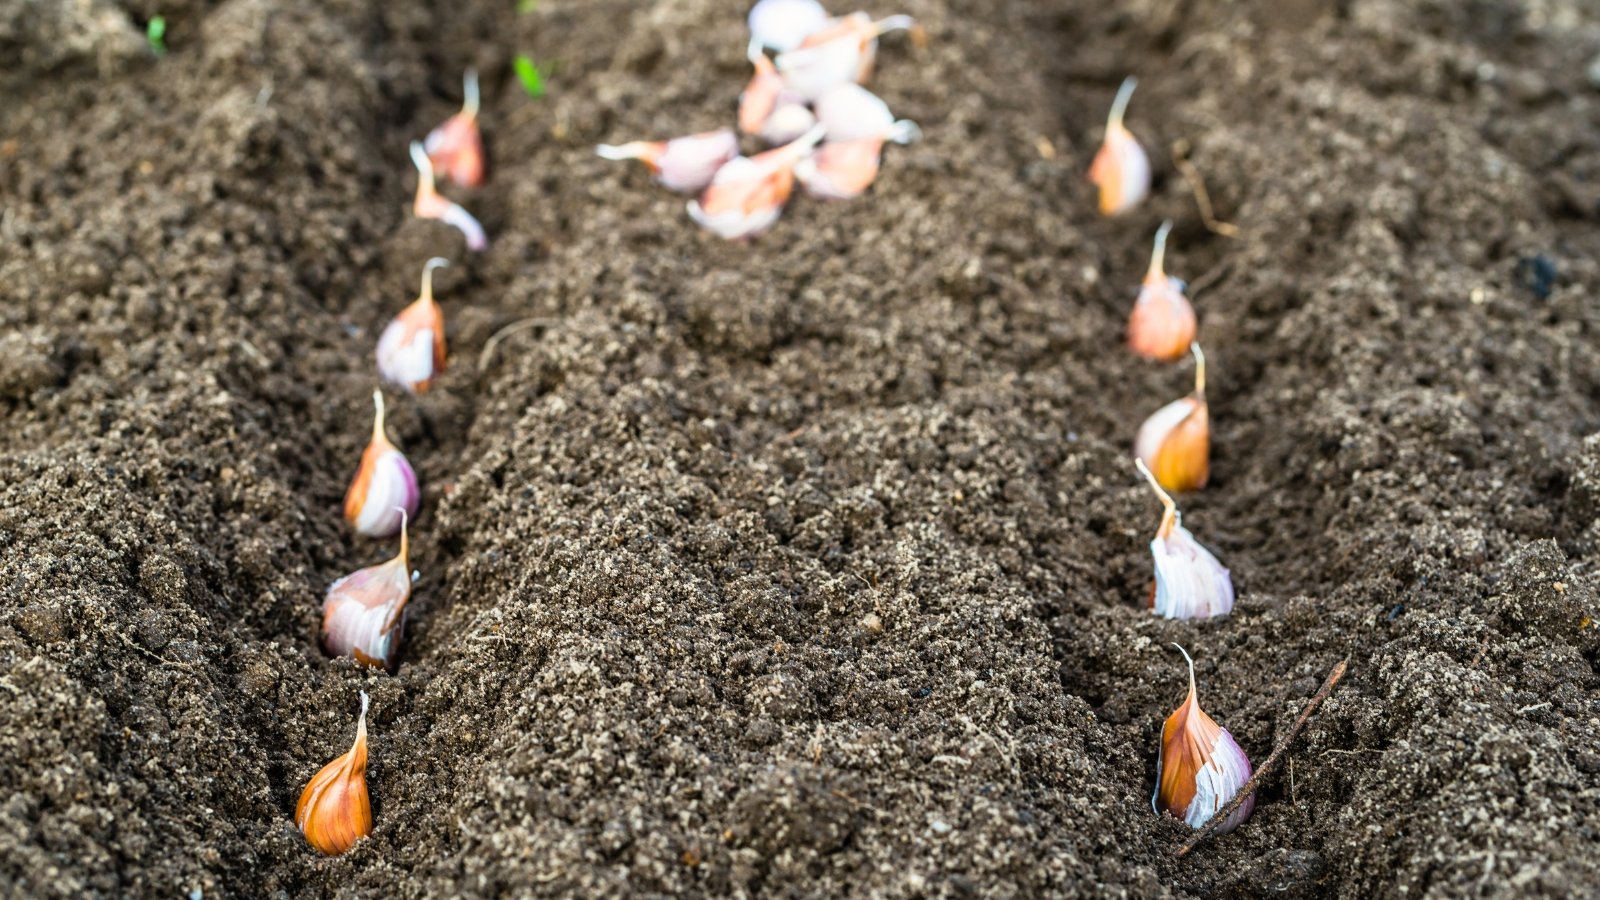
Planting your cloves at the right depth and spacing them properly makes a difference when planting garlic as a beginner. It can improve the size and the quality of your garlic. In mild climates, you can plant your cloves about two to three inches deep. In colder climates, plant a bit deeper. Shoot for three to four inches. Always plant with the pointed tip facing upward.
Space your rows about 10-12 inches apart. This leaves space for weeding and mulching. Within your rows, give each clove about four to six inches from its neighbor to allow for full bulb development. If you’re using a raised bed, a grid pattern works, placing each clove about six inches from each neighbor on all sides.
Mulch Well
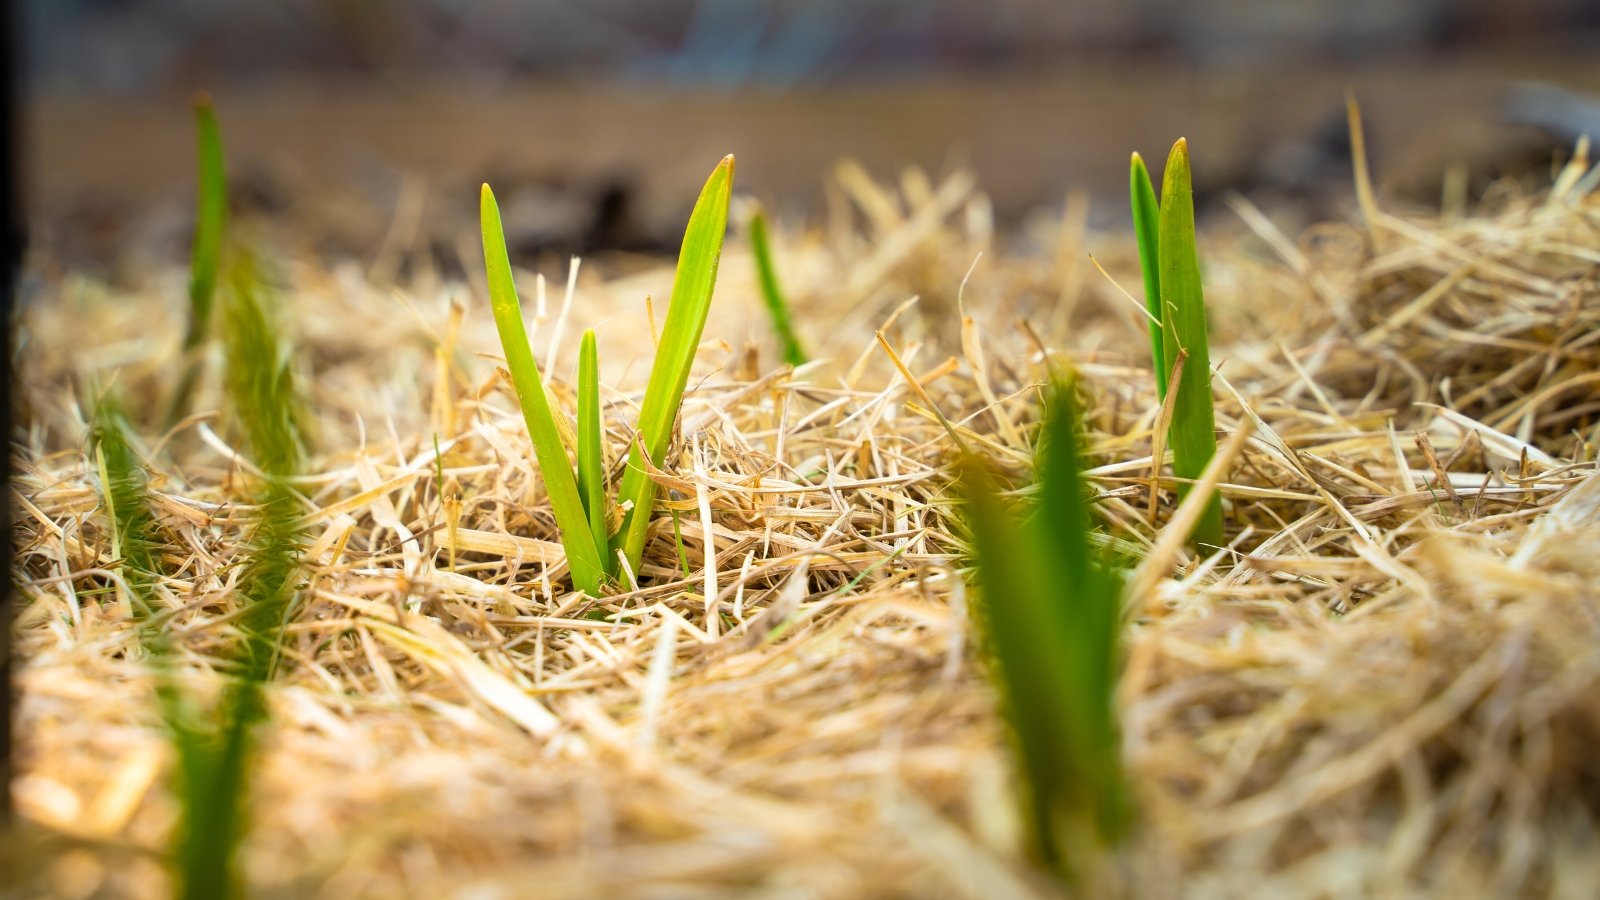
After you cover your bulbs with soil and water them well, apply a thick layer of mulch to insulate the soil and manage weeds. About three to six inches of mulch, straw, or shredded leaves should be just right. I like to use a lightweight, light colored straw as it reflects the sun and keeps things cool.
Continued Care
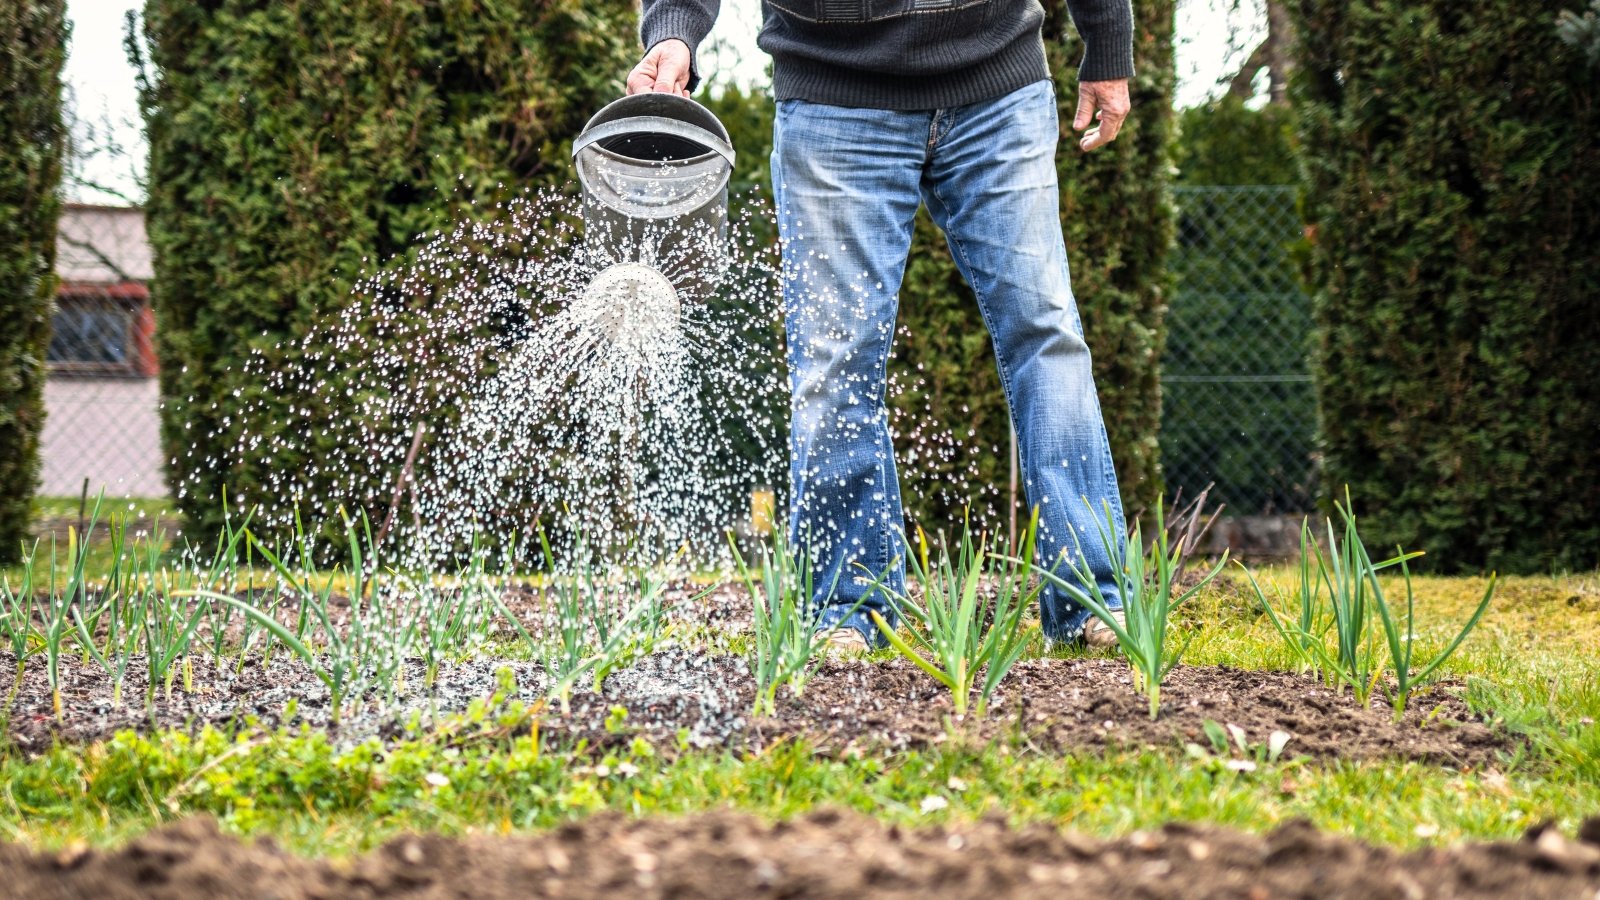
Caring for your garlic is simple, as it requires very little once it’s in the ground. Your bulbs mostly rest while they develop roots in the fall. Water sparingly, only if the soil is dry. Garlic cloves rot easily in damp or soggy soil.
During the winter, don’t bother your garlic. Make sure the mulch remains intact, and replace it if you need to. In spring, begin to give about one inch of water per week, unless you’re getting a sufficient amount of rainfall.
Once your shoots reach about three to four inches tall, apply an all-purpose fertilizer. Do this again about a month later. Keep up with weeding, as garlic doesn’t like competition.
If you’re growing hardneck garlic, it will send up scapes in early summer. Snip these off to encourage bigger bulbs. Cut them right around the time they begin to curl. Gradually reduce watering as bulbs mature to prevent splitting or rotting them.
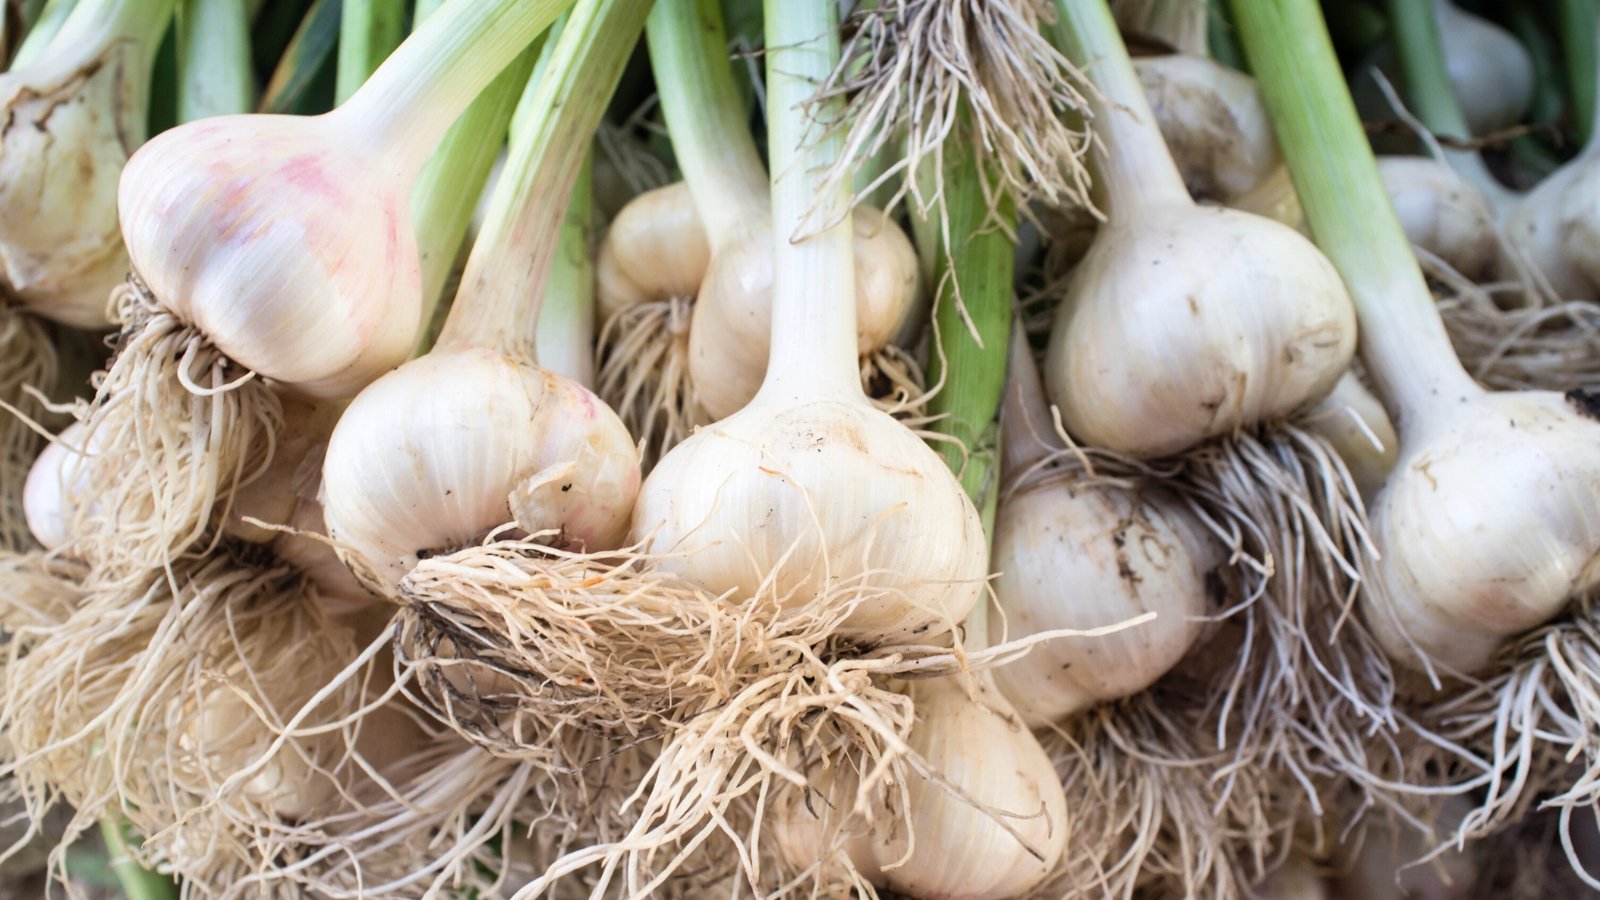
Harvest
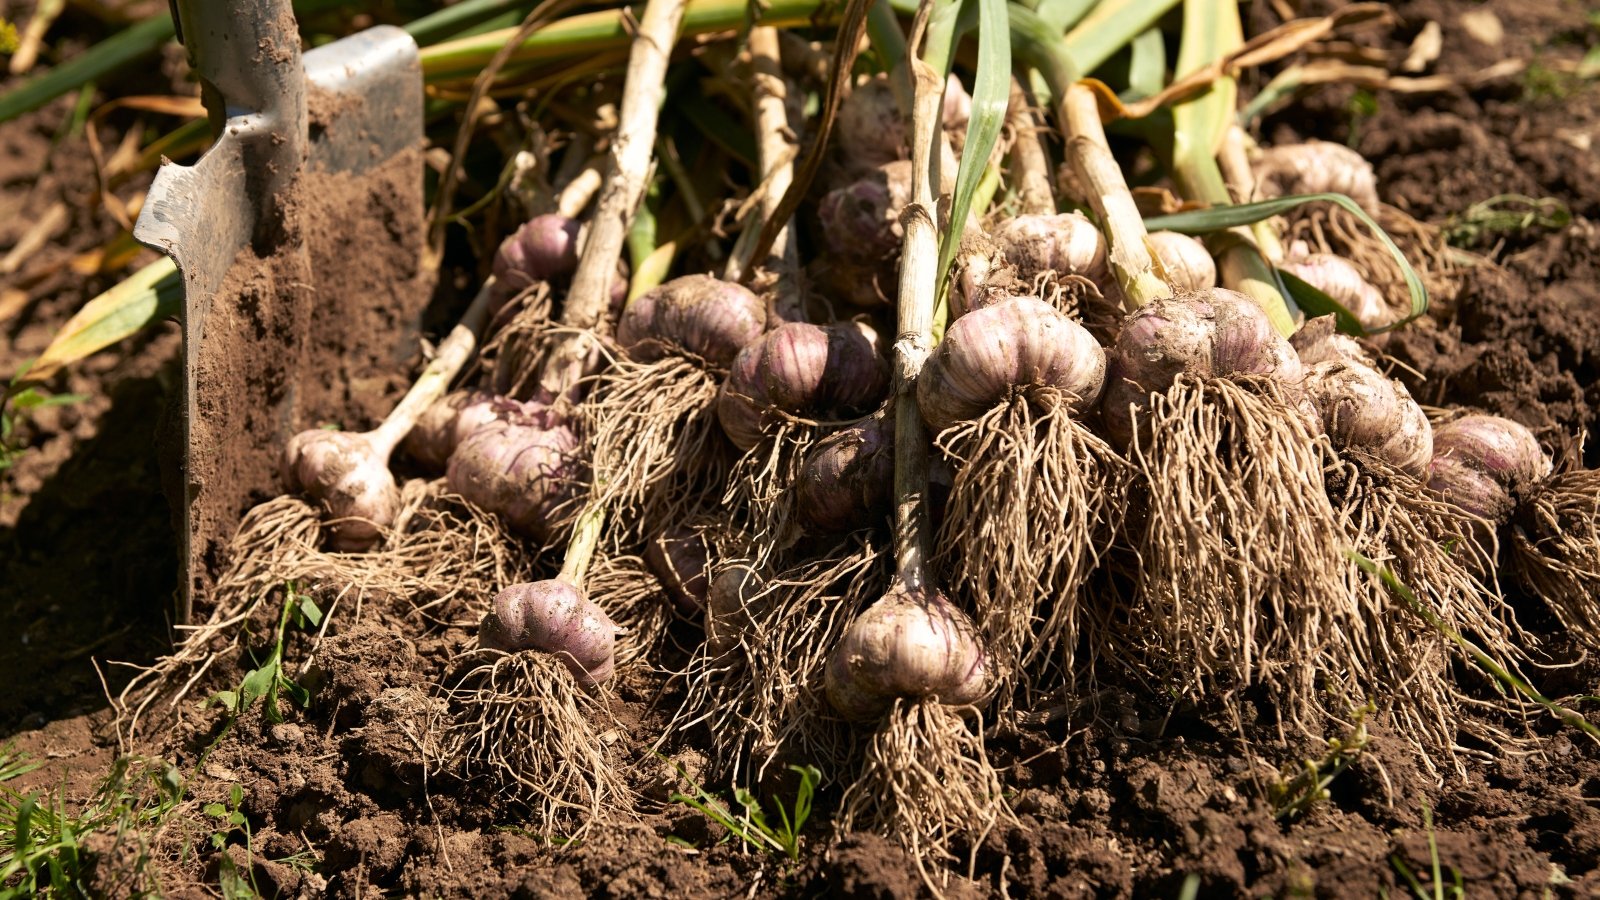
Garlic takes about eight to nine months to mature. When the bottom three or four leaves turn brown, your cloves are ready for harvesting. The upper leaves should still be green. Use a gardening fork or spade to gently loosen the soil and lift out the bulbs. Don’t pull them by the stems.
After harvesting, brush off the dirt and lay your bulbs in a single layer to dry for three to four weeks. This will cure them and make them ready for storage. Softnecks can be braided and cured as they hang. Keep them in a cool, dry, dark place until use. Don’t store them in the refrigerator, as this will trigger sprouting.


