How to Tell Your Garlic is Ready to Harvest
Garlic is unlike any other crop! You plant it in the fall to harvest in summer. Though it takes a long time to mature, it’s easy to harvest and store. Longtime garlic grower Jerad Bryant shares how to tell your garlic is ready with these seven easy steps.

Contents
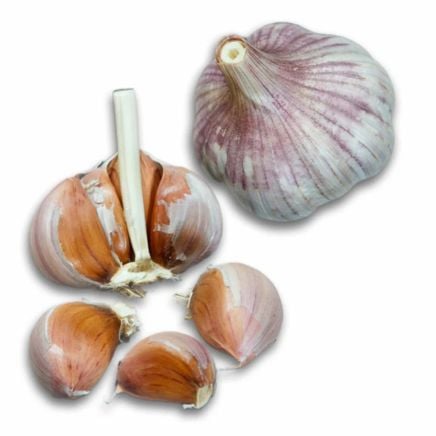
Every garlic lover should consider growing their own crop! They are more drought-tolerant than other common garden specimens, and they reproduce exponentially. Take a single clove, plant it, and you’ll have an entire head next year!
As the plants grow, you’ll see several signs that your garlic is ready to harvest. You’ll notice yellowing leaves, floppy tops, and scapes that grow out of hardneck varieties. Pay close attention to these signs, and you’ll know exactly when your garlic is ready to harvest.
Don’t worry if you miss these signs, as garlic is a perennial plant. It’ll grow another crop if you leave it in the ground. You can harvest its leaves, scapes, and bulbs too—they’re all edible!
Silver White Softneck Garlic
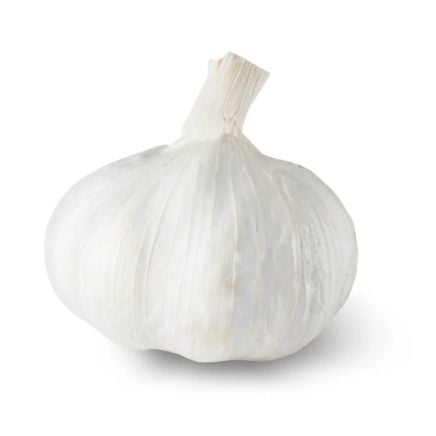
Silver White Softneck Garlic – USDA Certified Organic
Sicilian Artichoke Softneck Garlic
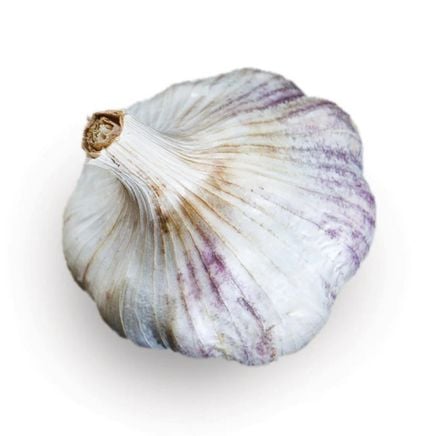
Sicilian Artichoke Softneck Garlic – USDA Certified Organic
Shandong Hardneck Garlic
Shandong Hardneck Garlic – USDA Certified Organic

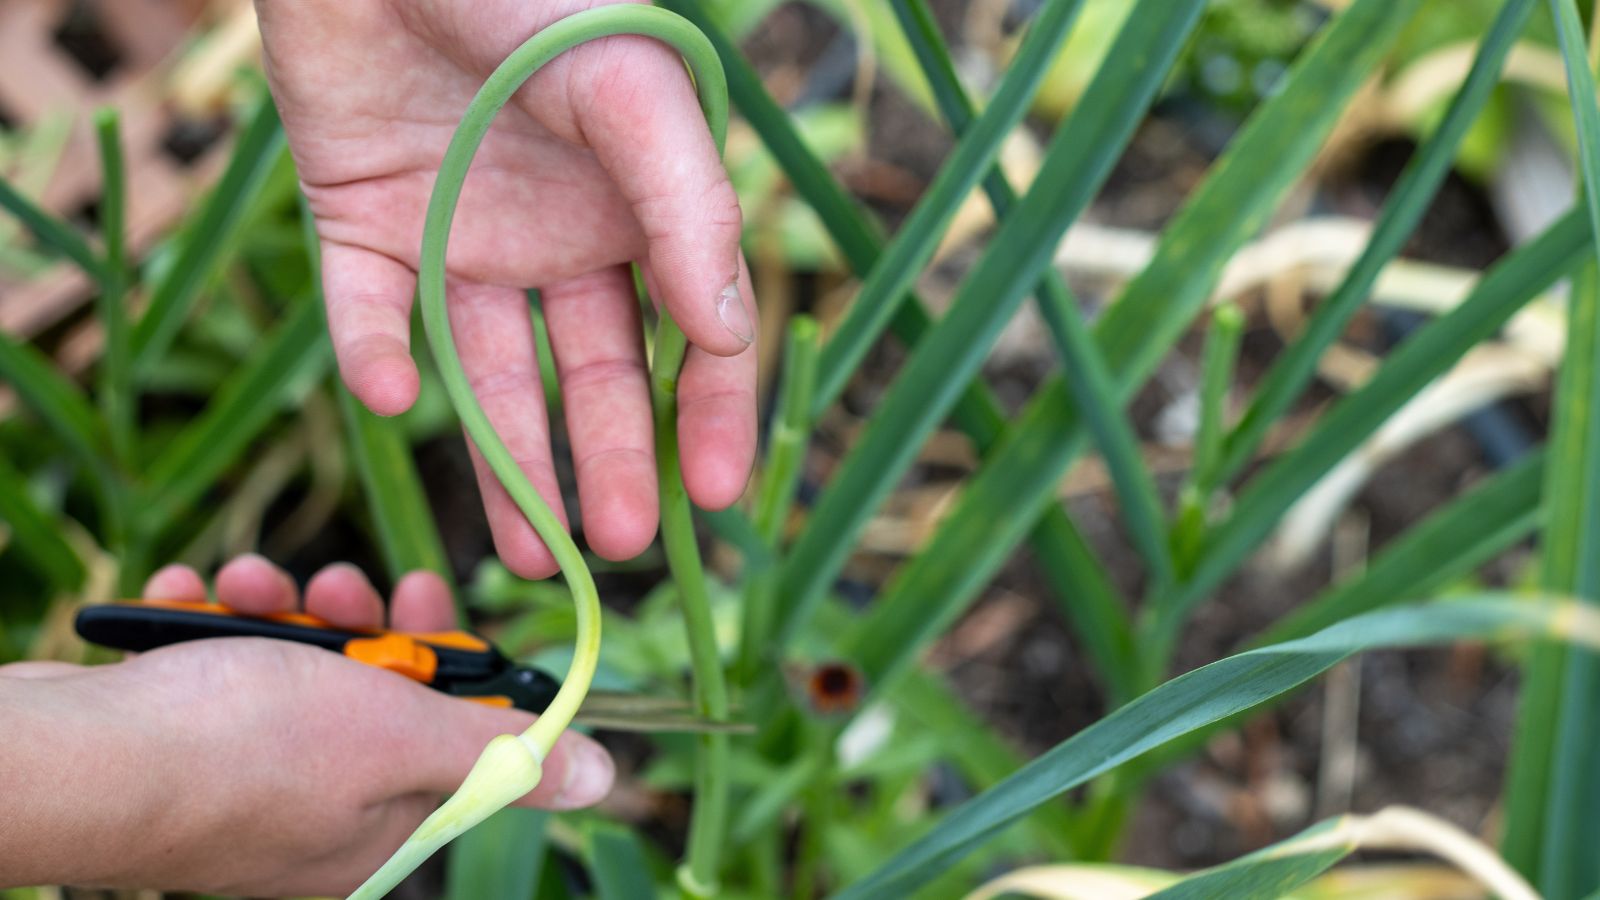
Step 1: Cut Off Scapes
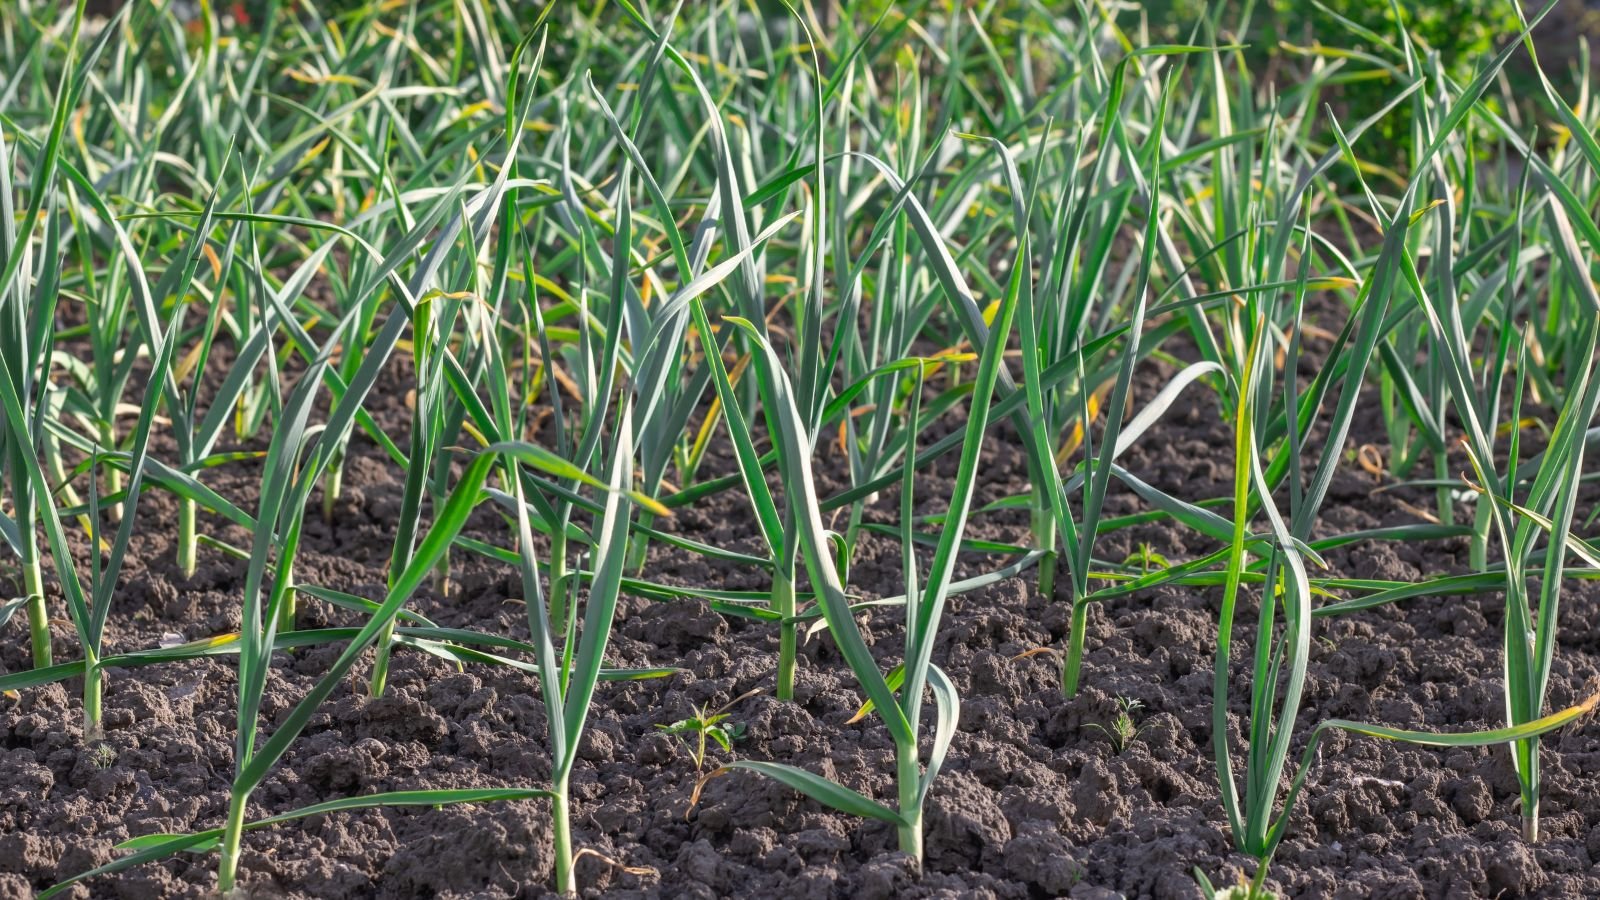
Garlic needs many months to mature. After planting it in the fall, the cloves will divide themselves and put down roots. Then, in spring, they’ll grow leafy tops that poke out of the ground.
After a few weeks of growth, curly garlic scapes emerge from the tall stems of hardneck varieties. Softneck varieties do not grow scapes.
Scapes are the flowering parts. Unlike other crops’ flowers, garlic scapes do not typically produce seeds. They grow bulbils, which are like mini cloves.
Scapes require energy to grow, and they’ll cause smaller heads when your garlic is ready to harvest if you let them mature. Instead, snip them off and use them in the kitchen. They have a soft, mild flavor. Sauté, roast, or blanch them to enjoy their crunchy texture and delectable flavor.
Step 2: Look for Yellow Leaves
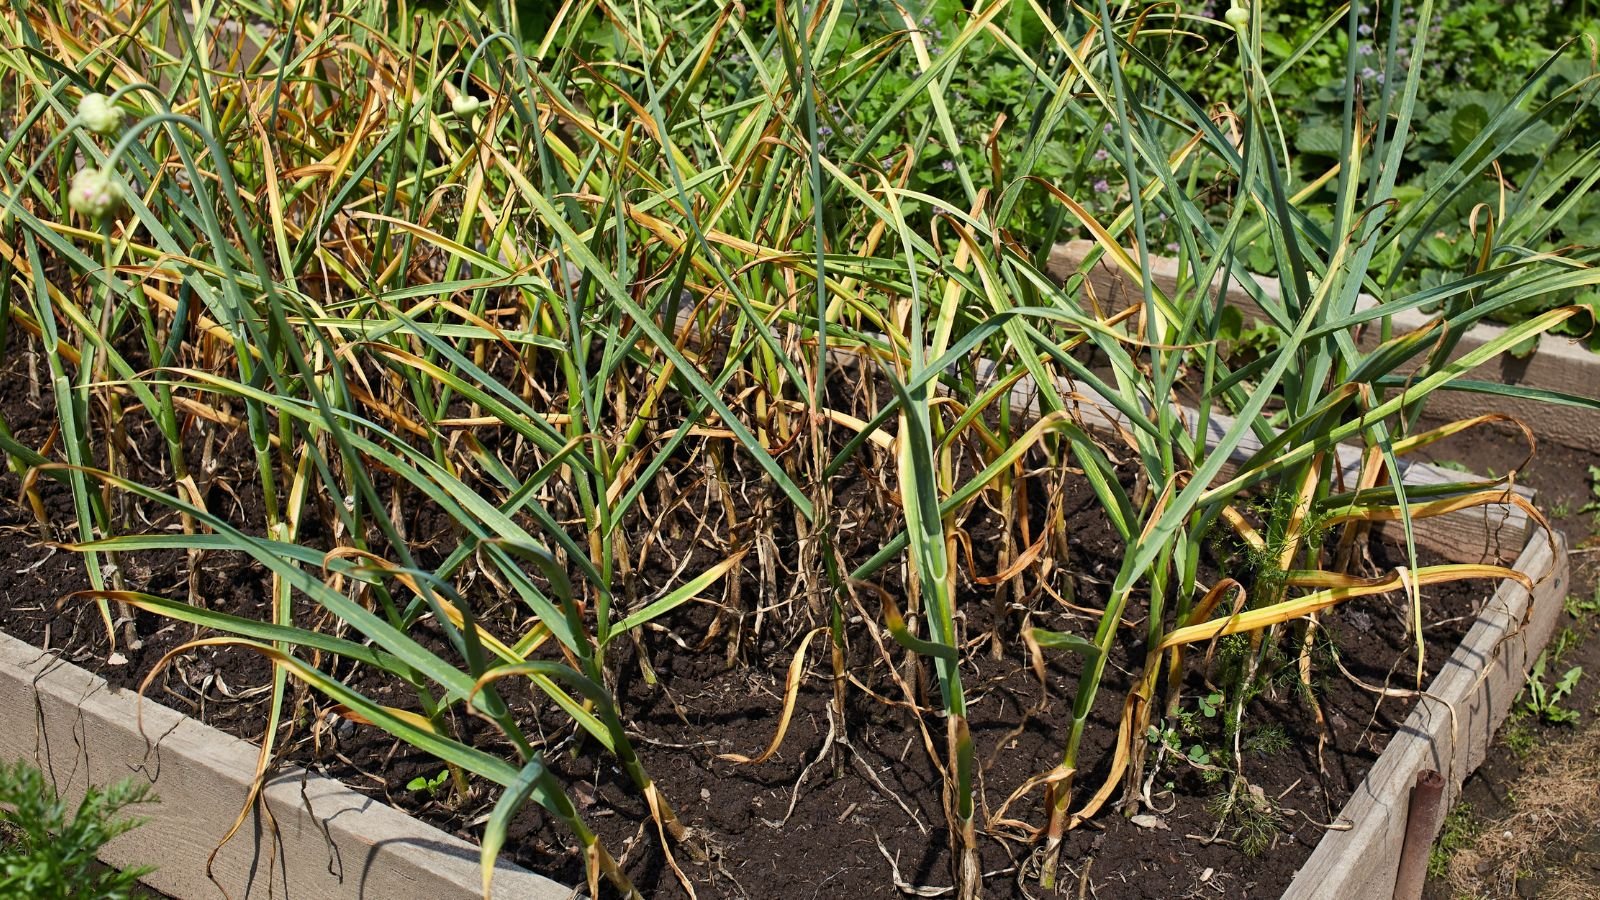
After snipping the scapes, you’ll encourage your plants to grow large, swollen heads full of cloves. These heads need some time to mature in spring and early summer. Once garlic bulbs are nearly ready to harvest, the plants’ leaves turn yellow as the bulbs pull in energy and nutrients.
The lower leaves will turn yellow, then brown. This means that there are a few papery layers around the head. Each brown leaf equates to a single paper layer. When two or three lower leaves turn yellow and brown, it’s safe to harvest the garlic and let it dry and cure aboveground.
Don’t let all the leaves turn yellow! The cloves may regrow if you leave them in the ground too long. Wait for two to three yellow leaves, then harvest your garlic.
Step 3: Wait for the Tops to Fall
Hardneck garlic, as its name suggests, has stiff, upright stems that stand tall. Softneck types don’t grow scapes, and their leafy tops fall over when the garlic is ready to harvest, like onions. Their yellowing leaves will fall and begin withering on the ground.
Alongside looking for yellow and brown leaves, you may use floppy tops as a harvest indicator. If you’re still unsure, try harvesting a single head. Peel back its skin to take a look at the cloves inside. If each clove has its own wrapper, it’s a good sign that the rest of your plants are ready to harvest.
If, however, some of the cloves have partial skins and the flesh is visible underneath, the plants may need some more time to mature. Leave them for another week, then peel back another bulb to test the crop again.
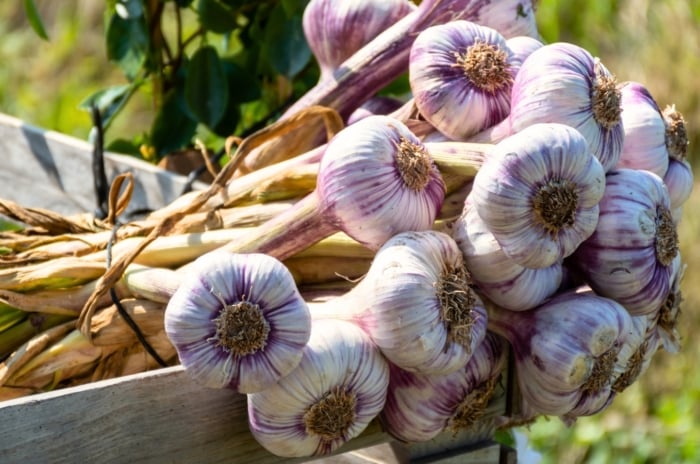
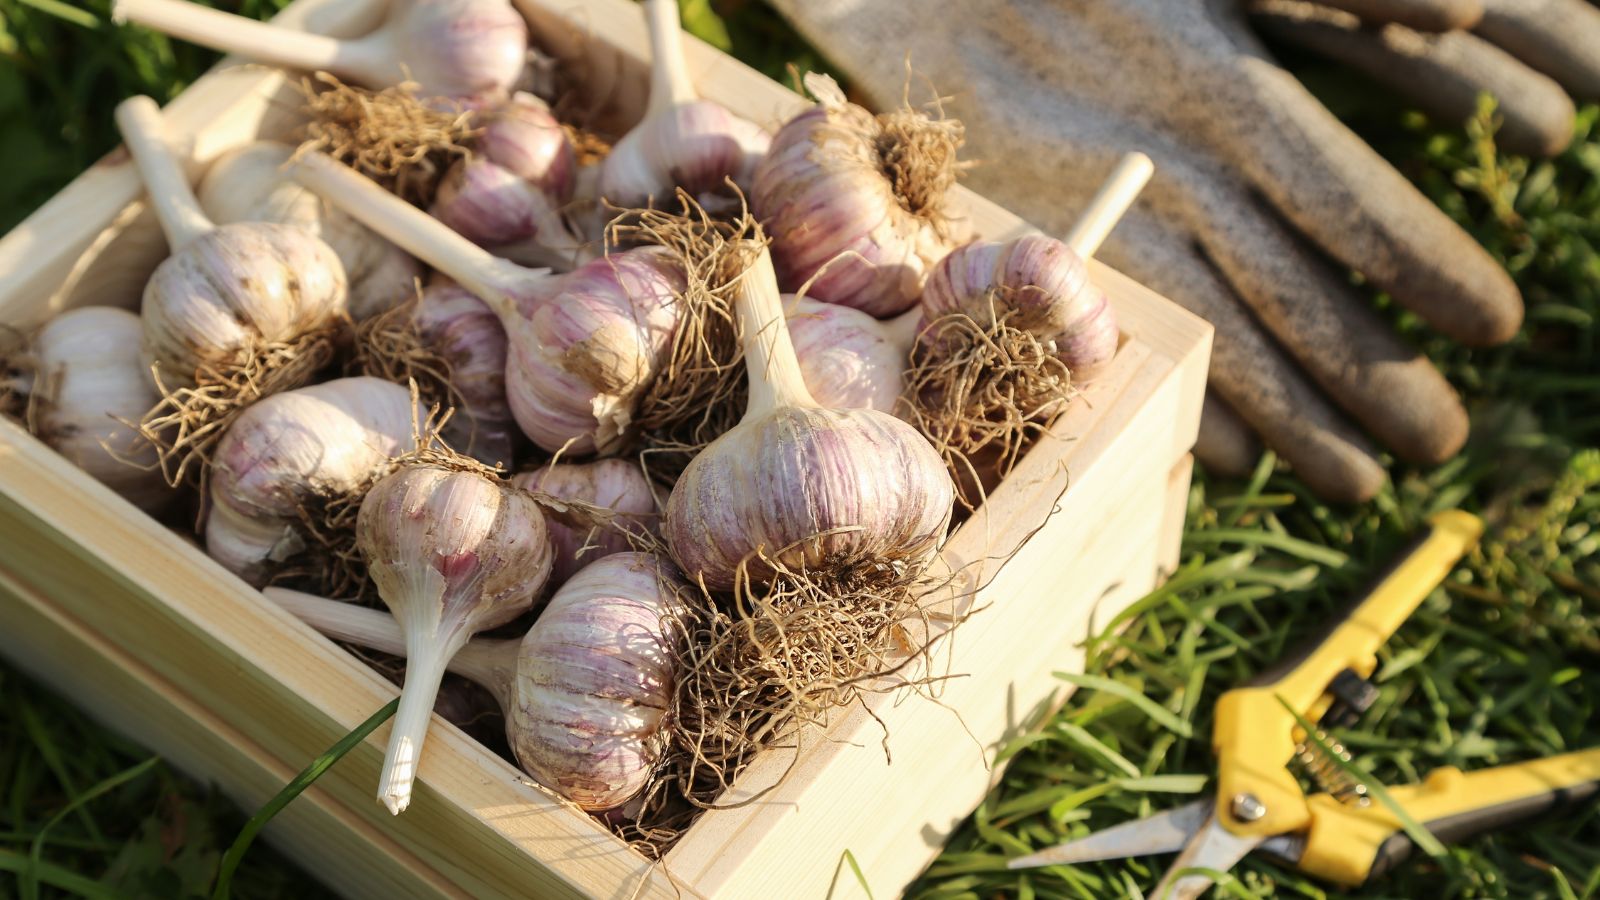
Step 4: Harvest Garlic

You can tell your garlic is ready to harvest when hardneck types have brown lower leaves, and when softneck types have fallen tops. Use proper harvesting techniques to ensure you get the swollen bulbs without damaging their flesh inside.
I harvest my hardneck plants by gently pulling on the tops to ease them out of the soil. This is generally not recommended unless your garden soil is soft and light, and if you’re only growing hardneck garlic.
Instead of pulling on the stems, use a garden fork to ease the heads out of the soil. Stab below them, then lift up and out. This is the best way to harvest, as you’ll avoid snapping the tops from their bulbs. If the tops do snap, use the cloves quickly to prevent them from rotting.
Step 5: Air-Dry Bulbs
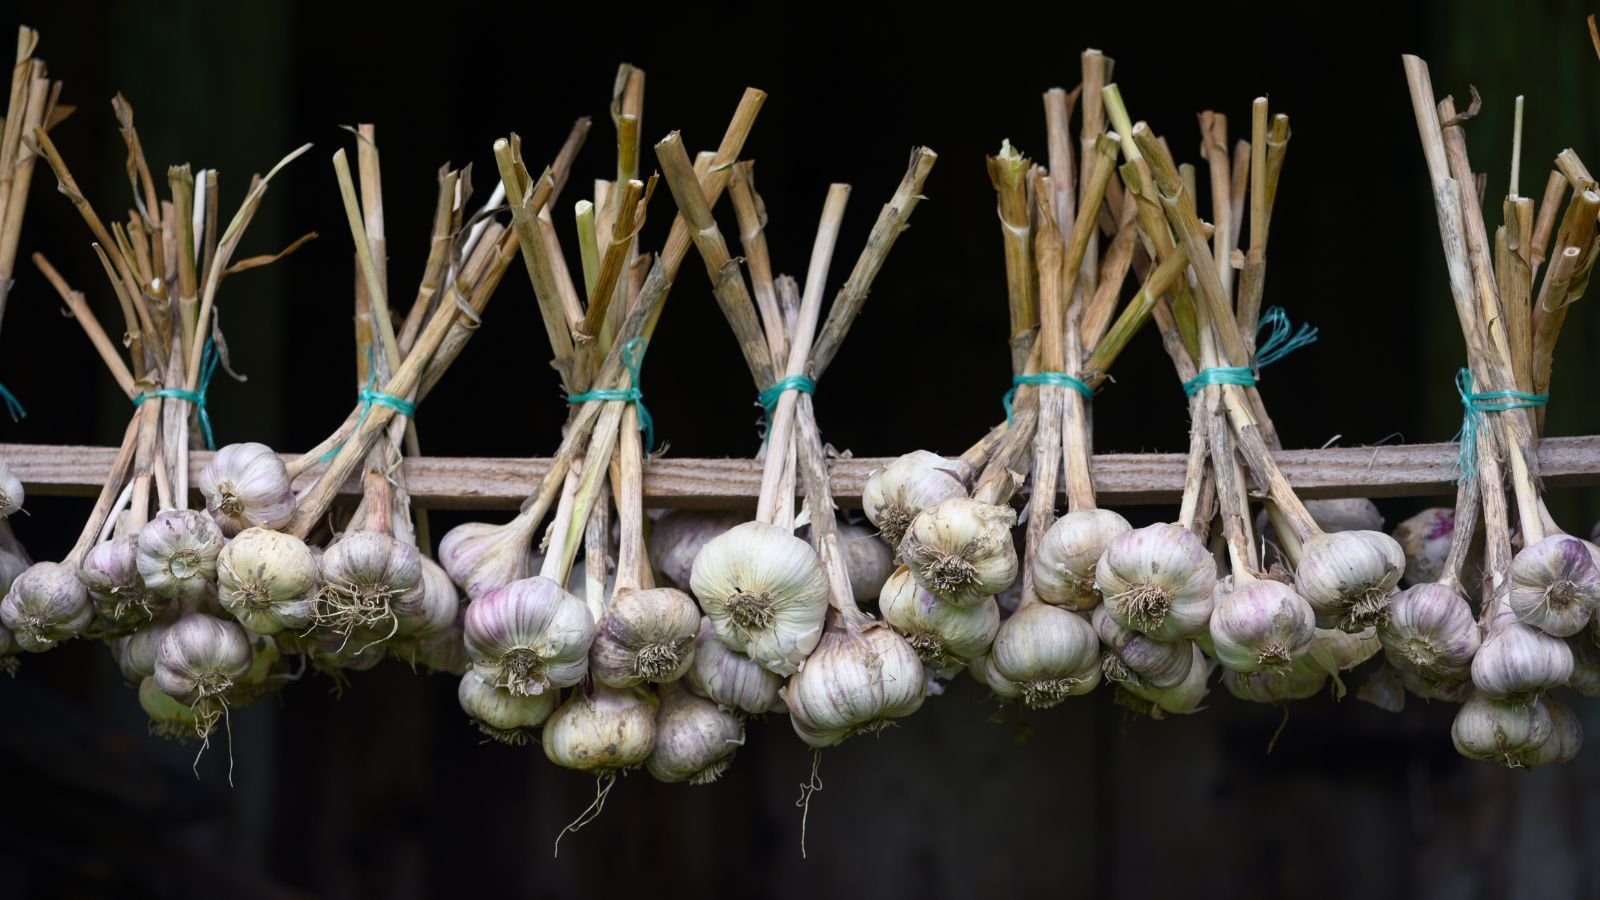
After harvesting, garlic bulbs need some pretreatment to store well. First, let them dry aboveground. Drying allows the papery layers to form that conceal and protect the cloves inside. Hang them up, or braid their stems to hang them in bunches. Be sure to let them dry away from direct sunlight for a week or two.
After drying, the curing process is the next step. Curing allows the papery layers to dry and shrink, creating an impenetrable barrier between the air and the cloves inside. Leave the bulbs hanging for another week or two to let them cure. All in all, the process takes between three and four weeks total.
There are other curing methods aside from hanging that work well in different gardens. Try rack curing if you have a lot of bulbs. Simply lay the heads on a mesh rack and let them cure. Or, use a mesh net to hold them above the ground with good air circulation.
Step 6: Cut Off Tops and Roots
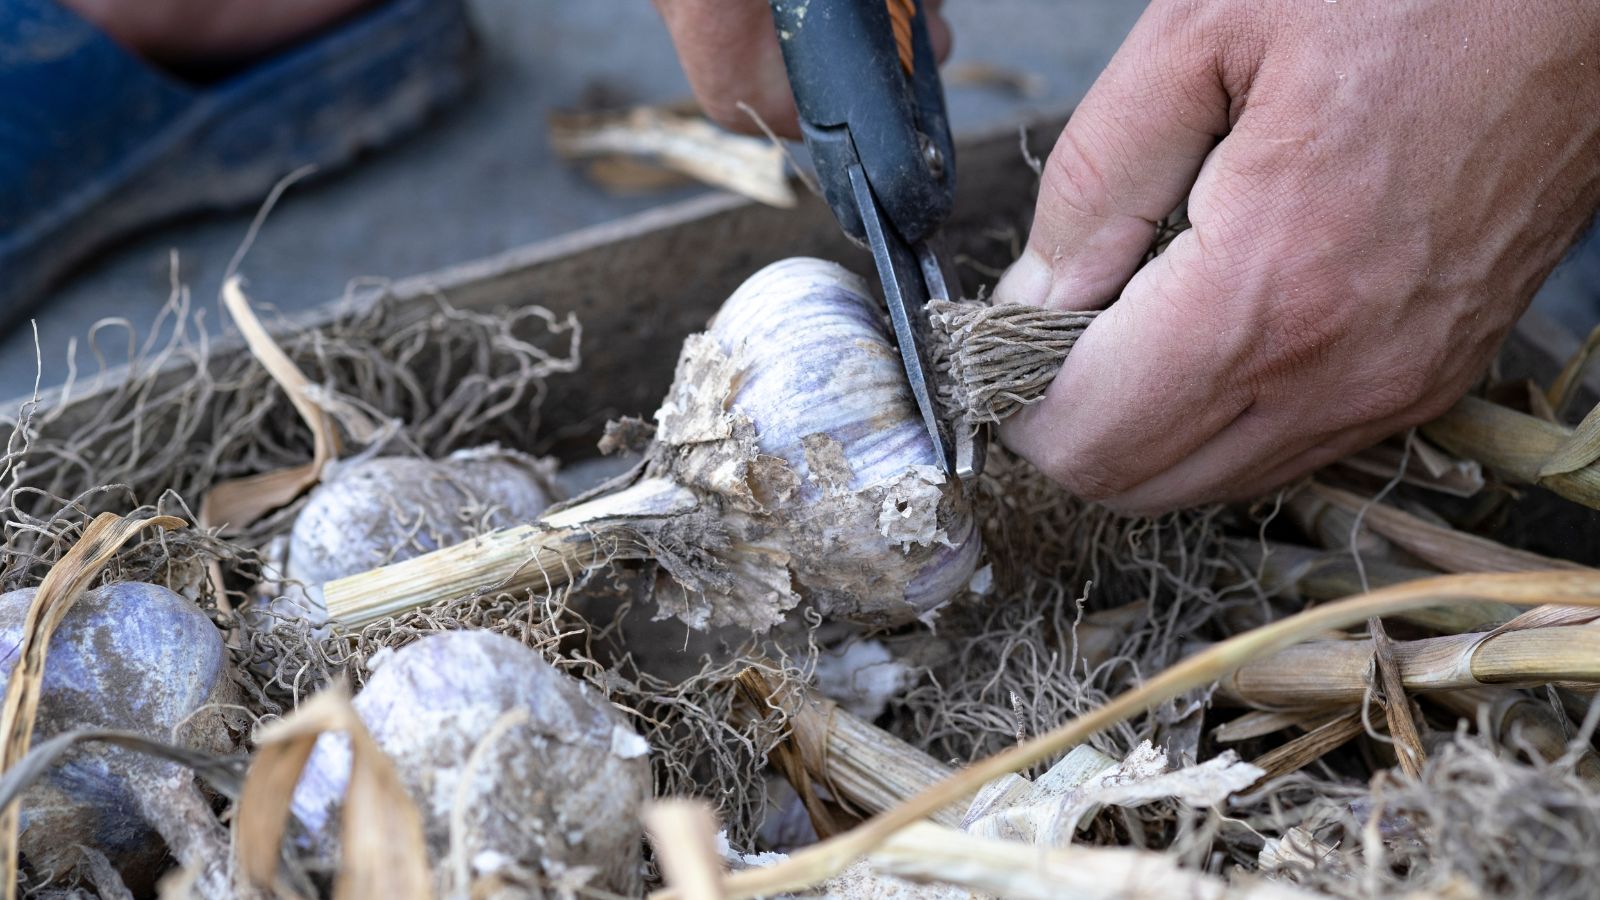
When your garlic is dry, snip the tops and roots off for long-term storage. Wait for them to dry completely, then use snips or pruners to chop he leaves and roots off. Leave an inch of stem attached above the bulb to help the cloves store well.
If you’re braiding your softneck plants, you may leave them in braids while you store them. Simply hang the bunches in your pantry or cellar until you’re ready to use them. Then, snip off a head from the bunch when you need it in the kitchen.
The snipped roots and tops make excellent compost material. Don’t throw them out! Repurpose them instead. Then, at planting time, you’ll have finished compost to plant new cloves into.
Step 7: Store Heads
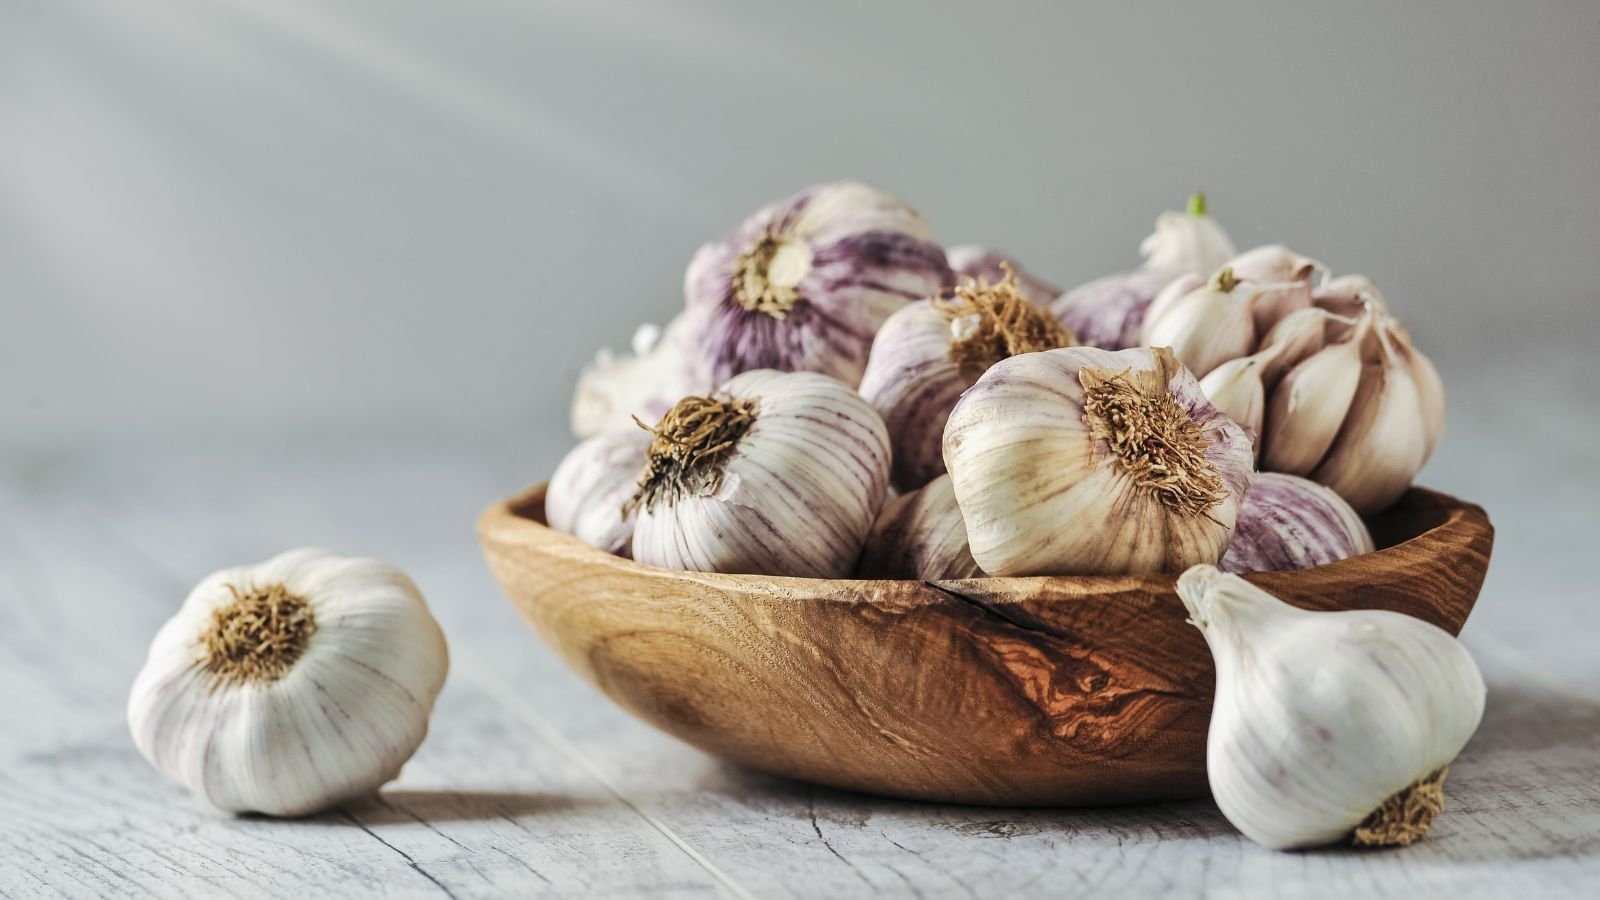
Garlic stores well in cool, dark, and dry locations. It needs good air circulation and darkness to stay dormant. Keep it away from direct sunlight to prevent it from growing in storage, and take out individual heads when you need to use them.
You can also preserve your harvest to help it last longer! Try boiling the cloves and storing them in oil. Or, try making black garlic, a delicious, slow-cooked preparation that turns the cloves black.
You can also freeze the cloves. Freeze them whole, or blend them with olive oil and freeze the solution in cubes.
When the fall season arrives, separate some of the largest cloves from the bulbs. Use these for another round of planting! Large cloves create large heads, and they’re the best types to save for planting.