How to Build a DIY Compost Bin For Rich Amendments
There are tons of DIY composting styles you can employ in your garden. Learn about them, and how to build a DIY compost bin system here!

Contents
Seasoned gardeners know the benefit of having a good source of compost, and a DIY compost bin is perhaps the best way to ensure that. Filling the heap with nitrogen-rich materials balanced by carbon and micronutrients helps us build soil without having to source it from outside.
There are many ways to DIY your compost, too. Vermicomposting, using regenerative techniques, or simply making a pile are all effective ways to boost the growth of your plants. Making something a little more technical like a bay system is even better and adds an interesting look to the garden.
In this piece, we’ll discuss how to make your DIY compost bin and how to maintain it. We base this on our video that covers how to make a lovely bay compost system. We’ll also touch on other modes of DIY composting that you can try out at home.

Epic Organic Garden Straw
Epic Organic Garden Straw is a weed seed-free mulch that helps create a healthier, more resilient garden. It locks in moisture, blocks weeds, and regulates soil temperature, giving your plants the stable environment they need to thrive, without introducing unwanted seeds or chemicals.
Buy at Epic Gardening ShopDIY Compost Styles
Before we get into our favorite design, let’s discuss different DIY compost bin styles. This will give you an idea of which style is best for you and your garden space.
Vermicompost Bin
One very easy way to compost in a small space is worm composting, also known as vermicomposting. You can purchase a worm composting kit, or you can make your own worm bins.
One way to DIY your vermicomposter is to build a worm tower, which is a simple design that involves a large PVC pipe where you drill holes to create perforations along its sides. Place your food waste and other worm food, like shredded paper, within and wait for the right type of worms to roll in.
You can also use staggered plastic bins that you stock with worms, feeding them throughout the entire compost process. Perforations in this case are on the lids of the containers, and the entire system is closed and above ground. Ideally, you should be able to bring the bins indoors when temperatures get too high or low for your worms.
Compost Piles
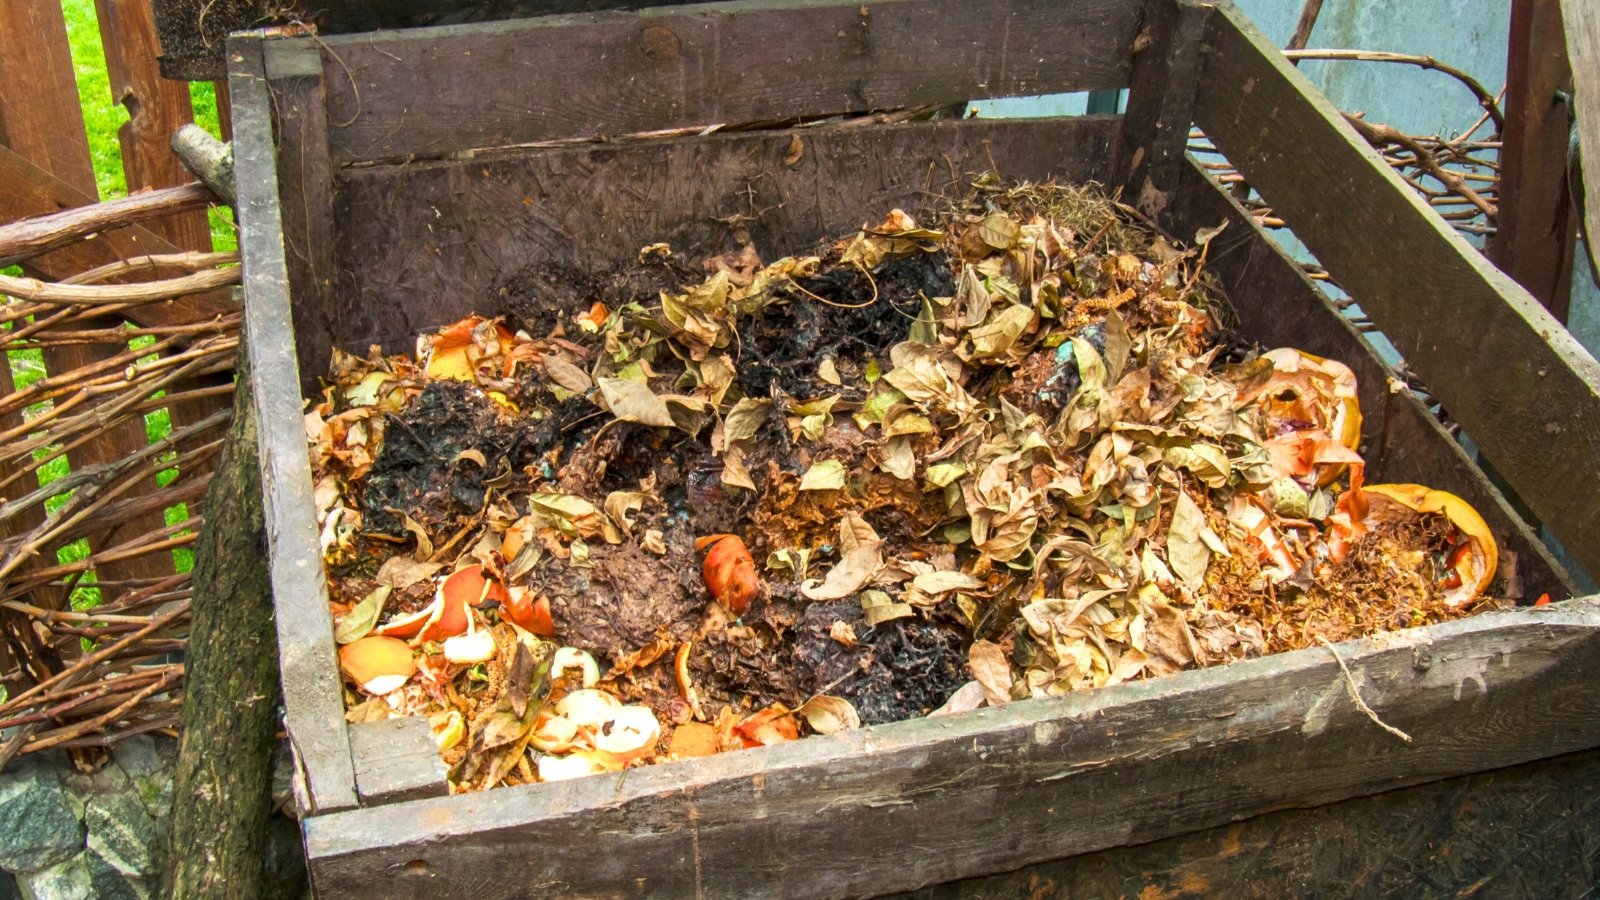
Next, there is the classic compost pile. Simply put, a compost pile is a large heap with layers of green and brown material that you continuously heap together and turn regularly. Often, the pile sits directly on bare ground so beneficial fungi and soil microbes can access the material composting above. This is a no-frills, and as long as you turn it and heap it regularly, no-fuss method.
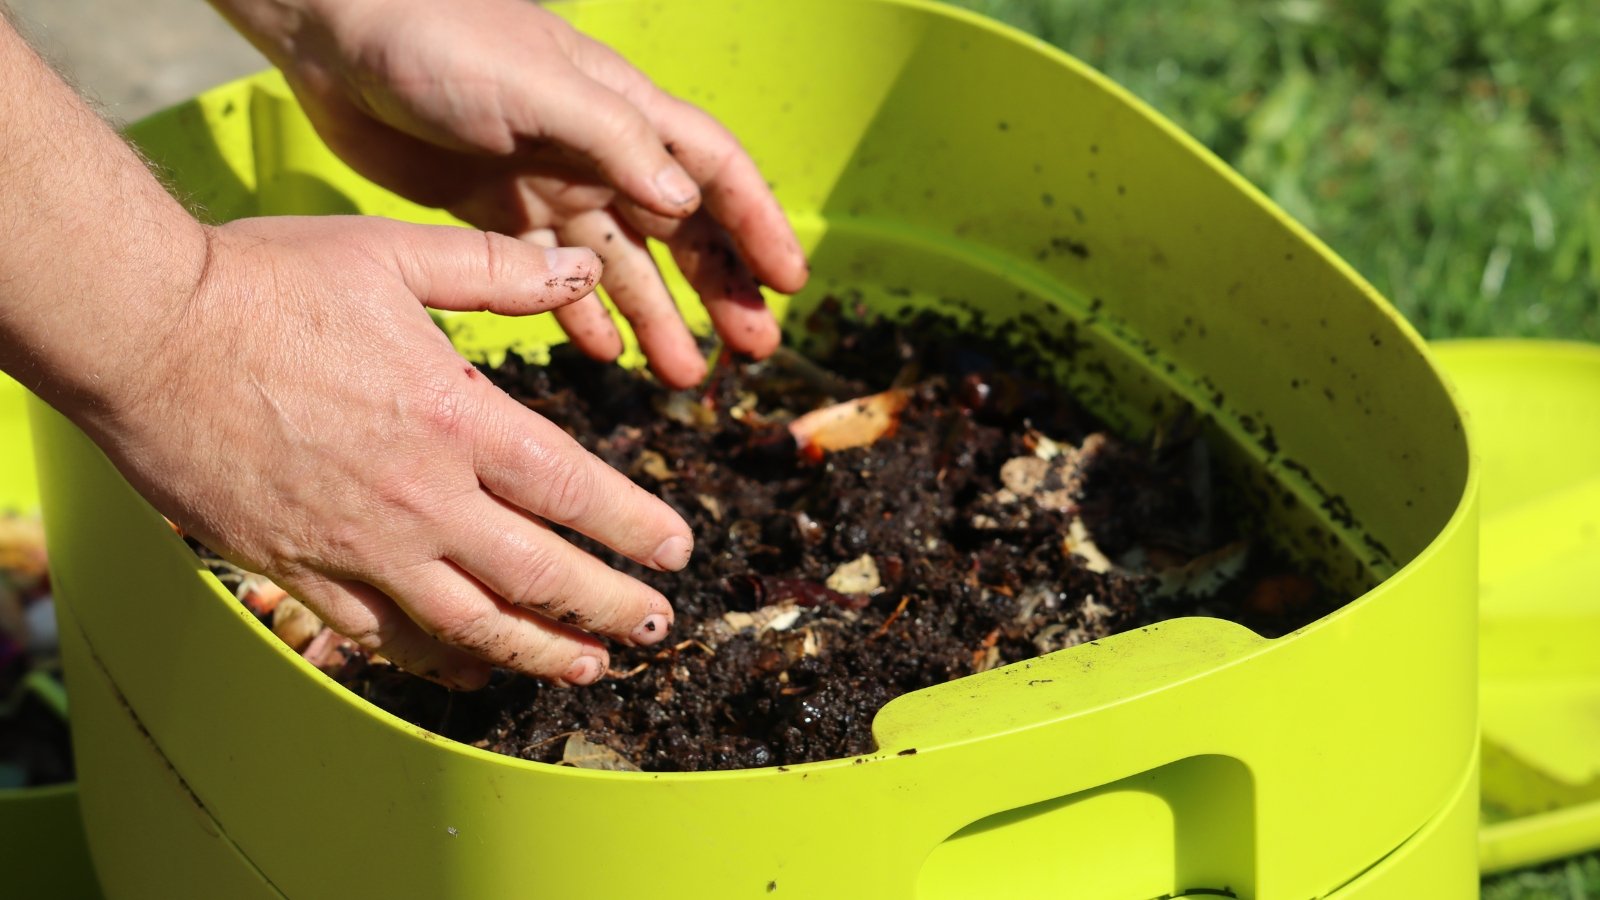
Compost Tumblers
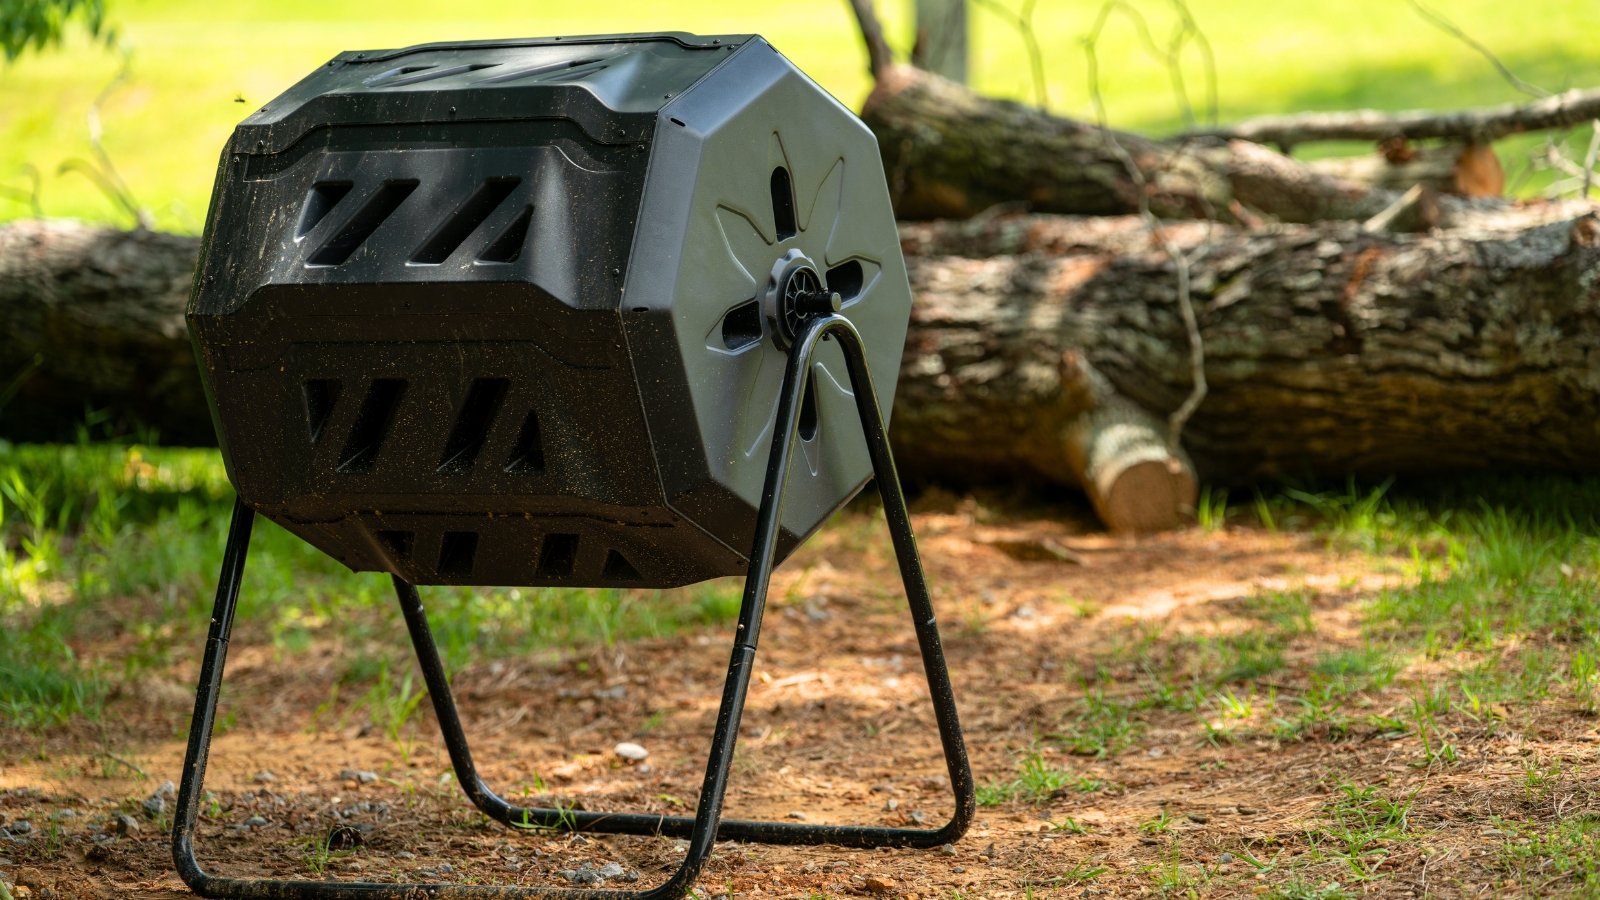
What’s great about compost tumblers is that they enclose the compost in a bin, making it inaccessible to rodents, most bugs, and any animals who may find your compost tasty or interesting. Turning your compost is as easy as turning a handle on the side. You won’t need to do much other than ensure your balance of compost materials is correct.
Trench Composting
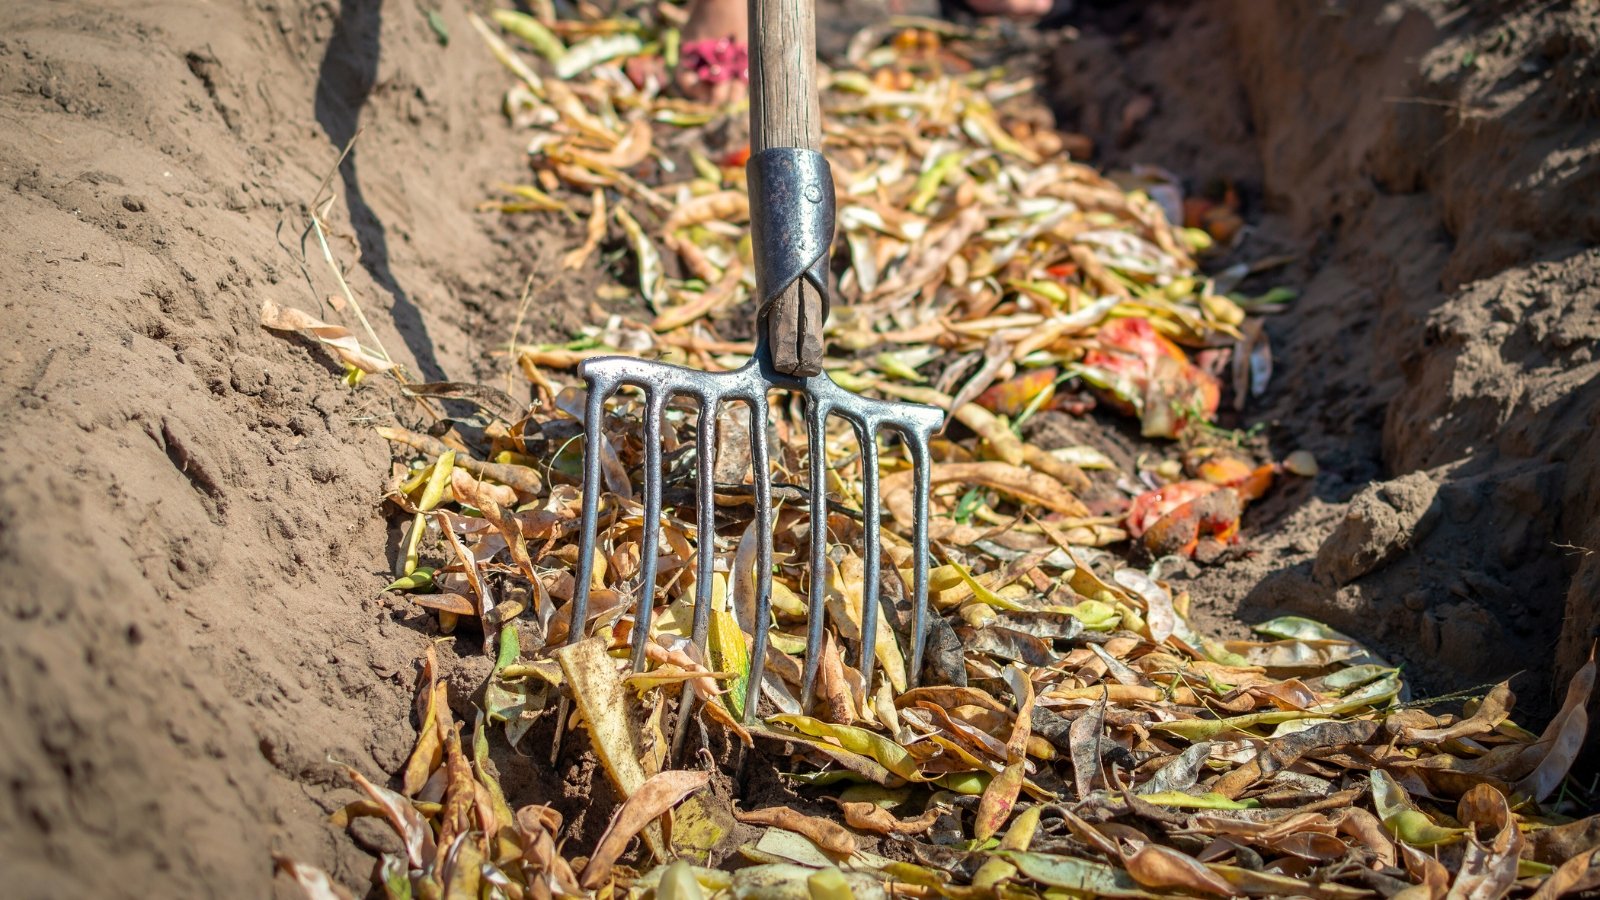
This is basically a pile, but one step further. Place food scraps and brown carbon-rich materials in a trench where they have even more contact with beneficial microbes and fungi. The same basic rules are present, with a bit more ease in the process required to start composting, as access to the bare ground where beneficial bacteria live is easier due to more surface area contact.
Plastic Container
You can make a cheap compost bin with a trash can or plastic tote with a tight lid. In this design, there is no need for a tiered system. Simply find a suitable-sized container, drill some holes in the sides of the top, and cover it with a lid. Then remove the lid to add organic materials and start composting kitchen scraps, yard waste, and the like.
Compost Bins

If you’d like to create something a little more technical, you can build your own bin with wooden stakes and hardware cloth or chicken wire. You can enact a really simple design by staking in a square or rectangle with the wood and wrapping it with your fencing of choice around three sides of the stakes. Build your compost heap within.
You can create very similar compost bins without any fencing by stacking concrete blocks or large stones on three sides and throwing your compost within.
What Is Bay Composting?

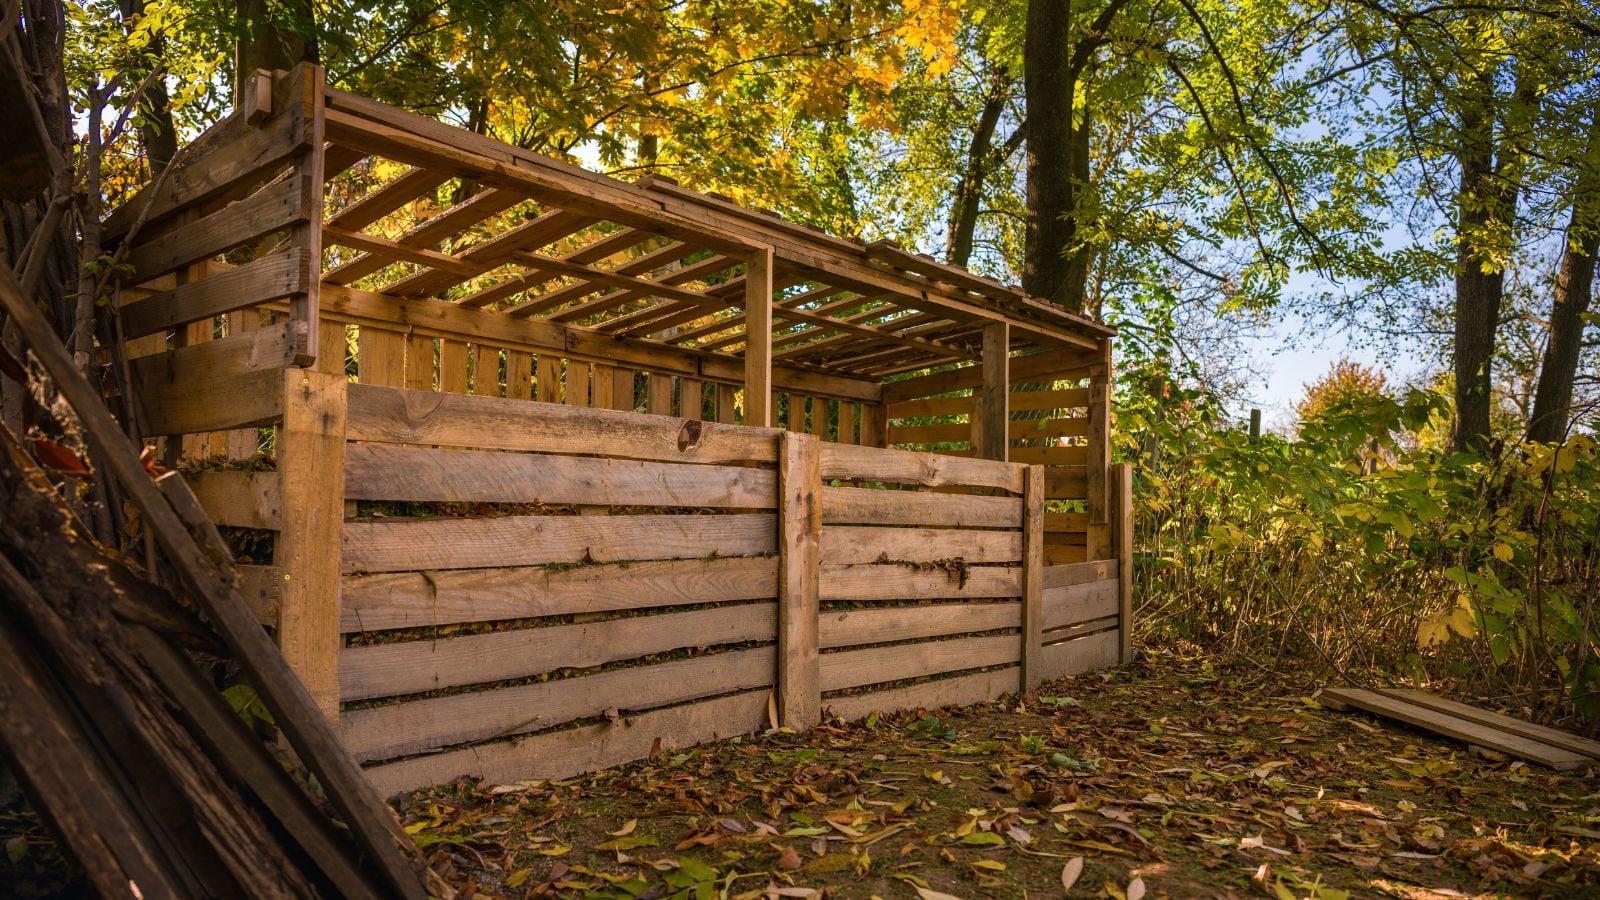
While any of the above options are great for home gardeners, farmers, and nursery staff alike, you can get even more technical with your DIY compost bin. Recently, Jacques, Kevin, and Paul built a five-bay compost system on the Epic Homestead. The design they executed is simple but makes the composting process more organized than some of the others mentioned up to this point.
Many of the compost bins we’ve mentioned adapt well to a bay system, though, so they aren’t excluded from this. But we’ll focus on the design implemented on the Homestead.
Bay composting usually consists of any number of compost bays that are attached and separate the heft and sometimes type of compost or material. In Jacques and Kevin’s plans, they created a five-bay system. You can build just one bay, or even ten if that works best for your situation.
Advantages of Bay Composting

Any DIY project offers some adaptability to the existing circumstances. With a set of DIY compost bins, you can decide how you want to use them. You could use two to separate the brown matter you’ve collected from the active compost pile, or you can have three where you test out different types of composting.
How Is Bay Composting Different Than Other Methods?

As opposed to a compost tumbler, or any type of enclosed DIY compost bin, the bay leaves much of the compostable materials in the open air. However, it is somewhat enclosed to prevent organic material from spilling out into other areas of the garden. Being open to the elements helps you produce fresh compost more easily, with the pile having access to irrigation and oxygen.
Another difference is the ability to organize your garden space in an aesthetically pleasing way. Whether you want to separate your materials by keeping your leaf pile in one bay and actively composting materials in another, or you want to use the bins to progressively compost, only adding materials externally as needed, you have that option.
This not only keeps the whole composting process contained yet exposed enough to promote a healthy system, but it also looks great too!
Building Your Compost Bin
Now let’s outline the process of building your DIY compost bin in a bay system. We’re going to work through this process from the planning stages all the way to harvesting finished compost. We’ll also touch on some of the maintenance tasks required to keep your bays up to snuff.
Planning Stages

Before you gather your materials, plan your design on paper or on your computer. Include the measurements of your space and that of your complete bay system, as well as the individual bays. Consider questions like: Where will the compost bays be located? How long will I use this system for making compost? Do I want it to be modular or more permanent?
All these considerations will help you determine the best ways to gather materials and implement your design.
Gathering Materials For Your Compost Bins

In this section, we’ll discuss the materials needed for a single bay. Additional bays will require materials for the front and back and only one additional side. Here is a list of the materials needed for the single bin design Kevin and Jacques implemented with Paul.
Back
All pieces cut to 3′ long
- (6) 1×6” boards
- (1) 2×4” boards
2 Side panels
All pieces cut to 3′ long
- (4) 2×6” boards
- (4) 2×4” boards
- (10) 1×6” boards
- (4) 2×2” boards
Front
- (6) ea 1×6” boards cut to fit front, roughly 32” each
Hardware
- (32) cabinet screws
Tools
- Circular saw
- Clamps
- Power drill
- Shovels/Rakes for clearing your space
Now, it’s appropriate to create multiple stand-alone bays that sit next to one another. The benefits of doing this are that your design will be modular and can be moved around, and acquiring your materials may be easier.
However, more materials often mean more expense. But you can source your materials for free and use upcycled wood pallets, repurposed wood, and other hardware. Take all the time you need to do this if you choose to go this route.
Building Your DIY Compost Bin Design
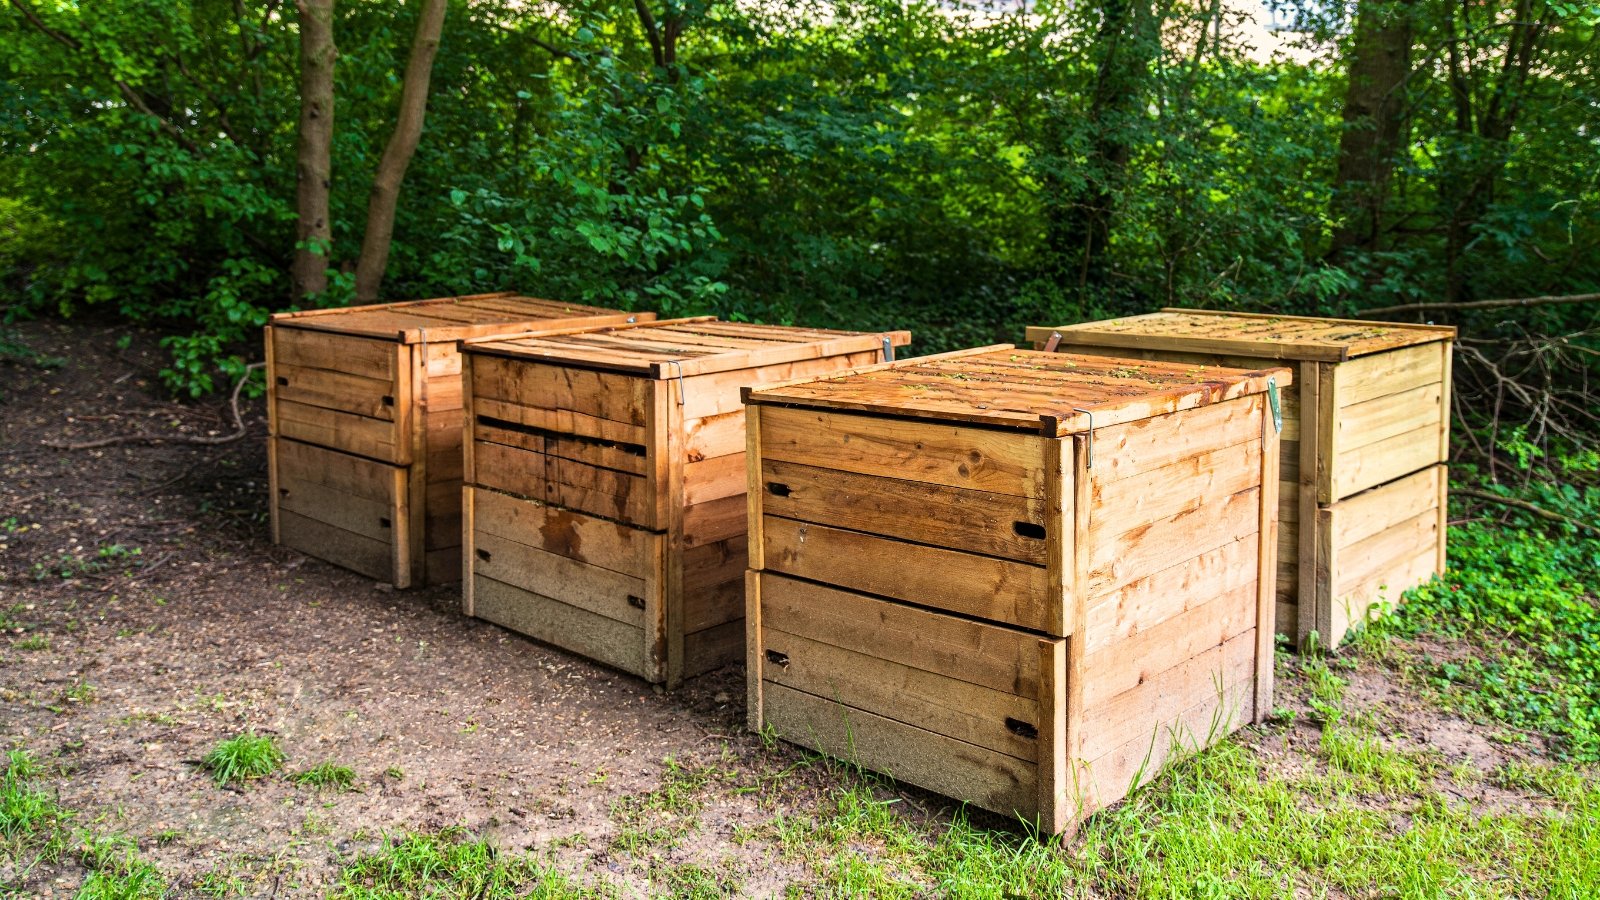
Start by leveling and clearing the site of your bins. If you have a chicken coop, like the EG Homestead, maybe close to that offset from the edible garden is the best spot. Or perhaps you have a space far off from the garden. Clear out enough space for your three-foot by three-foot bins multiplied by the number of bays.
Ensure the space is not up against a wall, which can create water pockets. Then, if you’re not using repurposed pallets, cut your wooden slats into the appropriate measurements. Thankfully, this design is pretty simple, and once you know how to build one bay wall, you know how to build the rest.
The basic design is a sandwich of two 2x4s and two 2x6s on the ends, which hold five 1x6s. Then drill two screws through each of the slats. When all your panels are built, set them up next to one another and attach them with a stack of equally sized 1×6 boards to completely enclose the back of the bay set.
Make your front panel holder by using two 2x2s to create a channel where you can drop in your front slats. Use a one-inch spacer to set the 2x2s wide enough apart. Then clamp everything down and drill in your 2x2s.
Then drop in your front slats, and you’re done!
How To Use Your Compost Bins

Now that you have a lovely wooden bay DIY compost bin, let’s talk about how to use it. As I mentioned before, using one bay for brown materials, one bay for fresh materials that are currently composting, and one for usable compost is perfect.
You can also divide the bins into different types of composting, where one is a worm bin, one is full of straw bales, and one is for green waste. You could also reserve one for grass clippings and other yard waste where you break down refuse, killing weed seeds before adding them to your new compost bin.
You can orient your DIY compost system however you want. It could be made strictly for a traditional method of composting or developed to host several.
Maintenance of Your Compost Bin

Now let’s talk composting tips. When you compost outdoors, you’re going to have to deal with the elements. That means, after a while, you may want to check your wood for signs of rot and wear. Replace boards and beams as necessary.
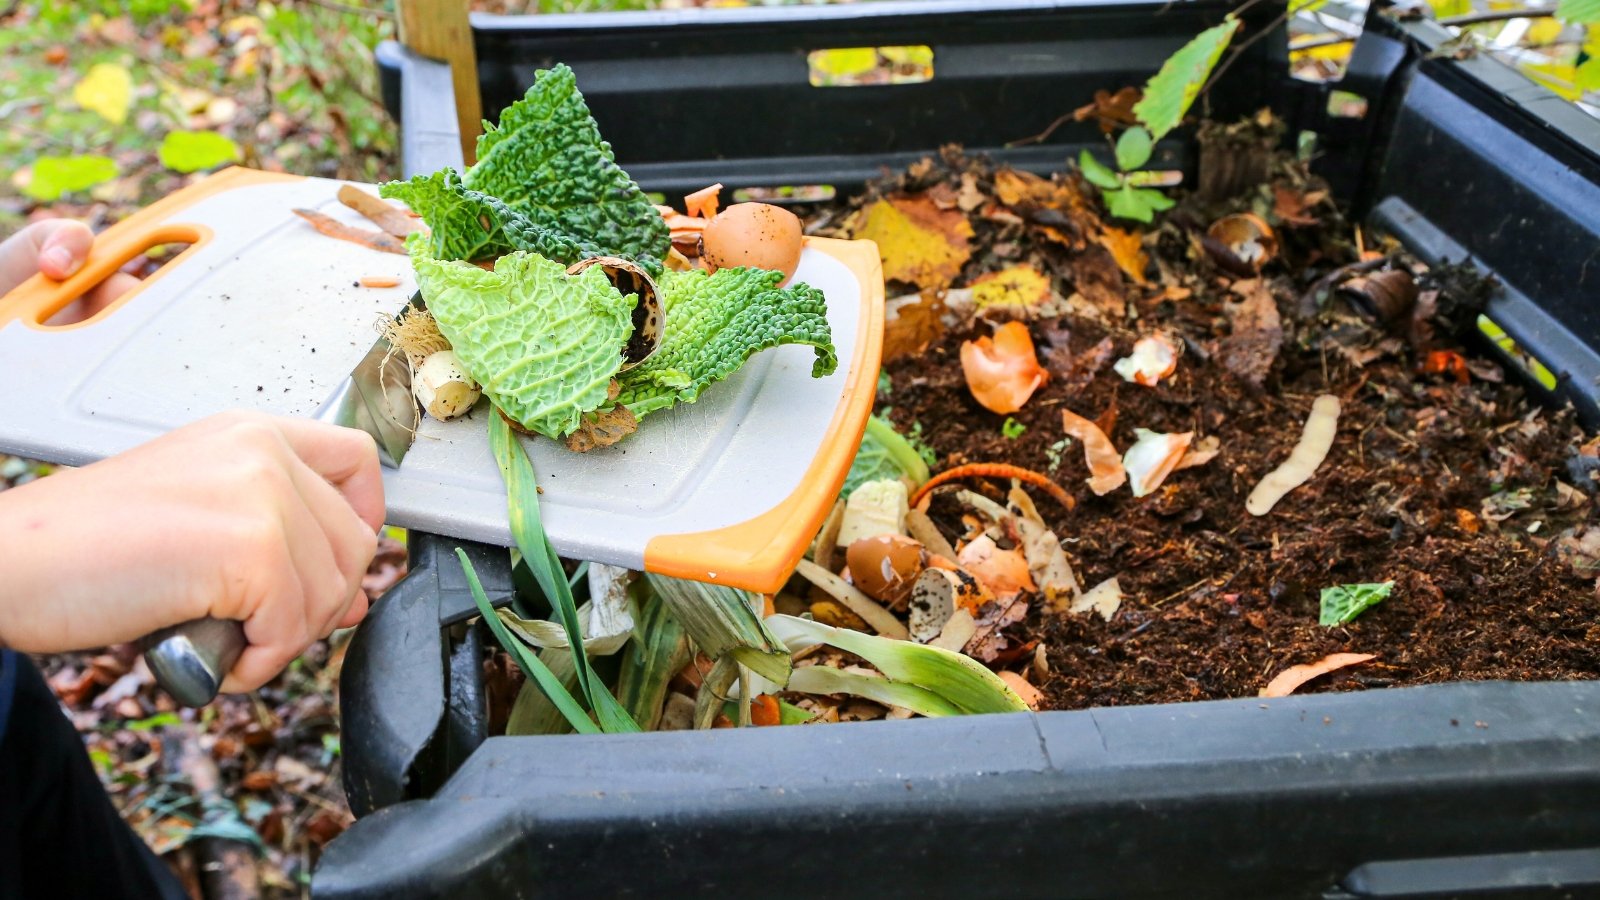
Monitor the compost itself. Ensure there is enough airflow, and if you’re working with worms, ensure they receive enough organic waste to thrive. Similarly, feed your compost with appropriate amounts of green and brown matter, adding a little green when it’s too dry and brown when it’s too moist.
Another thing to consider is cleaning the DIY compost bins when you’ve emptied them. Spray them down with some water after you harvest to add to your garden soil. Keep things like plastic trash out of your bin.
While many sources will tell you tea bags and coffee filters can be composted, often they contain materials that don’t break down easily. Separate filters from coffee grounds and either shred them before you add them to the pile or throw them away.
Egg shells are another material that might need some sterilizing and grinding before heading to the heap. Citrus fruit peels should be added in sparing amounts, as they can be very acidic and kill microbes doing the good work in your pile. Leftover leafy greens are great!
If you see flying insects that love composting material around the pile, that’s pretty normal. When they infest a pile, turn it and add brown matter.
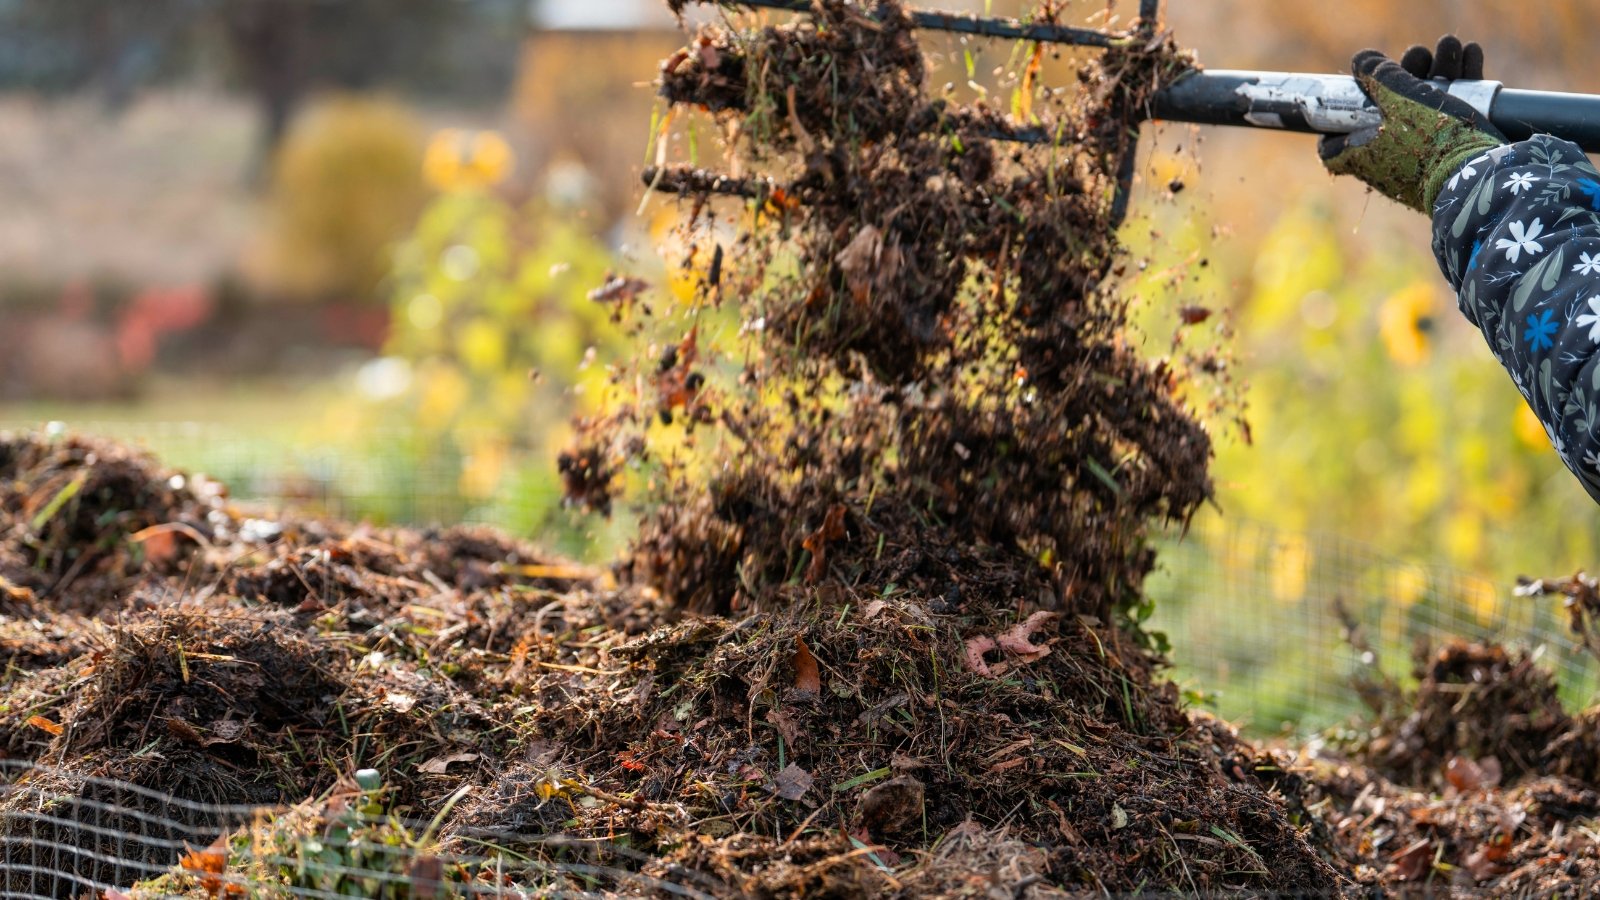
Harvesting Your Compost Pile
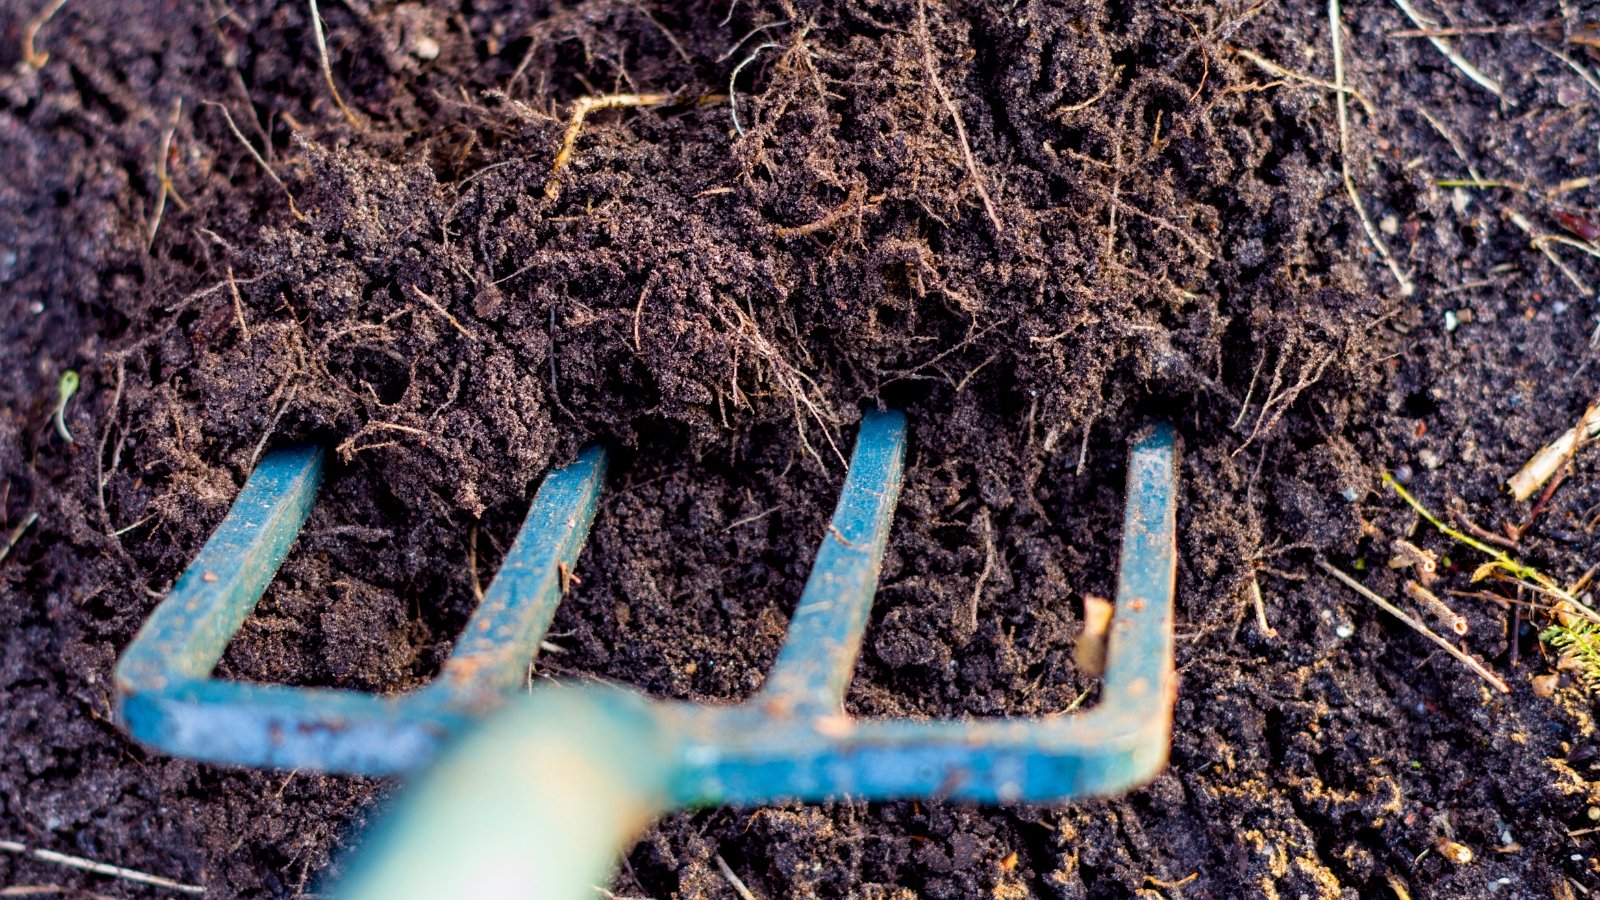
Now that you know how to use your compost bay and you’ve fed your bins appropriately, you have the privilege of harvesting finished compost. If you have a staged bay system where you add food scraps to one and move ready-to-use stuff to another, that’s pretty easy. Simply sift through the top portion of the pile, accessing the rich garden amendment that is compost at the bottom. Move that to the finished bay.
If you’re working with different compost systems in your bays, you might have to sift the good compost from other organic matter, like kitchen waste, vegetable peelings, or fruit and vegetable scraps in general. Once you’ve removed these materials, you can start adding compost to your garden beds.
Ways to Use Compost

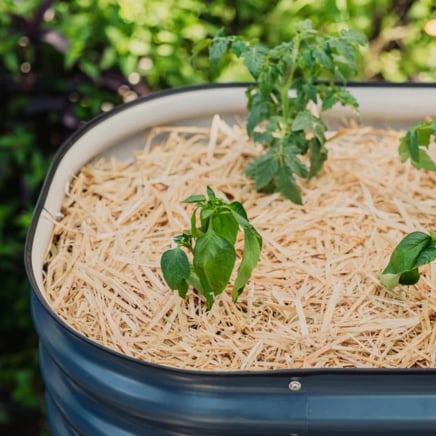
Using finished compost is pretty simple. Add it to your outdoor space in rings around plants or incorporate it into a blend of topsoil, fertilizers, and existing garden soil as an amendment. You can also use actively composting materials in a hugelkultur raised bed, adding them while they break down for later planting.
For instance, I’ve been preparing a bed for fall and winter gardening a couple of months ahead of time. In this process, I’ve built my hugel base with logs and branches, with leaves and grass clippings between the spaces. As kitchen scraps are made from cooking in the house, they head outside to the hugel bed. In a couple of months, I’ll have rich soil to plant in.
When you use your own DIY compost as opposed to the bagged stuff from the garden center, you’ll watch your garden grow much more in a shorter period.
Frequently Asked Questions
What material do I need to make my own compost bin?
It can be as simple as a plastic bin with holes in it or a worm bed.
How do you start a compost bin for beginners?
Check some of the DIY options mentioned in the first section of this piece.
Does a compost bin need air holes?
Yes. This is very important. You need air for the aerobic process that breaks down composting material.
Does compost need sun?
Not necessarily, but it will help heat the pile and catalyze the process.
How often should compost be turned?
Turn your compost pile every 4 to 5 weeks.
How long does it take for compost to break down?
Depending on the material, the composting process can take anywhere from a few weeks to a few years to break down.
Do compost bins smell?
Most of the time, correctly composted matter won’t smell. However, it depends on what you are composting. Many times, a smelly compost bin indicates an imbalance in the materials being composted.


