

How to Divide and Transplant Perennials in April Without Killing Them
Dividing perennials is one of the easiest ways to get more plants for free, but timing and technique matter. Gardening expert Madison Moulton explains how to divide and transplant perennials in spring without losing them.

Contents
Dividing perennials is one of those garden tasks that sounds more intimidating than it is. It feels destructive (or at least, risky), with the potential to kill a once healthy plant. But done at the right time and in the right way, the plant comes back stronger, with better flowering and more vigorous growth than it had before.
April is one of the best months for this. The soil is warming, the plants are just starting to push out new growth, and there’s an entire growing season ahead for the roots to re-establish. Dividing while the foliage is still small means less stress on the plant and less work for you. If you want to divide and transplant perennials in April, here’s how to get it right.
Know When a Plant Needs Dividing

Not every perennial needs to be divided on a schedule. Some, like peonies, can go decades without being touched. Others, like bee balm and asters, spread aggressively and should probably be divided every two to three years to keep them from taking over the bed.
The signs that a plant is ready for division are usually visible. A dead or bare center in the clump (common in hostas and ornamental grasses) means the plant has outgrown itself and the oldest part of the root system has stopped producing. Fewer or smaller flowers than previous years is another signal, especially in daylilies and Siberian irises. And if a plant is encroaching on its neighbors or flopping over because the clump is too dense, division will fix both problems.
If the plant looks healthy and is blooming well, it’s generally safer to leave it alone. Division is not a routine chore that every perennial needs every spring.
Choose the Right Day

Divide on a cool, overcast day if you can. Hot, sunny conditions dry out exposed roots quickly and put extra stress on the plant while it’s trying to recover.
Water the area thoroughly a day or two before you plan to dig. Moist soil is easier to work with, and the roots come out cleaner and with less damage than when the ground is dry and compacted.
If you can time the division to fall just before a stretch of cloudy weather or light rain, even better. The moisture helps the new divisions settle in without you having to hover with a hose for the first week.
Dig Up the Whole Clump

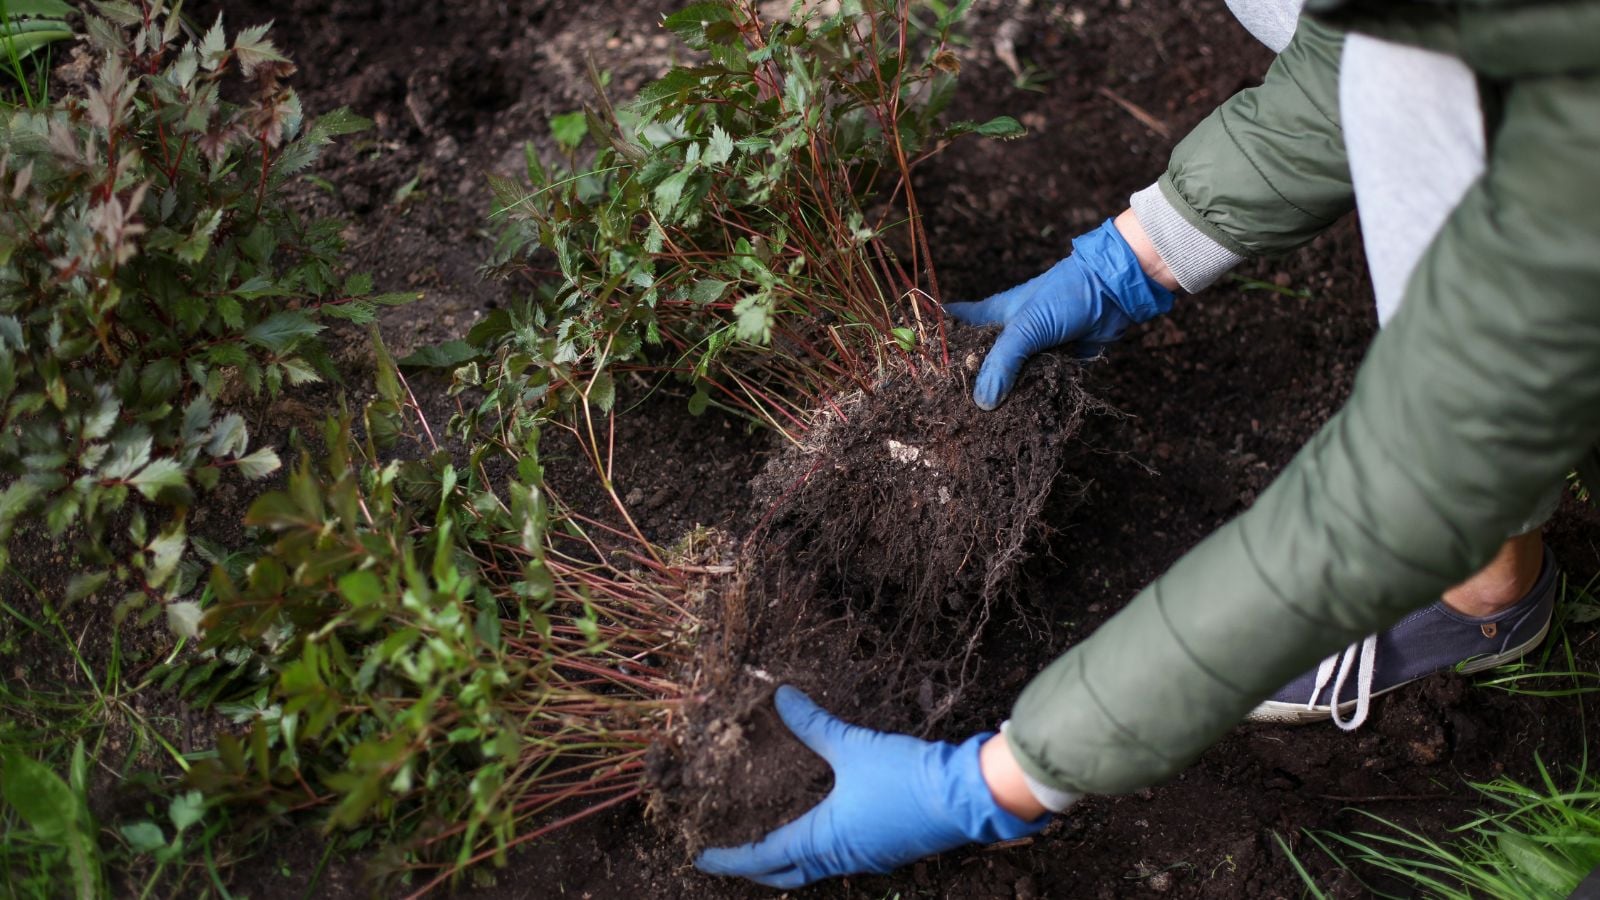
Resist the temptation to slice a piece off the edge of a plant while it’s still in the ground. You’ll get a better result (and do less damage to both the original plant and the division) by digging up the entire clump and working with it out of the soil.
Use a garden fork or spade to loosen the soil around the full perimeter of the plant, then lever the root ball out of the ground. Shake or rinse off loose soil so you can see the root structure clearly. Once you can see where the natural divisions are (clusters of shoots with their own set of roots), separating the plant becomes much more straightforward.
How you separate depends on what you’re dividing. Hostas and daylilies have dense, fleshy roots that may need to be cut apart with a sharp knife or spade. Bee balm and other spreading perennials can often be pulled apart by hand. Ornamental grasses are usually the toughest and may require a serrated knife or a handsaw.
Each division should have at least three to five healthy shoots and a solid clump of roots attached. You can divide smaller than that if you want more plants, but smaller pieces take longer to establish and may not flower the following year.
Replant Immediately
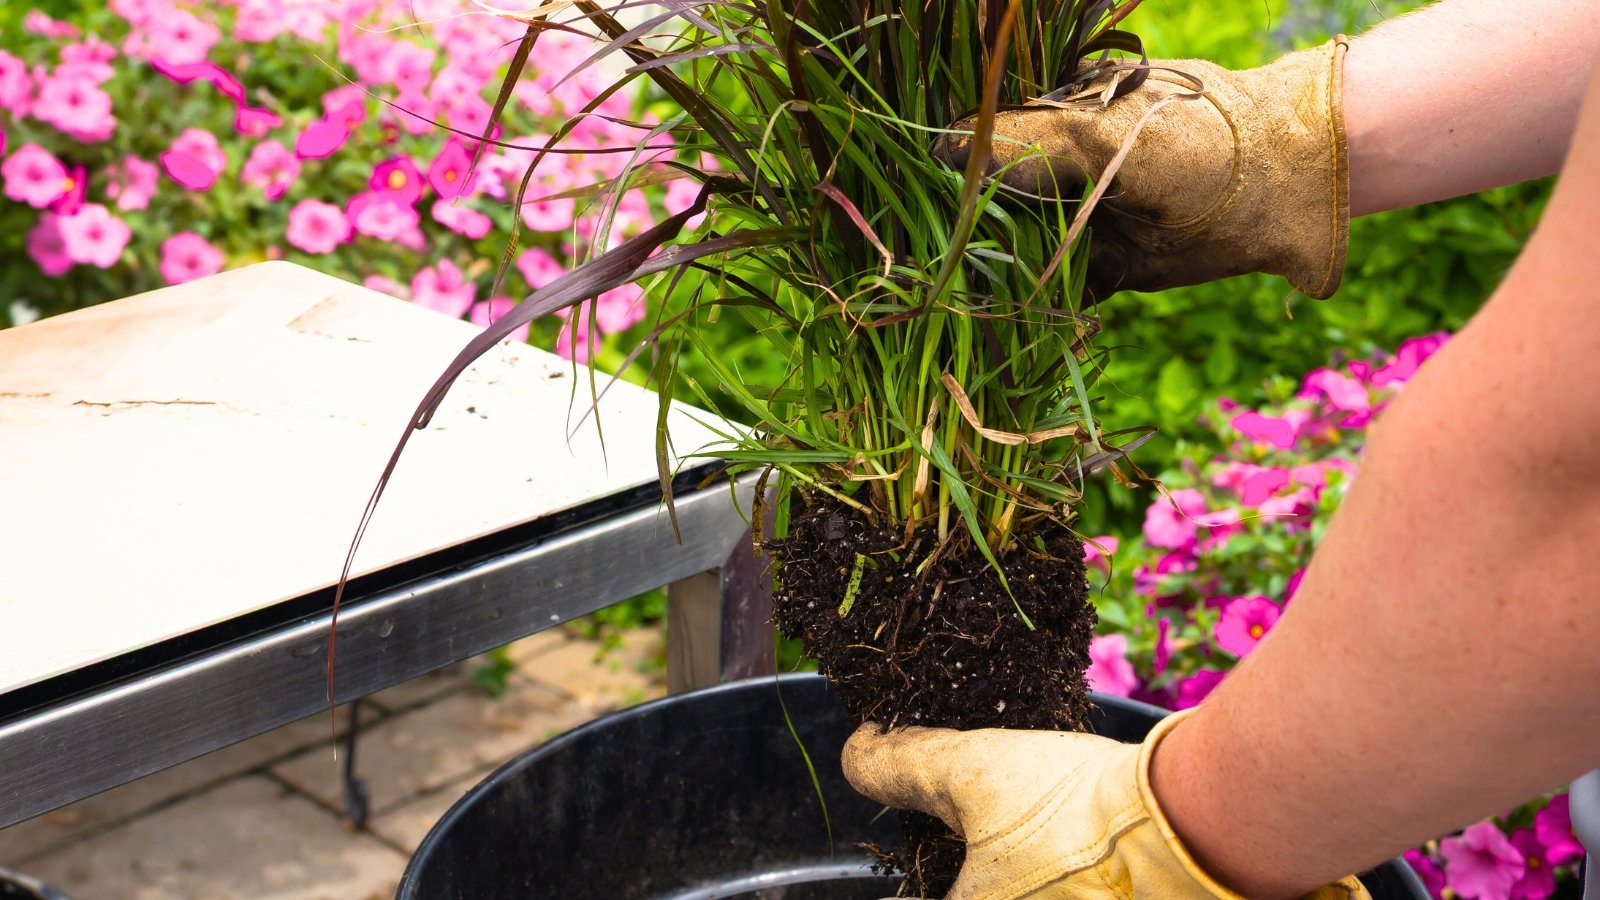
The longer divisions sit out of the ground, the more their roots dry out and the harder recovery becomes. Have your new planting spots ready before you dig, and get the divisions back in the ground as quickly as possible. If you can’t plant right away, wrap the roots in damp newspaper or sit the divisions in a bucket of water in the shade.
Plant each division at the same depth it was growing before. Going too deep can smother the crown and encourage rot. Match the original soil line and you should be fine.
Backfill with soil, press it firmly around the roots to eliminate air pockets, and water deeply. A layer of mulch around (but not on top of) the new planting helps hold moisture and insulate the roots while they settle in.
Aftercare

The first few weeks after dividing are when the plant is most vulnerable. Keep the soil consistently moist but not waterlogged. The roots are establishing in their new location and don’t have the reach yet to pull water from a wide area, so they’re more dependent on surface moisture than an established plant would be.
Don’t fertilize immediately after you divide and transplant perennials in April. The plant’s energy should go toward root recovery, not pushing out new top growth. Wait until you see signs of active growth (new leaves unfurling, stems elongating) before feeding, and even then, go easy. A light application of compost or a diluted balanced fertilizer is enough.
Expect some transplant shock. Wilting, yellowing of older leaves, or a pause in growth for a week or two is normal and doesn’t mean the plant is dying. As long as the crown and roots are healthy, most perennials bounce back quickly once the root system catches up. By midsummer, you probably won’t be able to tell the plant was disturbed at all.


