13 Native Plants You Can Collect Seeds From in November
Why buy new seeds every year when you could simply collect them? Whether it’s from your garden or a nearby natural space, if you want to collect native seeds, November is an ideal time to do so. Master naturalist Sarah Jay gives you 13 native seeds to collect in November.

Contents
I love native plants. They bring me closer to my local ecosystem and inform me about the conditions in which they thrive.
Recently, I’ve begun to focus on how to propagate them. And when I’m trying to determine the time to collect native seeds, November is a pretty safe bet.
Mid-November is the time of the first frost date here in North Texas, zone 8. Some natives are still blooming in my region, like goldenrod, aster, and white mistflower. But there are tons of summer bloomers that have finished their life cycle for the year, and they have seed heads for harvesting.
Before I go out to collect native seeds in November, I follow a few simple rules. I don’t collect seeds from ecologically sensitive areas where restoration projects are in action. I focus on spots where plants are prolific or likely to be removed from the area due to development. I never take more than 25% of the seed in a given stand.
If you’re not collecting from the wild, maybe you have a few natives in your garden that you’d like to try seed-propagating. This list has plants from all over North America. So keep it in your back pocket as you decide what seeds to start for next year.


Camphorweed
|
|
botanical name Heterotheca subaxillaris |
|---|---|
|
|
sun requirements Full sun |
|
|
height 1-6’ |
|
|
hardiness zones 5-9 |
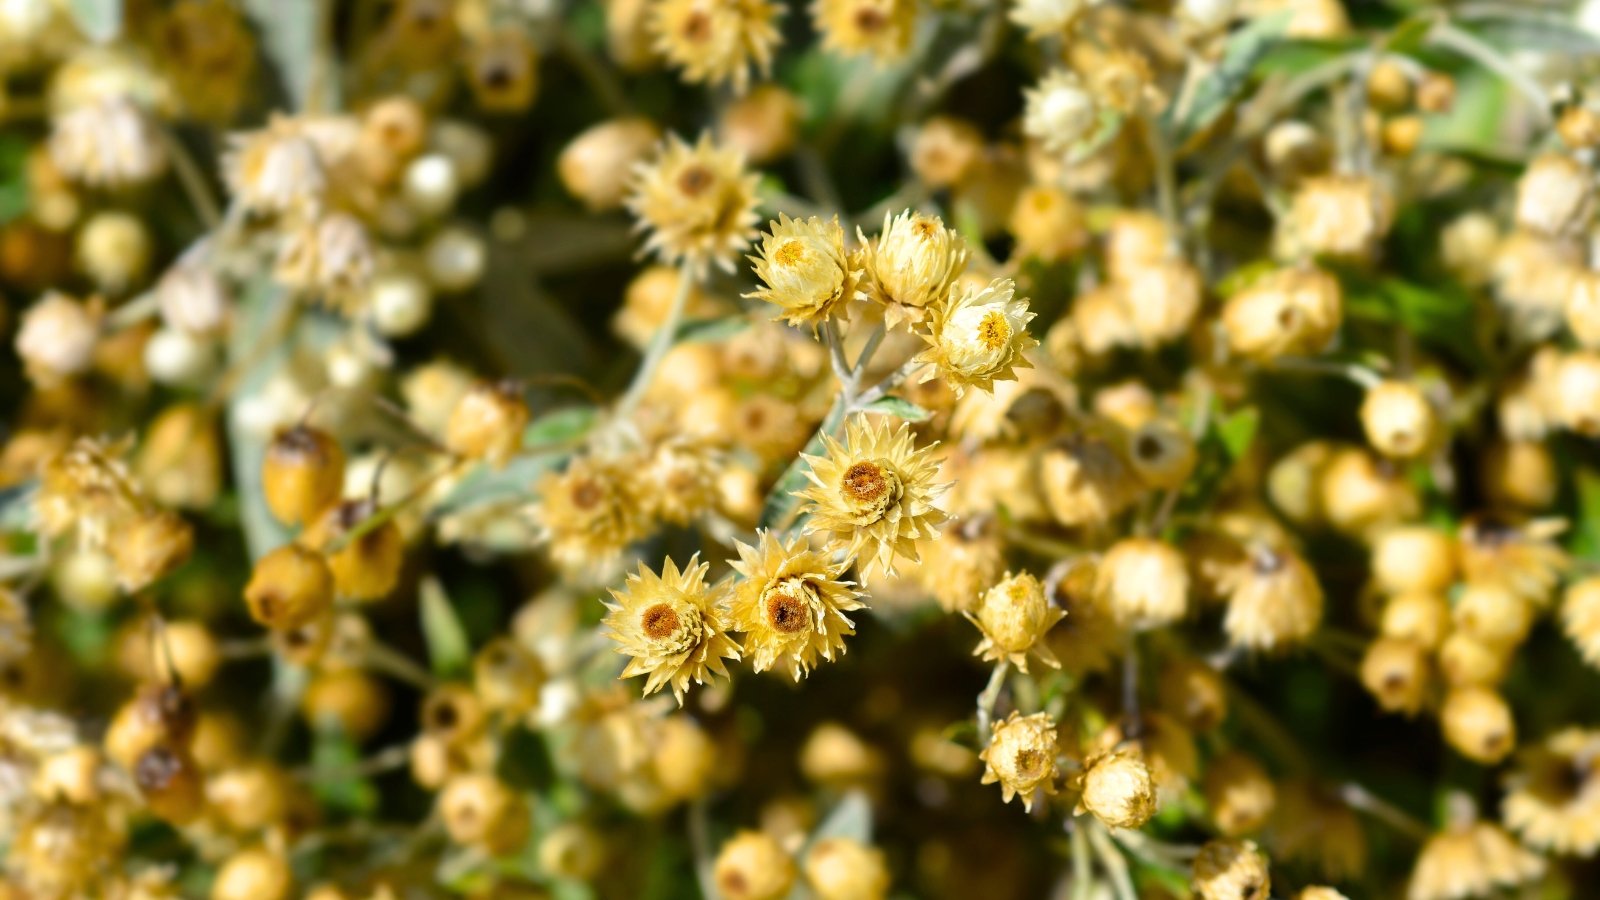
This lovely sprawling annual with bright, sunny yellow flowers is such a joy to see thriving in a garden. It will quickly seed out on its own and colonize an area with ease. If you want to enjoy it in a particular place, collect the native seeds in November when they’re brown and ripe.
Limit the spread of camphorweed in smaller landscapes, as each plant holds thousands of highly viable seeds. After you remove the seed heads with sharp, sterilized pruners, clean them, removing the tiny seeds from the feathery material. Then store them in a jar and press them into the soil when all threat of frost has passed in spring.
Milkweed
|
|
botanical name Asclepias spp. |
|---|---|
|
|
sun requirements Full sun |
|
|
height 2-6’ |
|
|
hardiness zones 3-10 |
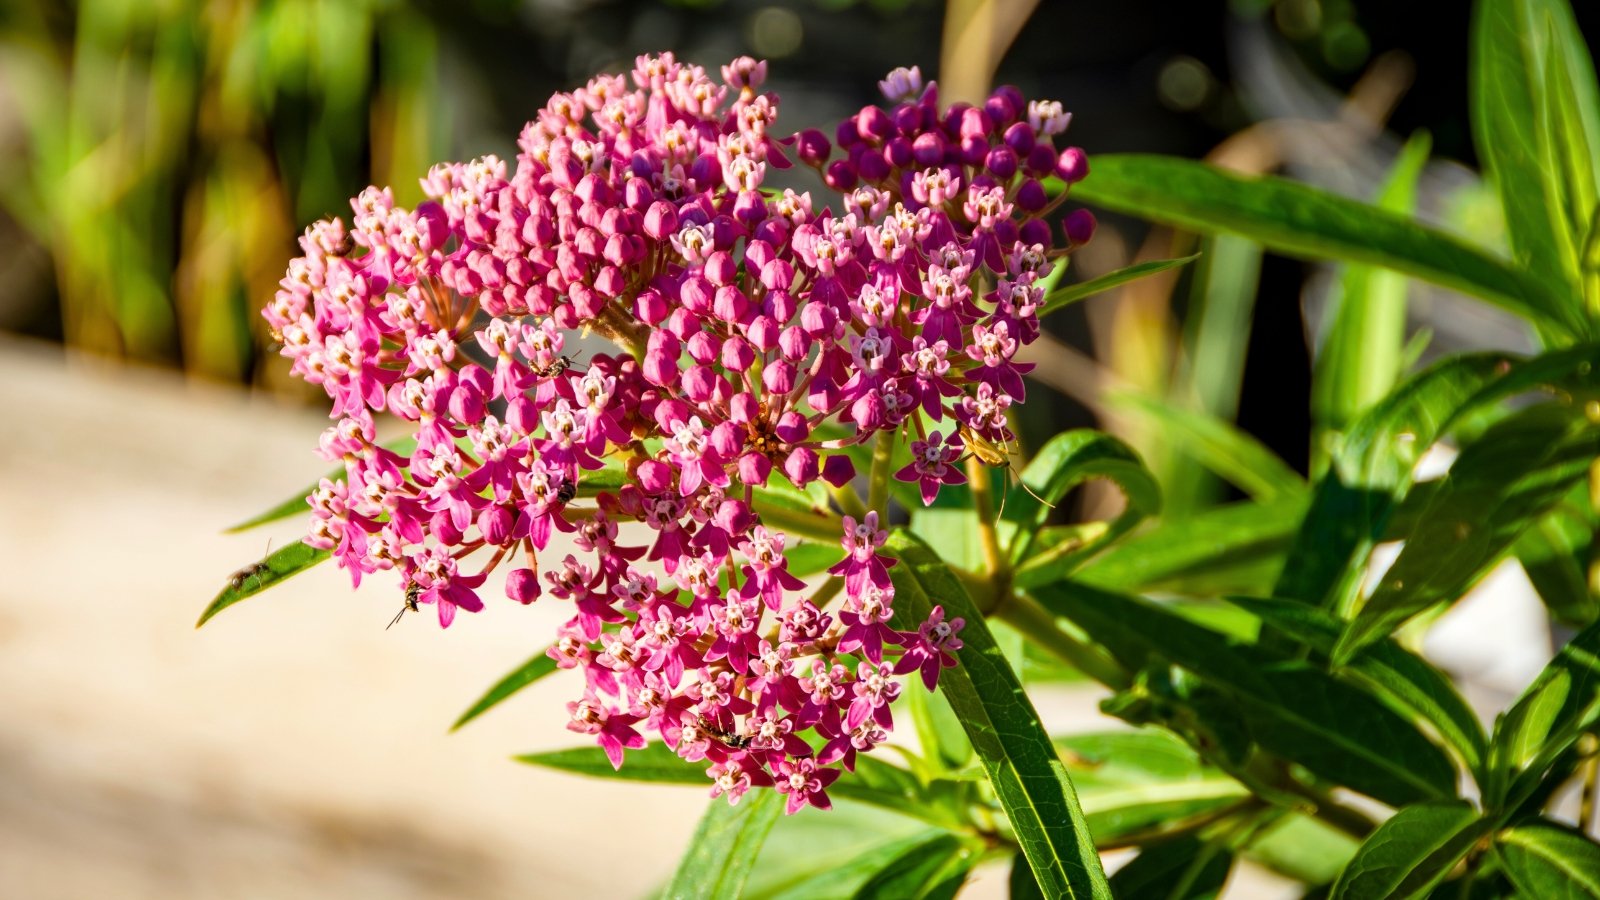
If you want monarch butterflies, you should plant some milkweed. There are over 100 species of milkweed native to North America, each with its own range. Choose one that grows well in your region to give all the insects that love this plant the best support possible.
For milkweeds, you must wait until the curved seed pods start to open to release the seeds. These are connected to white, cottony masses that help them disperse in the wind. If you know of a good stand of milkweed somewhere, wait for the pods to brown and open, then collect native seeds. November is an ideal time in many areas for gathering milkweed.
Either sow them directly now, or cold stratify them in the refrigerator for the period specific to the species you’re growing. Then press them into the soil surface of a tray indoors. Ensure there’s a grow light or a good, bright light source.
Carefully transplant your starts when frost has passed, ensuring you don’t damage the sensitive taproot. I tend to start them in tree pots if I’m growing indoors first.
Common Yarrow
|
|
botanical name Achillea millefolium |
|---|---|
|
|
sun requirements Full sun |
|
|
height 2-3’ |
|
|
hardiness zones 3-9 |
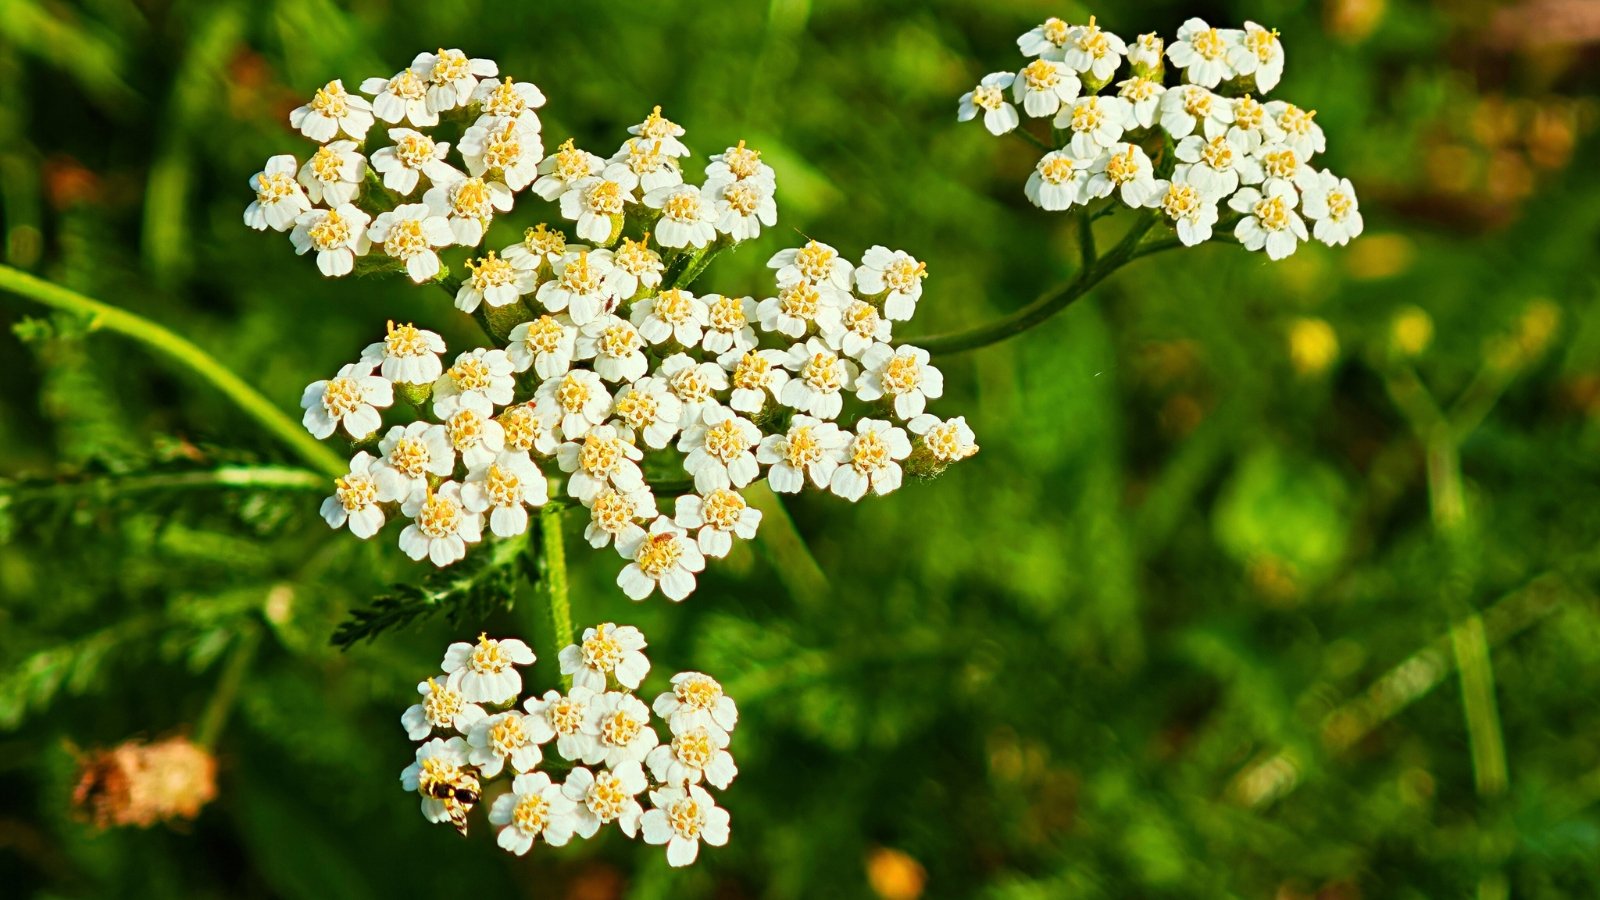
One of the easiest plants to grow and propagate is yarrow. This plant is now technically native, but doesn’t actually have the long-standing evolutionary relationship with North America that other natives do. However, it’s such a beneficial plant, feeding many insects and supporting wildlife.
The seeds of yarrow are dust-like, so it’s best to clip entire browned seed heads into a paper bag. You can plant a single flower with plant matter still attached if you need to be precise about where you sow. Otherwise, skip the cleaning and simply crumble a seed head over the planting area.
Yarrow requires a cold period. Either sow directly now after you collect native seeds in November, or simulate cold stratification for two to four weeks before pressing into the surface of your indoor seed starting soil.
Common Sunflowers
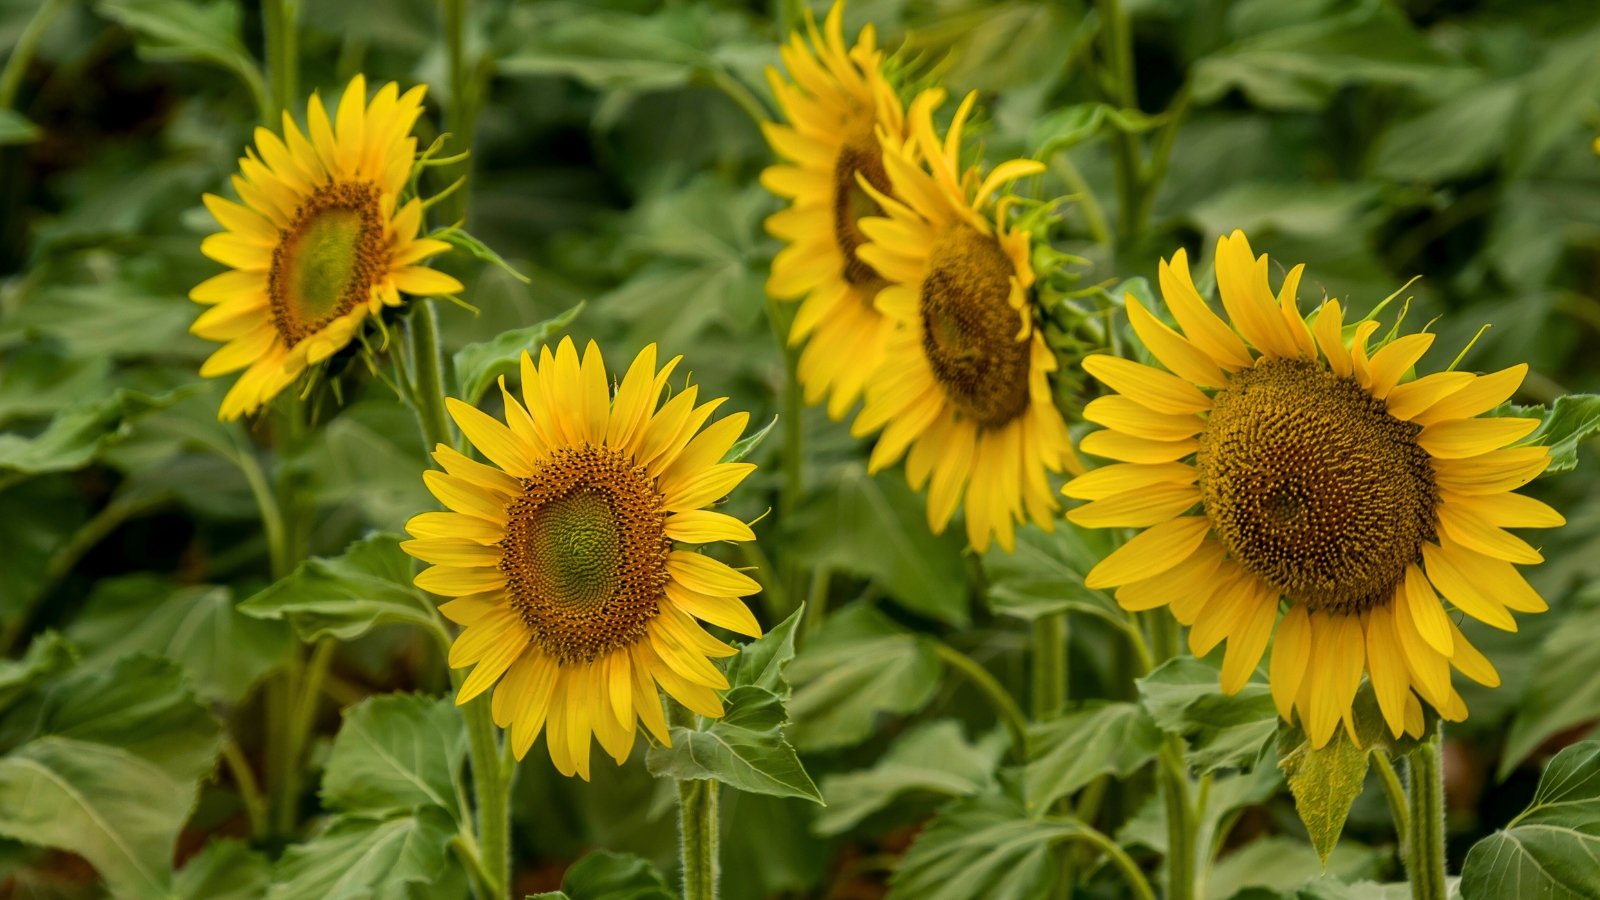
|
|
botanical name Helianthus annuus |
|---|---|
|
|
sun requirements Full sun |
|
|
height 1-10’ |
|
|
hardiness zones 2-11 |
If you thought yarrow was easy, meet your common annual sunflower. This is another pollinator powerhouse plant that readily self-sows. You want to clip seed heads in areas where sunflowers tend to get out of control (and they do – ask me how I know). Crumble the seed heads and remove the seeds.
These don’t need any special treatment ahead of sowing. The only thing to consider in mass plantings is their safety, as multiple bird species love to eat them. Save them to sow after frost has passed, and monitor their progress to ensure birds don’t eat them before they can grow. A thin layer of straw mulch will protect some of them.

Gregg’s Mistflower
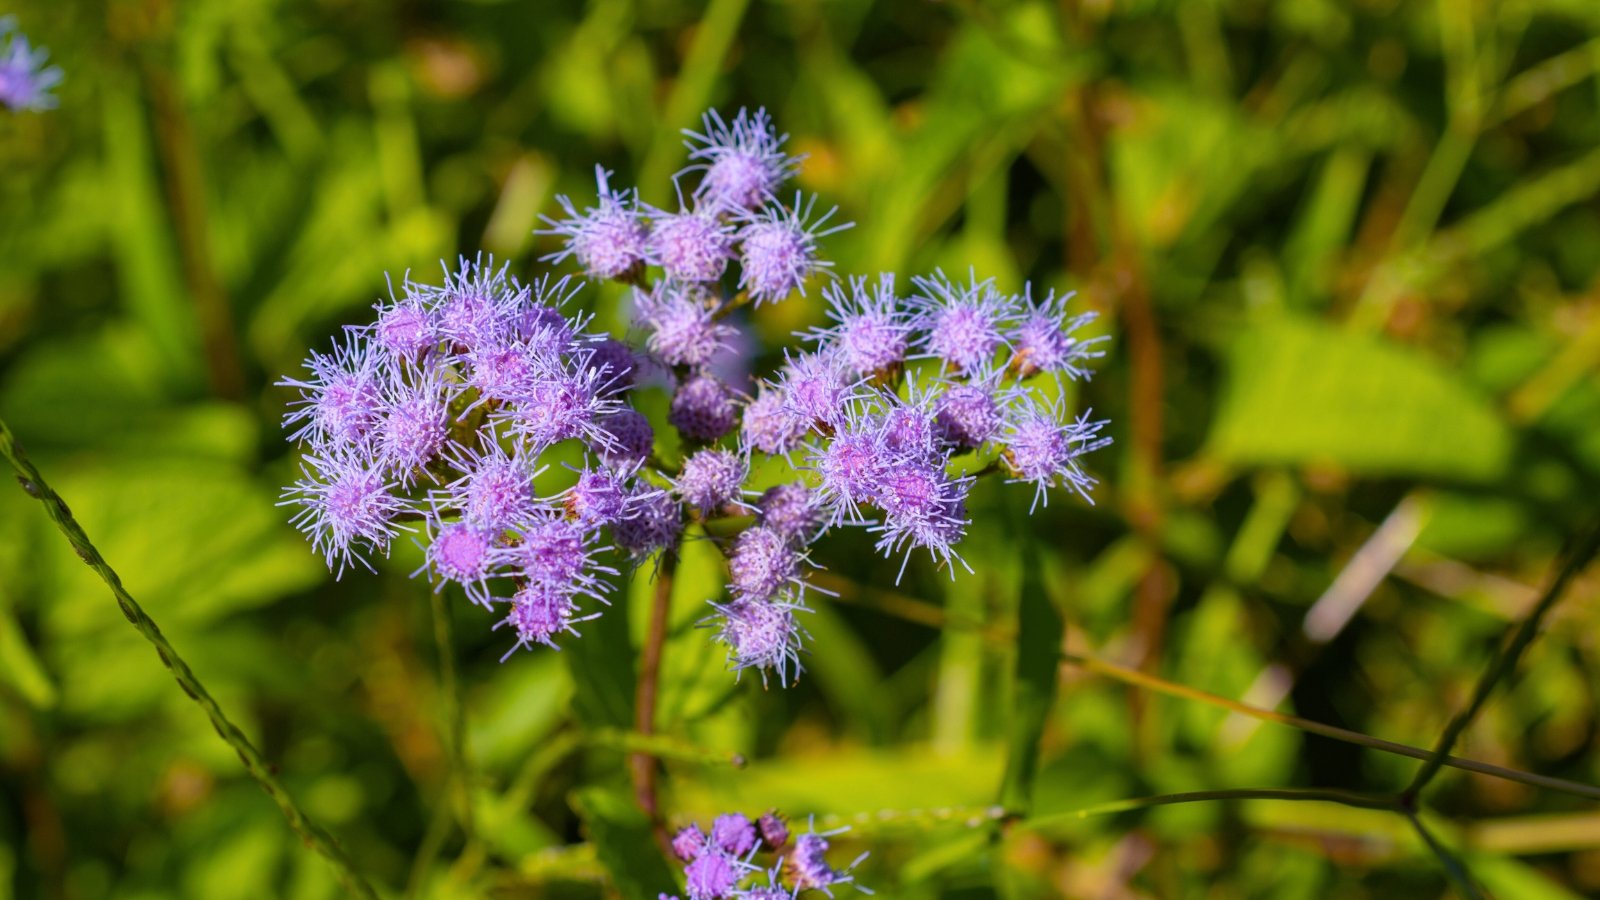
|
|
botanical name Conoclinium greggii |
|---|---|
|
|
sun requirements Full sun to partial shade |
|
|
height 1-2’ |
|
|
hardiness zones 7-10 |
One of the plants that really won’t quit in my garden is Gregg’s mistflower. It’s a generous perennial that covers the ground quickly and feeds tons of butterflies in fall as they make their last efforts to migrate. Its leaves and stunning light purple flowers provide much interest from spring through fall.
Wait for the seed heads to brown, and remove them. Collect native seeds in November on a dry day, or dry the seeds indoors before storing them in a jar or opaque envelope. These are warm-weather lovers that don’t require any treatment to germinate. Either spread them on the soil surface after frost in spring, or on the top of your seed starting soil.
Be patient, as mistflower takes a week or two to germinate.
Red Twig Dogwood

|
|
botanical name Cornus sericea |
|---|---|
|
|
sun requirements Full sun to partial shade |
|
|
height 2-7’ |
|
|
hardiness zones 5-9 |
While the best time to collect red twig dogwood seeds is from August through October, November is a decent time. If you’re collecting them now, store them and sow them next year.
Look for white berries that have turned blue. Then clean them, scar them, soak them in hydrogen peroxide for just a couple of minutes, and refrigerate them for three months in peat moss in your refrigerator.
Sow them in spring and you’re well on your way to growing a new dogwood tree. This is a lengthy and staged process that requires a bit more care than many of the seeds on this list, but if you love red twig dogwood, it’s a great way to learn more about propagation and more about the plant.
Pearly Everlasting

|
|
botanical name Anaphalis margaritacea |
|---|---|
|
|
sun requirements Full sun to partial shade |
|
|
height 9”-3’ |
|
|
hardiness zones 3-8 |
For gardeners in the western portions of North America, pearly everlasting is a common sight. It’s also a super-easy plant to propagate, and its native seeds are ready to collect in November.
Hang on to the seeds you collect, and cut whole seed heads into paper bags. Keep them in a warm, dry place until spring. Then sow them directly in the garden or press them into the soil at your seed starting station.
These plants are very niche and require a lot of care before you plant them out. The seeds take about three weeks to germinate, and the seedlings stay small for a long time.
Nurture them through their seedling phase, and you’ll have plenty growing in your yard (and plenty more seeds to sow down the line). For pearly everlasting, set an annual task to collect native seeds in November.
Farewell to Spring

|
|
botanical name Clarkia amoena |
|---|---|
|
|
sun requirements Full sun to partial shade |
|
|
height 6”-3’ |
|
|
hardiness zones 2-11 |
In November, you can say hello to spring by harvesting seeds from your farewell to spring plants! Wait for the pods to dry completely and turn brown. Then wait for the pods to crack slightly, and snip the seed heads off into a paper bag. Remove the seeds from within the pod and store them until spring.
In colder regions, wait until a month before your last frost date in spring, and sow these seeds on the surface. Or simply throw them out in the garden when the soil is warm and workable, well after the last frost. In mild ones, sow these in late summer for fall flowers.
Meadow Checkermallow

|
|
botanical name Sidalcea campestris |
|---|---|
|
|
sun requirements Full sun |
|
|
height 14-60” |
|
|
hardiness zones 5-9 |
I had to have at least one rare plant on this list. Sowing the seeds of rare natives is an act of conservation! At the very least, it’s a fun experiment.
If you live in the Willamette Valley of Oregon under 700 feet, you’re in its ecological niche. But gardeners in zones 5 through 9 should have little trouble with this one. The seeds are usually ready in early fall, but there should still be some to collect in early November.
Wait until the petals have fallen away, and the seed head turns brown and starts to open slightly. Then snip off the seed heads, and remove the seven to nine seeds within. They are not minuscule and should be easy to clean. Then store them ahead of spring.
Scarify the seeds before sowing to break the thick seed coat. Then scatter them on the soil surface at any point after frost. The seeds will continue to germinate throughout the warmer seasons. Note that hot weather will make this plant go dormant, so this one is best for more temperate areas.
Common Madia

|
|
botanical name Madia elegans |
|---|---|
|
|
sun requirements Full sun to partial shade |
|
|
height 2-5’ |
|
|
hardiness zones 6-11 |
Madia elegans is another plant that likely already seeded out earlier in the fall, but there should be pods you can snag to propagate by seed. The seed heads remain on this plant through fall and winter. Take the entire head, and keep it intact. Store the seeds for up to one year, but wait to sow them until fall.
When you’re ready to grow them, either crumble the seed heads directly over your outdoor growing space. Cover them lightly with organic mulch; shredded leaves or straw is best. Let them remain through the winter, and having the proper cold period, they’ll sprout in spring.
Bigleaf Lupine

|
|
botanical name Lupinus polyphyllus |
|---|---|
|
|
sun requirements Full sun |
|
|
height 3-6’ |
|
|
hardiness zones 3-5 |
While wild bigleaf lupines seed out in late summer, plants that have been deadheaded produce a second round of flowers, and thus, a second round of seeds. These native seeds are ready to collect in November. It’s at this time that you can look for browned pea-like pods. Get to them before they pop, but after all the green color has turned brown.
Lupines need cold stratification and scarification to germinate well. Use fine sandpaper or a sharp knife to nick the coat of each seed, and throw them outdoors to overwinter and emerge in spring. If you want to sow them indoors, nick their coats, and place them in a moist paper towel in the refrigerator for one month.
Then sow them in flats or seed cells filled with rich, well-draining seed starting mix. Some sources say the fresh seeds need no treatment, whereas the saved ones do. If you have enough, you can experiment with these recommendations to see what works best.
American Beautyberry

|
|
botanical name Callicarpa americana |
|---|---|
|
|
sun requirements Full sun to partial shade |
|
|
height 3-8’ |
|
|
hardiness zones 6-10 |
In North Texas, beautyberries are adorned with bunches of purple fruit. This is the best time to collect native seeds. November is perfect for snagging what the birds haven’t taken, though I usually save my berries for the local mockingbirds and doves. If you have enough to share, you can extract them in November and grow even more of this lovely shrub.
If you’re sowing outdoors, simply plant the whole berry in the ground just after harvesting. Indoors, clean them by removing the two to four seeds from within the berry flesh. If you want to sow them indoors, take the berries and place them in a blender with five times the amount of water by volume.
Blend it up at the lowest speed for a few seconds at a time. Eventually, the seeds sink to the bottom, and you can pour off the detritus. Do this a few times for the best results. Then dry the seeds completely, and place them in growing media in a plastic bag. Put the bag in your refrigerator for one month. Then plant the seeds in trays, and wait for them to sprout.
Buttonbush

|
|
botanical name Cephalanthus occidentalis |
|---|---|
|
|
sun requirements Full sun to partial shade |
|
|
height 5-8’ |
|
|
hardiness zones 5-9 |
This southeastern native is a stunning shrub that’s perfect for wetlands and along waterways. It’s a wonderful plant for bees, with cultivars like Sugarshack® developed specifically for that reason. Wait for its round flowers to fade and turn dark red. Then lightly press on the pods to release the seeds.
You don’t have to treat the seeds at all, and you can sow them immediately. They’ll emerge in two weeks. Because they take a while to mature fully, it’s best to sow them indoors and nurture them until they’re a foot tall. Then plant them out in spring or early fall to help them establish strong roots.


