Building Garden Soil Through Fall and Winter: No-Till Methods
The soil is alive! Underneath the surface lie worms, microbes, and critters that work in harmony. Don’t till the site and ruin the ecosystem; instead, use these no-till methods to boost your garden soil through fall and winter. Join native plant gardener Jerad Bryant for expert tips on soil building.

Contents
Building the soil is a lifelong process. When plants grow in the dirt, they use nutrients from it. Over time, this continuous use of nutrients depletes the soil, making it difficult for future crops to thrive.
You’ll need to build the garden soil with amending techniques, and some of the best methods are those that preserve the soil food web living beneath the surface. This food web is your friend—it consists of microbes, worms, and critters that build the soil for you.
You can add fertilizer, sure, but you can’t convert old waste into nutrient-rich organic matter. That is a job for the microbes, worms, and fly larvae that live in the dirt. Foster them, and you’ll create fertile, healthy soil in no time.
Tilling destroys the soil food web. It fractures fungi, crushes bugs, and kills worms. It may work in the interim, but repeated tilling has lasting effects on the dirt. Use no-till methods to conserve the microbes, bugs, and critters that plants rely on.
The fall through winter season is the best time for soil building because it’s difficult to grow crops during the cold months. Your beds will likely be empty, and the soil will be spent after hosting crops during the growing season. Use this time to build soil with no-till methods, and it’ll host plenty of vegetables, fruits, and perennials next year.


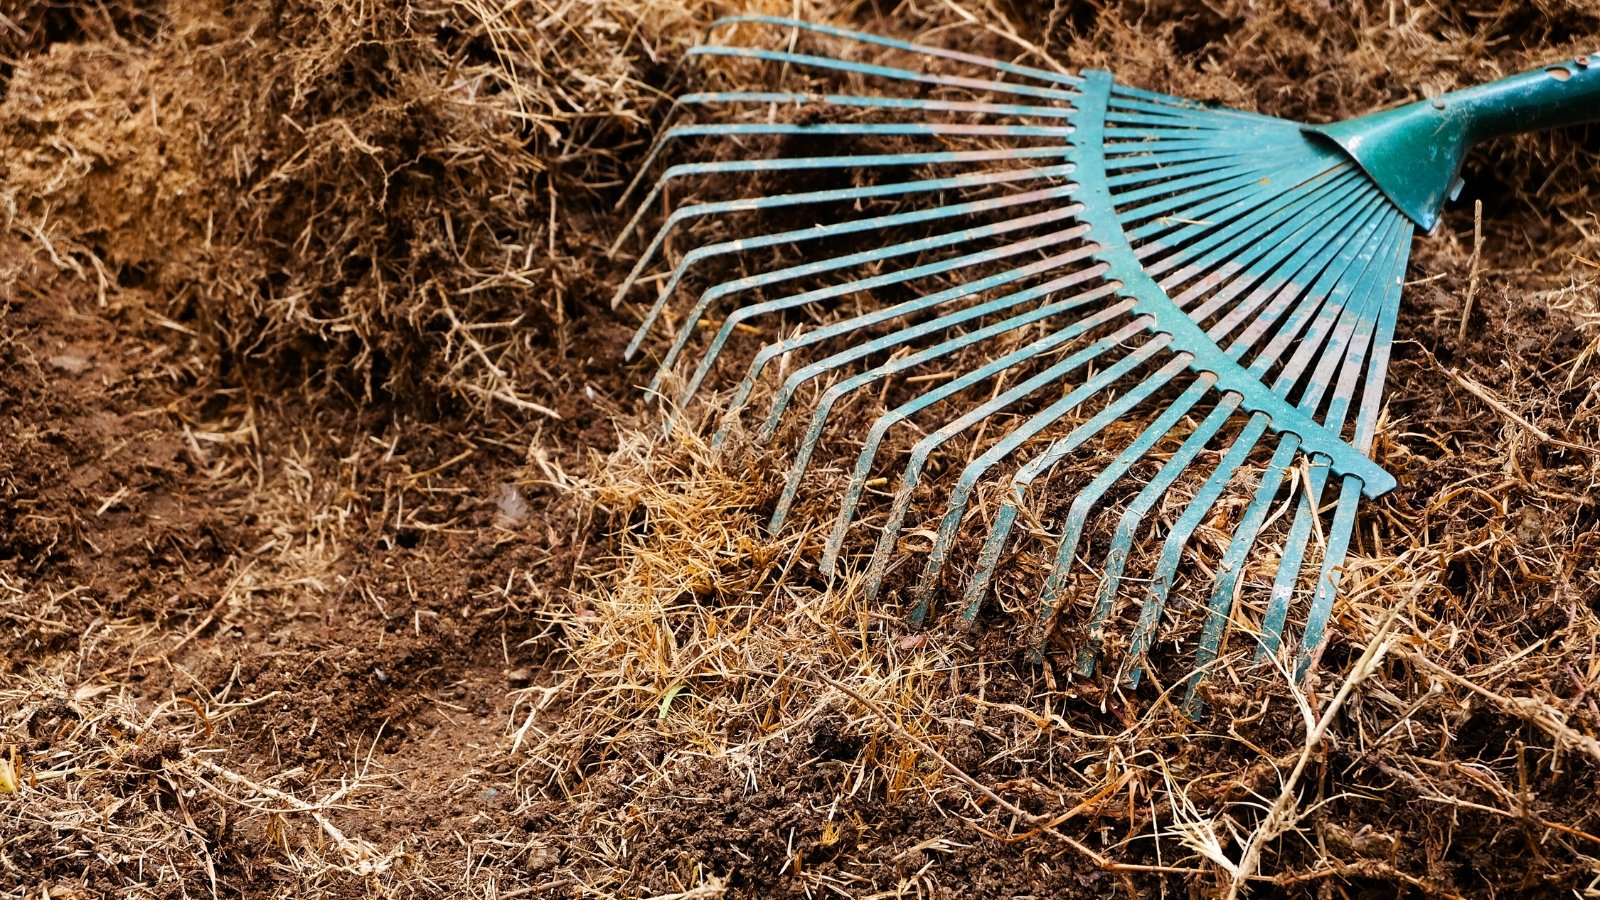
Put Down Mulch
The easiest way to build soil with no-till methods is mulch. Simply lay the soil amendment down on the ground in a layer two to three inches thick, and let it sit over the winter. Which mulch to use depends on what materials you have available to you, as well as the kinds of beds you have.
Compost

Compost is my favorite mulch, and for good reason! It’s one of the most nutritious and beneficial amendments you can use to build soil with no-till methods. Consisting of old, decayed organic matter, it’s also easy to make at home with a simple pile.
Compost relies on a balanced blend of nitrogen and carbon, and it needs moisture and air to break down. Make hot compost if you have time to turn the pile daily. If you’re more lax in the garden, try cold compost; it takes longer to finish, but it needs less maintenance to work than a hot pile.
Compost works best for helping vegetables, annuals, and herbaceous perennials. It’s rich in nutrients and humus, a valuable soil particle, and it insulates the roots of overwintering crops. You may use it for woody trees and shrubs, though they’ll fare better with a carbon-rich mulch, like wood chips or fallen leaves.
Fallen Leaves

Fallen leaves are easy to source and incredibly beneficial for the soil. They’re more carbon-rich than nitrogen-rich, and they’re helpful to add in areas where woody perennials grow. They decay into leaf mold through fall and winter.
Fallen leaves have another benefit—they house beneficial creatures that overwinter in the leaf litter. Firefly larvae, worms, and insects use the cover to protect themselves. Because they’re full of critters, birds frequently poke at the leaf litter to look for grubs.
The worst thing you can do with the leaves is throw them out or get rid of them. Put them to good use by covering any spots with bare soil. Pile them in ornamental beds, vegetable plots, and planters, and use them in no-till gardening practices.
Leaf Mold

Leaf mold is like compost, except it consists entirely of broken-down leaves. Rather than mixing nitrogen-rich greens and carbon-rich browns, you’ll make piles consisting purely of leaves. Turn and water the piles, and they’ll eventually turn into leaf mold.
Leaf mold holds more carbon than homemade composts, and it’s ideal as an amendment in beds with woody perennials. Trees and shrubs love the stuff, and they’ll thrive next spring if they receive a heaping helping of leaf mold this fall or winter.
If you don’t have leaves in your yard, consider volunteering at a community garden. These organizations often make their own compost and leaf mold, and they may have no-till secrets to share! You might be able to exchange an hour or two of work for a bucket of soil amendments.
Wood Chips

Like leaf mold, wood chips help build the soil around woody perennials. The chips take longer to break down than the previous amendments, making them ideal for areas with frequent foot traffic. Use them in your beds and your pathways.
Wood chips aren’t the best option to build soil in no-till vegetable plots. They tie up some nitrogen and other nutrients as they break down, causing poor yields if used during the growing season. Opt for nutrient-rich mulches instead, like compost or leaf mold.
Also, avoid piling the chips near tree trunks or shrub stems. Covering the trunk creates the perfect conditions for pests to invade. Leave a gap between the mulch and the wood to keep your woody plants safe and sound.
Straw
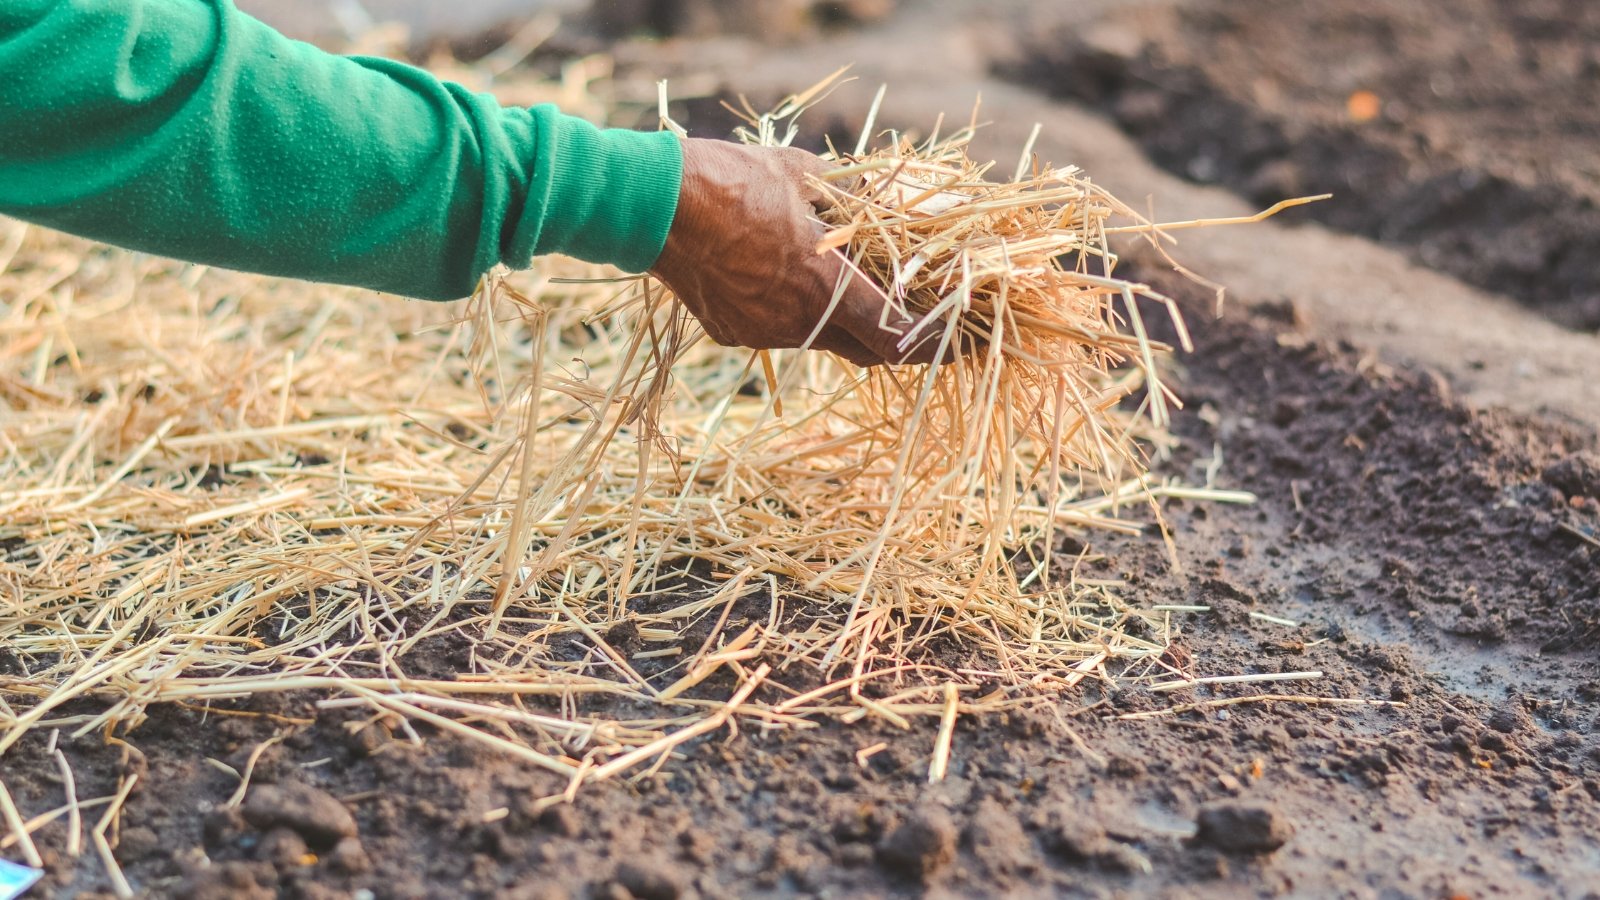
Straw is an unlikely candidate for home growers, as it’s a byproduct of large agricultural processes. It consists of weed-free stalks and stems from grass fields. The lightweight light-brown material works well as a mulch for both vegetables and woody plants.
Though it’s difficult to make straw at home, it’s easy to find at garden centers and local nurseries. Ensure you’re buying weed-free organic straw, as hay products may contain weed seeds that’ll spread throughout your garden.
As with wood chips, you’ll want to avoid piling up straw near the base of your plants. Leave a small gap to better protect the trunks from pests and diseases.
Plant Cover Crops

Cover crops work like a living mulch to build soil in no-till systems. They consist of frost-tolerant plants that insulate the ground. Through their growth, many work at building the soil where their roots reside.
Fava beans and winter peas are two examples. They produce nitrogen near their roots, as they partner with bacteria that fix nitrogen from gaseous molecules. The bacteria convert airborne nitrogen into a form that plants can use.
Others, like winter rye and oats, work at building the soil after you cut them down and incorporate them into the ground. They’ll decay under the soil, creating rich organic matter that’s perfect for budding crops.
Chop and Drop

The chop and drop technique is easier than laying mulch. Simply chop down your dead crops and annuals, and leave them on top of the soil to decay. The fleshy stems and dry petals will break down into humus through fall and winter.
The only plants you want to avoid chopping and dropping are weeds with seeds on them. If you drop them, they’ll sprout into new seedlings that take over the garden next year. If the weeds lack seeds, you may chop them and leave them on the ground without issue.
The other plants to avoid dropping are unruly invasives that spread through rooting stems. Kill them first by laying them under the sun on a tarp for a few days. After the stems die, you may safely throw the dead plant matter on top of your garden beds.
Make Lasagna Compost

Lasagna compost consists of layers of old waste. The layers decompose slowly, creating porous and absorbent earth that fosters healthy plant growth. This no-till method to build soil requires no turning or watering, making it perfect for lazy gardeners who struggle with composting.
To start, you’ll need two different piles of waste. One will consist of nitrogen-rich “greens,” and the other will have carbon-rich “browns.” Alternating, you’ll place a one to two-inch thick layer of greens, then a layer of browns, and so on.
Common greens include materials like fleshy plant trimmings, kitchen scraps, and grass clippings. Browns include things like fallen leaves, paper products, and straw.
Convert the Lawn

And finally, you can convert your lawn into humus-rich soil over the fall and winter! Perhaps you use the lawn less than you’d like to, or you’re running out of garden space. No matter the reason, it’s a great idea to replace the lawn with flowering plants.
Start by selecting a plot you’d like to convert. Then, place many pieces of cardboard or paper bags on top of the grass. Cover all of the grass, and put potting soil or compost on top of the paper.
The paper will snuff out the lawn, and the compost will help it break down over the fall and winter seasons. The site will be ready for planting in the spring.
Key Takeaways
- Building garden soil is easy to do during the cold winter months. Do some work now, and you’ll have the perfect soil mix for next year’s plants.
- Start with mulch. Use wood chips for woody plants, and opt for compost for heavy feeders, like vegetables and fruit trees.
- Cover crops blanket bare soil over the winter with green growth. They act like a living mulch.
- Chop and drop any plant, except for weeds with seeds and invasive species.


