How to Get the Biggest Sweet Potato Crop at Home
At the Epic Homestead, Kevin and the crew grew the biggest sweet potato crop ever. Here, we detail what steps they took and the different methods they used, so you can grow your own with ease. Experienced gardener Sarah Jay details their process here.

Contents
If you planted sweet potato slips, you’re probably wondering how to get the biggest sweet potato crop ever. One method used by Kevin at the Epic Homestead grew truly giant sweet potatoes, and it’s an easy method to replicate in other settings. If you can’t dedicate the space required, that’s ok! You can grow in containers.
Sweet potatoes are some of the healthiest veggies out there. They’re packed with polyphenols, which have anti-inflammatory, antioxidant, and metabolic regulatory properties. They’re an excellent substitute for potatoes where insulin production is a concern.
If you haven’t grown sweet potatoes yet, this could be your year. I’ve resolved to use them as a soil prep crop for future plants. This year, I planted a few slips with some yarrow and marigolds. Once they produce, I’ll remove the foliage and compost it. Then plant natives. I’ll keep doing this to grow more tubers every year, and prep my soil for incoming plants.
You may have a completely different strategy in mind, and that’s great! If you’re unsure where to start, here’s what you need to do.
Epic Organic Garden Straw
Epic Organic Garden Straw
Epic Organic Garden Straw is a weed seed-free mulch that helps create a healthier, more resilient garden. It locks in moisture, blocks weeds, and regulates soil temperature, giving your plants the stable environment they need to thrive, without introducing unwanted seeds or chemicals.
Buy at Epic Gardening Shop
Get Your Slips
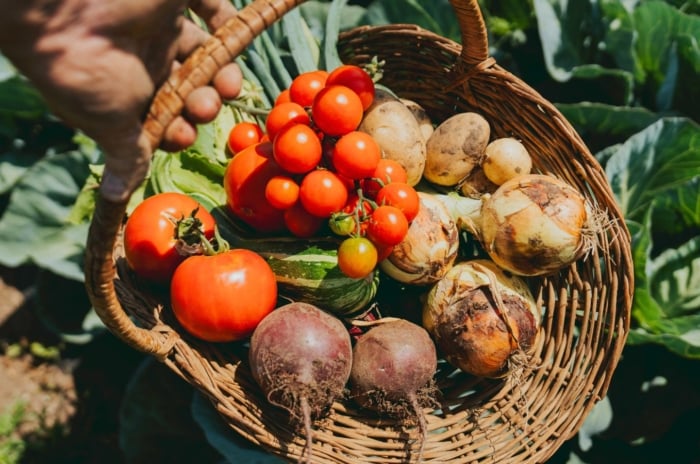
To start the process toward your biggest sweet potato crop ever, you need to purchase or grow your own slips. You want to select varieties you like to eat and grow from those. This ensures you enjoy eating your harvest. Of course, if you do as well as Kevin did, you can always share your yields with friends and family.
Purchase Them
There are several reputable sellers out there that specialize in sweet potato slips. Some big box stores sell them, and there are tons of online sellers. Your local farmer’s market could have them for sale in the early spring. If you’re an organic farmer, there are tons of options, and the same can be said for non-organic slips.
Some distributors have pre-order slips available early in the year, and they may sell out. So the key to getting the kind you want is the right timing. Plan to order yours early in January when possible. Once you receive them, plant them in pots and wait for them to grow in the garden when it’s time to transplant.
If you miss the window, no problem! There are other ways to grow these luscious tubers.
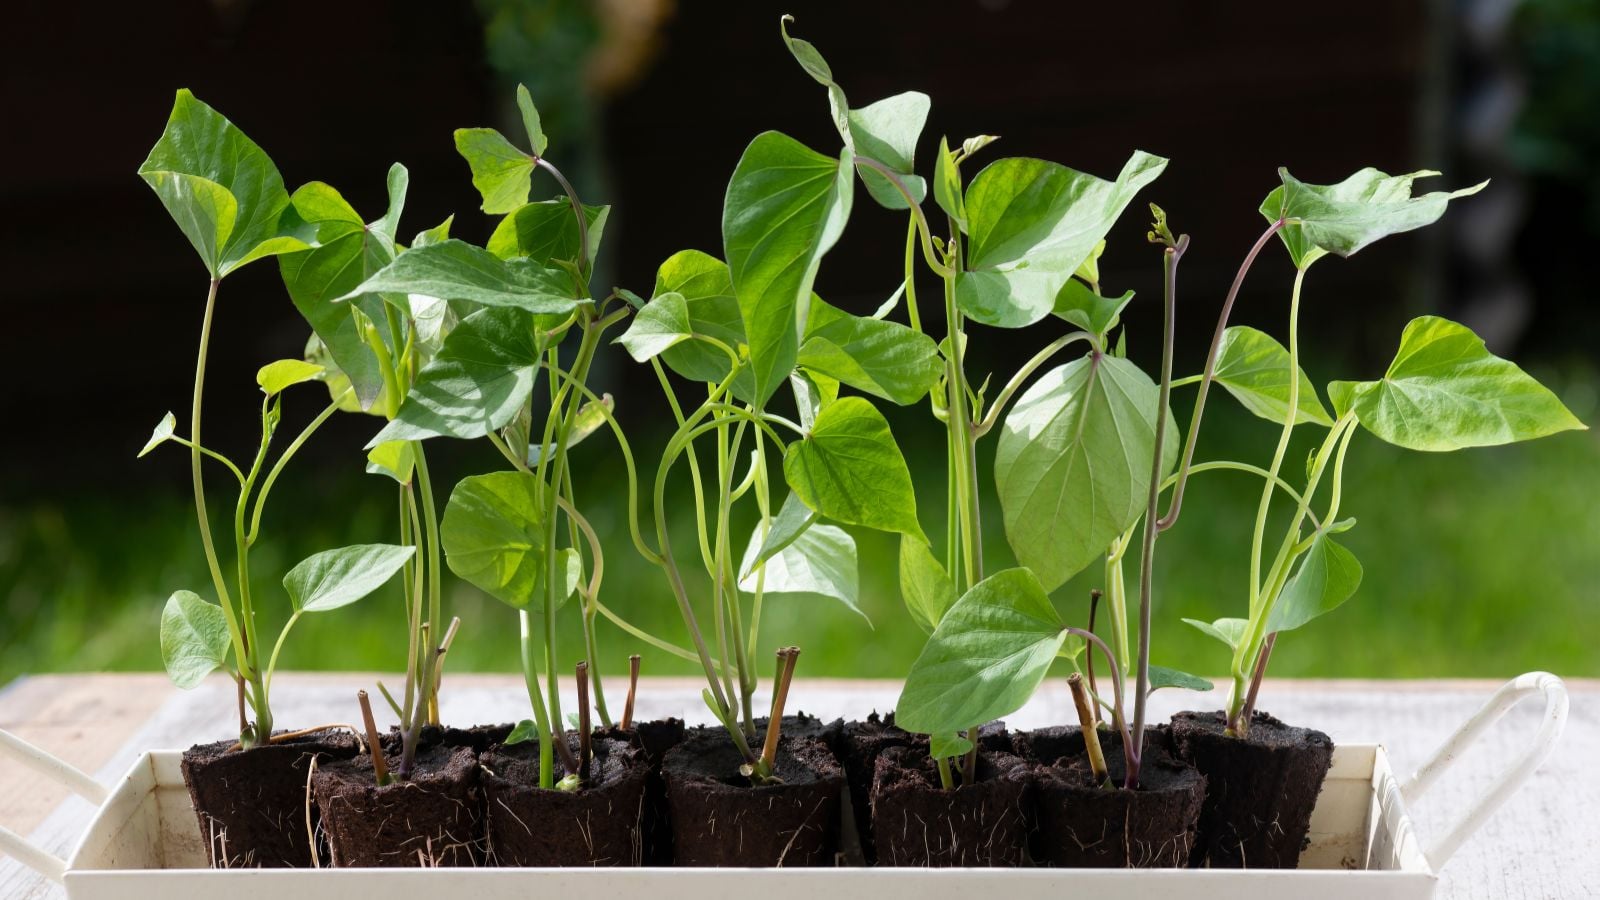
DIY Slips
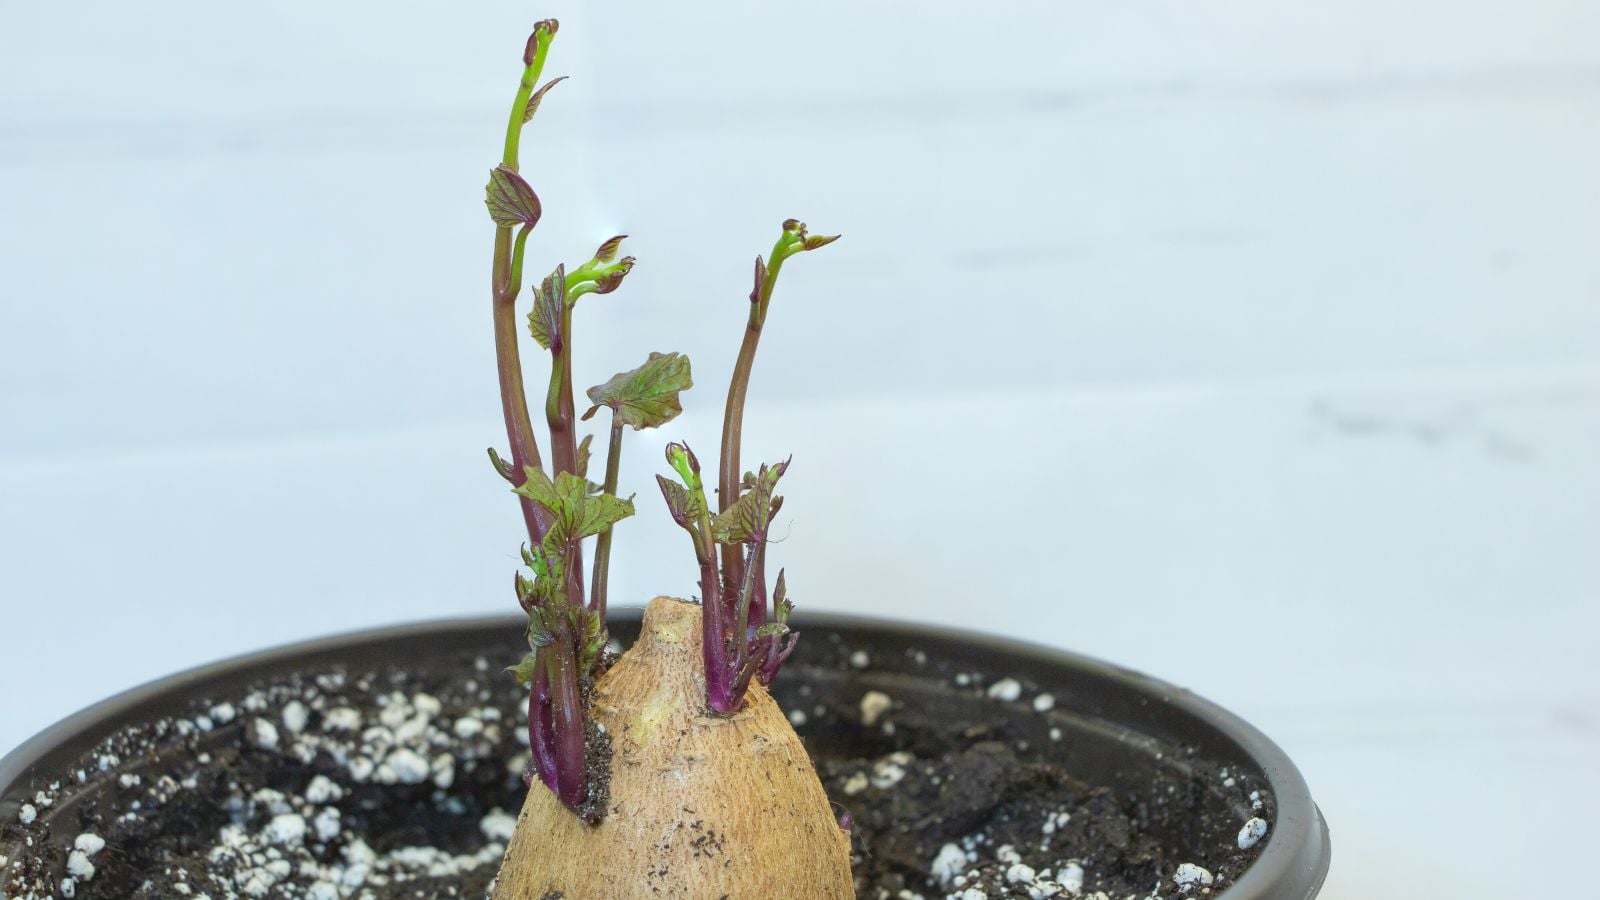
If you bought an organic sweet potato that you loved, you can grow your own slips and save money that you would otherwise spend purchasing them. This can also be done with a sweet potato, leftover from last year’s harvest. Aside from the tuber, you’ll need a baking tray with a transparent cover and some growing media or water.
Fill the tray with water or moistened growing media. Slice your seed potato in half, and place each half cut-side down in the tray. If you’re growing slips in a soil-like mixture, gently press the seed potato into it. Cover the tray lightly with the cover, and place it under grow lights. Keep the media moist through the process, and for water-grown slips, change out the water daily.
In two to three weeks, the slips will have grown from the potato slices. Remove the cover as needed to allow the slips to grow beyond their bounds. When you see multiple leaves forming on each slip, detach them and plant them in soil. Keep them in smaller pots for a couple of weeks, and plant them out when the time comes.
Prep the Soil
As your slips develop strong roots in their pots, you have a nice window for amending the soil in your growing area, should you choose to grow in the ground. At the homestead, Kevin didn’t need soil that was heavily amended or super rich in nutrients. Instead, he simply used the homestead soil, which had been amended with compost for a couple of years.
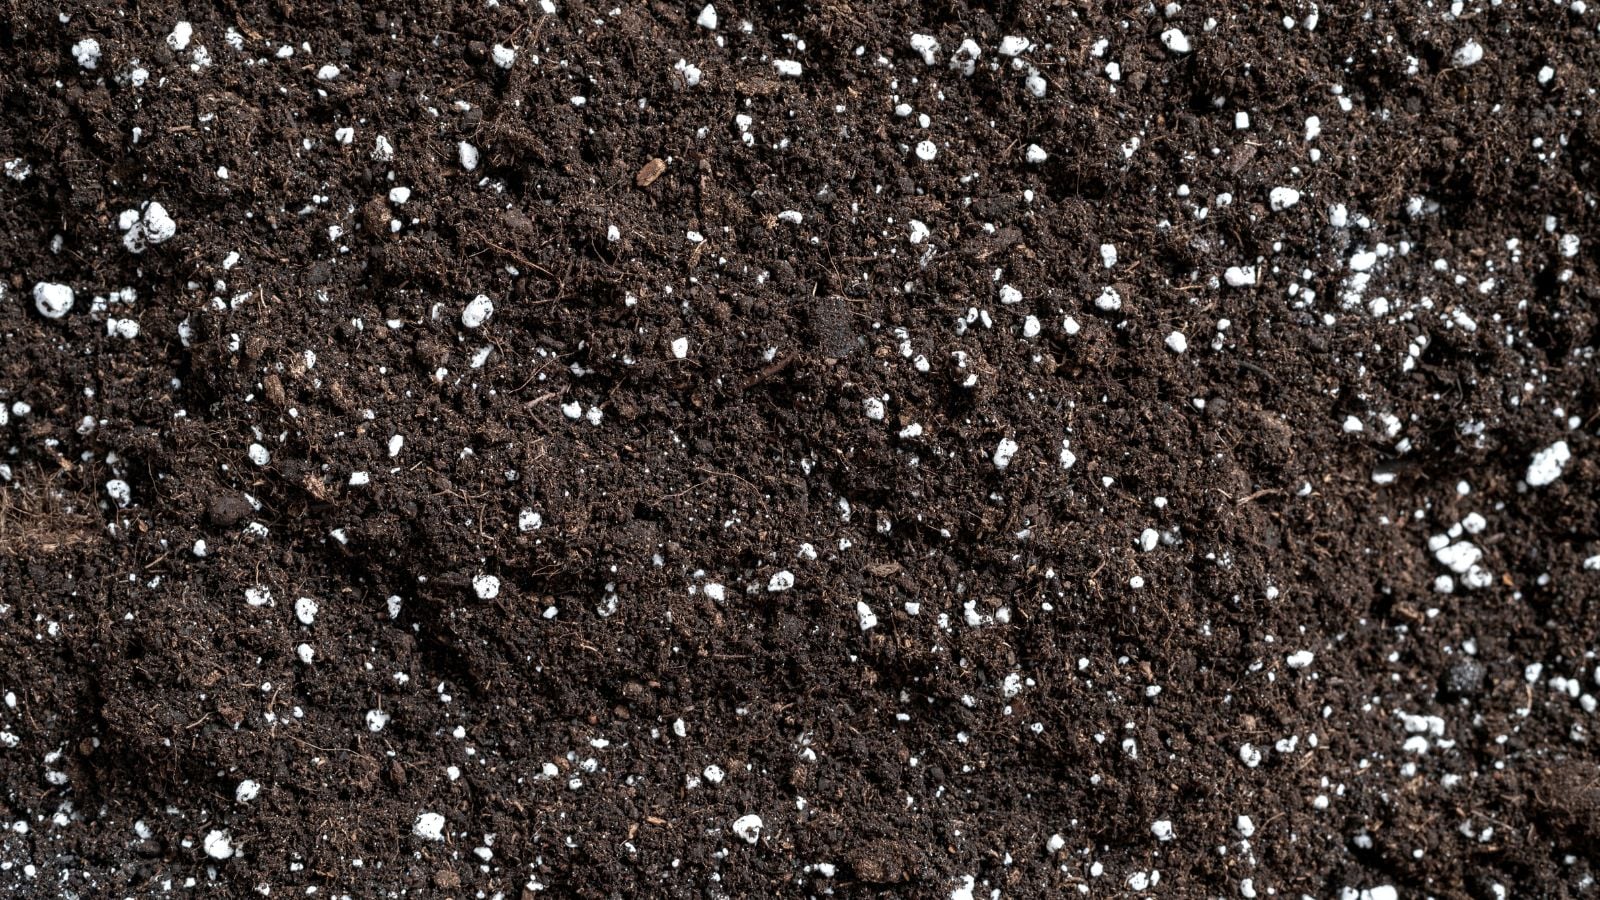
Not everyone has that kind of soil on hand. But it’s not hard to till an area, and add some compost to it. In heavy clay, a bit of drainage assistance from perlite or agricultural grit will keep the water moving, rather than sitting, which can rot the tubers.
If you prefer to double-dig your garden, that’s fine too. You won’t need an entire foot to grow the biggest sweet potato crop ever. Six inches is enough. However, dig to your desired depth. And amend each square foot with well-rotted compost. You want enough room to plant your slips about a foot apart.
Growing In Containers

If you’re growing in containers, a good potting soil is all you need to grow tons of tubers. Acquire at least a 15 to 20-gallon container to grow the biggest sweet potato crop ever. But it can be done in a smaller container. Kevin used a 7-gallon plastic container and managed to grow a decent yield.
Even in a 15 to 20-gallon container, you should limit the slips you transplant to four, maximum. You’ll likely get a good crop from just two or three. Space them well, keeping them several inches from the bounds of the container. Employ as many containers as you can, and give extra slips away for friends to grow their own as well.
Growing In the Ground
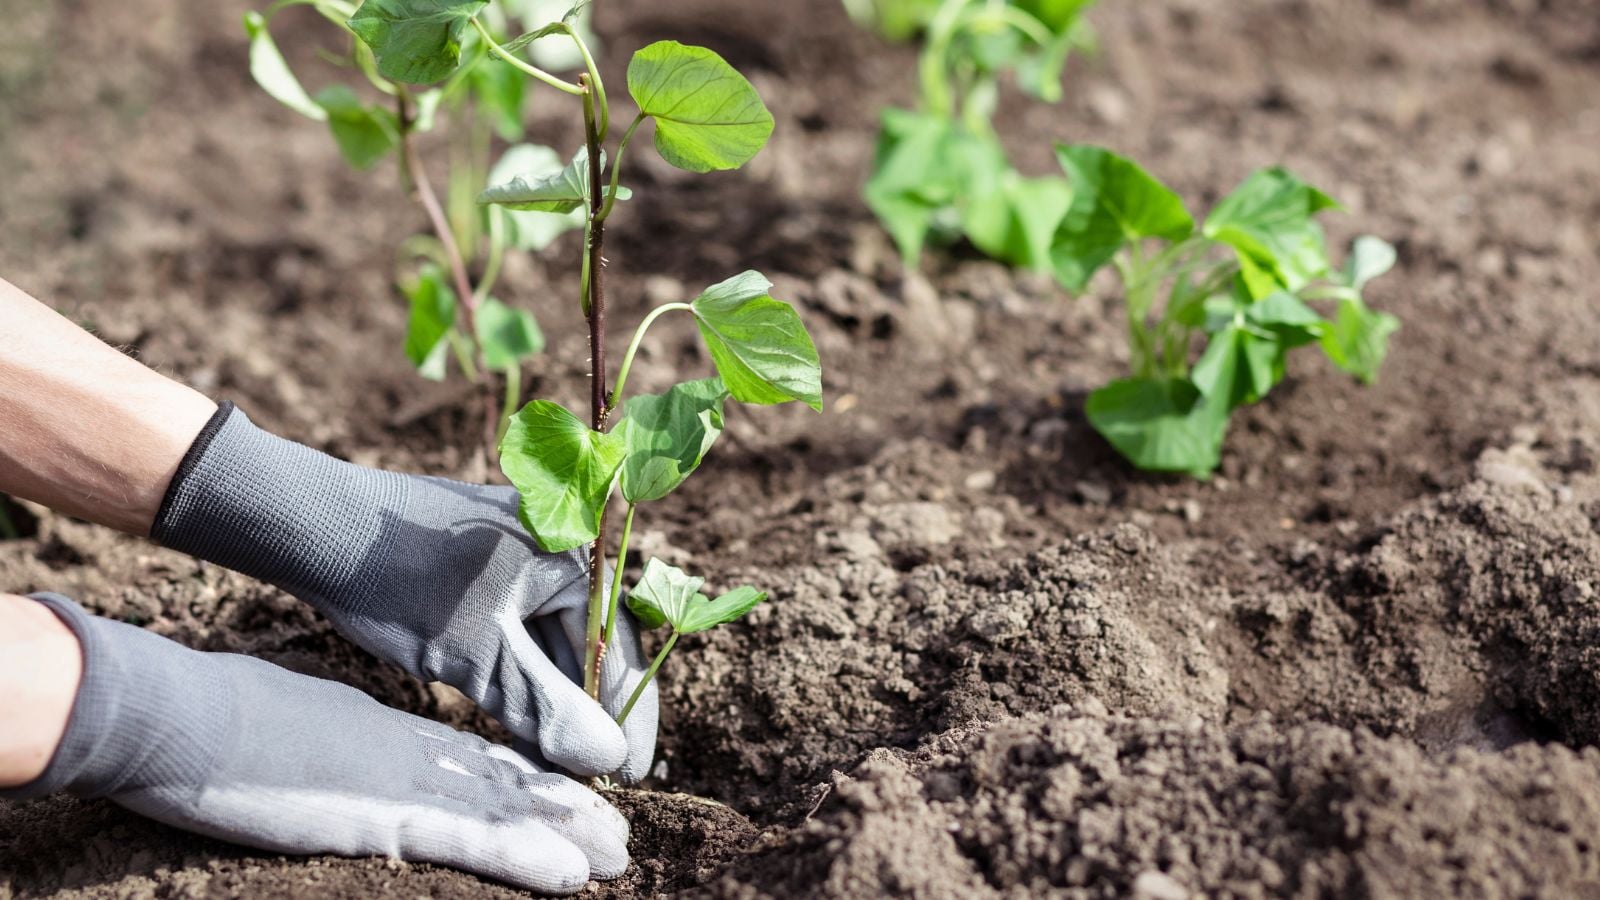
We discussed how to amend your soil for the biggest sweet potato crop ever. Remember to keep your slips at least a foot apart. If you’re a row gardener, it helps to keep rows about three feet apart for uniformity. However, Kevin just planted his slightly apart, and it worked out for him.
The results of his experiment show how hard and fast rules don’t always apply in gardening. Plants can handle a lot more than we put them through, and often spacing recommendations are tailored for large-scale farming. So feel free to pack them in if you want to see how it goes.
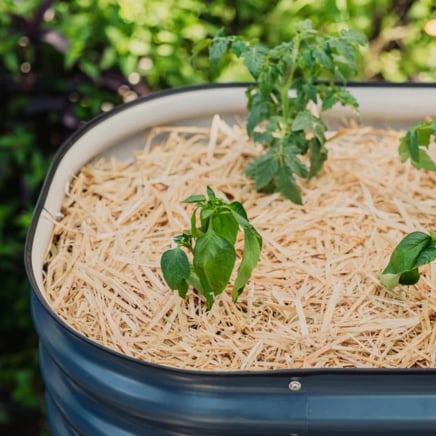
The Ruth Stout Method
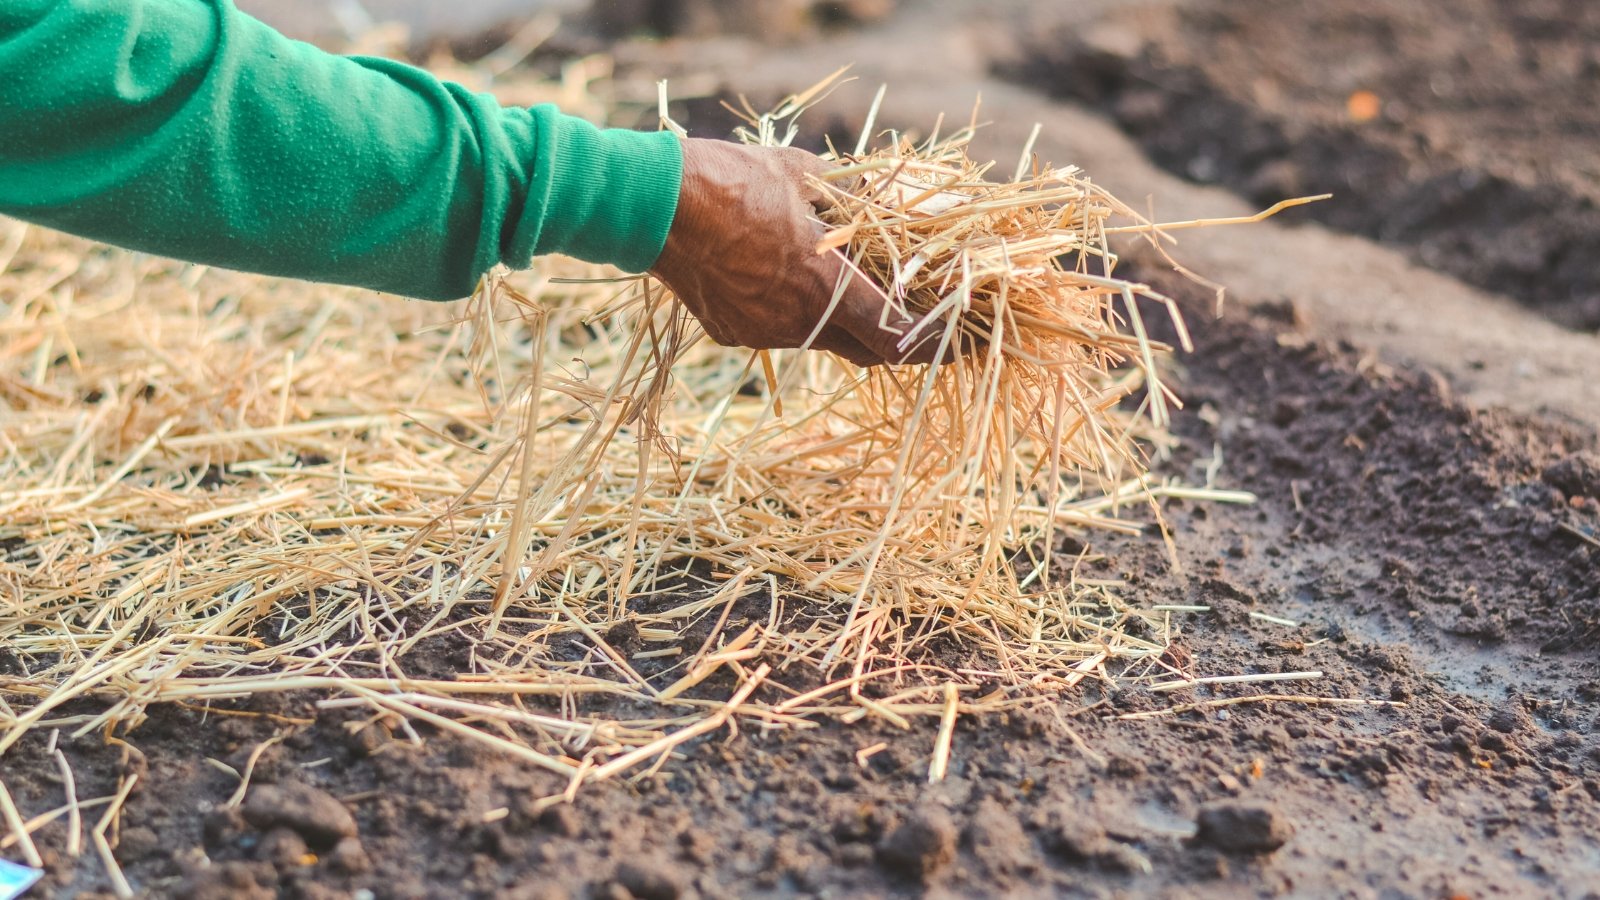
The prep for the Ruth Stout method is the same as it is for basic in-ground growing. But you need one extra element: organic garden straw. Our Epic straw is organic, and it has been grown in the United States. It’s weed seed-free, and works immaculately for growing the biggest sweet potato crop ever. In fact, Kevin had the best luck with this method above all others.
After you transplant your slips, wait six weeks. Then pile the straw around the base of your plant, and hill it slightly upward in a mounding fashion. The goal is to promote better root growth, which leads to more water being funneled to the developing tubers in the ground.
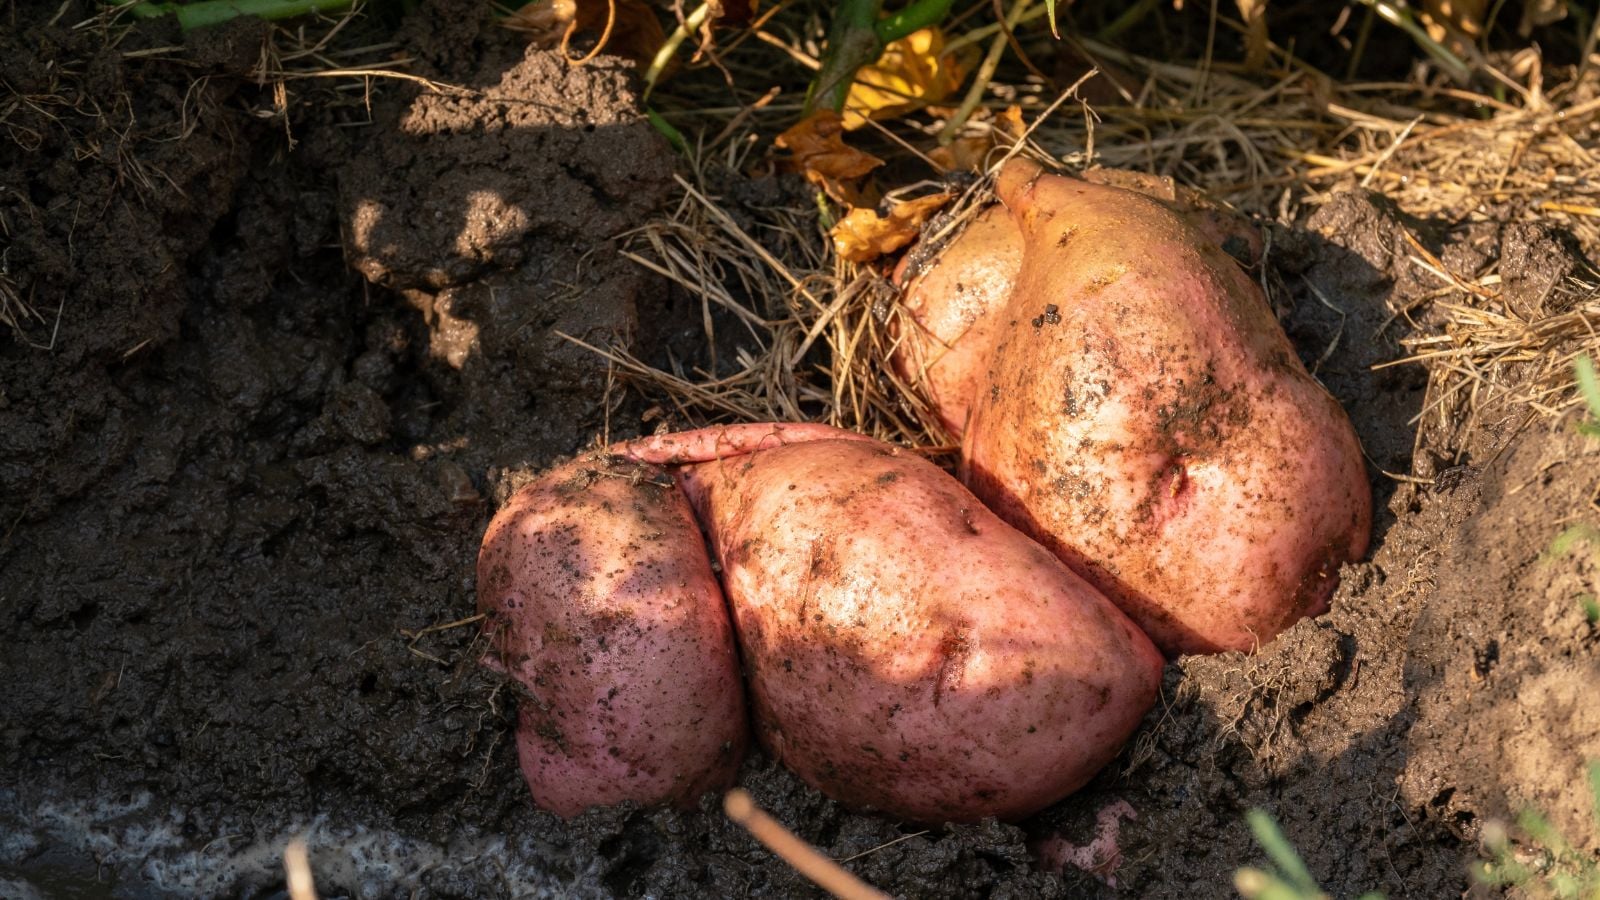
Kevin’s Results
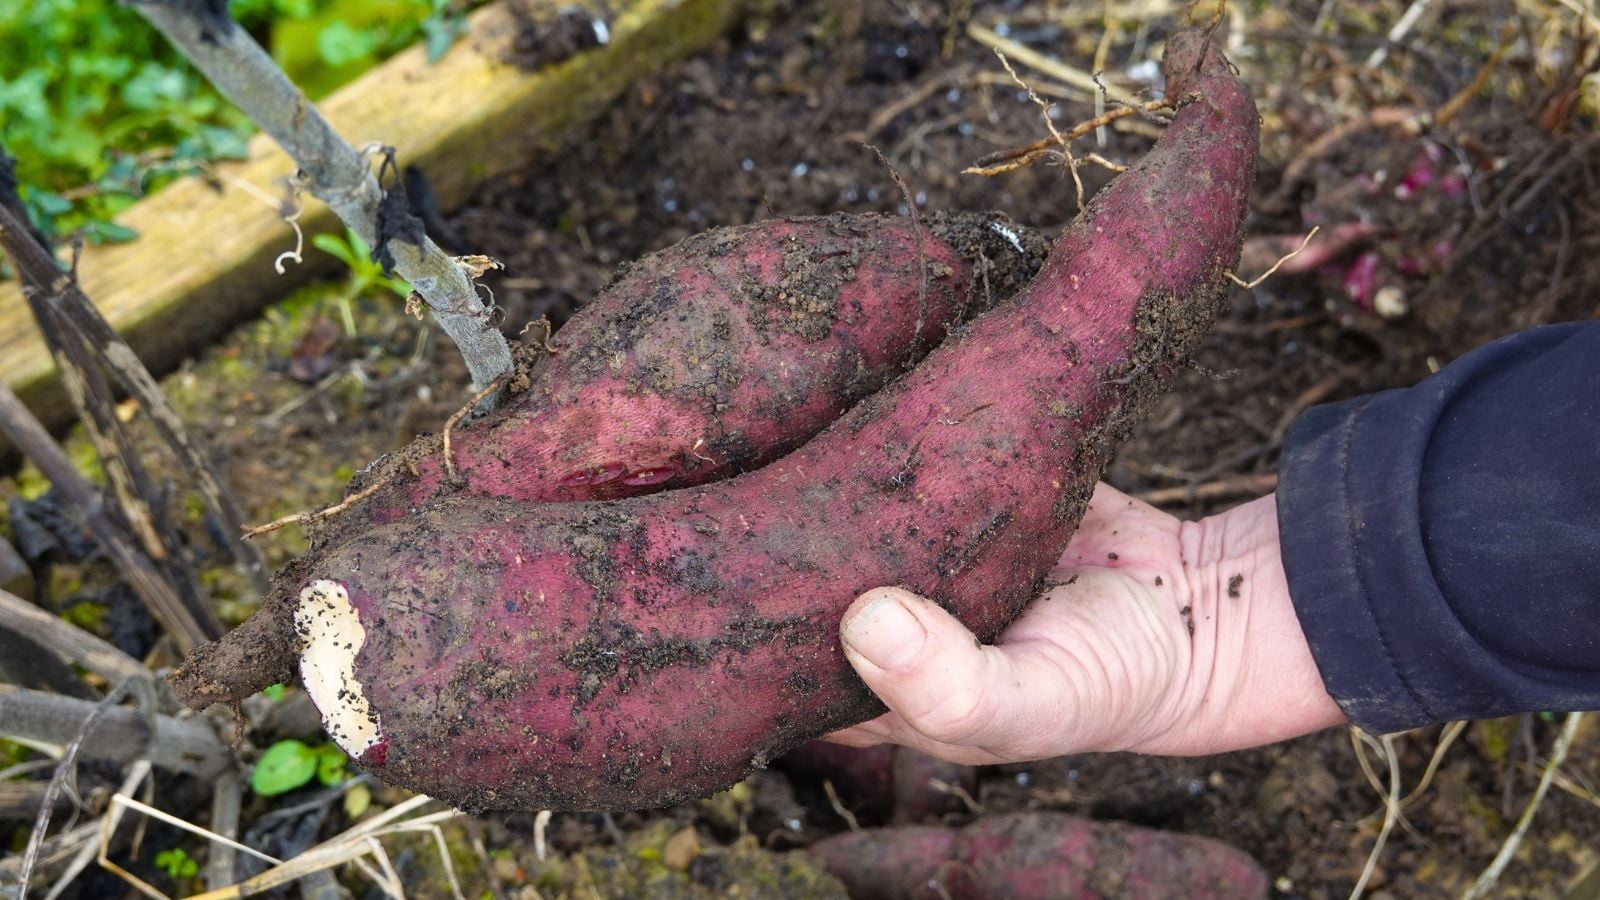
Each method was a totally viable way to grow these nutritious tubers, but only one produced the biggest sweet potato crop ever. The simple in-ground method resulted in about 6 pounds of somewhat smaller sweet potatoes, while the container method produced slightly more in weight with each tuber at a larger size. Kevin noticed the container tubers did have some cracking, probably as a result of slight overwatering, which is normal in a container growing scenario.
The Ruth Stout method was by far the best and produced the biggest crop. One of the tubers weighed a whopping 9.2 pounds. The entire crop was full of massive tubers, and weighed 22 pounds and four ounces. Kevin theorizes this was due to the soil coverage, which allowed more vines to form, and thus, larger tubers to develop.