How to Grow Sweet Potatoes in Containers in 8 Easy Steps
Are you thinking of growing sweet potatoes in pots or containers this season? If you are short on space, growing sweet potatoes in a container garden is entirely possible. In this article, gardening expert and former organic farmer Sarah Hyde takes you through 8 simple steps for growing fantastic sweet potatoes in containers!

Contents
Sweet potatoes are an incredible crop to grow at home. They produce a bounty of healthy starches and have attractive, delicious, edible leaves. Sweet potatoes are a popular edible ground cover in many gardens, but did you know that they can even be grown in large containers? While raised beds are the most ideal type of container to grow in, even a large pot can work.
But, if you’ve never grown sweet potatoes in containers before, there are a few simple steps you’ll need to follow in order to maximize your gardening yield. So, where do you start, and what materials will you need to start planting them this season?
In this article, we’ve broken down nine simple steps for growing sweet potatoes in pots or containers this season. Ready to learn more? Let’s jump in!
Step 1a: Locate Sweet Potato Slips
Sweet potatoes are grown from slips, not seeds. Slips are essentially cuttings from another plant. Each slip turns into one plant, which can yield pounds of sweet potatoes depending on the variety, growing conditions, and harvest time.
Slips are highly perishable in nature, which makes sourcing them a unique challenge compared to buying other types of starter plants. Many times slips arrive looking like no more than a straggly stem and wilted leaves. Though they may look bedraggled, most of them will grow and thrive.
Call Local Garden Stores
Before you get excited to plant, make sure you allow time to source the slips. You have a few options, as long as you plan ahead. Depending on your container size or how many you are planting, you may only need a handful of slips. Whatever method you use to source slips, always plan to obtain a few extra to account for the slips that rot or dry out before you are able to plant them (very common).
The delicate nature of the slips is one reason they are not necessarily available “on hand” at garden centers. Call garden centers in early spring to ask if they plan on having fresh slips, and when you can expect them to be in stock. Slip growers usually do not ship slips until after the last frost date for the destination area, so the slips do not die in freezing temperatures.
Ordering Online
Another option is to place an order in early spring for slips through a seed or nursery company online. The earlier you shop, the better selection of varieties you will have, and possibly a choice of shipping dates. Find a friend to split the order with you if the minimums are more than you will use in your pots or containers.
You may be able to find the slips online at the last minute, but your options of buying from a reputable company may be limited. Individuals even sell slips on Etsy or Amazon; however, you may be taking your chances with the parent variety, quality of slips, and lack of testing for diseases.
Step 1b: Grow Your Own Slips

If you are only planning on planting a few sweet potato plants, you can grow your own slips. Growing your own slips is a long process that starts in early spring, inside in a warm, sunny location. Be sure you have the space you are willing to dedicate to the project.
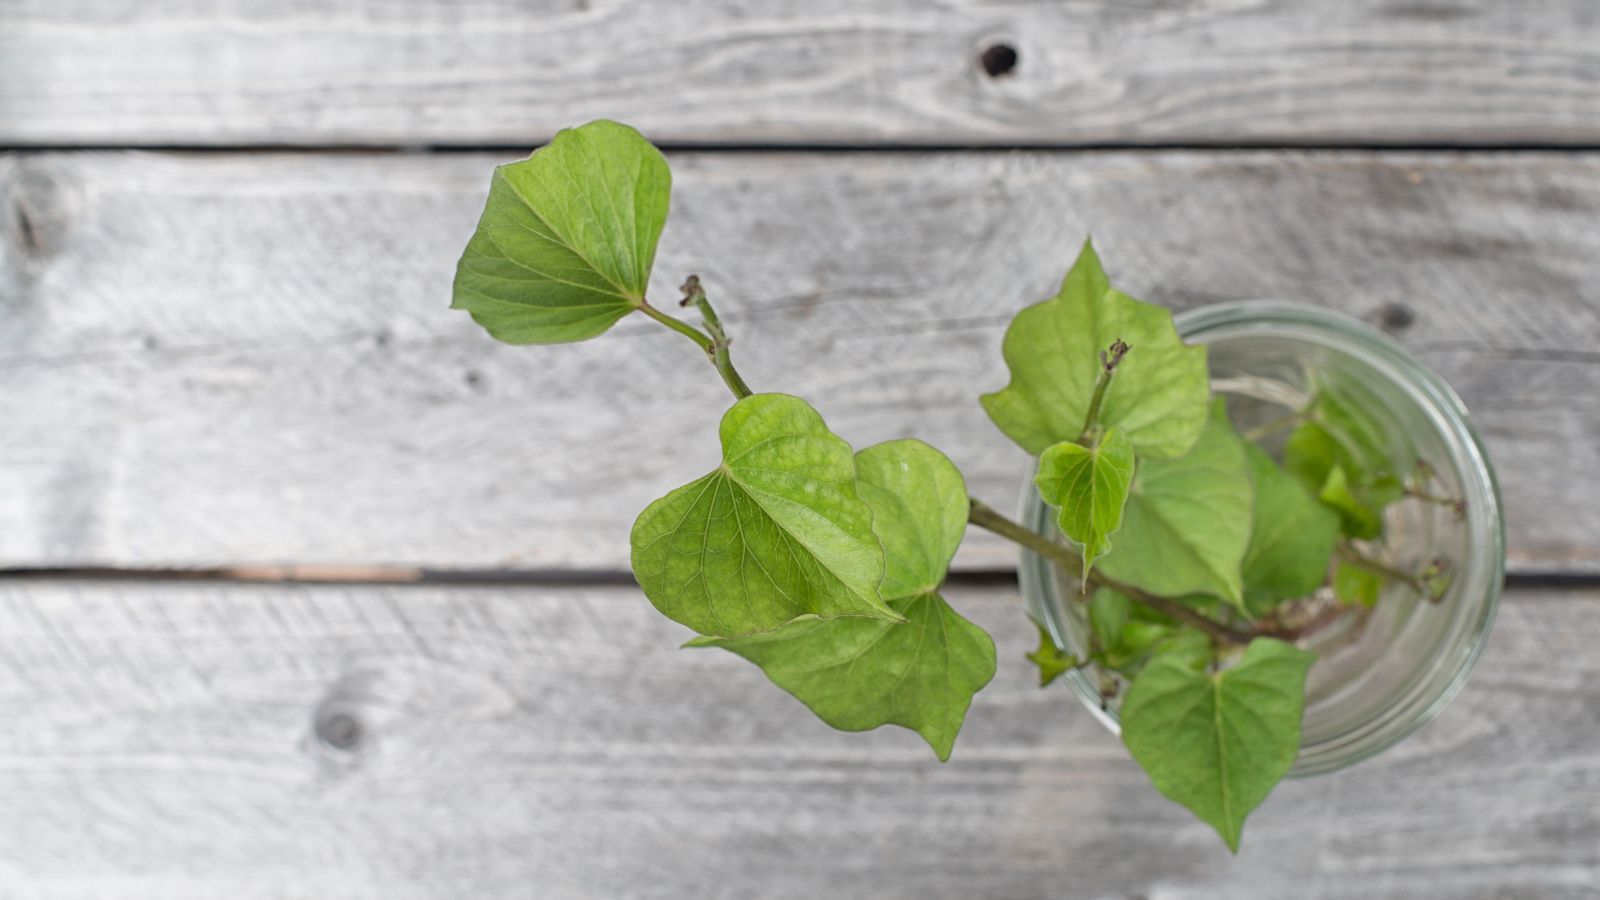
Plant a full-grown sweet potato in soilless media like peat moss and perlite, and allow it to sprout. Care for it the way you would care for any other houseplant. Many online sources show them sprouting in water. This technique does work, though it can be unpleasant to change the water if it gets mucky or smelly. Both methods work; choose the method that works best for your indoor growing area.
The sprouts will eventually become the slips in a few months’ time. You can take cuttings with 2-3 leaves from these sprouts and place them in water or soilless potting media until they are ready to plant outdoors.
Be aware that sprouting can be difficult when using grocery store-bought sweet potatoes because they may be treated with anti-sprouting agents. Certified organic sweet potatoes are not treated.
Step 2: Find a Large Container

Sweet potatoes grow down deep in soil, so your container should be at least 12” deep and 2 feet across per plant. Any smaller than these dimensions and you will end up with smaller-sized yields.
Always use a container with drainage capacity, whether it is holes in the bottom of a pot or drainage through the soil in raised beds. They need proper drainage to form healthy tubers. Plan on one plant per pot.
Step 3: Mix Fertilizer With Organic Media

Sweet potatoes are heavy feeders, so you should mix in a balanced vegetable fertilizer prior to planting, such as 10-10-10. If you plan to use an organic fertilizer, take into account that most organic fertilizers have lower N-P-K numbers (2-2-2 or 5-5-5) and thus a lower percentage of nutrients per pound of fertilizer.
You may have to reapply organic fertilizers once or twice during the growing season to supply enough nutrients for a healthy crop. For any fertilizer, follow the directions as listed on the bag for application rates and how often to apply.
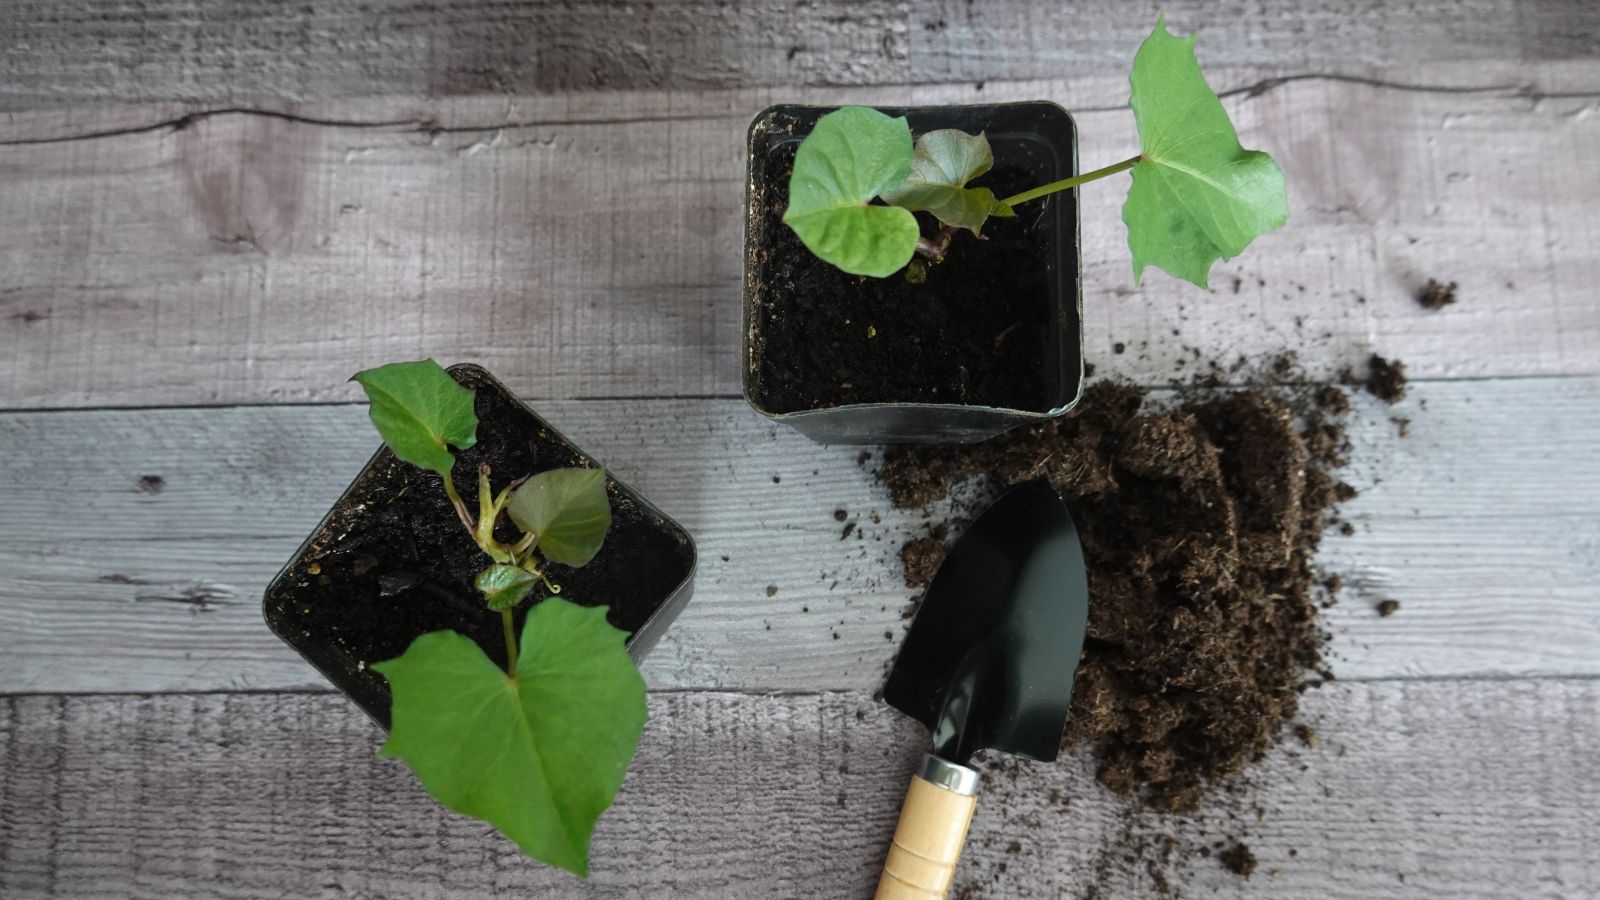
Step 4: Plant the Slips ASAP
Sweet potato slips should be planted after all threats of frost have passed. Most likely, you will not be able to have slips shipped to you any sooner. If you grow your own slips, wait to cut them no earlier than a day prior to planting, allowing some time for the cut stem to dry up prior to planting.
When you bring home the slips or get them in the mail, do not delay in planting them. They probably will look worse from the wear and tear of shipping, so they need to be planted upon arrival. Water them immediately and deeply. Most of the slips planted will recover after a period of looking near-death for a few days.
A week or so after planting, it is a joyous sight to see bright green, new growth emerging from the slips’ nodes. If after a week there is no new growth and the slip has rotted or dried up, count that one as a goner.
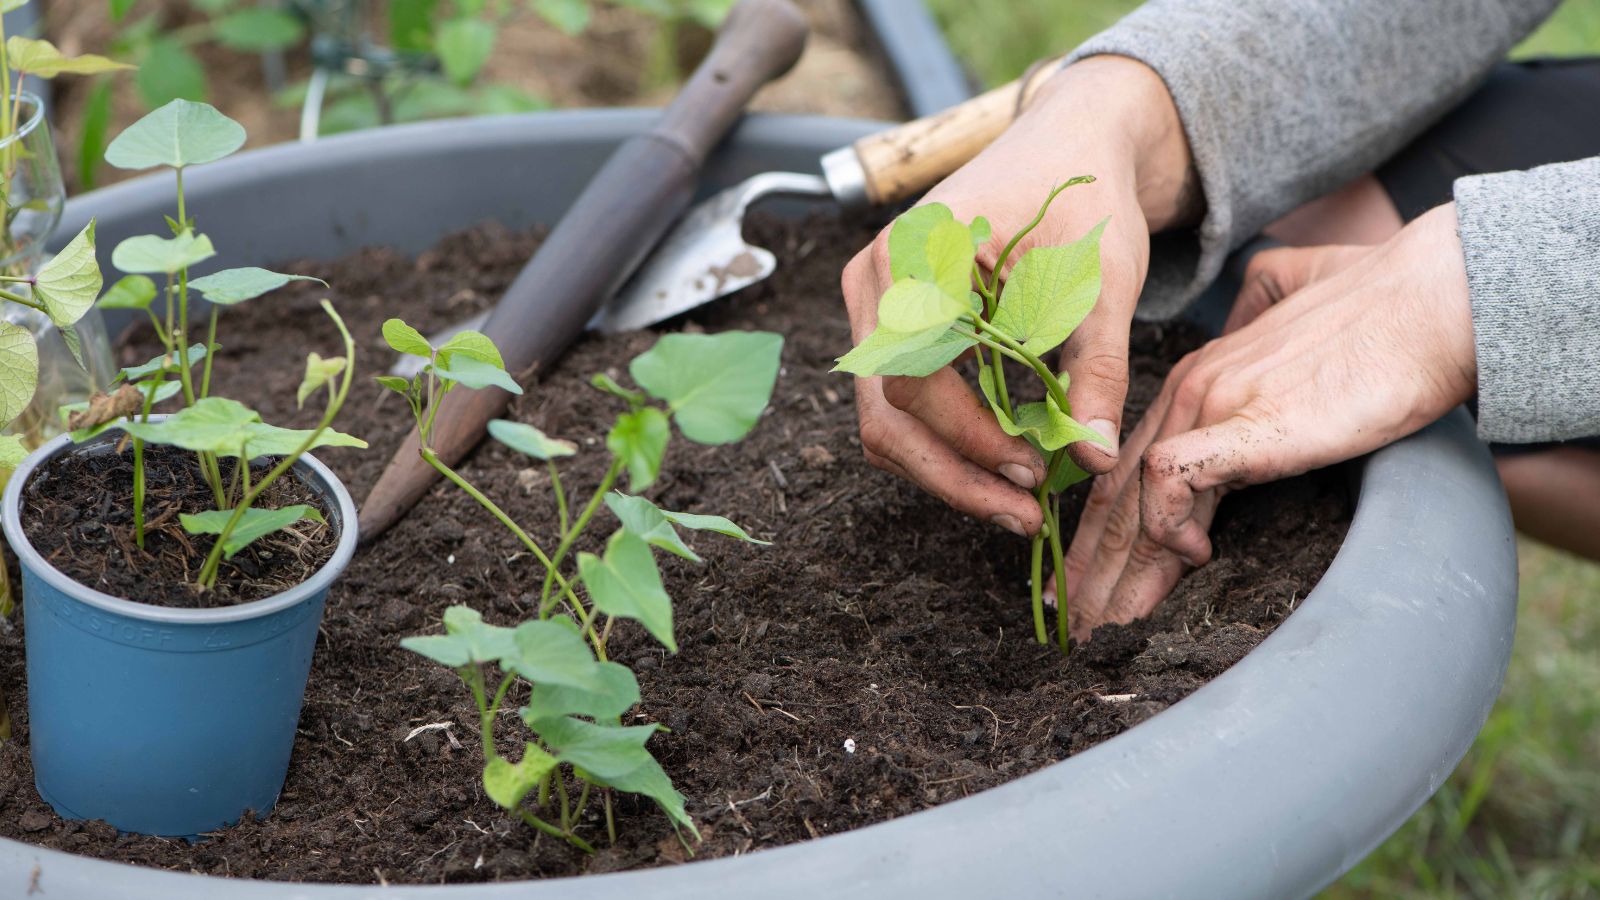
To ensure that you actually get a healthy plant established in each container, try planting 2 or 3 slips per container. After the slips have revealed whether they lived or died, transplant the extra survivors into another container or just thin them out to leave one plant per container. If you are planting in a large container like a raised bed, thin the slips to about 18” apart.
Step 5: Be Proactive For Deer and Rabbits

Sweet potato greens are edible and delicious, and the deer and rabbits know it! Have a plan for keeping the critters out of your container garden. A bite here or there will not damage your plant, nor will careful harvesting of greens for yourself. However, most critters eat indiscriminately and nibble off more than is healthy for the plant’s growth.
Bold rabbits will even stand on their hind legs to nibble greens out of tall containers. Deer will eat every single leaf off the plants, leaving only the stems. This amount of damage will set your plants back considerably.
Step 6: Water Thoroughly

Container soil always dries out more quickly than soil in the earth. Check the moisture of your container soil before watering by inserting your finger into the soil to the second knuckle. If the soil feels dry all the way down, it is time to water. Water thoroughly and deeply, until the water flows from the drainage holes on the bottom.
Allow the soil to dry out between waterings and always check by touch before watering again. They will not form good tubers if the soil is constantly wet, which is why proper drainage is important.
Step 7: Harvest Before Frost
Cut back on water slowly as harvest time nears. Plan on not watering before harvesting, since dry soil makes for easier harvest.
Sweet potatoes are not frost-tolerant at all. Harvest them at the latest time possible in the fall before frost hits. Plus, the greens are edible, so harvest them before they are frost-killed. If a fall frost kills the greens completely before you have harvested the tubers, you need to dig them immediately before the frost-kill travels down into the tuber.
It is best to harvest before soil temperatures fall below 55°F (13°C). This could potentially occur before a frost. This is especially true in container-grown sweet potatoes, so pay attention to the weather as harvest time nears. Dig the potatoes if the soil in your container gets too cold.
Wear gloves while harvesting to prevent fingernails from scraping or piercing the delicate skin. It can be easier to harvest if you clip away the greens at the main stem using pruning shears. Leave a few inches of the stem above the soil line to act as a handle.
Tips for Harvesting From Containers
For container-grown sweet potatoes, you have a few options for harvesting. First, it helps to visualize the plant under the soil so you do not accidentally cut the tubers when harvesting.
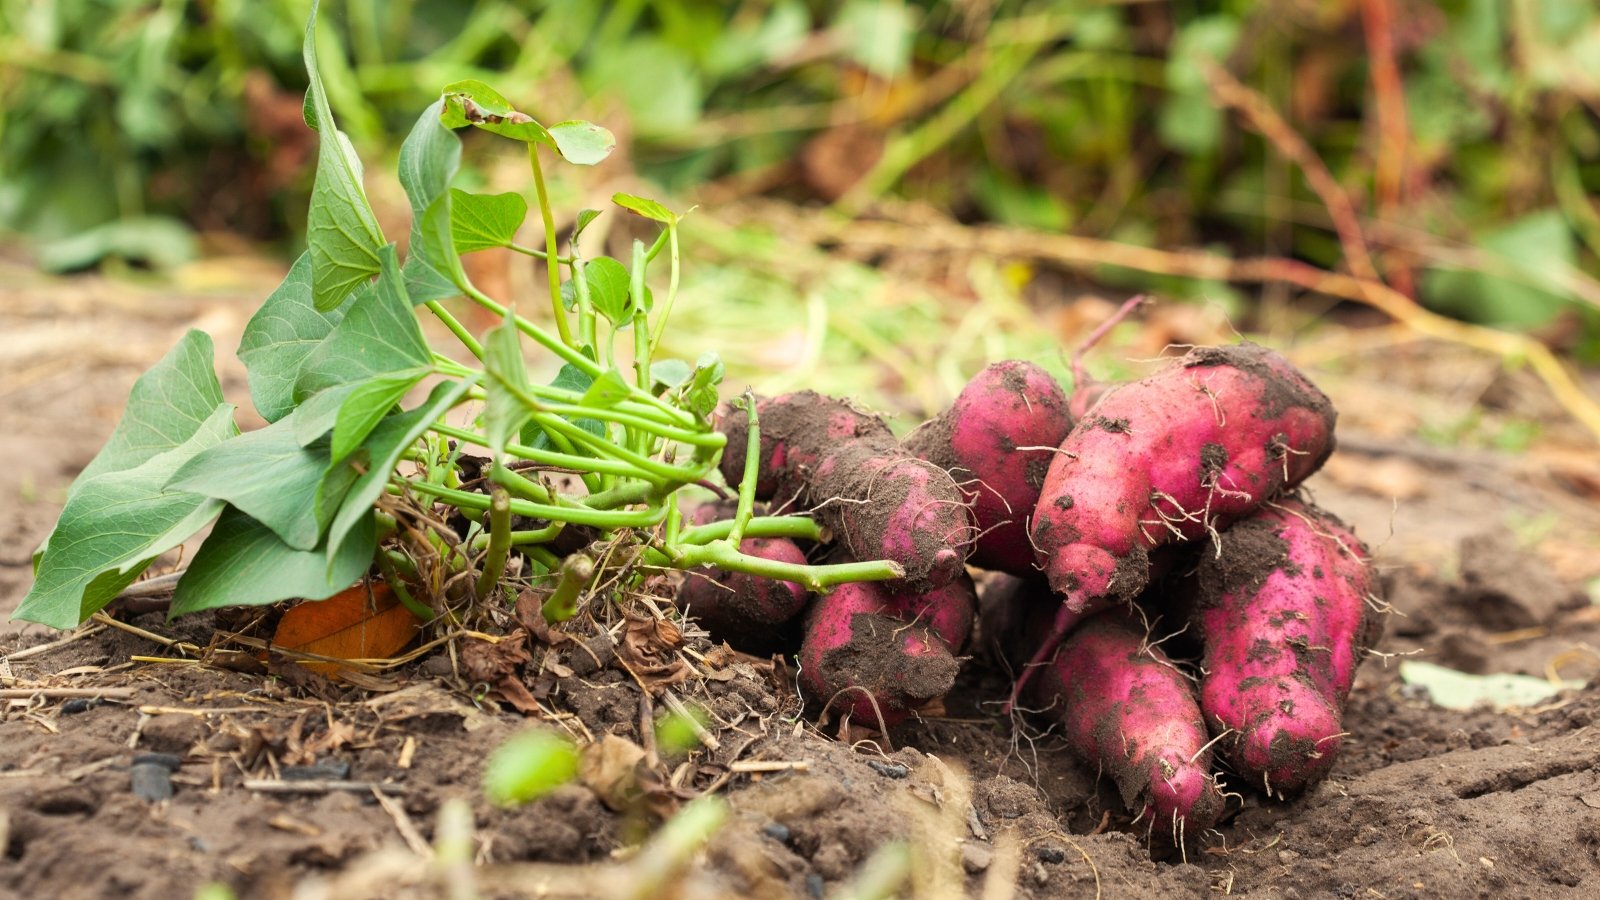
They form under the soil, radiating out from the main stem, slanting down from where they meet the stem. Big tubers can grow out as much as a foot from the stem. Poke your finger in the soil or gently scoop out soil until you reach a tuber to get an idea of where they are located in the soil.
Option one is to dig them out with a shovel or garden fork. Though use caution not to damage the potatoes. Garden forks work better than shovels since they allow the soil to fall through the tines when harvesting. Insert the garden fork at the edge of the container, as far away from the central stem as possible, and as deep as possible. Lift the plant from the main stem while leveraging the garden fork beneath the tubers.
The second, easier but messier option for harvesting from containers is to simply dump the containers over and let the soil and sweet potatoes spill out. Lay down a tarp or old bed sheet first to catch the mess. You may have to brush the soil away from the tubers and gently tug them out by their main growing stem.
Using sharp, clean pruning shears, cut the tubers away from the central stem.
Step 8: Time to Cure

After digging, do not leave the dug tubers out in the direct sun or outside overnight, in case of chilling injury. Do not wash them.
They need to cure after harvest. This simply means allowing their skins to dry, which helps them store longer. Also, if you have any potatoes that were cut or scraped during harvest, curing will dry up the area.
Sweet potatoes are best cured at 80 to 90°F (27-32°C), with adequate ventilation and 85% to 90% humidity. This can be a bit of a challenge to achieve a warm, humid environment at home.
If you have warm fall days and live in a humid climate, a screened porch or warm, open garage can work as long as you move the potatoes indoors at night in case of freezing. Or, use the warmest room in your house and know you are doing your best! They will still cure, though it may take longer than if they were at optimal curing conditions.
After curing, the ideal storage temperature is 60°F (16°C). A basement room with good ventilation can work just fine. Enjoy your harvest all winter long!
Final Thoughts
These popular perennial vegetables are a beautiful container-grown crop that can provide many homegrown meals. The lush greens will be attractive all season long and are deliciously eaten raw or cooked. Locating slips requires a bit of forethought; however, growing your own slips can be a fun, useful project. By following these nine easy steps, you can grow sweet potatoes in pots or containers for delicious, abundant yields!


