9 Reasons Why Raised Beds are the Best Way to Grow Asparagus
Perennial veggies like asparagus are essential in kitchen gardens. They offer nutritious, delicious spears that taste way better than those from the grocery store. Though tasty, these plants require some care to grow their best in raised beds.


Contents
Raised beds offer an excellent method for growing many crops beyond just asparagus. While the ground works well in many situations, elevated planters provide the perfect space for growing roots. You can fill them with any soil type and customize the space for your chosen plant varieties.
Asparagus live for many years—some sources say they’ll last for 15 years or more in the same location! They spread their thick roots underground and anchor themselves to the space. With a dedicated asparagus bed, you’ll never have to worry about digging into your crop or planting it too closely to another veggie.
Without further ado, here are the nine reasons raised beds are the best way to grow asparagus. Whether you like wooden or metal beds, these reasons will convince you to try them out this season.
Epic GardenBox Greenhouse
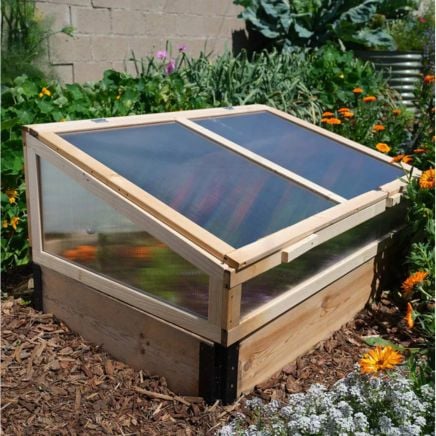
Made from sturdy Nordic softwood & UV-protected polycarbonate, it’s built to hook directly on top of our GardenBox raised bed. Extend your gardening season into the fall or give yourself an early start in the spring.
Buy at Epic Gardening ShopSimple Planting

There are two ways to plant this veggie: crowns and seeds. Seeds take many years to form edible spears, and crowns are the better option. Asparagus crowns are soilless one-year-old plants with developed root systems; they benefit from deep trenches at planting. Their thick, turgid roots require some room to spread and roam.
Beds are ideal for trenches—you don’t have to dig into heavy clay! Dig furrows 6 to 12 inches below the surface. Dig deeper in heavy soils and shallower in sandy ones. Aim for somewhere in the middle on sites with crumbly, rich dirt. Place the crowns in the furrows root to crown, so the roots of one plant line up with the crown of the next. Cover them with two to three inches of soil and water well.
As the spears emerge you’ll cover them with dirt until the trenches line up with the soil surface. Use caution during this step to avoid snapping the tender spears.
Warm Ground in Spring

When the soil sits above the surface, it’s exposed to more weather and extreme temperatures than the ground. This means that beds warm up quicker in spring and cool quicker in fall, allowing you to cheat the seasons with heat or cold-loving fruits and veggies.
For asparagus, warm raised bed soil in the early spring helps sprouts emerge quicker than their in-ground counterparts. You’ll have edible spears ready days or weeks before your neighbors!
To further cheat the seasons, drape row cover or greenhouse plastic above the soil before the plants emerge. These materials trap heat, creating a greenhouse effect that warms the site.
Less Invasiveness

Because of their rambling nature and long lives, these plants may creep into other areas when they’re in the ground. You’ll see spears emerging next to your onions and fava beans! Rather than trying to dig up portions of the plants, you can grow them in planters to limit their spread.
Another ingenious way to prevent the plants from spreading is by digging trenches around in-ground plantings. The deep furrows will prevent the roots from spreading into nearby plantings.
Though containers may seem like a good option for reducing invasiveness, they’re often not deep enough for healthy root growth. The pots need to be three or more feet wide and deep, and the crowns may need replanting after a few years. Planters without bottoms are ideal, as they let the roots creep into the ground below.
Better Soil

Asparagus appreciates rich, fertile soil that’s free draining. They’ll perform poorly in clay or sand and do their best in a loamy mix with plenty of compost. With in-ground plantings, you’ll have to dig and amend clay or sand, while you won’t have to worry about it with beds.
With beds, you can fill the site with any soil you choose. Make a homemade mix with coco coir, compost, and perlite, or find a ready-made vegetable mix from the store. Avoid formulations with peat moss, as its harvesting process harms animals and plants in sensitive peat bogs.
Another cost-effective filling method is Hügelkultur, or “hugelkultur” in English. It involves filling the bottom of the beds with soft, rotting wood, then layering potting soil and compost on top of the logs. The wood sucks up some nitrogen the first year it decomposes, though it returns nutrients to the dirt as it decays fully.
Less Bending Over

The taller your asparagus raised bed, the less you’ll have to bend over! Amending, digging, and harvesting all require you to get low near the dirt. Rather than bending over all the way, plant asparagus in tall, elevated planters to save your back.
Some planters reach taller than two feet! These types are ideal, as you won’t have to bend down while you garden in them. Short types work too, though they require you to bend lower than the tall ones. Aim for planters that are a foot or taller.
Another way to be gentle on your body while gardening is to use a kneeler pad and kneel on the ground. That way, you don’t have to bend low to harvest your spears—you can kneel, cut them with care, and stand back up with your knees protected.
Easy Weeding
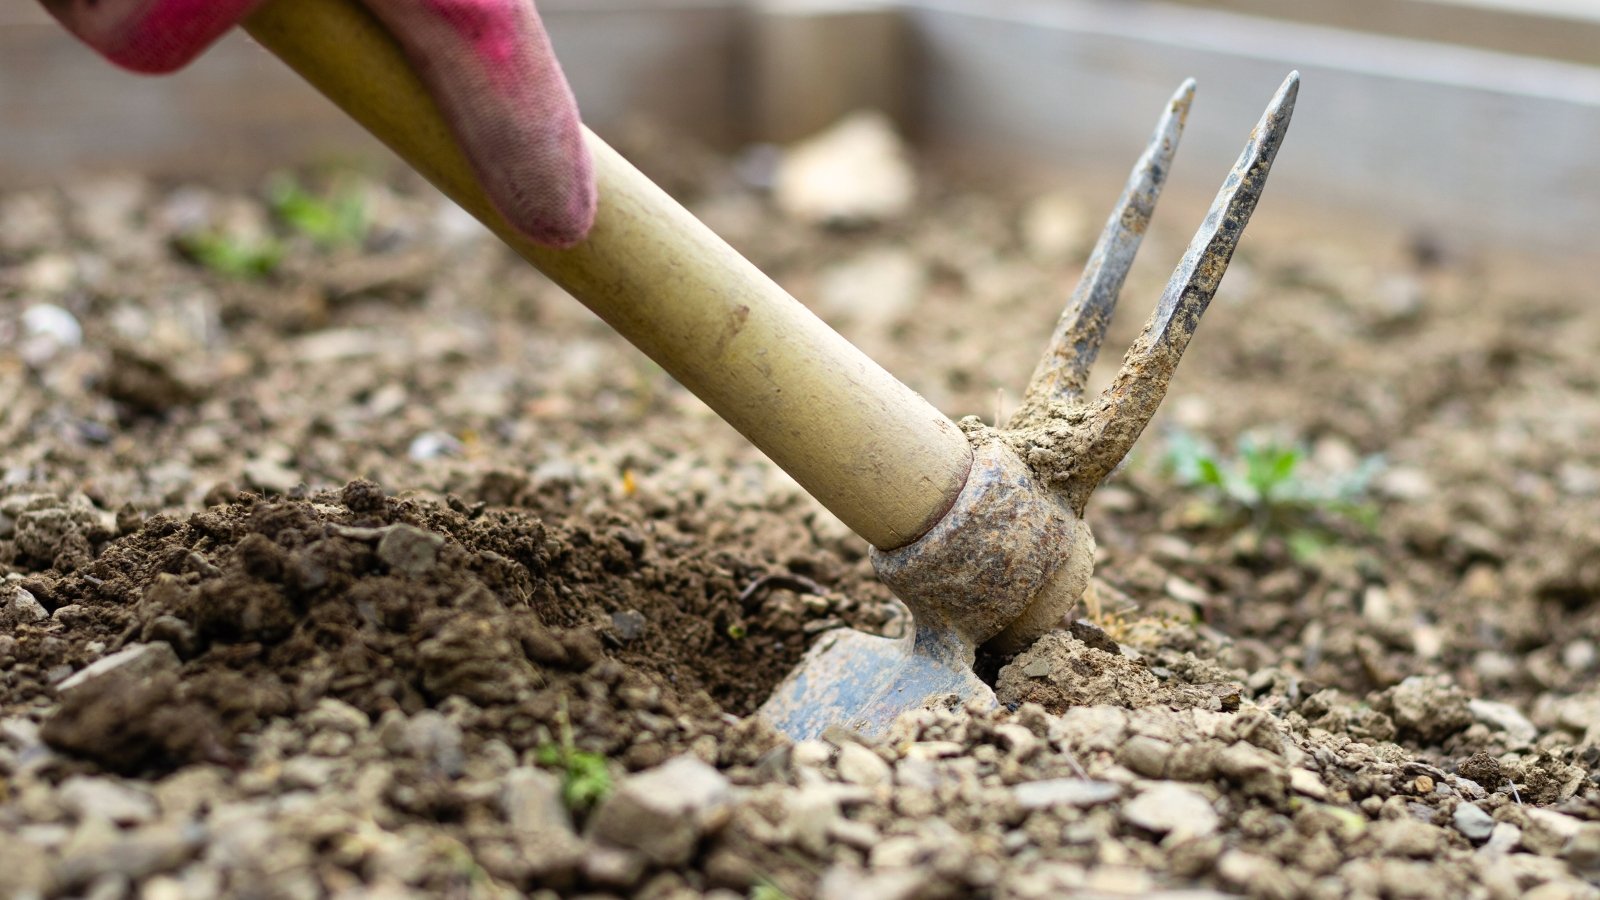
Asparagus plants are deciduous, meaning they die back during the cold, winter season. They push new growth out in spring as the weather warms and days lengthen. Because of their deciduous nature, they leave the ground exposed for half of the year.
With exposed ground come winter weeds! Many invasive species and weedy spreaders capitalize on cold weather to spread into new areas. Hairy bittercress, purple deadnettle, and chickweed are some weeds that thrive during the cool months.
Remove these pesky species as they sprout to prevent them from taking over. Your crops won’t grow well with competition; the weeds will soak up all the nutrients and moisture in the ground before your veggies can. Pull them by hand, or gently rake them out with care not to disturb any emerging plants.
Optimal Growing Conditions

The bigger your in-ground site, the more amending you may need to do. Especially if you garden in clay, you’ll want to add compost, straw, and leaves to help break up large dirt clumps. With planters, you can start with the optimal growing conditions and keep your crops growing their best.
Because of their aboveground nature, they may erode and lose soil over time. Combat this by adding a two to three-inch thick layer of compost once or twice a year. The compost will feed the dirt with nutrients and microbes, and it’ll help boost drainage and moisture absorbency in the site.
This veggie is a heavy feeder, requiring annual helpings of compost or organic fertilizer to keep it performing. Cover the area in autumn with straw, fall leaves, or leaf mold to trap the nutrients and prevent them from running off. You’ll also protect the roots from harsh frosts, as the mulch layer keeps them warm and insulated.
More Stylish

Let’s face it—garden beds are incredibly stylish! Wooden ones create the perfect cottage or homestead design, while metal types are sleek and futuristic. Some offer clean lines and dark colors, while others are flashy and showy.
This ultimate selection lets you create the garden of your dreams. The plants are showy too, with airy plumes of fern-like foliage in summer. Female varieties form bright red berries that contrast beautifully with the lush green of the leaves.
Combine the best of both worlds and plant this vegetable in a stylish bed. It can work as a focal point with low-growing perennials around the edges or as a part of many other beds in a modular layout. The possibilities are endless!
Simple Harvesting

Tall planters allow you to harvest your crop without breaking your back! Rather than bending low to the ground to snip spears, you can kneel or reach down to pick them and put them in baskets. They’re ready for harvesting when they’re thick and six to eight inches long.
Avoid breaking the stems, and make clean, even cuts with a knife or sharp pruners. The stems will last longer in storage if you refrain from snapping their lower ends.
Note that crowns and seedlings need two or three years of growth before they’re ready for continuous harvesting. When plants are two years old, harvest for two weeks in early spring and let the rest of the stems mature. The next year, harvest continuously until around July 1st, then let the stems develop afterward.


