Soil Remineralization: Fall Amendments for Next Year’s Success
Do you think your soil is lacking essential nutrients? Join farmer Briana Yablonski to learn how you can remineralize your soil this fall so you can enjoy healthy crops next spring.

Contents
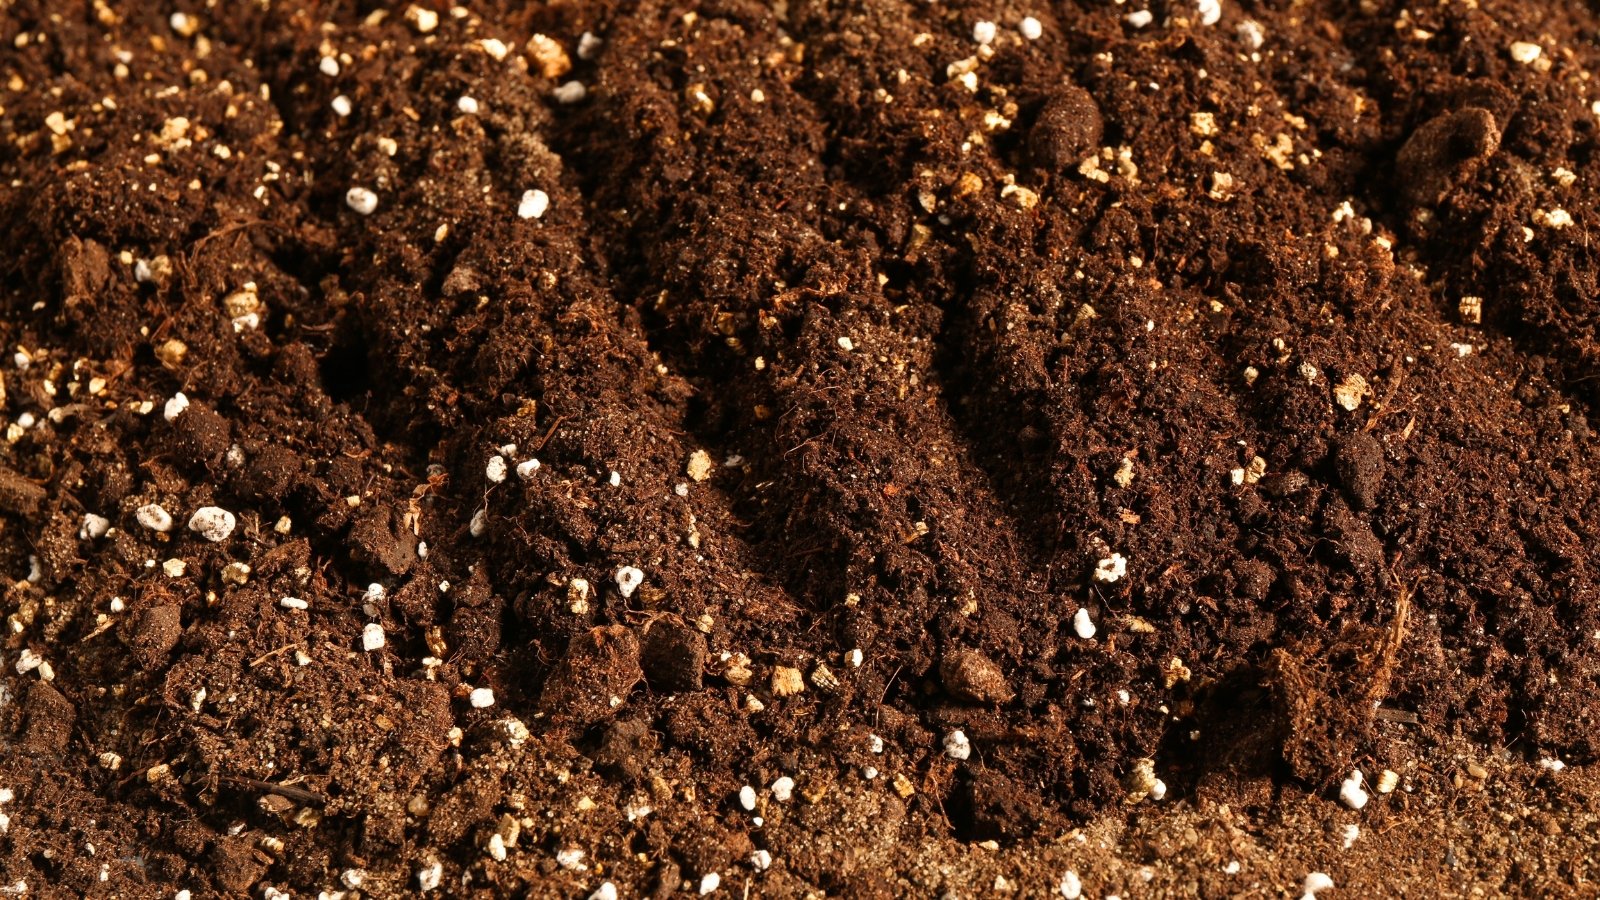
Healthy soil is teeming with millions of microorganisms and filled with a variety of nutrients, but poor soil management can lead to depleted ground that struggles to grow robust plants. Adding compost or other organic fertilizers helps improve soil, but sometimes you need to look beyond these organic inputs.
Soil remineralization, the process of adding various minerals back to the soil, is one way to add missing nutrients to the soil. This process mimics the natural weathering of rocks and glaciers while adding necessary nutrients to the soil.
Completing soil remineralization in the fall prepares the ground for future plants, allowing spring crops to thrive. I’ll further explain why and how to complete this process so your garden is ready for the upcoming growing season.
What Are Soil Minerals?

When gardeners and soil scientists talk about plant nutrients, they often break them down into specific elements that appear on the periodic table. Separating these nutrients based on plant needs makes it easier to classify and understand how much of each element to apply.
Plants require the largest amount of primary nutrients, followed by secondary nutrients, then trace elements.
- Primary nutrients include nitrogen (N), phosphorus (P), and potassium (K). These elements are often referred to as NPK.
- Secondary nutrients include calcium (Ca), magnesium (Mg), and sulfur (S).
- Micronutrients or trace minerals include boron (B), copper (Cu), chlorine (Cl), iron (Fe), manganese (Mn), molybdenum (Mo), and zinc (Zn).
Besides breaking nutrients down by element, we can also classify them by how they appear in the soil. Some nutrients are present in organic (carbon-containing) compounds like compost, alfalfa meal, and bloodmeal. Others exist in naturally occurring, inorganic forms, also known as minerals.
Technically, all inorganic portions of the soil are minerals. When you consider that most soils contain between 1% and 5% organic matter, it’s easy to see that the vast majority of soil is made of minerals of some type.
So, why should you add minerals to your soil if it already contains so many?
While most soils are mineral by nature, not all minerals provide nutrients in forms plants can use. Additionally, nutrients wash out of the soil over time. Adding the correct type and quantity of minerals helps remineralize the soil, enabling your plants to obtain the necessary nutrients to develop new tissue, defend against pests, and produce flowers and fruits.
Steps for Soil Remineralization in Fall
While some nutrients are easily leached out of the garden over the winter, fall is the perfect time to remineralize your soil. Some minerals need to be broken down before they’re available to plants, so completing soil remineralization in fall increases the chances plants can absorb them the following spring.
Conduct a Soil Test

Conducting a soil test allows you to see which nutrients are in your soil. With this information in hand, you can determine which nutrients are lacking and which are in good supply.
Your first step is to collect soil samples that represent your entire garden. A soil probe works well, but you can also use a trowel or shovel. Your goal is to collect a few samples that include the top six inches of soil, then mix the samples together until they’re homogeneous.
If you have two different garden areas that you’ve treated differently, it’s best to take a sample from each plot. This sampling method allows you to tailor your mineral applications to the different soils present in each area.
After you have your samples, pack them in a sealed bag and send them to a soil testing lab. Many agricultural extension offices offer soil testing services, or they can also point you in the direction of a trusted local lab.
Some labs offer multiple types of soil tests. Choose a comprehensive option that allows you to see the primary and secondary nutrients as well as the trace elements.
You should receive results within a few weeks of sending your samples. At this point, you can look over the results and determine which minerals to apply.
Choose the Proper Minerals

After you have your soil test results, look over them to determine which nutrients are lacking. Most result sheets will show each element and list whether it’s very low, low, medium, or high. Some results also show the ideal nutrient range and the nutrients currently in the soil.
Your goal is to determine which elements you need to apply and which ones you should not use. Overapplying nutrients not only wastes money, but it also leaves some of these excessive nutrients susceptible to leaching.
Once you determine which elements you should supply and which you should avoid, you can begin selecting the correct materials to apply. The following amendments are all suitable for organic production, so they’re ideal for environmentally-conscious gardeners.
Azomite
Azomite is a volcanic mineral that contains a small amount of a wide variety of nutrients. You can purchase it in a powder or granular form. Since azomite contains such a wide array of elements, it’s a great option if you want to remineralize soil in the fall but don’t know which nutrients are lacking.
Applying azomite is easy. Sprinkle it on the soil, then mix it into the top few inches.
Langbeinite
Also known as KMa or SulPoMag, langbeinite is a naturally occurring mineral that’s mined and applied to soils. It’s rich in the primary nutrient potassium as well as the secondary nutrients sulfur and magnesium.
The product doesn’t change soil pH, so it’s excellent if your pH is already at the right spot. Applying langbeinite offers numerous benefits, especially if your soil is deficient in any of the three nutrients it contains.
Sea Minerals
You can find numerous types of dehydrated sea minerals designed for agricultural production. These are sea salts that have been tested and labeled with specific levels of nutrients.
Sea minerals are often rich in calcium, magnesium, and sulfur, with smaller amounts of potassium. Therefore, sea minerals are often a good option if your soil is deficient in these three elements.
Epsom Salts
If you want to apply sulfur and magnesium without adding additional calcium, Epsom salts are a good option. Also known as magnesium sulfate, these crystals contain near equal amounts of magnesium and sulfate. Only apply if you have a verified magnesium deficiency in your soil. Otherwise, skip this one.
Apply the Minerals to the Soil

Once you’ve determined which minerals are best for your soil’s nutrient needs, it’s time to add them to your gardens or fields. Many products have recommended application rates on the soil package if you’re not sure about how much to apply. You can also work with your soil test company or contact your county extension office to help you.
After you’ve calculated how much of each mineral to apply, mix them in a bucket or container. Sprinkle the mixture evenly across the soil surface, then incorporate it into the top few inches of soil. A rake works well for small gardens, and you can use a tiller or disc on a larger scale.
Applying the materials before rain is ideal, but not necessary. Watering them into the soil after application decreases the chances they’ll blow away. However, it’s not required if you adequately incorporate them into the soil.
Soil Remineralization: One Part of Healthy Soil

Remember that soil remineralization in fall is just one part of building and maintaining healthy soil that supports crops. Incorporating other practices that support soil health will help you grow the best crops possible.
Other ways to improve your soil include adding organic matter like compost, growing cover crops that feed soil microbes and hold nutrients in place, and limiting tillage. When you combine these practices with soil remineralization this fall, you’ll be ready to plant the following spring.


