How to Revive a Stressed-Out Orchid: 7 Easy Fixes to Try
Orchids decline for predictable reasons that usually have straightforward fixes. Gardening expert Madison Moulton explains how to diagnose what's wrong with your struggling orchid and get it back on track.

Contents
Orchids are a group of plants that tend to strike fear into new gardeners. Maybe it’s because they look delicate, or maybe it’s the fact that they’re often given as gifts that quickly die off.
I just think they’re misunderstood. Orchids aren’t necessarily more difficult to care for than other plants. Their needs are just slightly different, and if you don’t understand those needs, you may end up with a stressed orchid.
Stressed orchids aren’t always dying, but they are reacting to conditions that don’t match their needs. Most orchids (especially the most common types sold in stores) are actually pretty resilient once you understand what went wrong. The problem is usually one of a few common issues with clear solutions.
Take a look below at which is the most likely cause to revive your stressed orchid.
Adjust Your Watering Schedule
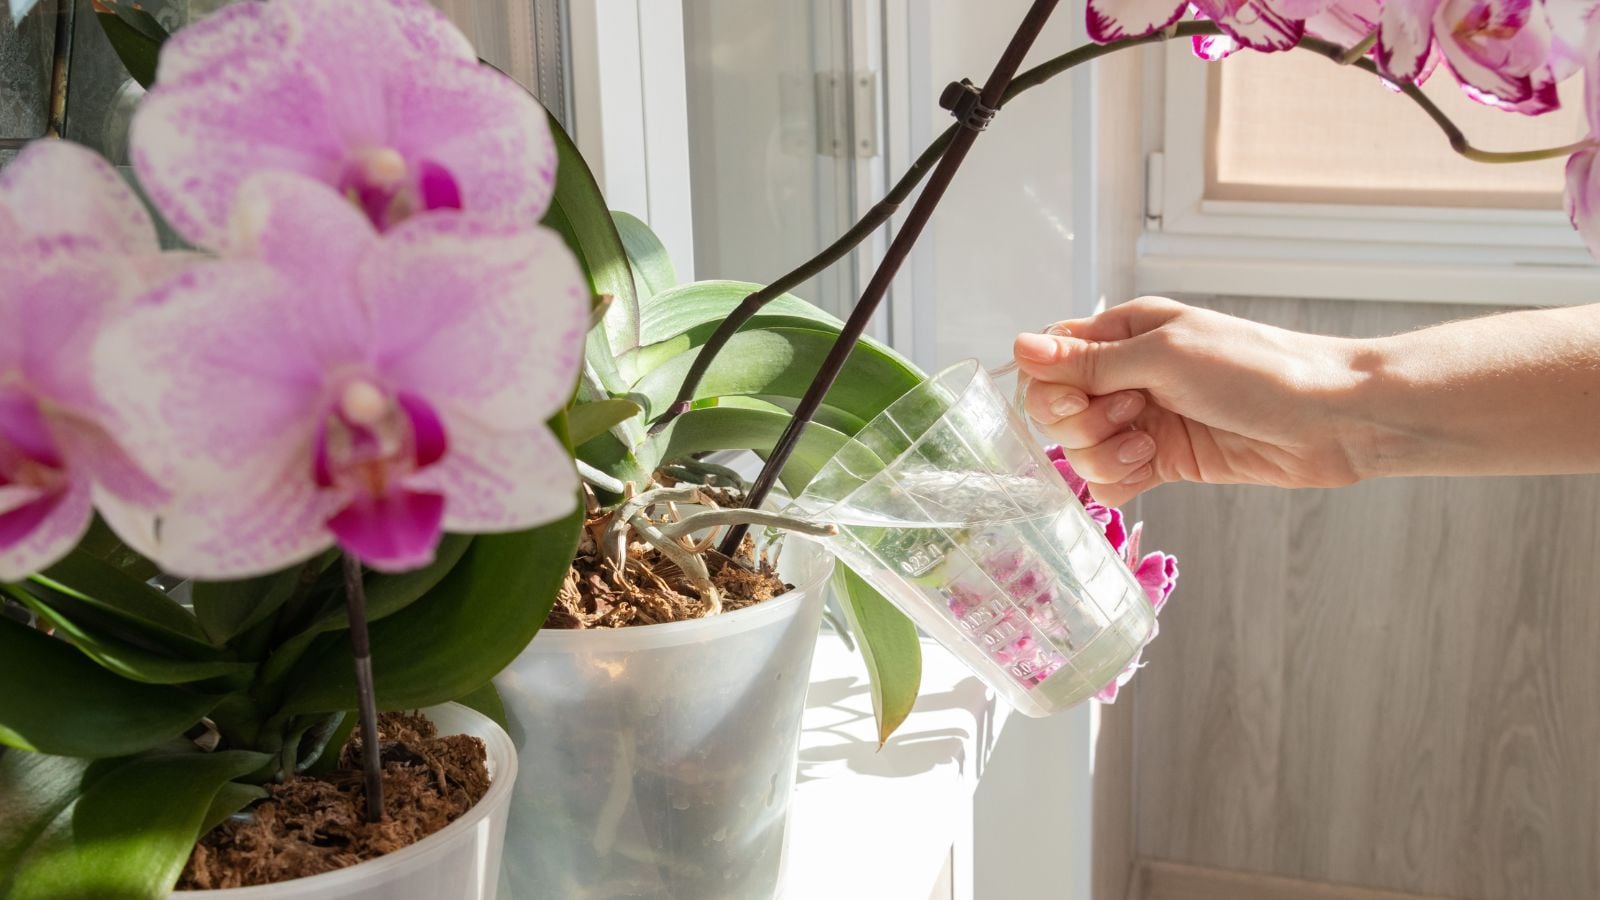
Overwatering and underwatering kill many orchids, purely due to a lack of understanding. Many orchids are epiphytes and aren’t used to sitting in moisture for long periods. They also absorb moisture from the air, which is why humidity is so important.
The roots rot quickly when they sit in constantly wet conditions, and once root rot starts, the plant can’t absorb water properly (even when you continue watering). The leaves wrinkle and look dehydrated despite the soggy potting medium.
Check the roots through the clear plastic pot most orchids come in. Healthy roots are green or silvery-white and firm. Rotten roots are brown, mushy, and sometimes smell bad. If you see mostly brown roots, overwatering is your problem.
Let the potting medium dry out completely between waterings. When the medium feels dry and the pot is light, water thoroughly until water runs out the drainage holes, then don’t water again until it dries out. A thorough soak every week or so is far better than regular light watering, matching what they experience in their native habitats. Also make sure the bottom of the pot cover you’re using isn’t filled with water.
Underwatering can happen if you follow the advice to water your orchids with ice cubes. Not only does this not effectively saturate the roots, but it’s also not really enough water to keep them consistently happy.
Severely underwatered orchids develop wrinkled, leathery leaves and silvery roots that have dried out completely. To revive the stressed orchid, it needs more frequent watering, though still with drying periods between.
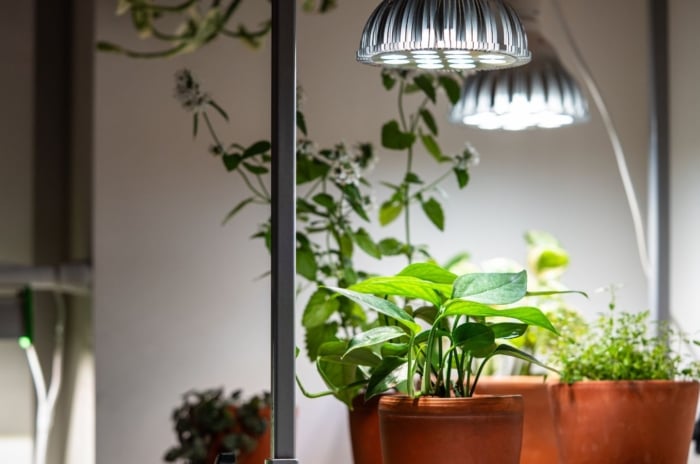
Use a Grow Light

Orchids stop blooming when light is insufficient, even if everything else is perfect. They’ll maintain their leaves and keep growing, but flower spikes won’t develop without adequate brightness.
A bright window works if you have one, but most homes don’t provide enough intensity for reliable blooming. North-facing windows are too dim, and even east or west windows can be marginal depending on obstructions and seasonal light changes.
Position a grow light 12 to 18 inches above the stressed orchid if you want to revive it. You’ll see leaf color lighten to a healthier green within a few weeks, and flower spikes should develop within a few months if other conditions are adequate.
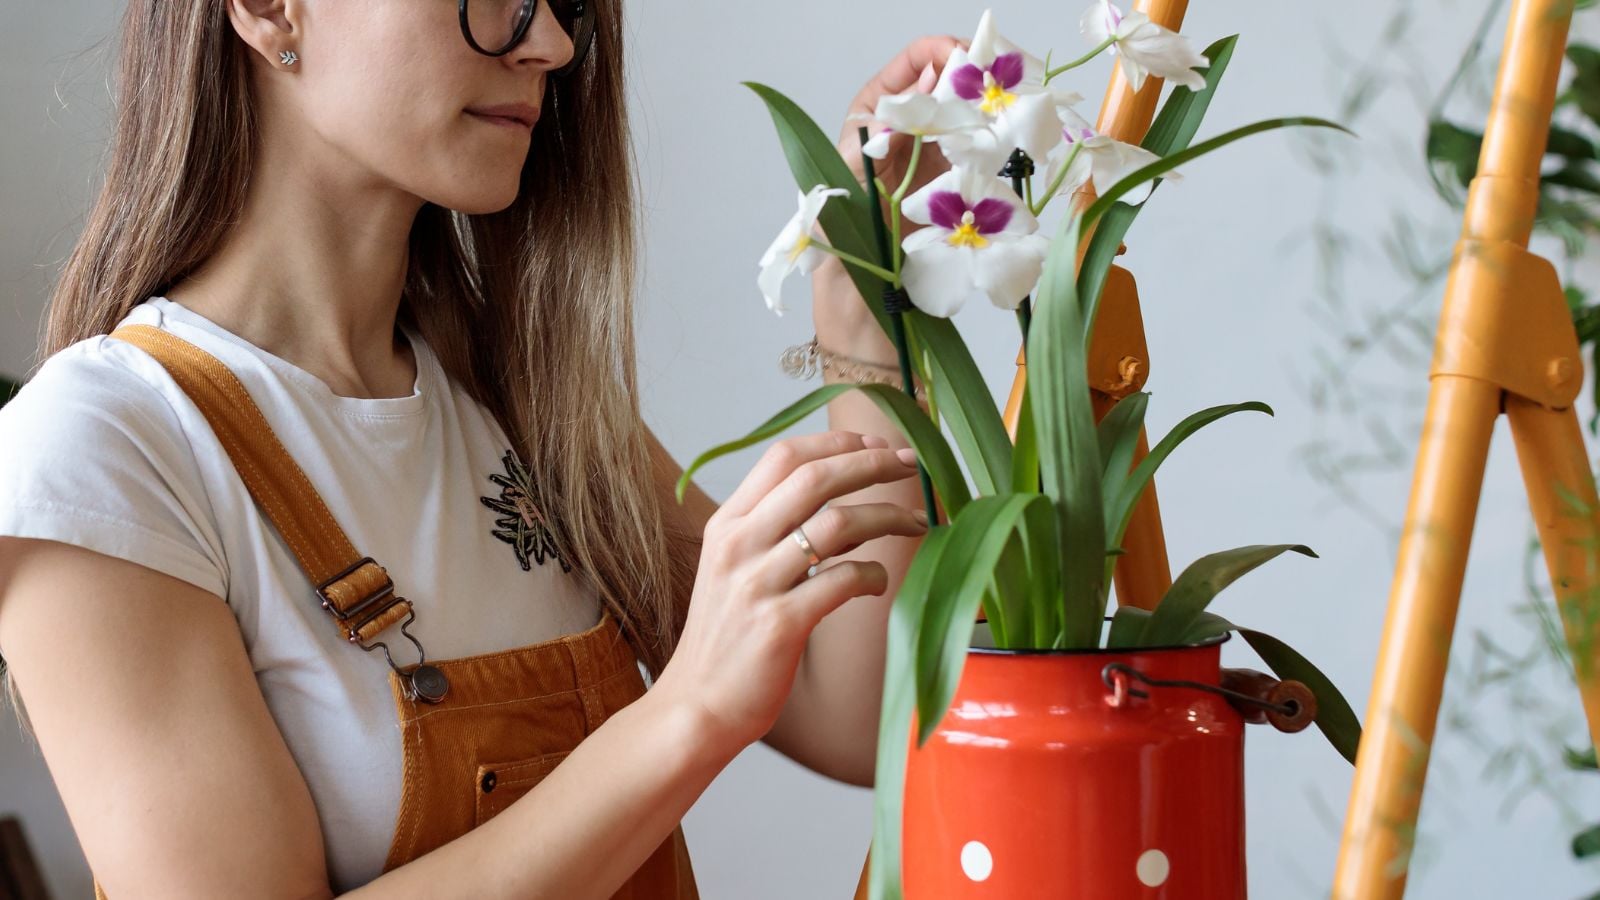
Change the Container
Orchids in containers without drainage holes drown slowly as water accumulates at the bottom, with nowhere to escape. Decorative pots look nice but often lack drainage, which creates waterlogged conditions at the root level even when the surface appears dry. Over time, your container may also be too small for a growing orchid plant.
To revive the stressed orchid, transfer it to a pot with drainage holes, or use decorative containers as cachepots with the orchid growing in a properly draining plastic pot inside. You can pull out the inner pot for watering, let it drain completely, then return it to the decorative container.
The potting medium itself breaks down over time, usually within two to three years. Decomposed bark becomes dense and water-retentive instead of chunky and well-draining. This creates the same problems as no drainage holes, suffocating roots in constantly wet conditions.
Repot into fresh orchid bark if the medium looks broken down or the plant has been in the same pot for several years. Choose a pot just slightly larger than the root system, not dramatically bigger. Oversized pots hold too much moisture around limited roots.
Trim Old Leaves and Flower Stalks
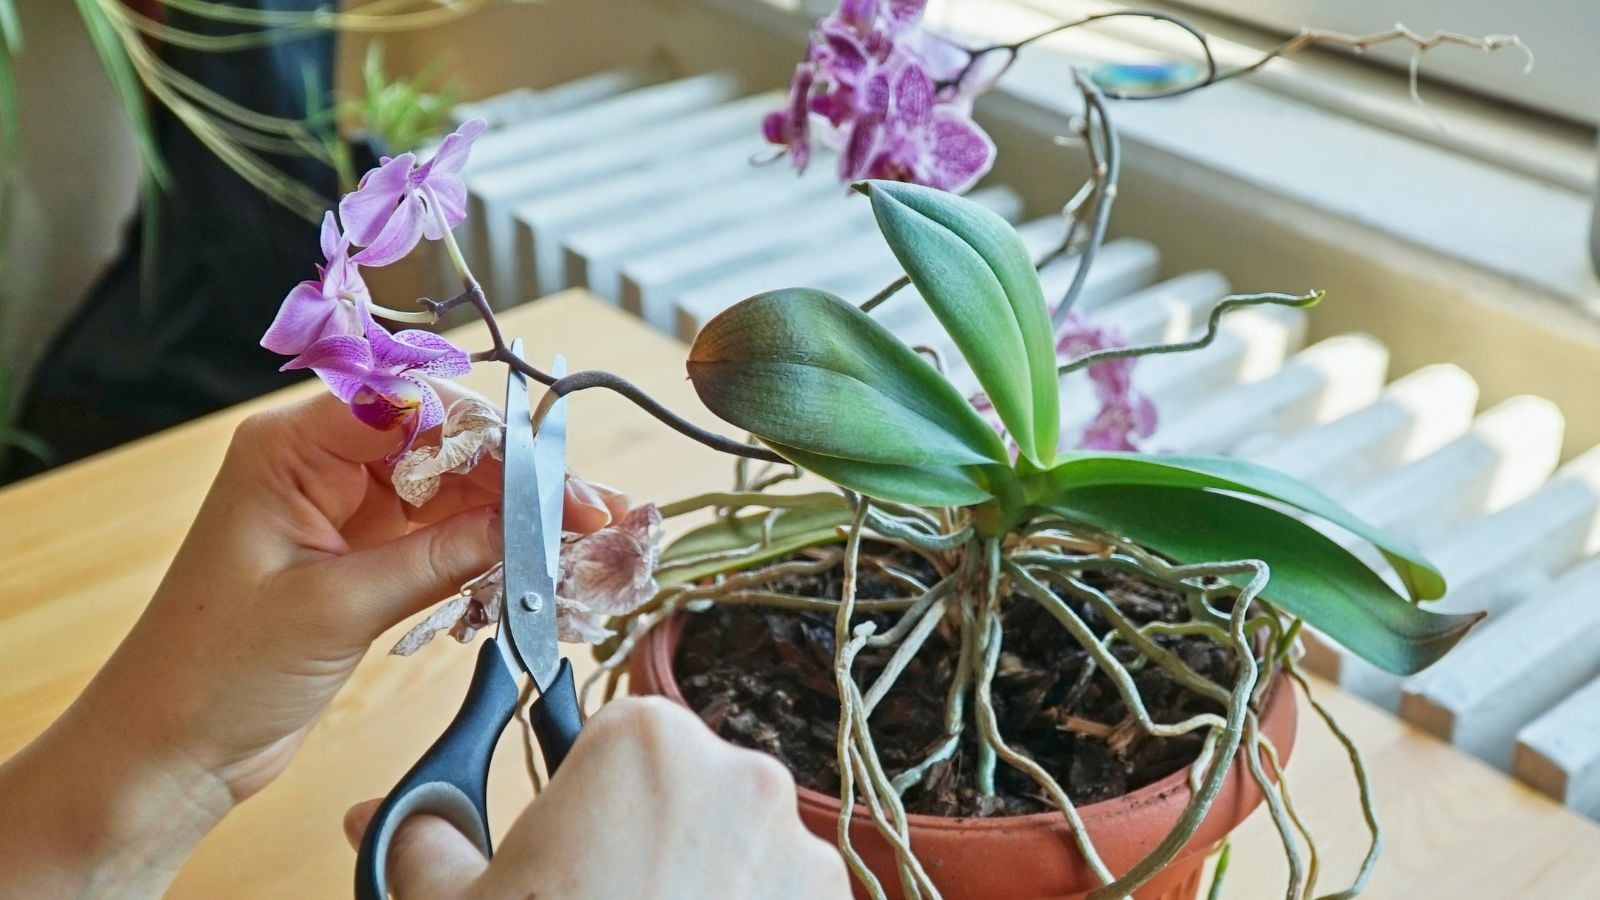
Yellow or brown leaves at the bottom of the plant are normal aging and don’t indicate problems. But they should be removed once they’re fully dead because they can harbor pests or disease. Don’t pull them off, as this can damage the stem. To revive the stressed orchid, cut them cleanly at the base with sterilized scissors.
Old flower stalks that have finished blooming drain energy from the plant without providing any benefit. You can cut these back to just above a node if you want to encourage a secondary bloom from that point, but this delays the plant’s recovery.
Cutting the entire stalk off at the base allows the orchid to redirect all its energy into root and leaf growth rather than trying to support old flowering structures. This is particularly important for stressed plants that need to rebuild their strength before attempting to bloom again.
Diseased or damaged leaves should be removed regardless of their position on the plant. Black or yellow spots that spread, soft or mushy tissue, or leaves with extensive damage won’t recover and risk infecting healthy tissue. Cut away affected areas with clean tools.
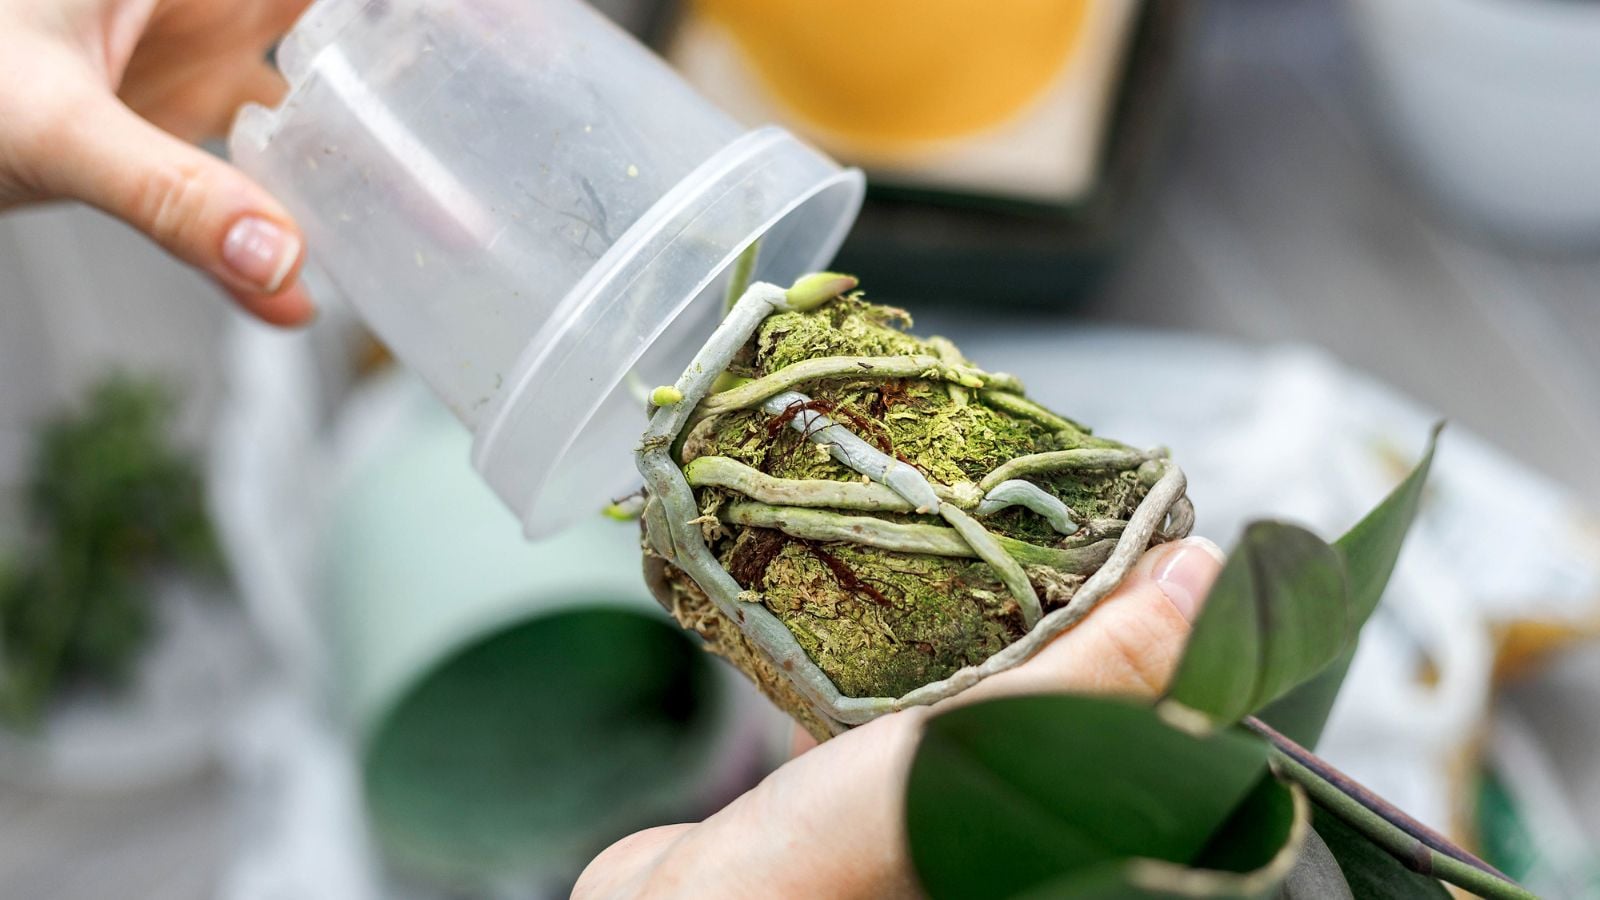
Trim the Roots

Root trimming sounds drastic, but it’s necessary when rot has set in. Rotten roots can’t absorb water or nutrients, and they spread rot to healthy roots if left in place. Cut away all brown, mushy roots until you reach firm, healthy tissue.
Sterilize your cutting tool with rubbing alcohol before and between cuts to avoid spreading pathogens. Sharp scissors or pruning shears work better than dull tools that crush rather than cut cleanly through roots.
Some orchids end up with very few roots after trimming away all the rotten ones. This is alarming but not necessarily fatal. Orchids can recover from severe root loss if you adjust care while they regrow roots. To revive the stressed orchid, keep the plant in high humidity and water very carefully to prevent the remaining roots from rotting.
Aerial roots growing outside the pot should be left alone. These absorb moisture from the air and help support the plant. Don’t cut them off or try to force them back into the pot.
Increase Humidity

Orchids come from humid tropical environments and struggle in the dry air typical of most homes, especially during the winter season. Low humidity causes leaves to wrinkle even when watering is adequate, and it slows overall growth.
Set the orchid pot on a tray filled with pebbles and water. The pot sits on the pebbles above the water line, not in the water itself. As water evaporates, it increases humidity immediately around the plant. Refill the tray as water evaporates.
Grouping orchids with other plants creates a microclimate with slightly higher humidity as all the plants transpire moisture into the surrounding air. This works better than misting, which only provides temporary moisture that evaporates within minutes.
A small humidifier near orchids raises ambient humidity more effectively than other methods if your home is very dry. This benefits other houseplants too, not just orchids, and it’s the most reliable solution for maintaining consistent humidity levels.
Feed Them

Orchids growing in bark-based media don’t have access to much nutrition. Unfed orchids grow slowly, produce small leaves, and rarely bloom well.
Use orchid-specific fertilizer or a balanced houseplant fertilizer diluted to quarter or half strength. Orchids need weaker fertilizer solutions than most plants, and full-strength applications can burn sensitive roots.
Skip fertilizer if the plant has severe root damage and is recovering from root rot. Wait until you see new root growth emerging before resuming feeding. Fertilizer applied to damaged roots causes more harm than good.