How to Repot Snake Plants and What Soil to Use
Is your snake plant's pot bulging? Does the plant seem to be suffering? If so, it may be time to think about repotting. Horticultural expert Lorin Nielsen explains how to repot snake plants and the best soil to use.


Contents
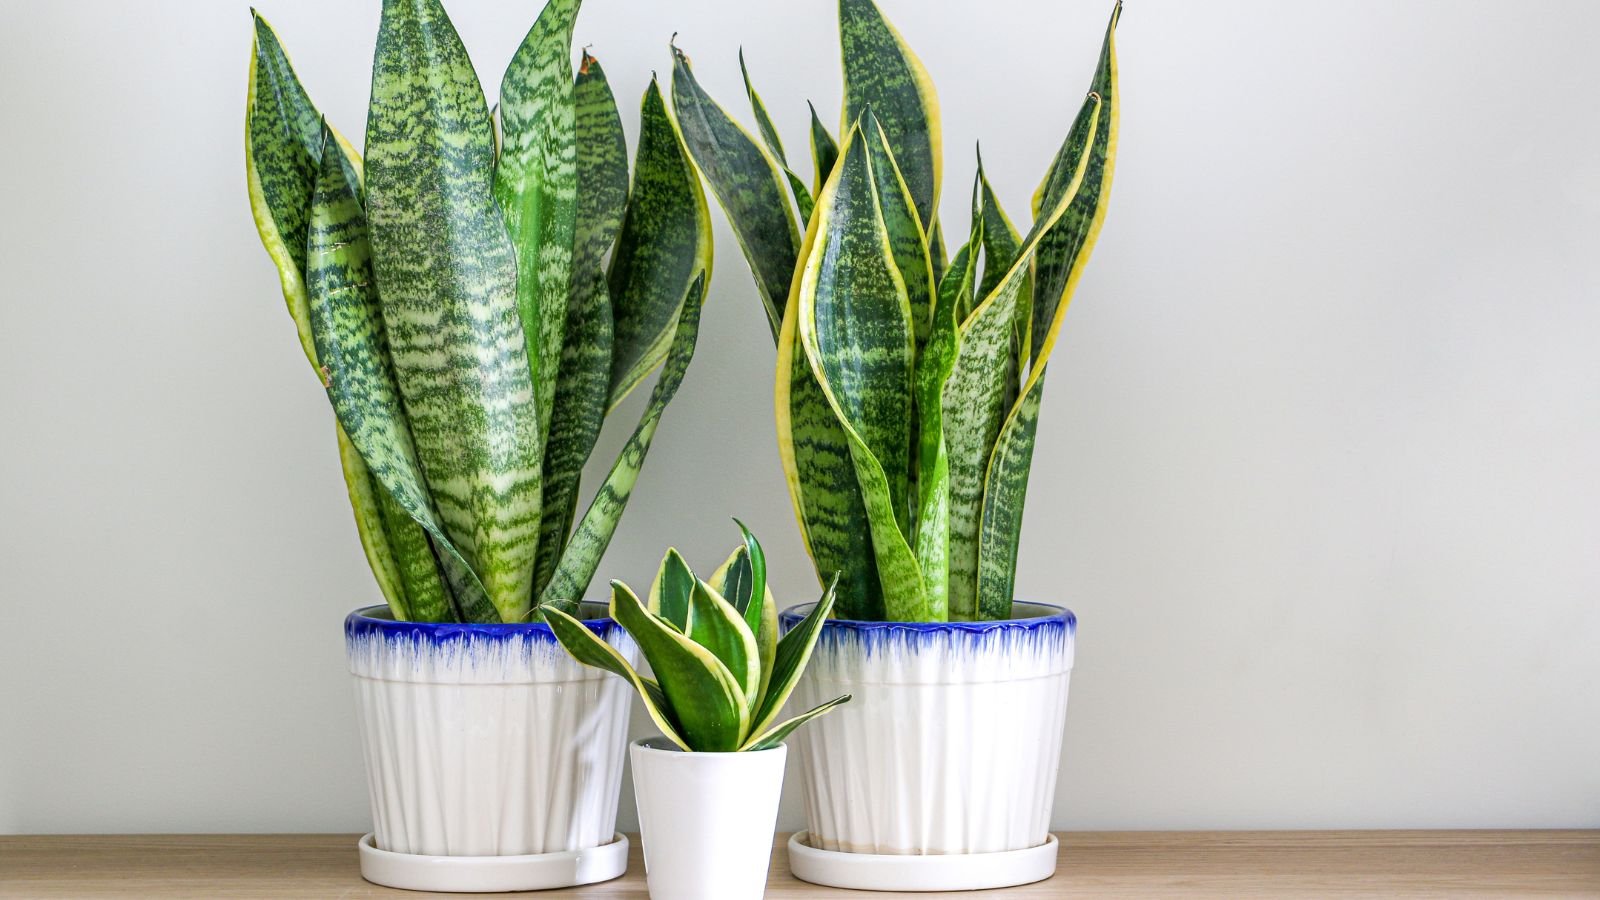
Is your snake plant‘s pot bulging uncomfortably? Does the foliage seem to be overcrowded and suffering? If so, it may be time to think about repotting your snake plant.
Repotting is not a difficult task. It’s an essential skill you can use to improve the health of all your houseplants when they need a new home. Plus, depending on the age of your snake plant, you may be able to divide it at the same time, thus making a second plant.
Before you repot, it’s important to ensure your plant really needs it. From there, follow the 4 easy steps to get it right. Within those instructions, I’ll also cover what soil to use when repotting snake plants, and how to care for them after repotting.

When Should I Repot a Snake Plant?
The best time to repot a snake plant is in the late winter or early spring, just outside the growing season. The plant should almost be in active growth mode but not quite yet.
If needed, you can also repot a snake plant in a bigger pot at any time of year. This is recommended if your plant’s health is declining quickly due to poor soil conditions or lack of space. But if it’s not urgent, it’s better to wait until this winter-spring window for the quickest recovery.
You’ll know it’s time to repot when you spot these signs:
- Your plant appears root-bound.
- Roots start creeping through the drainage holes.
- Plastic pots may start to bulge a bit.
- A clay pot can crack if your plant needs repotting.
- When watering, it’ll seem as though all the water is coming straight through, and the soil mixture won’t hold water.
Grasp the base of the plant to support it and gently turn it over. Do you see roots spreading out the bottom of the pot or the drainage holes? Does the plant slide out with ease? If it’s stuck, it’s definitely time to get it in something a bit more roomy.
While the mother-in-law’s tongue likes to be a bit rootbound, it doesn’t do well when roots are tightly wound around one another. When it reaches that point, or if one of the other signs appears, you’ll know it’s time!
You can also propagate snake plants if you’d like through division when your snake plant needs repotting. But for now let’s focus on the basics.
How to Repot Snake Plants in 4 Easy Steps
Now that you know when to repot a snake plant, let’s talk about how to transplant a snake plant in a single pot.
Pick a New Pot
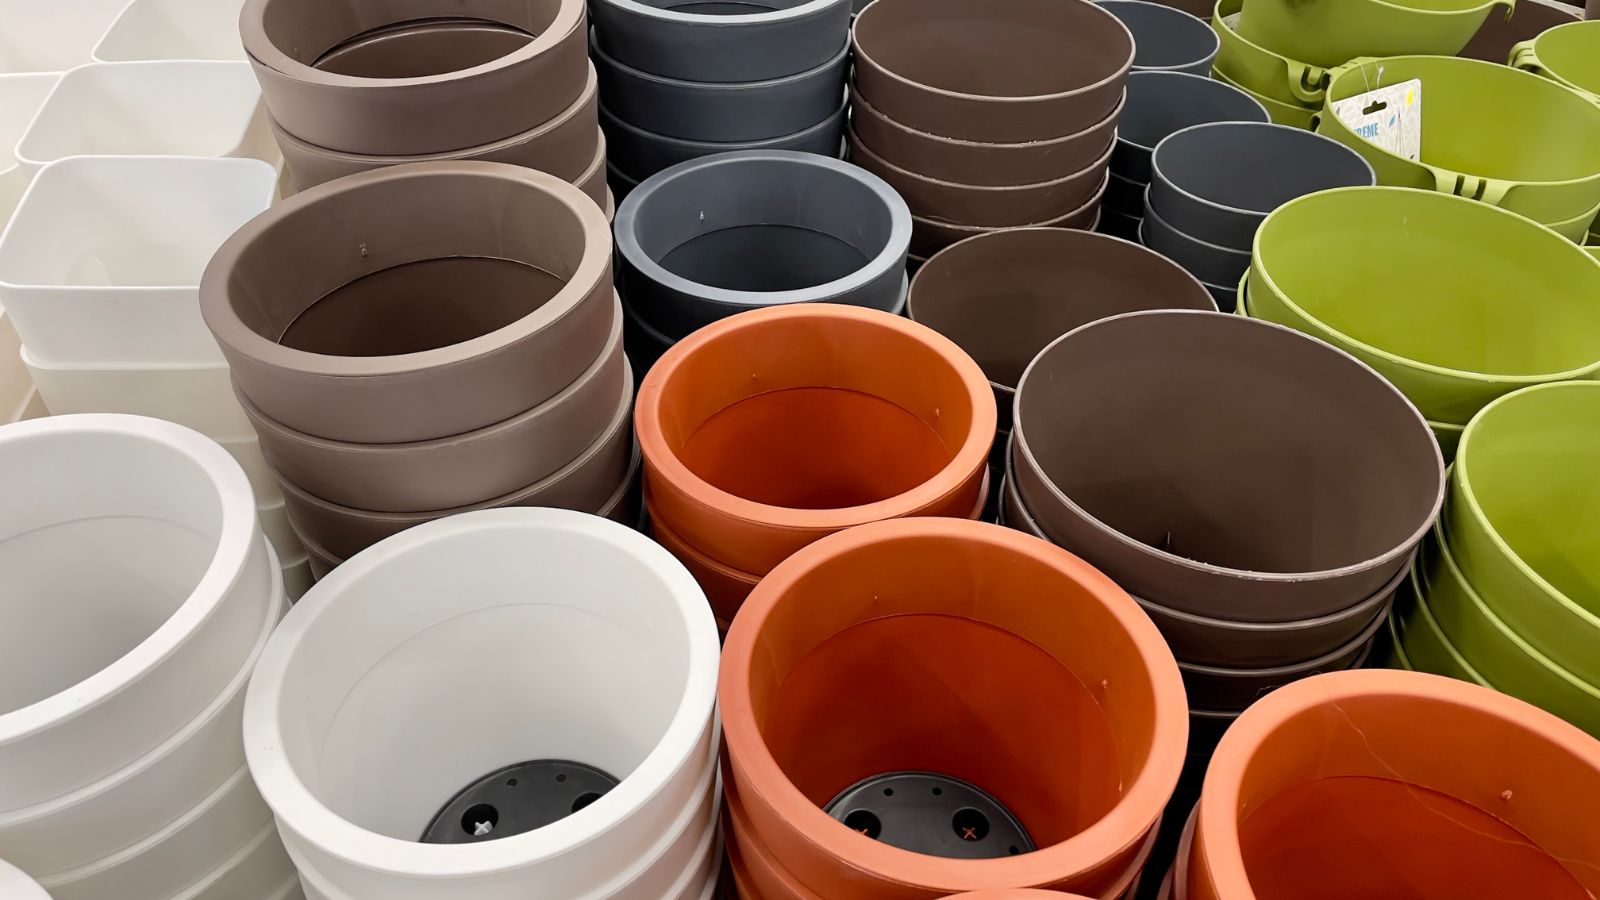
First in your quest for repotting a snake plant: select a new pot. Because of the tall leaves, the mother-in-law’s tongue can become quite top-heavy. The thick leaves of snake plants prefer a new pot that’s wider than it is deep to ensure it won’t tip over from the plant’s upper weight.
Try to find a pot about one to two inches wider than its current pot. Don’t increase the size too dramatically. Extra indoor potting mix may create air pockets full of moisture that can cause root rot to form.
Choose a Soil Mix

As a general rule, snake plants prefer a potting mix which is extremely well-draining. As this plant likes to be a bit on the dry side due to its succulent leaves, the best soil for snake plants is soil meant for tropical houseplants. You can also amend a standard potting soil with some succulent or cactus soil to increase its drainage.
I’ve found the best soil is an African violet soil blend with a bit of sand added for drainage. You can also use a blend of one part garden soil, one part coconut coir, and two parts perlite or builder’s sand.
While adding a little compost is good, avoid adding too much. Compost tends to hold moisture, which may create a risk for the snake plant’s root system. A little bit goes a long way.
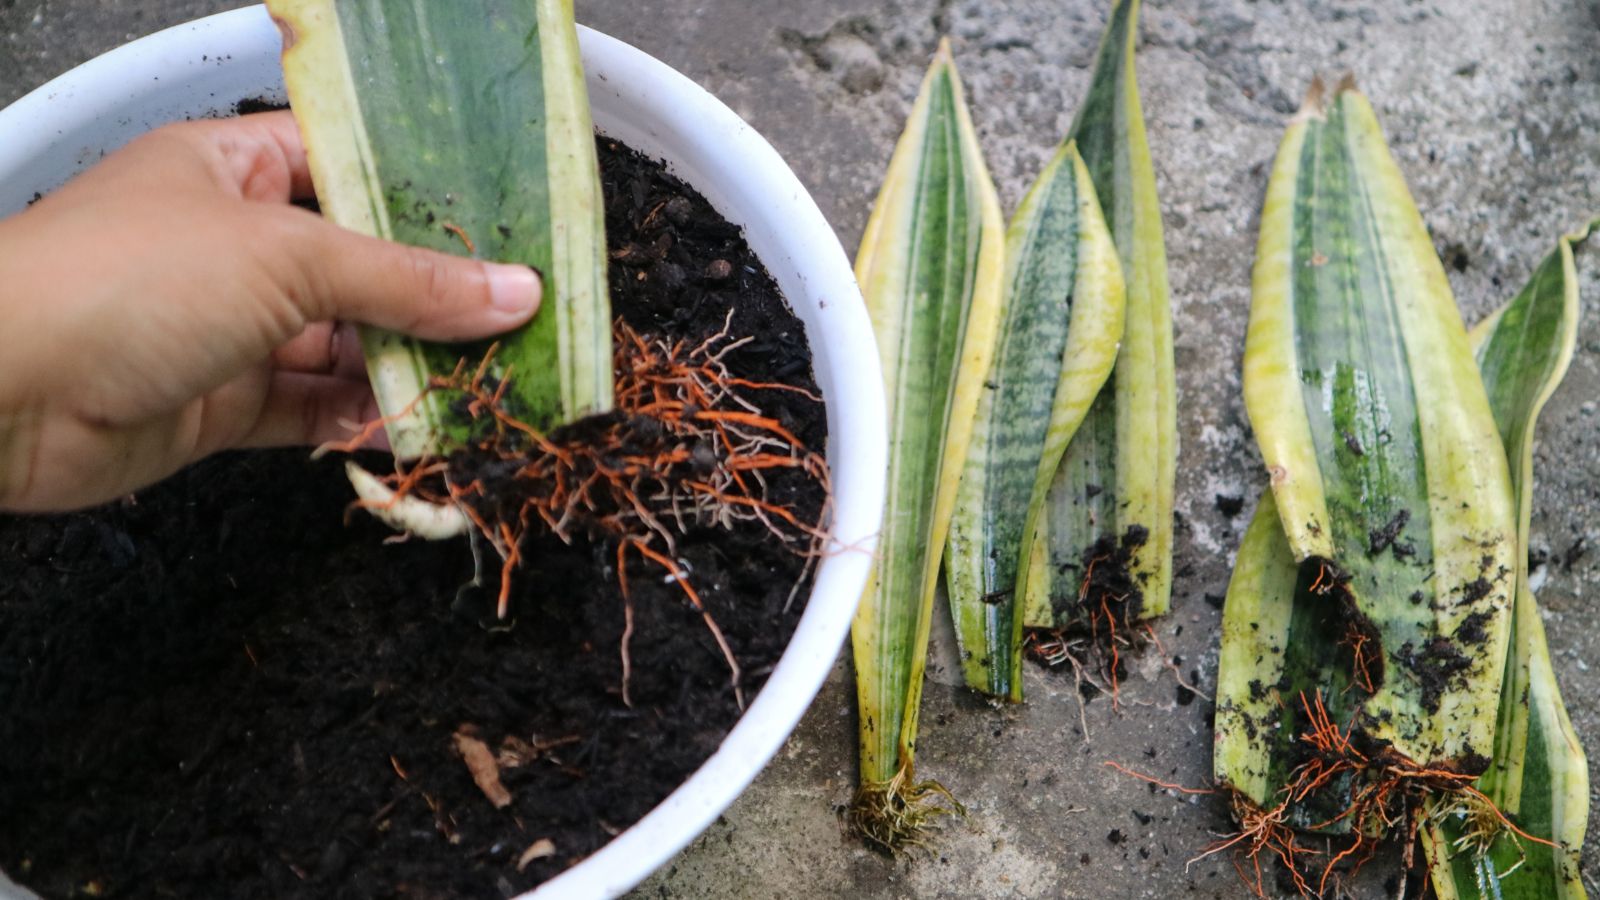
Remove the Plant
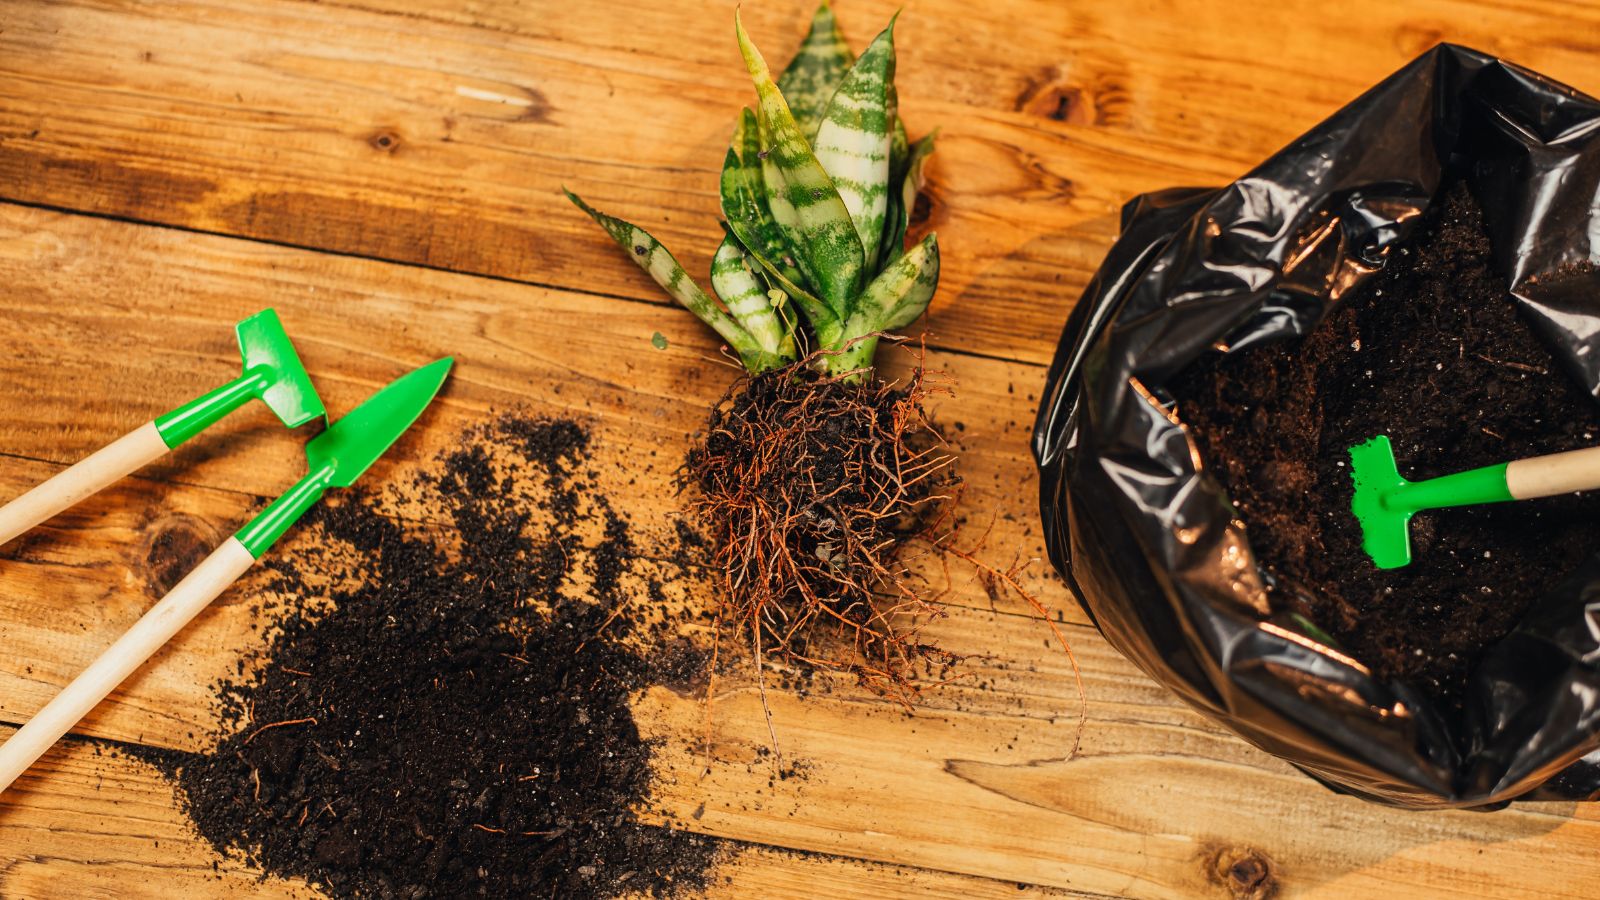
Remove the plant from its prior pot by turning the plant upside-down, being careful not to damage the root ball. Once it’s free, examine the roots. If you see dark or mushy spots on the roots, those have developed rot. Use a clean, sterile knife to cut rotten portions away.
If there are large roots that wrap around the entire root ball, use your knife to slice through those as well. This means your plant is root-bound. You shouldn’t need to cut it more than once for best results. The goal is to stop the roots from preventing new growth.
Transplant
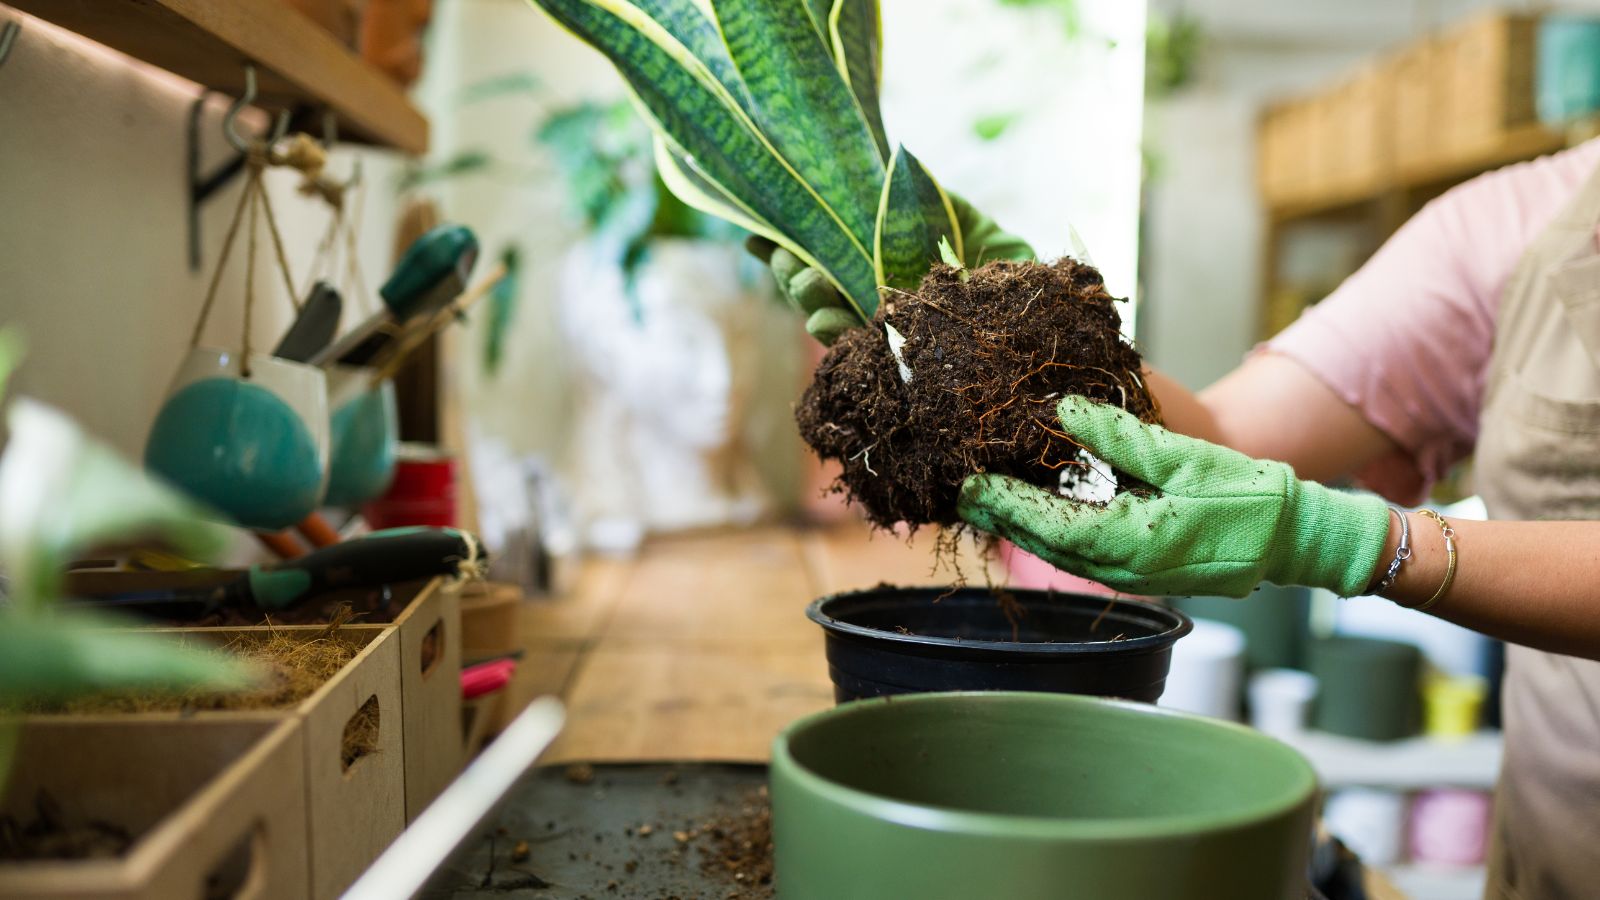
Place some of your soil mix in the new pot and set the plant on top of it. Keep it planted at the same depth but within two inches of the pot’s rim. Remove or add soil to get it to the right depth.
You do not have to tamp the soil down too firmly. Gently press to ensure it’s supported, then water it in. If the soil sinks after watering, add more soil around the sides to bring it back to the right height. Then wait for the top few inches to dry before fully watering again. Remember not to add too much water.
Snake Plant Care

Avoiding transplant shock in your snake plant’s new home is important, especially if you had to trim rotten roots that have grown over long periods. You don’t want your snake plant overly stressed for a while, especially if the leaves are somewhat top-heavy.
Normally, snake plants can tolerate full sun conditions. But for at least a month after repotting, aim for bright, indirect sunlight. This is of less concern if you transplant in late winter or early spring when light conditions are not super-hot. Summer transplanted snake plants should definitely be kept in indirect light for a while.
Avoid fertilizing your snake plant for at least a month until new growth emerges, too. This gives the roots time to re-establish themselves in their space. The last thing you want to do is cause a fertilizer burn to the roots when they’re still tender from moving.
Water when the top inch of the pot has dried out, but don’t overwater as this can lead to root rot. If you keep a saucer under the pot, drain out any excess standing water. Too much moisture in the new pot is dangerous to the roots, as it can promote rot development.
Dividing Snake Plants
Dividing a snake plant requires a little finesse when compared to the process you use to repot a snake plant. You have to determine where the division points are before you can split young plants from the main plant.
Examine your snake plant, especially where the leaves and stems vanish into the soil. Remove your plant from its pot to make it easier to find the individual stems. You may notice several pups emerging from the base.
Grasp at the base of one of those stems and give it a little wiggle. You should be able to tease the roots apart a bit. Repeat the process to loosen up the root mass and partially separate the snake plants.
With a Japanese garden knife, sharp knife, or sterilized razor blade, sever the snake plants from the mass. You can keep two snake plants to three clumped together, or separate each individual plant into its own pot. Decide what looks the best as a grouping and go with that.
Once you’ve divided the two snake plants or more, follow the above sections to repot your snake plants in separate pots. Opt for a larger pot roughly an inch or two wider than the size of your divided plant’s root cluster.
Frequently Asked Questions
When should you repot a snake plant?
Snake plants are fairly slow-growing and can go many years without repotting. However, you should repot your snake plant every few years to replenish the soil in late winter or early spring. Also look out for signs the plant has outgrown its container, like bulging or roots growing through drainage holes.
What kind of soil does a snake plant need?
A potting soil amended with some succulent or cactus mix is perfect for snake plants. I’ve found the best soil is an African violet soil blend with a bit of sand added for drainage. But you can also make your own mixes similar to a tropical houseplant mix with more drainage amendments like perlite.
Should I water a snake plant after repotting?
A sprinkle of water after repotting snake plants doesn’t hurt. Just don’t flood the pot with excess water. If the roots showed signs of rot, hold off on watering for a few days to allow them to dry out before watering again.
Why is my snake plant dying after repotting?
Most often this has to do with fungal issues, like root rot, that crop up when the plant is overwatered. You don’t have to water when you repot your snake plant, but if you decide to, ensure you don’t add more than a sprinkle.
Can I repot snake plant in regular potting soil?
You should add some grit to the soil if you do. While potting soil tends to drain fairly well, you need something that will facilitate drainage for your snake plant.


