11 Tips For Post Blooming Orchid Care
Not sure how to care for your orchid after it blooms? These sensitive flowers are notoriously picky about their maintenance routine, especially after they've bloomed. In this article, gardening expert Melissa Strauss shares her top tips for post-blooming orchid care.

Contents
Most orchids are sold in bloom, or at least in bud, and with good reason. An orchid in bloom is not only a sight to behold, but it also makes a wonderful gift, and an orchid in bloom lets the purchaser know what color flowers they can expect from a particular plant.
So, you have enjoyed those beautiful blooms, which last anywhere from a few days to a few months, but now the last flower has fallen. How to treat your orchid once it is finished flowering will determine how healthy the plant is, and in turn, whether it will bloom again.
Caring for an orchid after blooming is not much different from any other time of year. In fact, post-blooming care is basically the same as general orchid care. However, there are some practices that are best carried out during the window directly after blooming.
Let’s take a look at those practices and also discuss general, good orchid care.
Don’t Throw it Away!

First and foremost, it’s important to note that orchids are perennial plants that bloom yearly, biyearly, and even up to three times per year, depending on the genus and species.
Vanda and Dendrobium orchids tend to be twice-yearly bloomers, and others can bloom twice in a season if they are getting what they need in terms of nutrients, sunlight, and water.
If an orchid is cared for properly, it can live for an indefinite amount of time, particularly if it is regularly divided. They have been known to live beyond 100 years, outliving the gardeners who plant them.
So, don’t despair when those blooms fall off, just follow these steps and you will have flowers again in no time.
Cut the Flower Spike
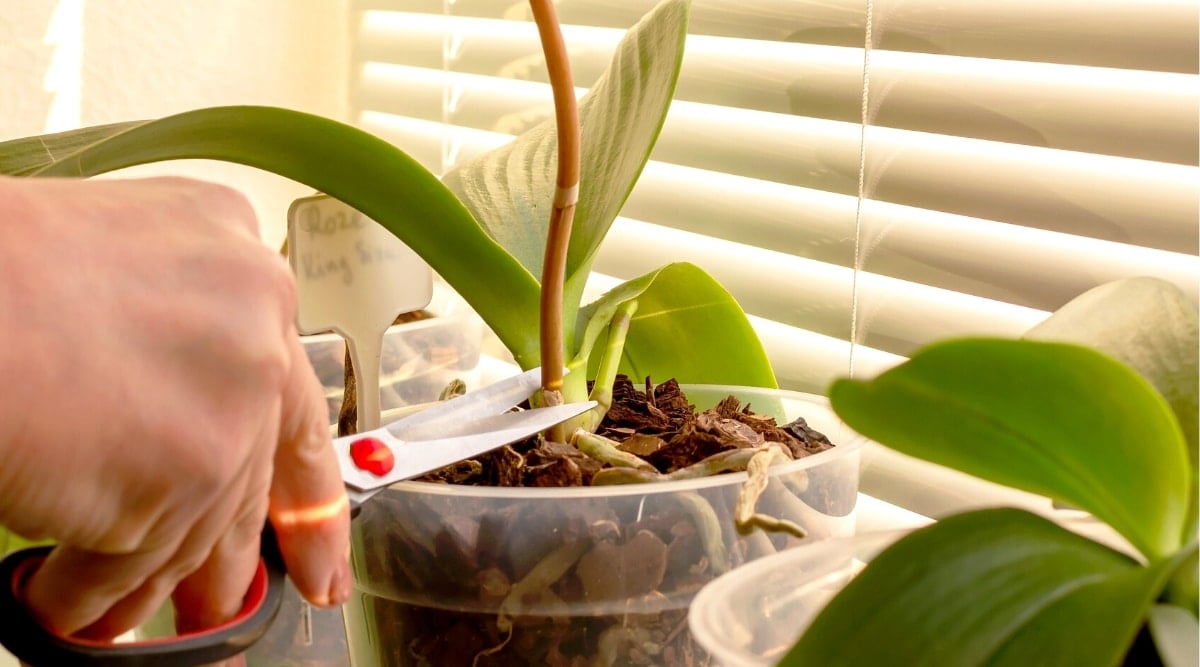
In general, orchids do not need regular pruning. The exception to this is the removal of the flower spikes after the plant has dropped its blooms.
Removing the flower spike can even encourage your orchid to re-bloom in the same season, particularly phalaenopsis orchids. This species can produce a second, smaller flower spike from the first node of the original stem.
Cutting the spike also signals to the plant that it doesn’t need to send water and nutrients to the flowers any longer. This redirects those nutrients to new growth.
This is especially important for sympodial orchids, which only bloom from new pseudobulbs. Species like Cattleya, dendrobium, oncidium, and cymbidium are all sympodial.
How to do it:
Starting at the base of the spike, move upwards until you encounter the first node. This will appear as a slight swelling on the stem. Using a clean, sharp tool, cut the spike an inch above the node.
Dusting the cut with cinnamon or powdered sulfur can help to dry the cut quickly and in turn, protects the plant from fungus and bacteria.
Orchids are very susceptible to diseases, so using clean tools is of the utmost importance. Most plant diseases are spread by poor plant hygiene. Wiping your tools with alcohol before making any cuts is always a good idea, no matter the plant.
Make Any Desired Divisions

If you are planning to propagate by division, this is the best time to do so. Dividing at this point will give your plant the greatest amount of time to recover before it enters its blooming season again.
Never divide a plant in bloom, as this will drastically shorten the life of the blooms if it doesn’t shock them entirely.
How to do it:
Division consists of cutting through the rhizome in such a way that leaves are left on both divided portions. For monopodial orchids, such as phalaenopsis, vanda, and ascocenda orchids, the rhizome runs vertically, and as such, the plant constantly grows in an upward direction.
The division should be made between two larger sets of leaves to give the individual plants the best chance of survival.
Sympodial orchids grow on a horizontal rhizome which sends up individual pseudobulbs as it grows. Each pseudobulb grows its own leaves and flowers.
Once the flowers fall, the pseudobulb will no longer bloom but serves the purpose of providing nutrients to new growth. For this reason, pseudobulbs should not be removed unless they are brown and dried.
To divide a sympodial orchid, slice through the rhizome in between pseudobulbs. As a good rule of thumb, there should be four pseudobulbs left on each division to help fuel the new growth you want to see.
Do Your Repotting Now
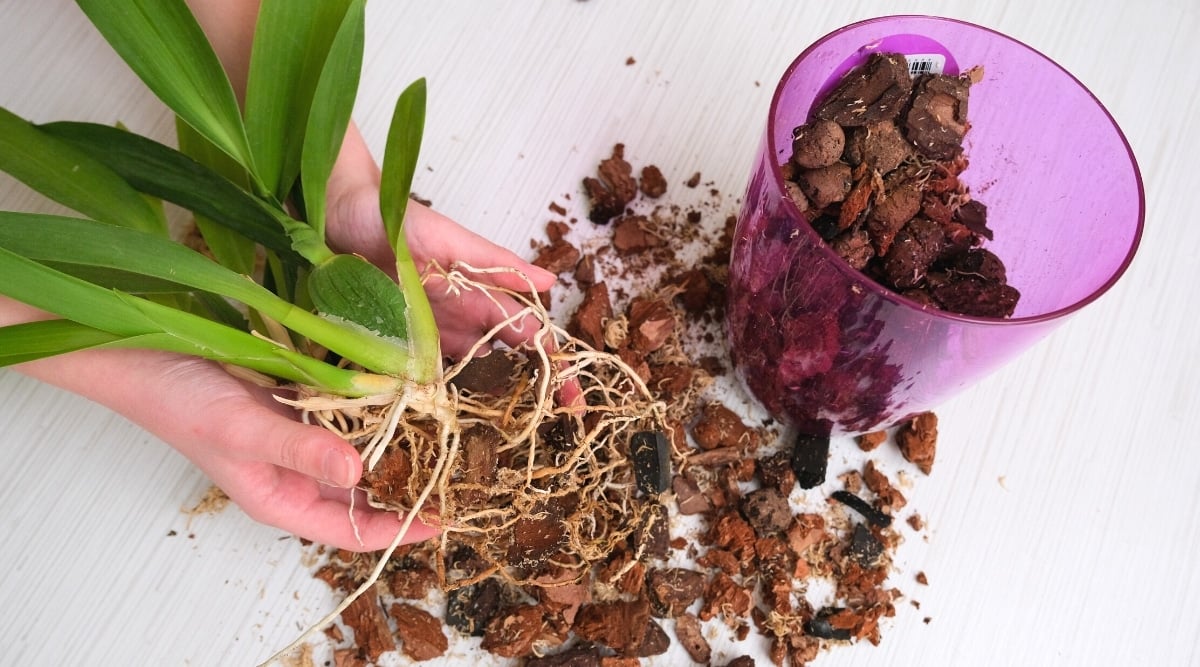
If you want to repot your orchid, now is also the prime time to do so, as you don’t run the risk of shocking any developing flowers or new growth.
Whether you are repotting to provide additional space, switching out old potting medium for new, or potting divisions, the process is more or less the same.
How to do it:
Remove your orchid from its current container, taking care to be gentle with the roots. Use your thumb to gently pry loose any roots that have attached to the container in a sideways direction to avoid tearing them.
Gently shake out and loosen the old potting mix from the roots. Take a moment to inspect the roots for any kind of damage or rot. If there are rotten portions of root, gently trim those parts off.
Place your orchid in the container. If repotting a monopodial orchid, place the plant in the center of the pot, as it will grow upward. If repotting a sympodial orchid, place the plant with the oldest pseudobulb up against the side of the container. This gives it plenty of room to produce new growth.
Fill in around the roots with orchid bark. Regular potting mix is not conducive to orchid health, so a mixture of bark and other large particles will provide the best environment. It is a good idea to use orchid clips, or floral wire, to anchor your orchid in its container until the roots get established.
Keep Up a Good Watering Schedule
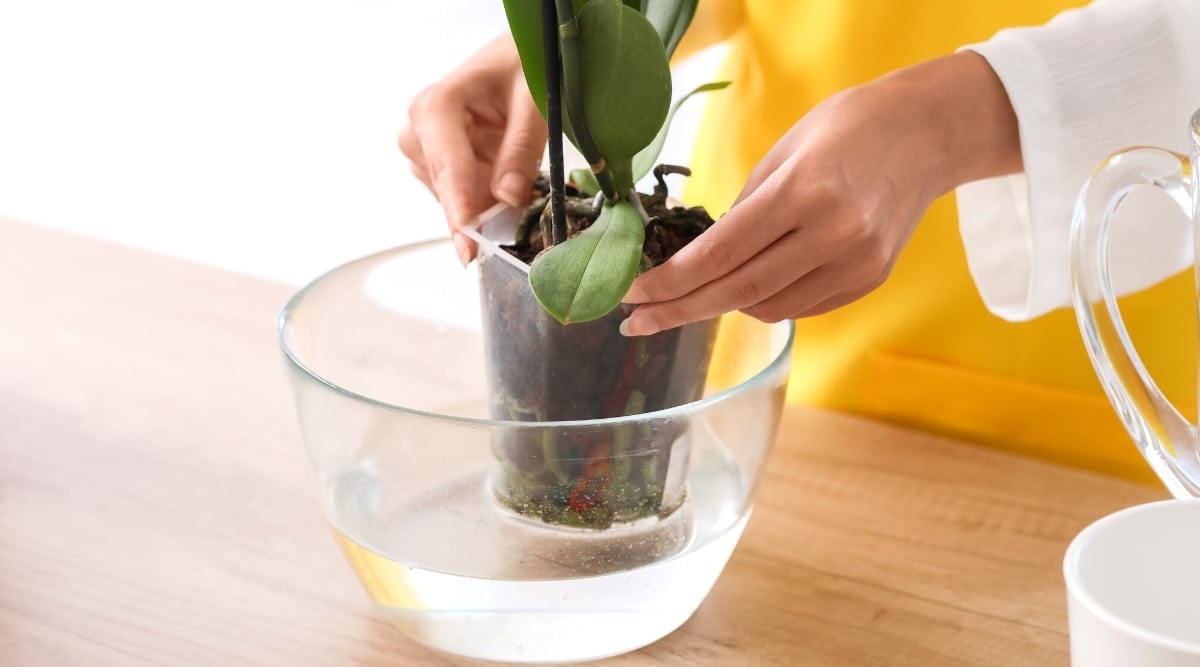
Orchids like water, contrary to popular belief. However, it is very easy to overwater if it is not potted properly. Orchid roots should never sit in water for longer than a few minutes.
Soggy roots are a fast route to root rot, and that is the greatest killer of indoor orchids. Maintaining a consistent watering routine will help keep your plant growing and thriving.
How to do it:
Indoor orchids should be watered once per week and immediately allowed to drain completely. Using the right potting mix and container is of utmost importance, as this is what ensures the best drainage. There are three common watering methods and all three are effective.
Top down watering
This can be a bit wasteful in terms of the amount of water that runs down the drain, but it is an effective method. Watering your orchid from the top down gets the job done, just be sure to let the water run over the roots for a couple of minutes for maximum absorption. Be careful not to let water pool in the leaves as this can cause leaf rot.
Immersion
To water by immersion, fill a bucket or sink with water and lower the orchid’s pot into the water. Make sure that the water is not so deep that it covers any part of the leaves. Allow the pot to remain in the water for 2-3 minutes and then remove and allow to drain thoroughly.
Ice Cubes
This tends to be the most controversial method of watering, however, if you are a chronic over waterer, this might just make the difference between a dead orchid and a thriving one. Place a number of ice cubes on top of the potting material. Because of the difference in ice cube sizes, the amount of water in liquid form should equal about ¼ cup per plant. As the ice melts, the water drips into the roots where it is able to be absorbed slowly.
Fertilize, Fertilize, Fertilize
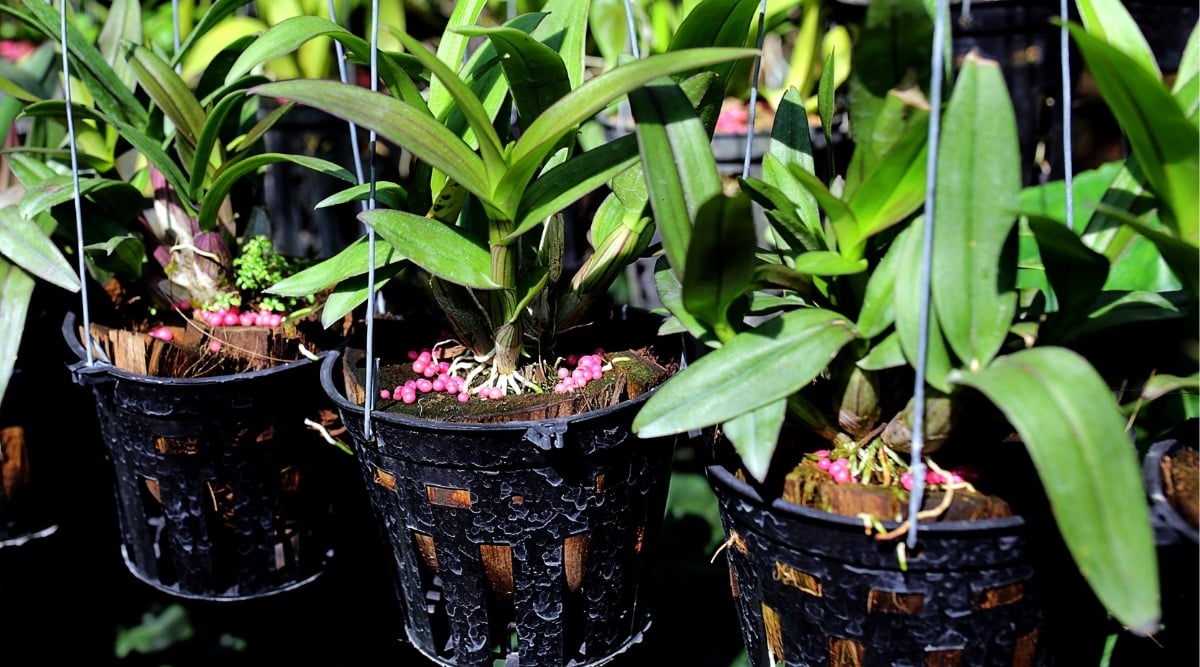
Orchids love to be fertilized. Because they are unable to collect many nutrients from their potting media, it is important to provide them with an ample amount by way of fertilizer. It is difficult to over-fertilize, particularly during its recovery and growth periods.
How to do it:
Specialty orchid fertilizers are available in most places where orchids are sold. These fertilizers are formulated specifically for the needs of an orchid, and they work great. It is also perfectly fine to use an all-purpose fertilizer. A 10-10-10 formula diluted to ½ strength or a 20-20-20 formula diluted to ¼ strength are both great options.
Orchids should be fertilized every 1-2 weeks in the warmer months and every 2-3 weeks in the cooler months. This means that you are fertilizing nearly every time you water in the summer.
Epsom salt solution is a great addition to your orchid watering routine as well. It provides extra magnesium and helps to rinse the roots of any buildup left by fertilizers. A bonemeal solution every 3-4 months is also a great bloom booster; it strengthens the roots as well!
Provide Proper Light
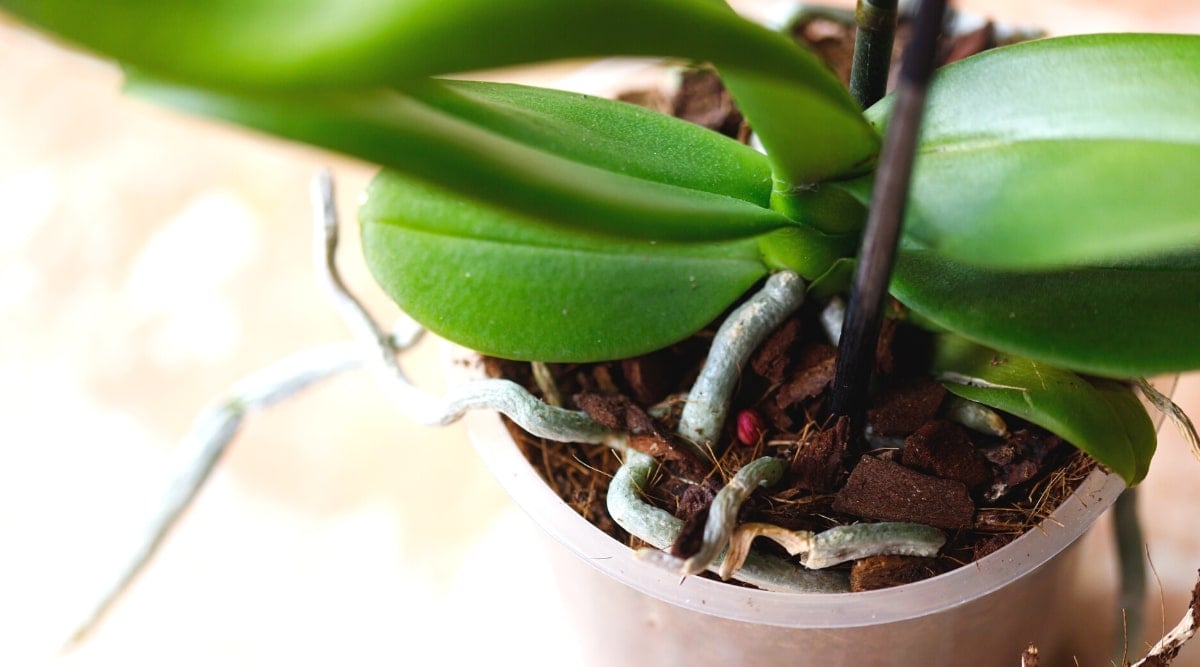
Sunlight is another area where orchids can be tricky. In their natural habitat, most species are epiphytic, meaning that they grow on trees.
This means that the light that is most natural for them is filtered sunlight. Think about the way light comes through a tree canopy. Orchids love light. They just don’t generally tolerate direct sun.
Here is a list of different genera that are commonly kept as houseplants and their specific sun needs. If an orchid doesn’t get enough sun, there is little chance of it blooming again, but too much sun will leave your leaves bleached and potentially burned.
Orchid Type |
Sun Requirements |
| Phalaenopsis | Bright indirect light, NO direct sun at all. |
| Cattleya | Bright indirect light, can tolerate a few hours of direct sun in the morning. |
| Dendrobium | Bright indirect light, also will tolerate a bit of direct sun early in the day. |
| Oncidium | Some species can tolerate full sun; others need partial shade in the afternoon. |
| Vanilla | Part sun, avoid the afternoon sun. |
| Vanda | Lots of light, but only direct sun in the morning or late afternoon. |
| Spathoglottis | Some species can tolerate full sun. Most like partial sun. |
| Epidendrum | Bright indirect light, can tolerate some morning sun. |
Get the Humidity Right

Orchids need a lot of humidity. Typically, they need more humidity than exists in the average home. Some species, like the Vanda orchid, need to be in the range of 70-80% humidity.
This makes them better suited to greenhouse living. In general, though, most varieties can handle humidity levels closer to 50-60%.
How to do it:
Kitchens and bathrooms tend to be the rooms in the home with the most ambient humidity. A brightly lit kitchen or placed next to a bathroom window is a great spot for most orchids. Some other methods of raising the humidity are with a humidifier or a pebble tray.
A pebble tray is a dish with water and pebbles in it. The orchid pot sits atop the pebbles, and as the water evaporates, it gives the plant the humidity it needs.
Misting is not recommended as you would have to mist multiple times daily to achieve the right amount of moisture in the air, and it can also result in water pooling in the leaves and flowers.
Keep the Air Circulating
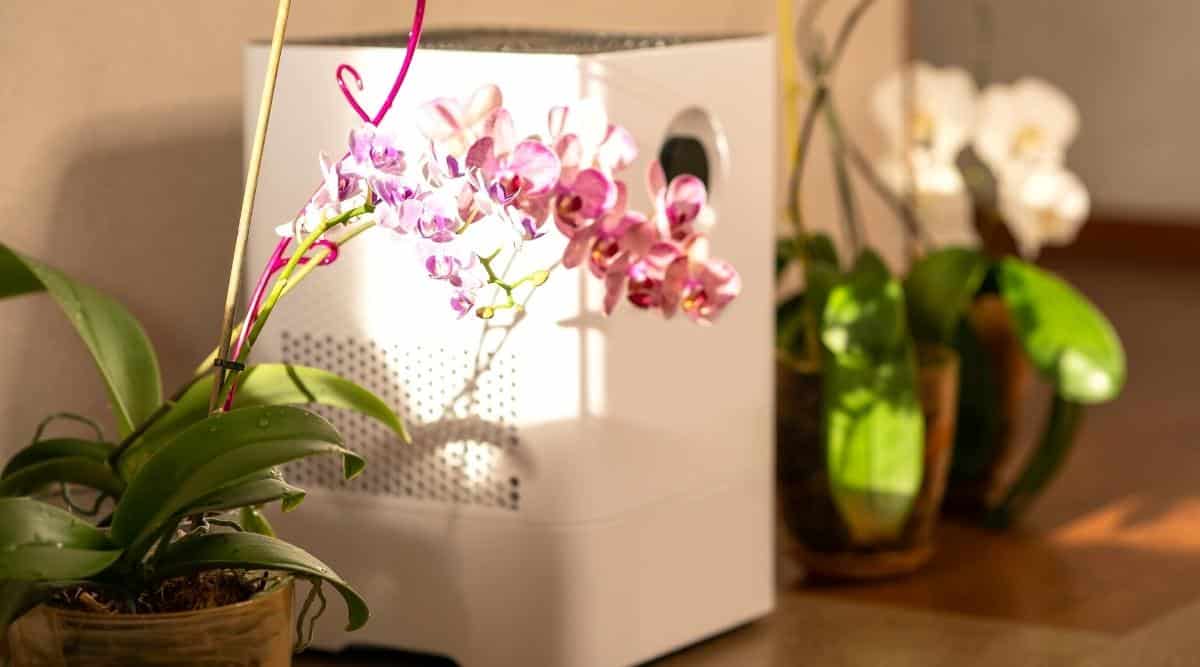
Another important factor in their care is air circulation. Orchid roots don’t like to stay moist. In nature, they are exposed to the air and derive nutrients and water from the air around them. Because of the humidity level they need, they also need the air around them to have some movement.
This is most important in the cooler months, as cool, moist air is the perfect environment for fungus to grow, and fungus is not a friend to orchids.
How to do it:
A fan works great, whether an exhaust fan, a ceiling fan, or a portable fan. An air purifier also works in a smaller space.
Inspect Regularly
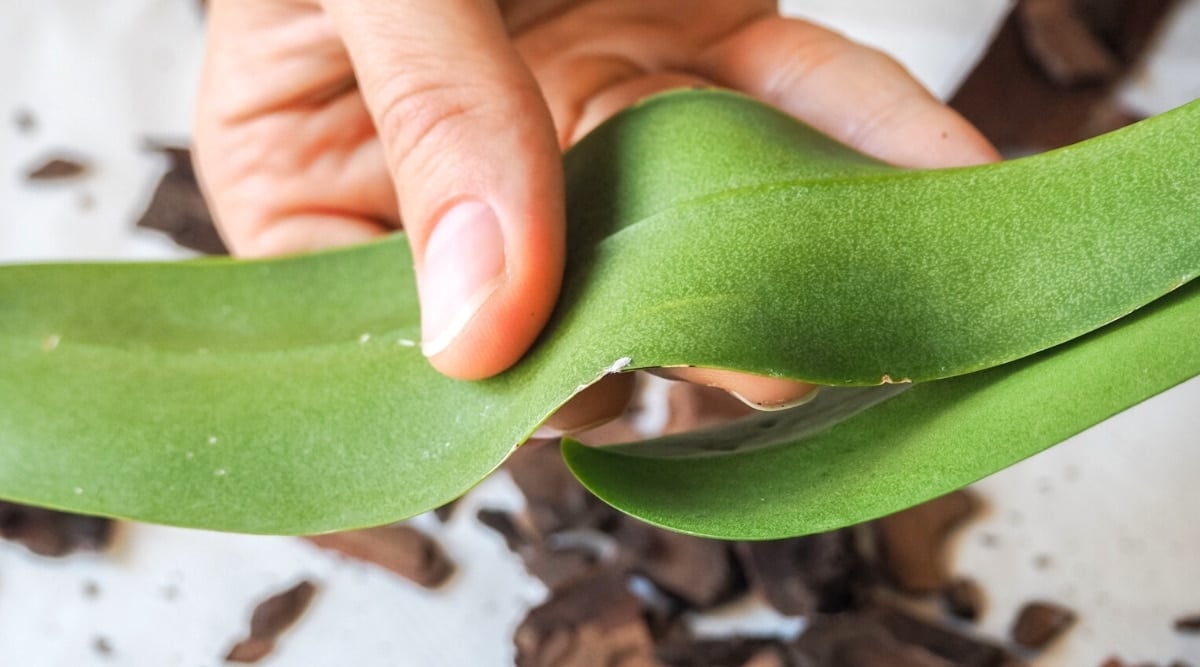
Orchids can play host to a number of insects and diseases, both fungal and bacterial. Many gardeners miss this very important step until after the damage is done.
Inspecting for pests involves looking over the tops and bottoms of leaves for any visible insects or signs that they have been there.
What to look for:
Brown spots, yellowing leaves, and weakness in the juncture of leaves and rhizome are signs of fungal or bacterial disease. Shriveling of foliage, small weblike structures, and a sticky residue on leaves are all signs of insect infestation.
Treat for Issues
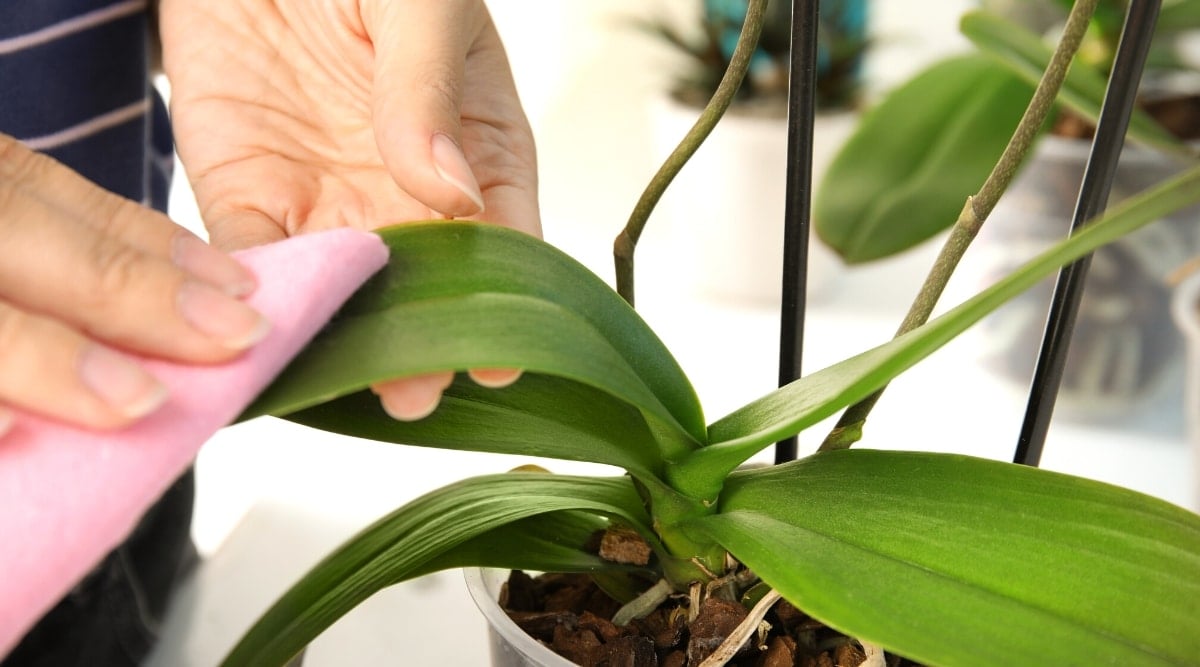
Even experienced orchid collectors can find themselves facing the damage of insects and diseases. It is important to isolate and treat any plants that have the appearance of disease or infestation and treat them as early as possible.
How to do it:
Neem oil is a safe and effective way to treat quite a variety of orchid ailments. It smothers insects, killing off the adult stage of most pests, as well as having antifungal properties.
Some insects can be removed by wiping the leaves with alcohol, be careful though as this can dry out the leaves. Copper-based fungicides are very effective in orchid care.
Final Thoughts
Taking proper care and being aware of any signs of poor health are the best practices for post-blooming orchid care. Some species will continue to re-bloom, depending on the type of plant and the maintenance provided. If orchids are kept in the right environment, they should continue to thrive, and produce flowers for years to come.
Share This Post

15 Tips For Growing Beautiful Orchid Flowers Indoors
Orchids can be picky about their growing conditions, which makes them great indoor flowers. There are also a few things you can do to maximize their blooms. In this article, gardening expert Melissa Strauss shares her top tips for growing beautiful orchids indoors!

3 Simple Methods For Easily Propagating Orchids
Orchids are beloved around the world for their unique growth patterns and stunning flowers. Whether you’re growing a Cattleya or a Cymbidium, this guide will cover a few of the most common propagation methods to grow your collection.

Is Epsom Salt Good or Bad For Orchids?
Thinking of using Epsom salt in your orchid care routine? In this article, gardening expert and orchid enthusiast Melissa Strauss examines if it's safe to use epsom salts when caring for orchids, or if it's just another orchid maintenance myth you should ignore when caring for your plants.

Should You Water Orchids with Ice Cubes?
Have you heard that you can water an orchid with just ice cubes? Perhaps you've even considered trying it out? Many gardeners tend to have mixed feelings on this topic. In this article, gardening expert Melissa Strauss examines if watering orchids with ice cubes is just another gardening fad, or something you should put into practice with your plants.

How to Correctly Water Orchids For Beautiful Blooms
Are you looking for a little guidance on properly watering your orchids? Whether grown indoors or outdoors, these picky plants can be tough to manage. In this article, gardening expert Melissa Strauss takes you through all the important factors for correctly watering your orchids.

How to Repot Orchids in 7 Easy Steps
Are you thinking of moving your orchids into a new pot? While it sounds like it might take some work, repotting is actually quite common and easy to do if you follow the proper steps. In this article, gardening expert Melissa Strauss walks through seven simple steps to repotting your orchids.
9 Tips That Will Help Your Orchids Rebloom
Are you struggling to get your orchid to bloom again? Encouraging them to bloom again is a mystery to many gardeners. In this article, gardening expert Melissa Strauss takes you through nine simple steps to maximize your chances of getting your orchids to rebloom beautifully once again.

