How To Store and Preserve Squash
Once you know how to store squash, you'll be able to keep produce for months after harvest! Horticultural expert Sarah Jay discusses techniques you should use for storage and preservation.


Contents
Squash is one of those annual fruits that provides year after year in multiple seasons. Some are overwhelmed by the amount of squash they produce and find different ways to store them.
You might wonder how summer squash compares to winter squash in this regard. Perhaps you already know that certain methods work best for one or the other, or maybe you’ve decided to grow kabocha, pumpkins, or butternut for the first time.
One thing is sure: if you successfully harvest, cure, and store your squash, you can enjoy it year-round. Spaghetti squash in summer, or zucchini all winter long is possible! Harvesting these fruits before the first frost and after the last frost is easy, and the curing process is too. Storing options abound, as well.
Food Safety

You should remain vigilant when it comes to safety, especially in canning, preserving, or fermenting foods. Improper storage can cause disease. The CDC has a guide on Home Canning and Botulism. Consult this guide first if any of these methods are unfamiliar to you.
Another excellent resource for storing food long-term is the National Center for Home Food Preservation. Their guide for storing long-term is great. Consult this to learn ways to add shelf life to your efforts in the garden. Follow guidelines properly before you embark on this endeavor.
How to Store Winter Squash

After you harvest winter squash, sort out any with soft spots or that have a little ding on the surface. These should be removed from long storage and consumed immediately or composted. Some types, like your butternut squash harvest, should be at the right color for its variety.
Once you harvest winter squash, wipe it down with a dry cloth to remove dirt and debris. Cure winter squash in an area at temperatures of 70 to 85°F (21-29°C) with relative humidity at 80 to 85 percent. Make sure the fruit is in a single layer. Some guides recommend curing squash in the sunlight out in the yard. While this is great for some regions, others may be too cold.
Proper curing of these winter fruits gives them a hardened protective layer of skin that keeps out mold and rot. It also promotes sweeter and more pleasing flavors by increasing the content of natural sugars in the flesh. Curing also reduces the fruit’s respiration rate, which makes long-term shelf life easier.
Curing Times

Harvest all the squash on the vine before the first frost of the growing season. Cure both fully ripe and immature squash. This prevents the rot of fruits and gives you more fodder for cooking experiments.
Keep good air circulation around the fruit either with a window screen or a structure made of chicken wire. A root cellar is a great place to cure and store squash from your pre-winter harvest. Properly cured fully matured squash is such a treat.
Different winter squashes require different curing times after harvesting. Some don’t require any curing time at all.
For instance, pumpkins or pie pumpkins, spaghetti squash, acorn squash, delicata squash, and a few others are ready to eat right after harvesting. In particular, delicata squash has such a thin rind that it can be eaten right along with the flesh. Butternut squash, Hubbard, large kabocha squash, and Lakota squash have specific curing times. It’s essential to cure them for the skin to eventually coalesce for edible fruit.
Here is a list of the times needed for each winter variety that requires curing:
- Butternut: 2 to 6 weeks
- Hubbard: 4 weeks
- Large kabocha: 4 to 6 weeks, depending on the variety
- Lakota: 1 to 2 weeks
Dry Storage

Winter squash can be stored in a dry place for up to 6 months depending on the variety. In a place with higher humidity than your average kitchen, or colder, they won’t last as long. Store them this way if you don’t want to incur the extra cost involved in canning, fermenting, and preserving.
Refrigeration

Since whole squash is best left in a place with good air circulation at room temperature, the refrigerator isn’t a good option for long-term storage. However, cooked or pureed winter squash keeps in an airtight container or resealable plastic bags for 3 to 5 days in the refrigerator.
Of course, this is not a good option for long-term storage, but it’s a great way to enjoy the squash multiple times in one week.
Freezing

Winter squash freezes very well. Keep it in plastic bags or an airtight container in the freezer for up to three months. Butternut squash stored in the freezer can then be used in soups and bread recipes. Note that you must remove the skin before storing it in the freezer. Freezer containers are great for storing winter fruits.
Dehydration

To dehydrate winter gourds, peel the skin, cut it in half, and remove the seeds and stem. Save the seeds for next year’s garden, or enjoy them roasted and spiced. Cut the entire squash into ¼ inch strips and steam them until they are tender (about 3 minutes). Then dehydrate them at 140°F (60°C) for 2 to 3 hours. Reduce the temperature to 130°F (54°C) and let the squash dry until it’s brittle. Store it in an airtight container for up to 2 months.
Use this method if you have access to a dehydrator or low-temperature oven.
Freeze-Drying

Winter squash can be freeze-dried. It is best to cook the squash in your preferred method before freeze-drying as the firm flesh reconstitutes better if pre-cooked. This can prolong other methods of storage, such as smoked squashes. Follow the manufacturer’s directions for your unit.
Pickling

Winter squashes don’t keep at room temperature in cans because they are low-acid foods. It’s essential to refrain from pureeing winter squash for these storage methods. Any winter squash that is pickled or canned should be treated as fresh food and stored in the refrigerator—never at room temperature, which is too warm for foods with low acid content.
The result of pickling and storing winter squash in a warm room is botulism.
Pumpkins, acorn squash, and butternut squash can be quick-pickled and stored in a refrigerator for about one week. Skin the squash, remove the stem, and seeds. Then slice them or cube them.
Make your preferred brine with equal parts vinegar and sugar, and cook the squash in the brine before placing it in your jar. Let it cool and tightly seal it for the refrigerator.
Smoking

Although this method requires access to a smoker, it’s the tastiest way to enjoy winter gourds. It will not, however, store for long. Smoked winter squash should be eaten immediately, or 1 to 2 days after it is prepared.
After curing your gourd, cut it in half and remove the seeds and stem. Season it, and wrap it lightly in foil, poking holes in the area where the seed cavity is. This provides ventilation and air circulation that allows the smoke to permeate the skin.
Place the squash in the smoker at temperatures of 225 to 230°F (107 to 110°C) for 1 ½ to 2 hours, or your preferred consistency. Serve it whole or sliced, and add butter and other spices.
Fermenting

Although it’s not necessary to ferment winter squash, it is possible to do so. It’s important to err on the safe side and treat all forms of canned winter squash as fresh foods rather than those that can withstand long-term storage without spoilage.
Use a gourd that is easy to cut into bite-sized pieces. Submerge it in brine, then transfer it to a can that has been pressure sealed, or has a fermentation lock. Allow it to ferment in the refrigerator.
Winter squash is great in chutneys, with raisins, cinnamon, and garlic. Properly fermented winter squash will keep in the refrigerator for up to 1 year. Once it is opened, consume it within a month.
Canning

Canned winter squash must be pressure canned as it is a low-acid food. It is essential that you cube the winter squash rather than puree it. You can always puree it later when you’re ready to use it.
This method requires access to a pressure canner, seals, lids, and a tool to remove air bubbles. These aren’t incredibly expensive but can cost around $100 on the lower end. Also, you need space in your kitchen to can gourds and other winter squash. Use a tested and safe recipe from the National Center For Home Food Preservation.
Store winter squash in cans for 3 years. Properly canned winter squash can also have a storage life of up to 5 or 6 years. These cans are perfectly ok to store at room temperature, but once you open them, keep an eye on them and consume them quickly.
How to Store Summer Squash

Although you have to cure winter squash, summer squash has a much thinner skin and doesn’t require curing. And though you can store winter squash in its whole state for a long time, the same doesn’t necessarily apply to summer varieties.
Spaghetti squash might seem like it needs to be a cured squash, but in fact, it can be eaten immediately.
Since we’re in a different ballpark here, know that you can harvest wet fruit and consume it promptly. Wet fruit has high water content.
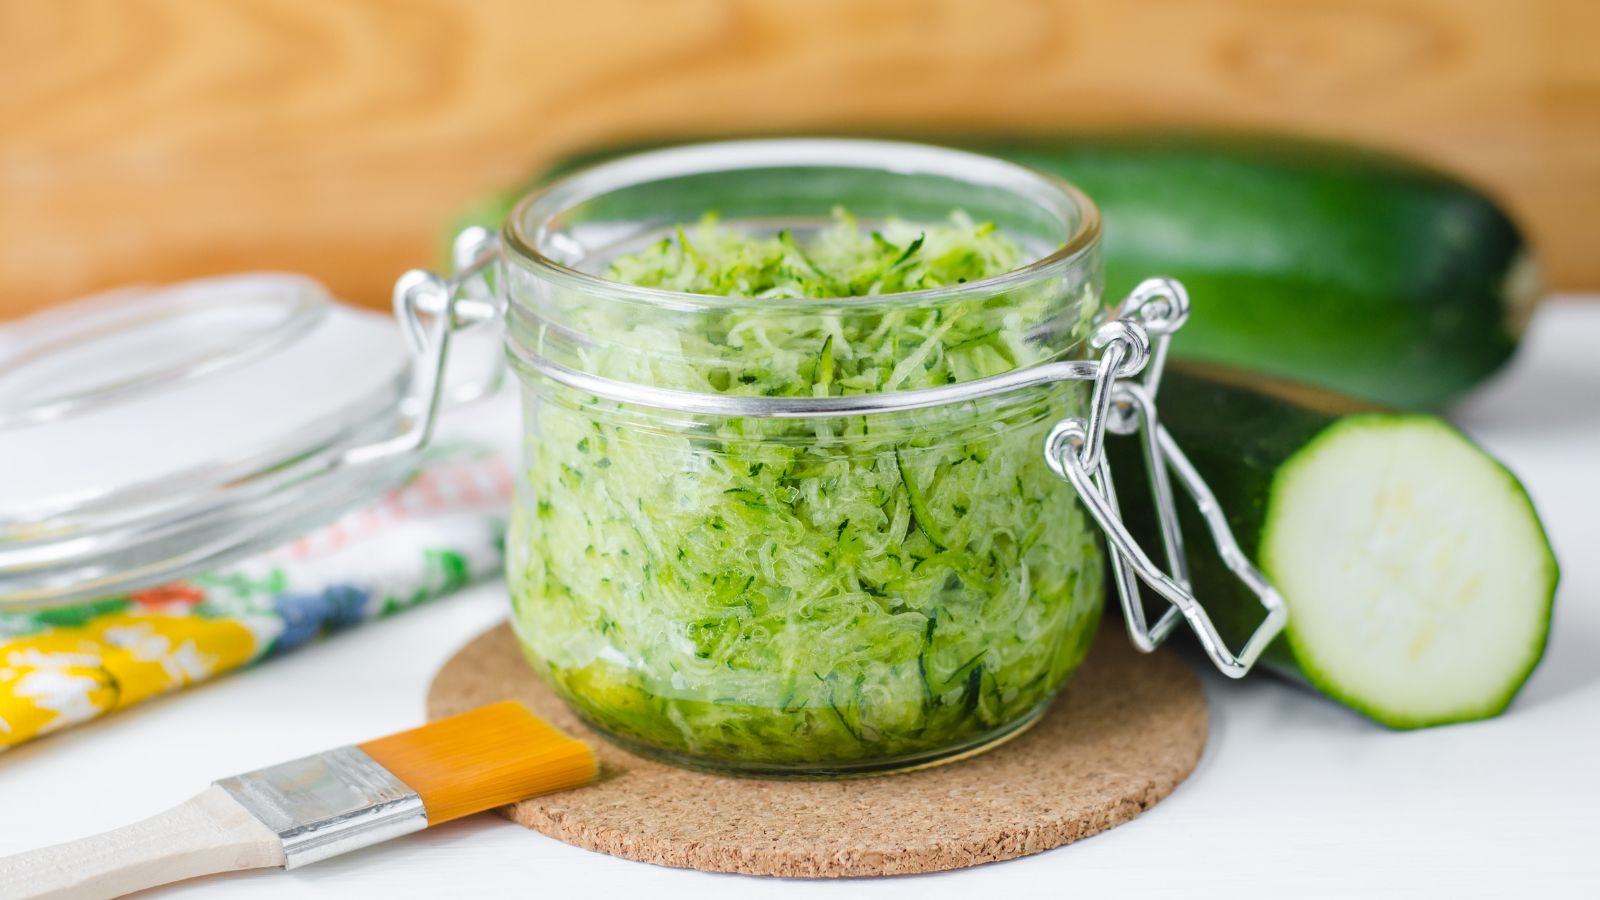
Zucchini squash, summer squash, and other squash that mature in summer all fall into this category. They’re plentiful off the vine in your garden, but they don’t keep in dry conditions as long.
A good rule of thumb is summer squash needs no curing, while some winter squash does need curing. Try curing summer squash (even spaghetti squash) and you’ll find they go bad pretty quickly compared to winter varieties. So let’s save you from doing extra work and help you get more out of your garden by discussing the ways you can keep summer squash for storage.
Dry Storage

Again, since summer squash will never be a cured squash, it will not keep for long in dry storage. The storage life of squash from a summer harvest is no more than two weeks. Room temperature-stored squash will lose flavor over time, even if it’s still good.
Refrigeration

Summer squash for storage in the refrigerator is even shorter. Refrigerator-stored squash will keep for just a few days in a perforated bag with a towel to trap moisture. When you’re storing squash from the summer in the refrigerator, consume it quickly.
Freezing

Summer squash can be frozen, but it is softer and more delicate than winter varieties. Use it in soups and casseroles where structural integrity isn’t required. Your summer variety squash store keeps in the freezer in an airtight container or plastic bag for no more than six months.
Dehydration

If you have access to a dehydrator, slice your summer harvest a ¼ inch thick and dehydrate them for six hours at 135°F (57°C). Then cool them. You can even blanch them by boiling them for a minute or so and then immersing them in ice water. They’ll keep for 1 to 2 months.
This is a great method if you have room and access. If not, try pickling!
Freeze-Drying

Summer squash can be freeze-dried whether raw or cooked. Follow the manufacturer’s directions for your unit.
Pickling

Pickled cucumber is a great summer treat packed with vitamin C. Make a brine of salt, sugar, and vinegar, and pour into jars with speared cucumbers, garlic, crushed red pepper, and peppercorns with about an inch of headroom. Then seal the jars properly and you’ll have pickles in just a few days.
As long as you have enough jars to hold your harvest, this is a great way to enjoy it for a couple of months afterward.
Smoking

Since the flesh of summer varieties of squash is more tender, you won’t be able to smoke it in a smoker. Instead, use a closed grill. Spread spears of zucchini, or yellow squash with your preferred high-temperature oil and seasonings. Either grill them directly on the grill or on aluminum foil for a few minutes on each side and enjoy immediately.
Fermenting

To ferment hot weather squash, follow the quick pickle instructions above, and instead of refrigerating, allow them to cool with tops weighted at room temperature for 3 to 4 weeks. Check them frequently as they cool and remove any jars that contain slimy or damaged fruit, or mold. Then seal them and store them unopened at room temperature for 4 to 6 months. Once they are opened, consume them within one month.
This method is great for those with access to counter space and sealable jars.
Canning
Water-soaked hot weather squash cannot be canned as it is. It can, however, be used in relishes. Use a boiler canner to properly seal your cans. Cut your squash or shred it and combine it with other ingredients. Then simmer them for 20 minutes in your liquid base. Seal them in a boiler canner, and store them for 3 to 5 years unopened. Eat within a week.
This method is best for those with access to a boiler canner.
Frequently Asked Questions
Do squash need to be refrigerated?
It depends on the squash. Some hot-weather varieties need refrigeration while thick-skinned varieties can be stored at room temperature.
How long can squash be stored?
Again, this depends on the thickness of the skin. If you cure squash on chicken wire, it can last for a few months. If it has thin skin, it can last at room temperature for a week or so.
How do you prepare squash for storage?
Cure squash from your fall harvest. Others should be washed and eaten quickly.
How long does cooked squash last in the fridge?
All varieties last a few days in the refrigerator.


