How to Cut Firewood in 6 Easy Steps
Making firewood from a fallen tree is easier than you think with the right knowledge and tools. Kevin explains how to cut firewood from fallen trees in your garden in 6 easy steps.


Contents
When faced with the rising cost of natural gas and oil, some homeowners may choose a more economical source of fuel: cut firewood.
If you have trees in your garden, it’s convenient to make firewood from your fallen trees instead of buying it. This can save you a remarkable amount of money if used for fuel.
But there are a few things to know before you pull out your axe and get chopping. Follow this guide to find out how to cut firewood safely and effectively.
Hardwood vs. Softwood: Which Type is Best For Firewood?

The longest and hottest-burning firewood comes from hardwood trees. Hardwood is generally much heavier than a softwood tree and takes longer to dry completely (around 18 months).
Softwoods are easy to cut, split, and dry quickly (around 6 months). However, softwoods burn quicker than hardwoods, which means you have to split twice as much softwood to produce the same amount of heat as hardwood.
It comes down to patience, use, and most importantly, what you have available in your garden.
What You’ll Need

Before you break down a fallen tree, it’s important to make sure you have the right tools.
The first thing you need is the right splitting tool. Most people pick an axe with a sharp, thin head. These axes can work well for chopping across the grain, but it’s not the best tool to split with the grain.
For that, you need a log-splitting maul. An 8-pound maul can help you handle most (if not all) splitting tasks without spending too much time or using too much strength.
Safety Tips For Cutting Firewood

With any wood-splitting job, safety is paramount. You should have a pair of safety goggles on hand to protect your eyes from flying woodchips.
On top of that, consider the following gear:
- Long, sturdy jeans
- A pair of rugged work gloves
- Heavy boots
If you’re going to use a chainsaw to cut off the larger branches from the trunk, sharpen it before you cut. Wear chainsaw chaps to protect your legs from flying debris.
Use a chopping block, stump, or something stable to lift the wood to your level and take the strain off your back. The chopping block should be low off the ground and no higher than your knee. Never chop directly into the ground, because you’ll damage the sharp edge of your splitting maul.
Choose a large, open area in your yard far away from people and anything else that might be damaged when splitting wood. Don’t forget to leave plenty of space for swinging your maul.
How to Cut Firewood
Once you’ve gathered your supplies and taken all safety precautions, it’s time to chop your fallen tree.
Step 1: Get The Timing Right

If the fallen trees in your garden are still wet, you need to take note of some important information. Generally, firewood needs to be cut at least six months before use. This is why you need to split between the late winter and early spring months, in order to get enough drying time for the firewood.
The best time to split most tree species (especially seasoned wood that has been stored and dried for a season) is a cold, dry morning or afternoon. If you need wood to season fast after cutting, remember this.
Step 2: Perfect Your Splitting Stance

Place your weaker hand close to the bottom of the handle, and your dominant hand close to the maul’s head. Your shoulders and legs need to be parallel.
When bringing the maul down, slide your upper hand down to increase the speed. To control the maul, leave a small space between your hands when you make contact with the log.
Step 3: Split Along the Grain

Start by aiming the splitting maul at the middle of the log. Then, split along the grain.
When chopping larger chunks of wood that haven’t split completely, raise the log with the maul’s handle and turn the maul over. After that, swing the opposite side of the maul into the block. This will result in the log splitting in two.
Tips for Splitting Firewood
To make a tough job a little easier, follow these tips to improve efficiency:
- Try placing an old tire on the chopping block and placing the wood inside the tire, or simply wrap a cord around the log’s base. This will make splitting much easier.
- Avoid using a lot of force for splitting, since you may become exhausted or suffer an injury. Instead, you should let gravity do most of the work.
- Never swing the axe with one hand while holding the log with the other hand.
- Don’t waste the scattered wood debris, as it is perfect for kindling, mulch, or compost.
Step 4: Use a Wedge

For thick or especially hard pieces of wood, make use of wedges. It is possible to get a wedge deep into thick wood without chopping it very hard.
The first step is to tap the wedge into the grain until it can stand on its own.
Make firm, straight blows to place the wedge deep into the log along the grain. If the log still hasn’t split, take another wedge and place it along the same crack, near the log’s edge, so that you can free both wedges and chop the log in two.
Remember to stand clear of the crack to avoid the wedge popping out onto your feet.
If chopping small pieces of wood, don’t make use of wedges, since it is likely that they will fly out and cause injury.
Step 5: Stack Your Firewood
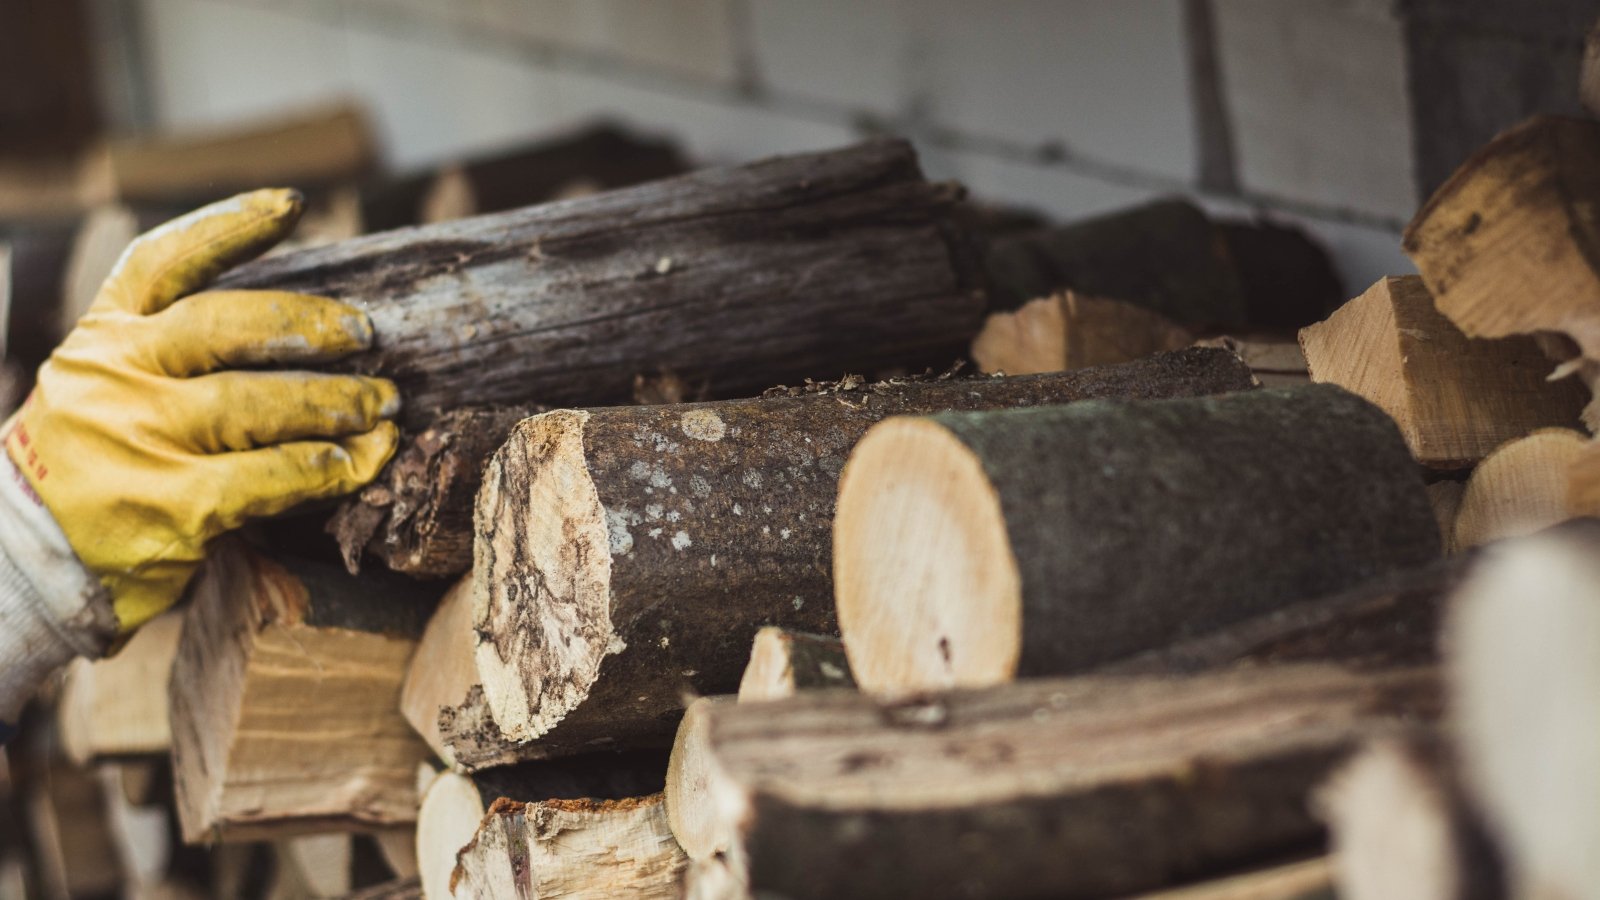
Once you’ve done the splitting, the next important thing is to stack and store the firewood properly.
For starters, prepare a pre-built wood rack to stack the firewood quickly and effectively. Ensure the rack is sturdy and can keep the wood off the ground.
Arrange the woodpile to allow air to get through. Single wood pieces need to be well-secured within the pile in case of shrinking. To prevent this, try laying a base of shipping pallets under your pile to raise it off the ground. This will stop moisture from penetrating the base of your wood stack.
There are various firewood structures. Below are two popular ones that you should consider:
The Simple Stack
This method is comprised of rows of wood pieces with a vertical end at one or both edges of the stack. It might be a 2×4 board or a column of wood pieces stacked in vertical lines.
The Round Stack
This method is made up of rows of wood in a circular arrangement, meaning one edge of the wood piece will face the center of the circle in a radiating pattern. Although this kind of stack is thick and sturdy, it reduces the amount of airflow, increasing the drying time.
Step 6: Store

You need to stack the wood for at least six months to dry before using it in the fireplace. Most freshly cut wood can hold 100% moisture, which means that nearly half its weight is water. The ideal amount of water is around 20%.
If you store the wood outdoors, you should do so in a place with suitable drainage, so the water doesn’t sit around the woodpile. Lay a tarp over the firewood to keep moisture from penetrating it. Don’t forget to tie the tarp or weigh it down with some bricks.
Final Thoughts
Now that you know how to cut firewood from fallen trees and stack and store it effectively, you won’t have to worry about cold this winter.


