How to Grow Coral Bells (Heuchera) from Seed
Coral bells are shade-tolerant perennials that brighten the garden with colorful foliage and spikes of tiny bell-shaped flowers. Although there are multiple ways to add these plants to your garden, starting with seeds is the most economical option. Join Briana Yablonski to learn how to grow coral bells from seed.


Contents
Plants rarely provide beautiful foliage and stunning flowers. That’s why coral bells are some of my favorite ornamentals for the garden. These perennials can tolerate various light conditions and enliven the garden with large, colorful leaves and spikes of petite, bell-shaped flowers. Plus, many Heuchera species are native to the United States.
If you want to add lots of coral bells to your garden, sowing their seeds is one option. I’ll walk you through how to turn the tiny seeds into lush perennials.
Should You Start Coral Bells from Seed?

Before I get into how to start these seeds, it’s worth exploring whether you should.
If you want to add coral bells to your shade garden or plant a dozen of the ornamentals along a woodland edge, you have four main options:
- Start the plants from seed
- Buy potted coral bells
- Purchase bare root perennials
- Divide an already established plant
I’ll cover the pros and cons of each to help you decide which is best for you.
Starting from Seed

Sowing seeds is the most economical option if you want to grow a lot of ornamentals. It also allows you to experience the satisfaction of watching your coral bells go from seed to mature plant. If you have an open-pollinated variety at home, you can collect and sow the seed to produce even more variety.
Growing Heuchera from seed is a long process, so it’s not the best option if you want to enjoy large, flowering plants this growing season. Since many coral bell varieties are hybrids, you won’t be able to grow those types from seed.
Buying Potted Plants

Purchasing container-grown plants from a local nursery or online retailer gives access to the largest number of varieties. You can grow hybrids with bright pink or deep purple foliage as well as native straight species like America alumroot (Heuchera americana).
Depending on the variety, pot size, and location, you can expect to pay between $10-25 per plant. Therefore, this isn’t the most economical option, especially if you want to add more than a few coral bells to your yard.
Purchasing Bare-Root Perennials
Although bare-root Heucheras aren’t as common as those grown in containers, you can find them through some online nurseries. These dormant plants are ready to take root in your garden and mature more quickly than small potted ones.
Since bare-roots aren’t as common as potted specimens, don’t expect to find every single variety in this form. If you purchase bare-root perennials, remember to plant them sometime in the late fall, winter, or early spring when other plants are still dormant.
Dividing Established Plants

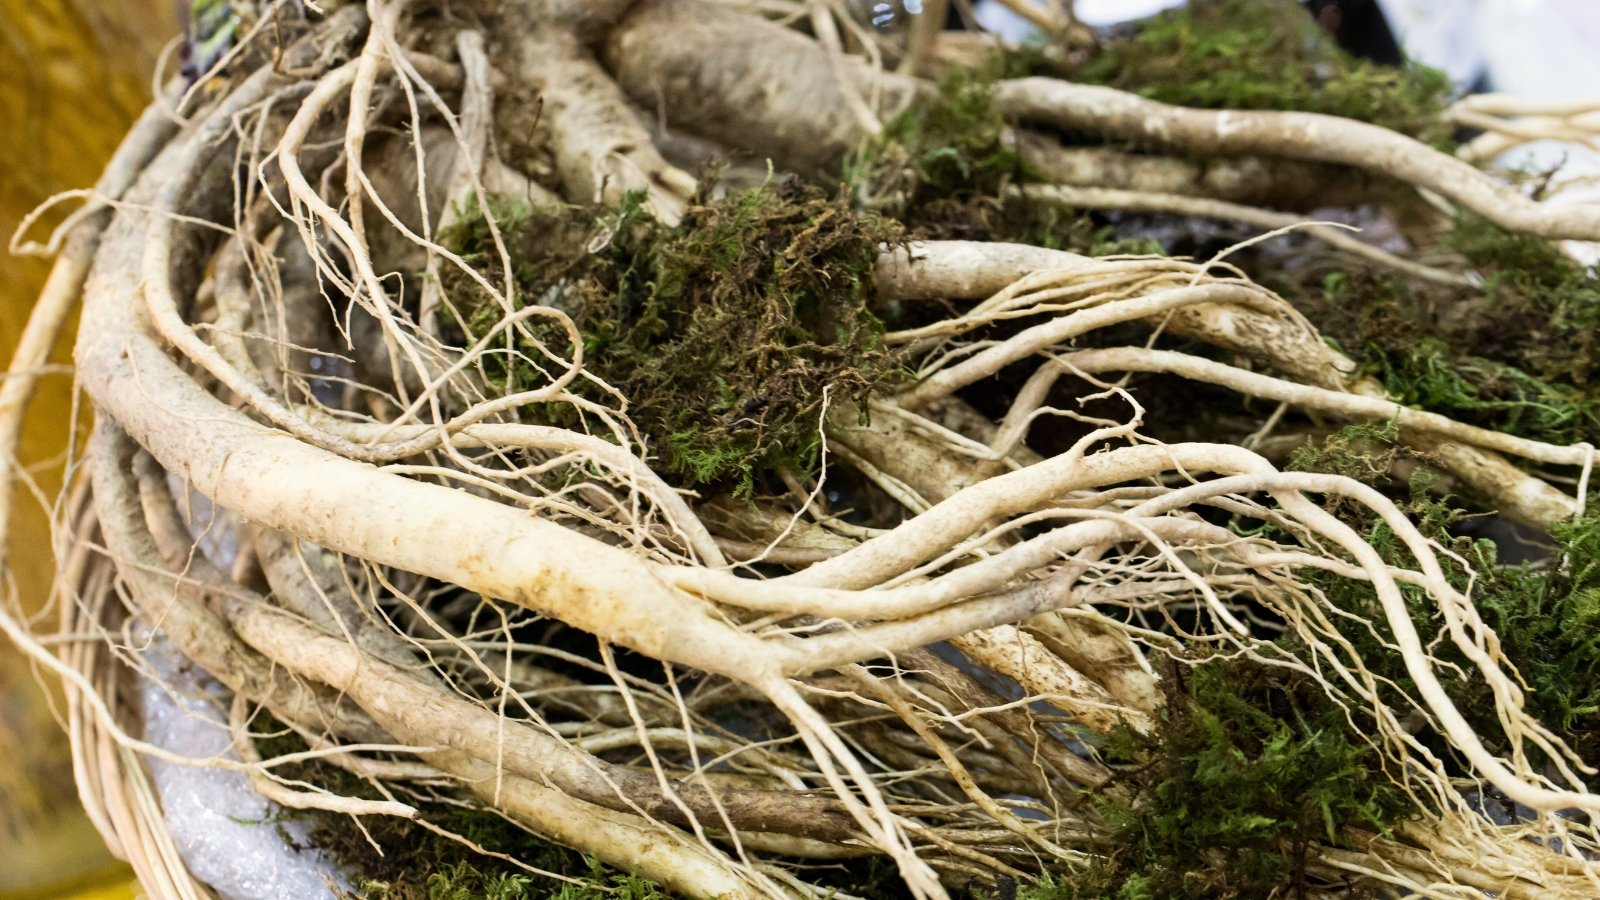
You may be in luck if you know a neighbor or gardening friend with coral bells growing in their yard. These mature plants are easy to dig and divide into multiple smaller specimens. Not only does this give you the coral bells you want, but it also helps keep the original plant healthy and uncrowded.
Since coral bells bloom in the spring, the fall is the best time to divide them. Aim to remove them from the ground and settle them in their new home about two months before your first frost.
How to Grow Coral Bells from Seed
If you decide you’re up for growing coral bells from seed, follow these steps.
Gather Seeds

Starting with healthy seeds is an essential first step. You can either purchase seeds from a retailer or collect seeds from plants. If you plan to do the latter, note that only open-pollinated plants will produce seeds with genetics identical to the parent plant. So don’t collect them from hybrids and expect them to grow into identical plants.
Before choosing a species or variety, consider where you want to place your plant. Although all coral bells can tolerate partial shade, some grow well in full sun, while others do well in shade. Plus, some can tolerate moderately wet soil, and others grow well in dry soil.
Round Up Supplies

If you want to sow your coral bells indoors in trays, gather the following supplies.
- Seed-starting trays: You can start your coral bell seeds in any container with drainage holes, but seed-starting trays make the job easy. These trays allow water to drain and make it easy to remove mature plants from the cells.
- Soil mix: Look for a potting mix designed specifically for seed-starting. The mix should have excellent drainage and contain water-holding materials like peat moss or coco coir.
- Grow lights: If you want to start indoors during the cooler months, grow lights are a must. They give young plants the light they need to grow into healthy seedlings.
- Germination domes: These plastic domes sit on top of the seedling trays and trap moisture. They’re especially useful when growing coral bells since these seeds sit on top of the soil surface.
- Heat mat: This one is optional, but it makes seedlings germinate much faster if you’re starting them in a cool basement or garage. The water-proof mat heats the soil so the seeds can germinate well.
Start at the Right Time

The spring and fall are the best times to plant coral bell seedlings outdoors. Therefore, keep these dates in mind when determining when to sow your coral bells. A popular option is to sow them early in the winter so they’re ready to plant outdoors in the spring.
Avoid starting in the late spring unless you plan to plant the seedlings outdoors in the fall. Planting outdoors in the summer exposes them to heat and drought stress and decreases their chances of survival.
Cold Stratify, If Necessary

The seeds of native Heuchera species like American alumroot and prairie alumroot require cold stratification to germinate. That means the seeds must be exposed to cold temperatures for about a month before sprouting.
One option involves placing them in your fridge for a month. If you opt for this method, you can either put the seeds in moist sand or set them inside a damp paper towel in a plastic bag. Check the sand or paper towel periodically to ensure it stays slightly moist.
Another option is to let nature do the work. Planting in pots during the fall or winter and setting them outdoors allows them to experience a natural cold period. After a month, you can move the potted plants to a warm indoor location.
Fill the Pots with Soil and Plant

When you’re ready to sow, fill your containers with a slightly moist soil mix. Gently tamp the soil mix and sprinkle the coral bells seeds on the top of the soil surface. Sow two to three per cell.
Avoid covering them since they require light for germination. You can place a thin layer of vermiculite on top to help trap moisture and discourage algae growth. Gently water the seeds with a hose, or bottom water until the top of the soil is moist. Cover the seedling trays with a germination dome, if using.
Set Them Somewhere Warm

Once the seeds are in their pots, move them somewhere warm. The goal is to keep the soil between 60-70°F (16-21°C), so use a heat mat if necessary. Since they require light to germinate, avoid setting them in a dark location.
Keep the soil slightly moist during the germination period. Under the right circumstances, the seedlings should sprout in three to five weeks.
Move Seedlings to a Bright Area

After you see the first seedling emerge, move all of them to a bright area. Unless you have a greenhouse, a grow light is your best option. Your goal is to ensure the plants receive 10-14 hours of bright light each day.
As the seedlings grow, regularly check the soil moisture level and water when necessary. Young coral bells are relatively slow growers, so don’t be concerned if the leaves remain small for a few weeks. Continue to provide ample light and keep the soil moist to encourage growth.
Harden Off

Once your plants have six of eight true leaves, they’re ready to plant outdoors. However, don’t just take them from their indoor environment and stick them straight in the ground. Instead, slowly acclimate them to their new home by hardening them off.
If you’re planting your seedlings in the spring, wait until the last frost has passed before beginning this process. Start by moving the potted seedlings outdoors for an hour and then bringing them back inside. Gradually increase the time the plants spend outdoors until they spend an entire day and night outside.
Plant in a Suitable Environment

Now your coral bells are ready for their final home! Find a suitable location with well-draining soil and the proper amount of light. If you’re not sure which Heuchera variety you’re growing, part shade is always a good choice.
Dig a hole slightly larger than the plant’s root ball and place the seedling in it. Fill in any gaps with native soil and water well. In the weeks following transplanting, continue to keep the soil moderately moist.


