Propagation 101: How to Care for Plant Cuttings
Taking plant cuttings is an amazing way to propagate and get a perfect clone of a mother plant. However, they need care! So learn how to keep them healthy.


Contents
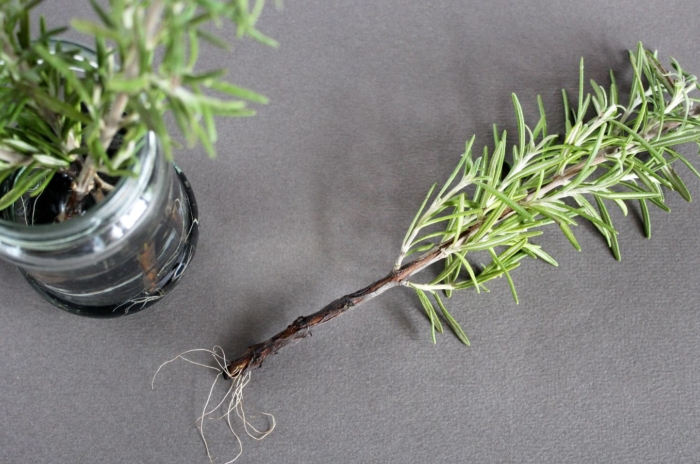
Taking care of plant cuttings can be one of the most rewarding shortcuts in gardening, but it’s also one of the trickiest to get right. You’ve carefully snipped a healthy stem from your favorite plant, dipped it in rooting hormone, and placed it in a tray, only to watch it wilt, rot, or simply refuse to root. If that sounds familiar, you’re not alone.
The truth is, cuttings are vulnerable. Unlike established plants with mature root systems, cuttings have no way to take up water or nutrients on their own. They’re entirely dependent on the environment you create for them. Get the temperature, humidity, light, and watering right, and you’ll watch tiny white roots emerge within a week or two. Get any one of those factors wrong, and you’ll end up with a tray of dead stems.
I’ve had a lot of trouble with this in the past, but after years of trial and error, I’ve worked out the kinks. Below, I’ll walk you through every factor that matters, from dialing in your humidity dome to knowing exactly when to start fertilizing.
Epic Seed Starting Grow Lights Standard

Epic Seed Starting Grow Lights Standard
Germination Domes & Bottom Trays for Epic Cells

Germination Domes & Bottom Trays for Epic Cells

Temperature

To make sure your cuttings root properly, you need to control the temperature at the bottom of your container. Most cuttings need a root-zone temperature of around 71°F (22°C). Getting this right is critical because root-zone temperature directly affects how quickly new root cells develop.
Keeping your cuttings in a colder area will dramatically slow root development. If you’re having trouble finding a spot that’s warm enough, you may need to supplement your cutting trays with a seedling heat mat. On the other hand, if your root area is too hot, your cuttings will focus on producing vegetative growth instead of root growth, which is the opposite of what we want.
Humidity

Keep the humidity level higher than normal when caring for cuttings to prevent water loss from leaves, but take care not to go too high. If you’re using a humidity dome, either get one that has a vent at the top or make sure you remove the dome once or twice a day to avoid spiking your humidity level.
Another issue with humidity domes is their tendency to increase the air temperature, especially when growing under lights. This is another good reason to get a dome with a vent, or at least use a thermometer of some kind to monitor air temperature. I’ve found the adhesive thermometers used in beer brewing to be useful here.
This artificial environment of dome, lighting, and humidity shouldn’t last for long. The sooner you can get your cuttings into a more normal environment with airflow and no dome, the better off they’ll be.
After about a week, remove the dome and monitor your cuttings to see if they begin to wilt. If they do, they’re not ready to go domeless, so try again in one to two days. If they still start to wilt, they might be suffering from damping off, a fungal disease that strikes in high temperatures and high humidity.
Feeding and Watering

When you’re planting your cuttings, you need to water them well, and not just with water. Ideally, use water and a rooting hormone. The hormone will seal the cut stem and also stimulate the production of new root cells much quicker than water alone.
As far as growing medium goes, stick with ones that drain well, like hydroton or perlite. If you use a medium that doesn’t drain well, you risk root rot due to excess moisture sitting around the stems.
Aside from the rooting hormone you use when planting, don’t bother fertilizing your cuttings right away. It’s counterintuitive, but fertilizing them can actually slow down the process. Think about it: you’re providing a steady stream of nutrition directly to the plant’s stem, so why would it be incentivized to grow new roots?
Once your cuttings start to develop tiny root hairs, you can begin to lightly mix in a flowering fertilizer. You choose a flowering fertilizer because it promotes bigger root production rather than vegetative growth.
After your cuttings have rooted and are starting to produce new vegetative growth, you can begin to lower your lights closer to the top of the foliage. Be aggressive here. If you’re using a fluorescent, you can get as close as three inches to the top of your plants without damaging them in any way.
Light
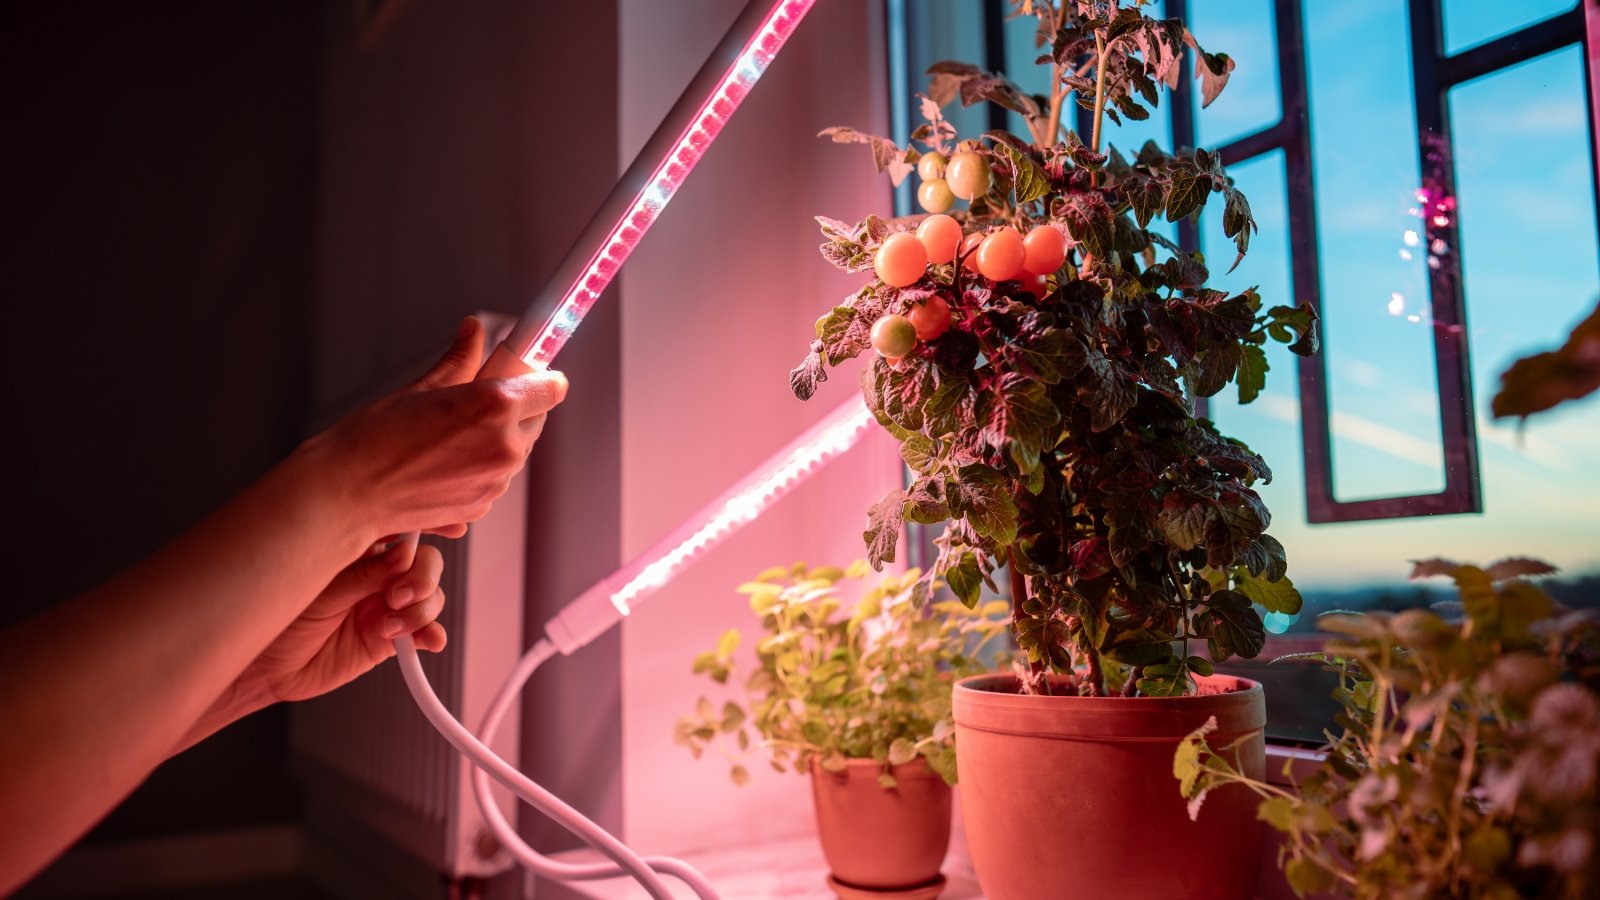
When your cuttings are rooting, you should keep light on them for at least 18 hours a day. You can go up to a full 24 hours a day if you wish; they won’t suffer for it.
Once they’ve begun to root, cut lighting back down to 18 hours a day and make sure they get a solid six hours of darkness.
I prefer to use an indoor lighting system instead of outdoor light for cuttings, so I have complete control over the photoperiod. Also, I don’t live in an area where I can get 18 hours of natural sunlight!
Using Pesticides and Fungicides on Cuttings

As long as you take your cuttings from healthy plants that are completely free of diseases, fungus, or pests, you shouldn’t need to use any pesticides or fungicides. However, as the cuttings begin to root, and especially if your humidity is high, you may want to apply a foliar spray to prevent damping off.
As far as insects go, your two biggest problems will likely be fungus gnats and spider mites. Both will destroy every cutting if given the chance and set your propagation efforts back weeks.
To treat spider mites, your best option is to make a homemade insecticidal soap. It’s safe to apply to plants that you will consume and works quite well against spider mites. Make sure to spray the undersides of your leaves as well to get full coverage.
Fungus gnats require a different approach. They lay eggs in your growing media. Once hatched, the larvae attack new roots and root hairs, leaching them of nutrition. The best way to find out if you have fungus gnats is to use sticky cards as a precautionary measure. If you see fungus gnats getting stuck, you’ll need to use a topsoil dressing to discourage further egg laying.