11 Gardening Tasks You Should Do in November
Fall gardening brings with it plenty of work in order to prepare for spring. There are many garden tasks you can do specifically in the month of November, no matter your climate. In this article, gardening expert Jill Drago shares the gardening activities she plans on tackling in her own garden this November.

Contents
Where I live, November feels brisk but is filled with warm fall colors. My gardens have almost entirely begun their hibernation and things are beginning to look sparse. Frosts have become more and more frequent, but afternoons are still mild and comfortable. In some regions,
November is a great time to plant cool-weather crops.
November can look a lot different depending on where you live. No matter how chilly or mild it is where you live, this is a great month to wrap up a lot of your gardening tasks while also setting yourself up for a great start to the spring.
Keeping your garden in good shape over the winter can help to prevent a lot of fungal diseases and even insect issues for the next season. So bundle up, and let’s get out there.
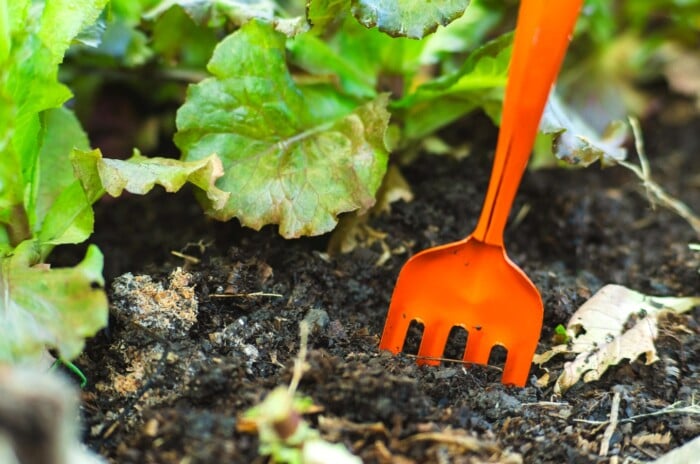
Pull Out Annuals
If you have not already done so, make sure to pull out those annuals! Oftentimes you can just pull them out by hand, but you may want to enlist the help of a trowel for this job. Once your plant is out of the ground try to knock as much of the soil back into your garden as you can.
If annuals are not deadheaded, they may go to seed in your garden. Removing the plants is a good way to prevent this from happening.
If you forget to pull your annuals out in the fall, you can do so in the spring. This may be a little more of a hassle since the tender plant will have been damaged by frost leaving the greenery limp and tough to deal with. If this is the case, just dig them out!
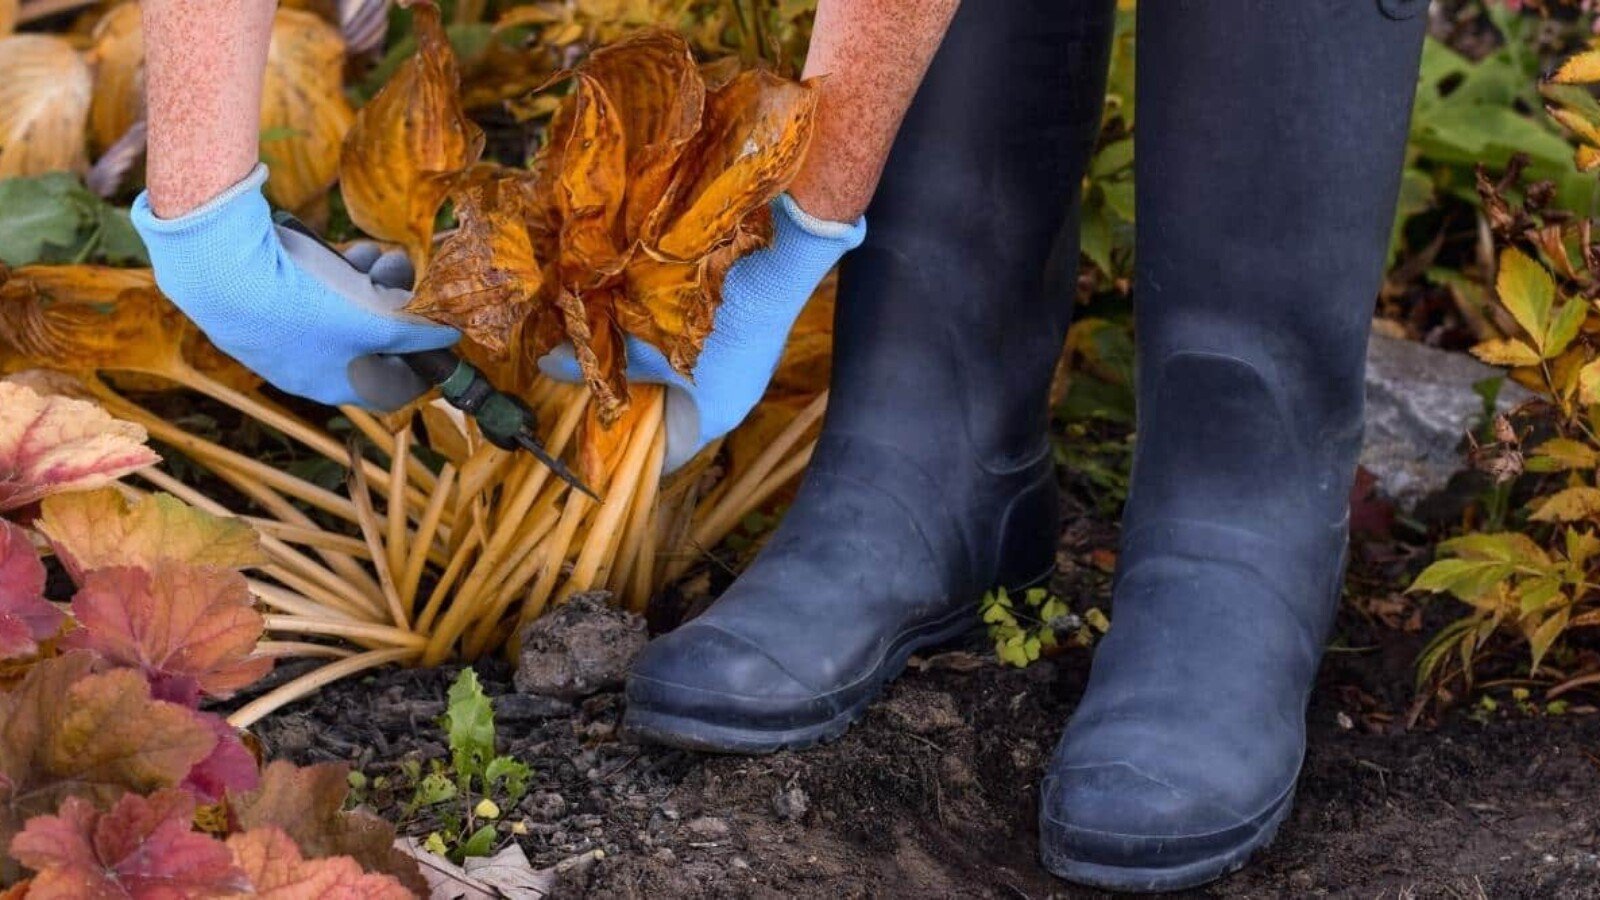
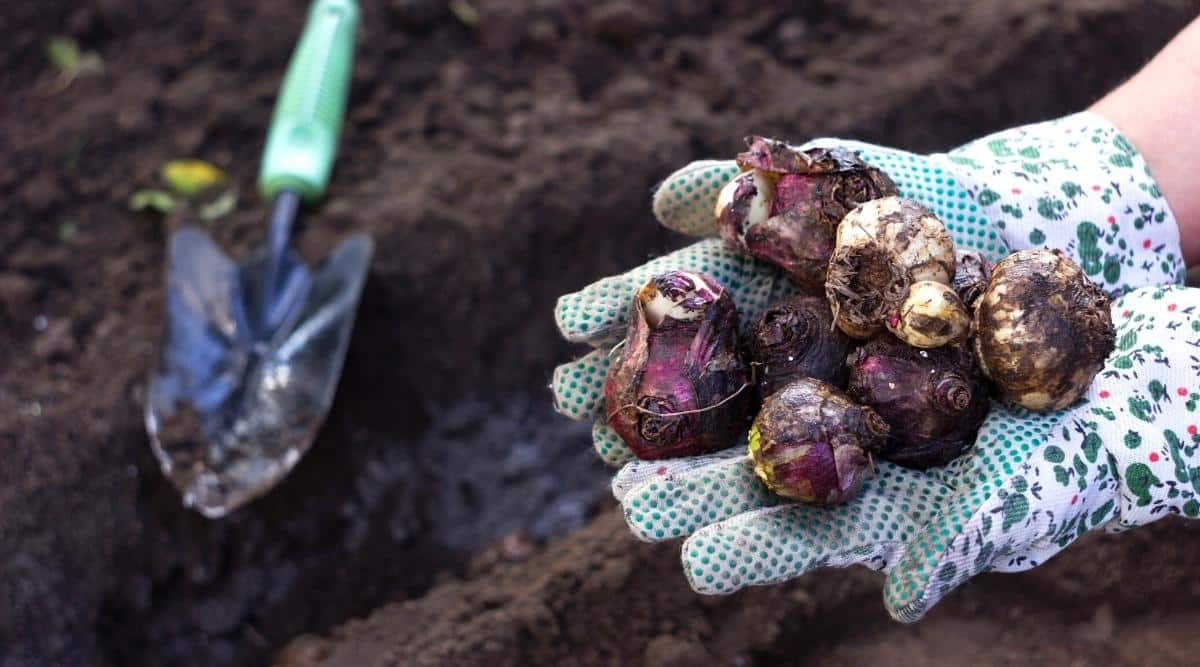
Preserve Your Bulbs
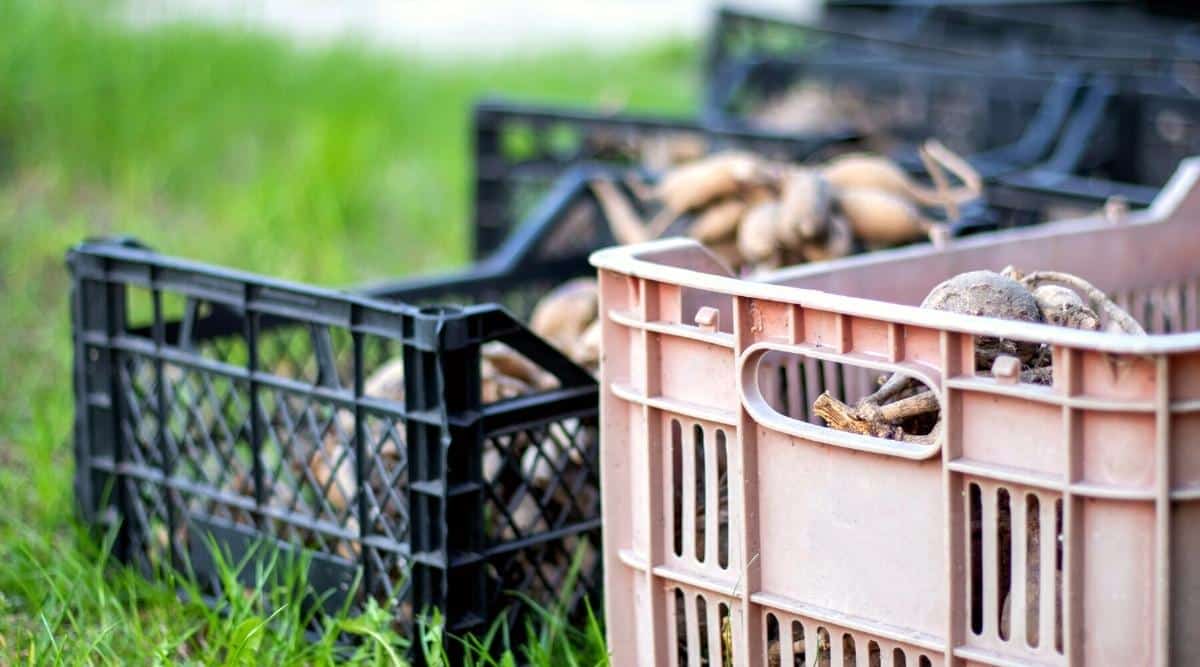
If you have been growing perennial bulbs in your gardens, such as dahlias, this is the time to pull them out and overwinter them for next season.
Start by cutting back any remaining foliage so there are only a few inches remaining above the ground. Carefully dig the bulbs or tubers out of the ground. Shake off any of the dirt that could be remaining on the bulbs. Give the bulbs a gentle rinse, and let air dry completely.
The most important step here will be your actual storage. You want to keep these bulbs as dry as you can to prevent any mold or rotting. I like to use milk crates to store my dahlia bulbs during the wintertime, which get placed in my basement.
Water if Your Ground isn’t Frozen
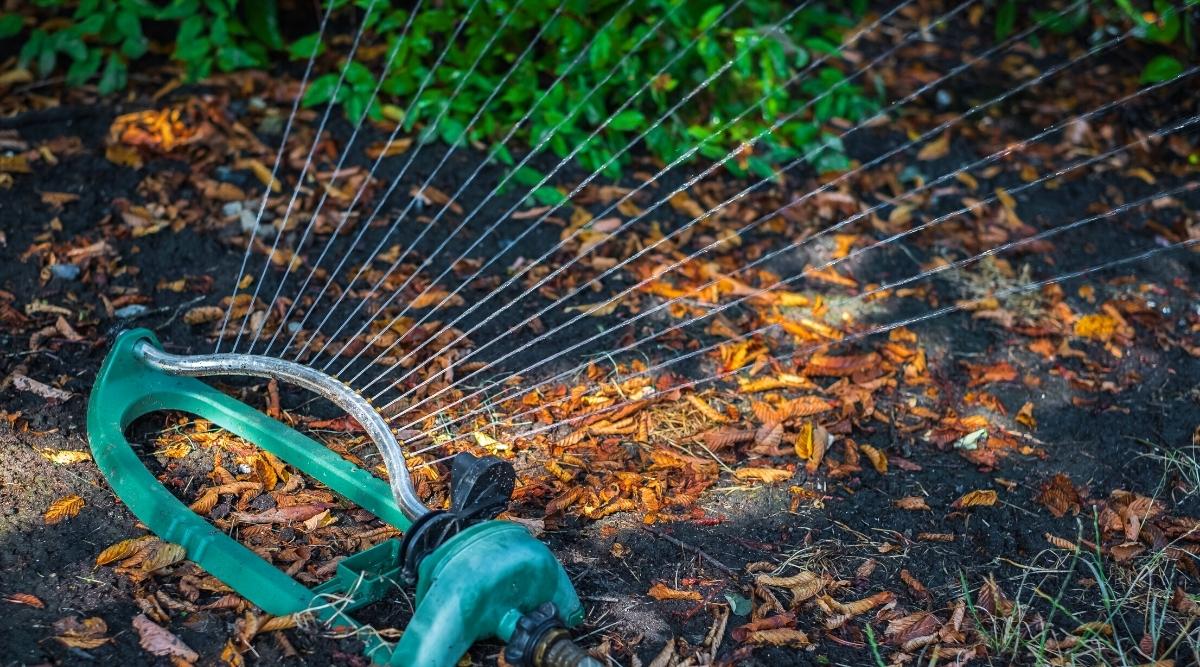
If your ground has not frozen yet, you should still be watering your gardens. As the temperatures cool down your plants will not need as much water as they do in the height of the summer heat, but they still need water.
Once the ground has frozen solid the plants will not have access to any precipitation you may be receiving.
In general, your plants need one inch of water per week, once the weather cools you can start to wean your plants off and prepare them for the winter. Keep a rain gauge in your garden to make sure they are getting at least one inch of water per week from rain. If they are not, you should add a supplemental watering.
Fertilize and Compost
November is a great time to give your plants a final fertilization. This could be in the form of a granular fertilizer or the application of compost.
Some plants do not like to be fertilized this late in the season, so do your research before you apply a chemical fertilizer. If your plants are safe, this is a great way to strengthen the root system before the winter. Follow all package instructions before applying anything!
If you would rather compost your gardens, this is a great task to do after you have completed your fall clean-up. You can either cover the entire surface of your garden with compost or you can apply compost around what would be the drip line of your plant. I like to do the full surface garden every five years, and around the base of the plant every spring and fall.
The addition of compost to your garden will change the structure of your soil over time, but will still offer great nutrients to your plants in the immediate future.
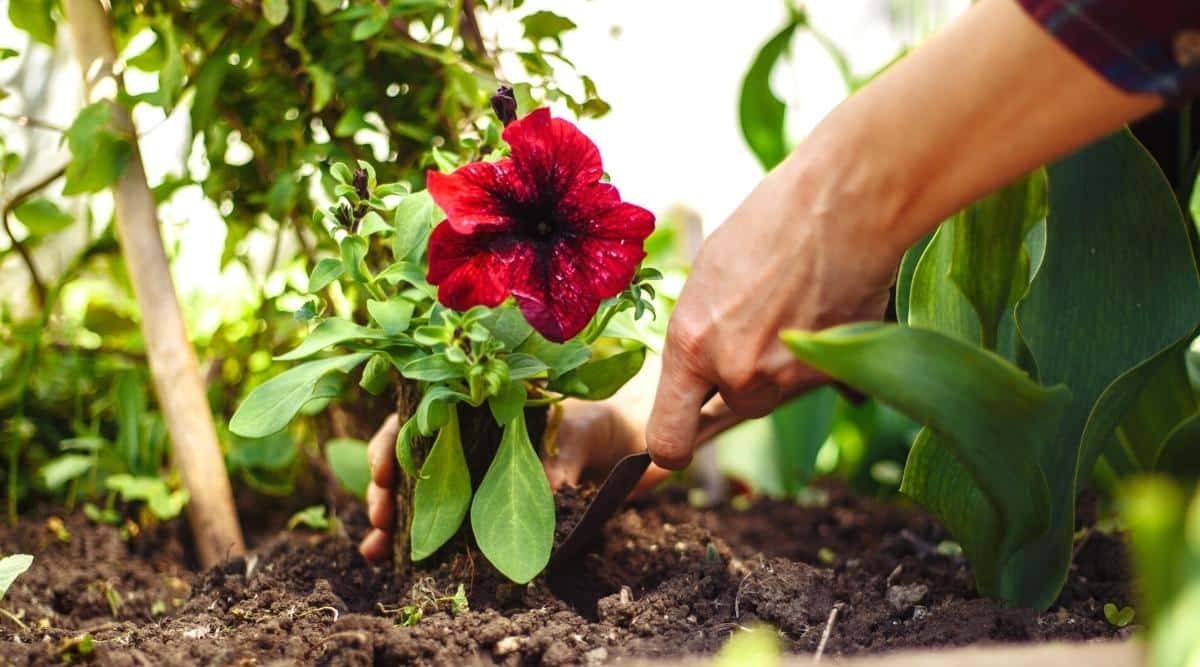
Transplant as Needed

Before the leaves of your herbaceous perennials shrivel from the frost, use this time to make any needed divisions or to transplant from one spot to another.
If you are dividing and replanting, or just moving a plant to a new spot in your garden the process is the same.
Carefully dig out your plant. If you are dividing: find a natural spot on your plant where you notice some separation. Sometimes this is right down the middle, sometimes you may notice a good size clump that is off to the side. Using a shovel or some garden snips separate the two pieces. Replant the original plant as soon as you can in the ground.
Replant your divisions or transplants in their new home, and water them regularly until the ground freezes.
Plant Spring Bulbs
Planting spring bulbs is best done before the ground freezes but after the air temperatures have dropped a bit. In order for bulbs to bloom properly in the spring the bulb needs to remain dormant. This is why planting in the fall is so important.
Daffodils, crocus, tulips, hyacinths and others are all very easy to plant. Depending on what type of bulb you have chosen to grow you will want to refer to the package instructions for bulb planting depth and spacing.
I like to lay my bulbs out before I start digging to make sure my spacing is correct, and to make sure I have enough bulbs for the area I want to fill. Using a bulb planter makes this task quick and easy. You can also get a bulb attachment for your hand drill which is a great option if you are planning on planting a lot of bulbs.
Cut Back Your Perennials
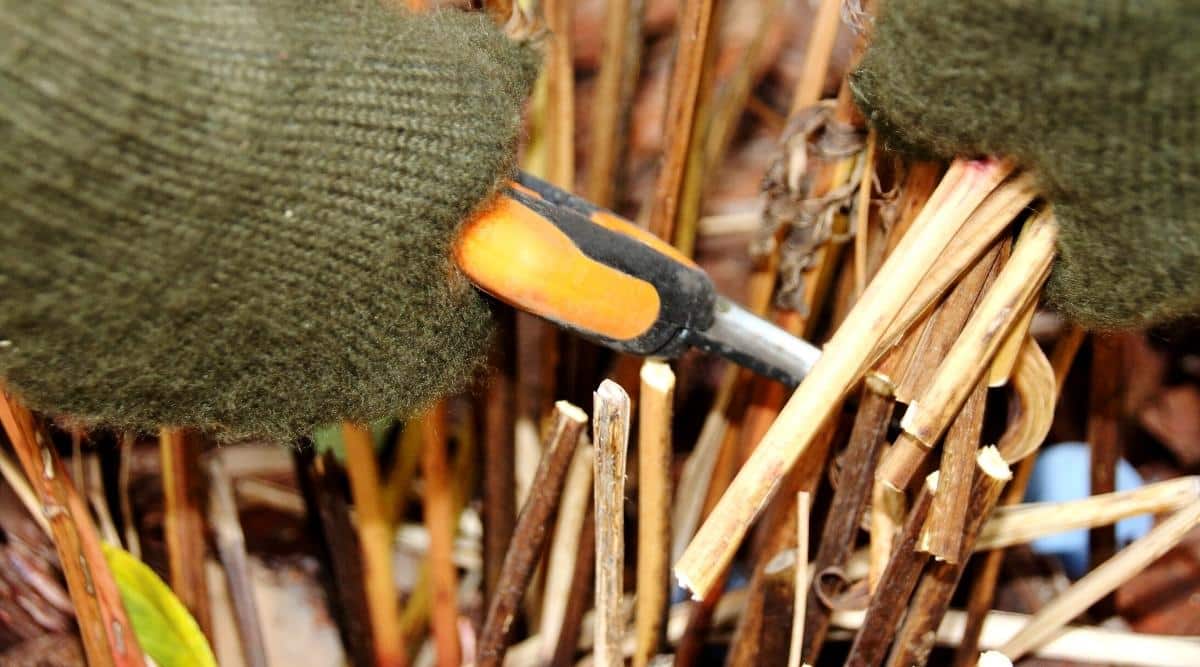
As the leaves on your perennials begin to brown you can start to cut the stems back to the ground. This is simple and quick to do usually. I like to break my garden down as things die back rather than doing it all at once. It makes the workload a bit lighter.
When it comes to herbaceous perennials, I will cut them down with hand pruners to about one inch from the ground. As for some more woody perennials such as perennial hibiscus, I will cut those stalks to about one foot tall, while also removing some of the deadwood stalks.
Don’t forget to address your ornamental grasses as well. You do not need to cut them back in the fall, the spring is a great time to do this as well.
Using your larger lopers, or your hand pruners, cut your grasses to about one foot tall, or maybe a bit shorter depending on how large your grasses are. If you are making this a one person job, tying your grasses up with some garden twine can help clean up a bit easier since the blades tend to run away from you.
Wrap Shrubs
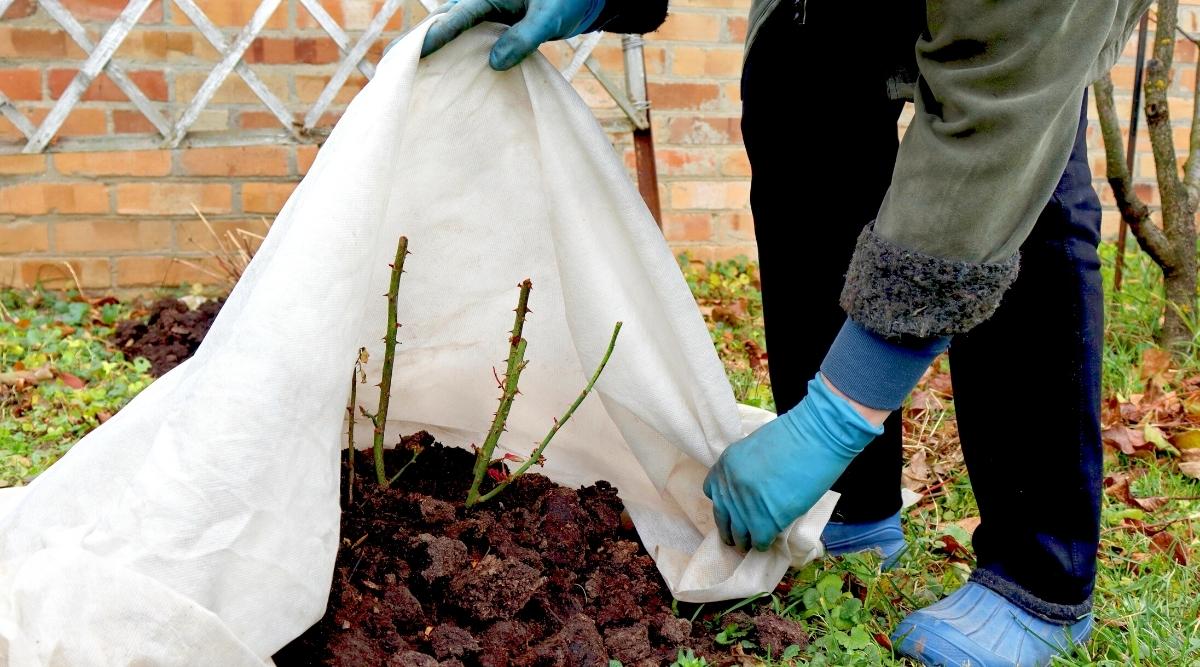
If you have delicate shrubs like hydrangeas which are prone to winter damage, this is a great time to wrap them, or protect them with your chosen method. Cold winter winds as well as frost and snow can cause damage to our precious plants. This damage could range from frost bitten buds to actually breakage from the weight of snow.
There are a lot of products, such as plant bags, available that make protecting your shrubs really easy. However, you can also use burlap and garden twine to secure your shrubs.
While you are wrapping, be gentle with your plants and try to wrap in a way that does not allow the burlap to rub against the plant too much. This could cause damage to any buds that may be on the plant.
Don’t Forget Containers
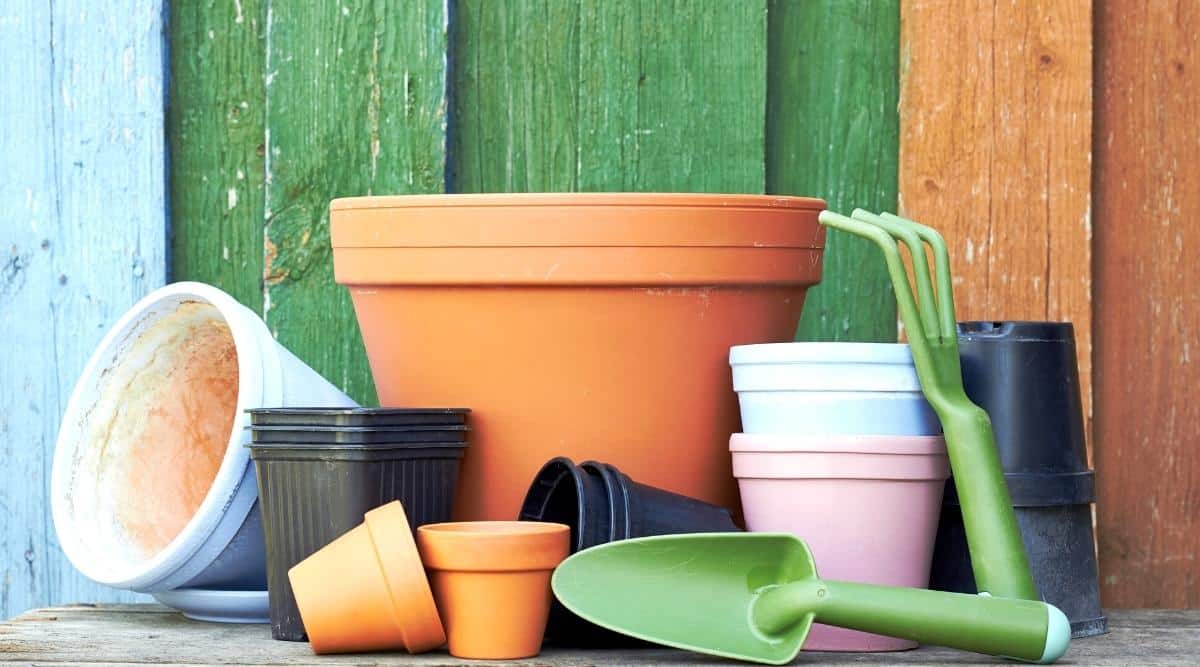
Do not leave your containers full over the winter! This could lead to breaking of your ceramic containers, not to mention a mess you need to deal with in the spring.
Remove the plants from your containers, as well as the potting soil. I like to save my potting soil for the next season, as long as everything growing in my pots has remained healthy. You can save your potting soil in a covered bin. It is recommended to sterilize your soil, but I have never done this. I will usually mix in some fresh potting soil with the old to replenish any lost nutrients.
Bring your containers indoors when you are done cleaning them out. A shed, basement or garage would be great. Leaving your containers outdoors will allow them to collect water which will increase their chance of breaking. This will give you time to start planning out your plants for next season’s container garden.
Weed Your Garden Beds
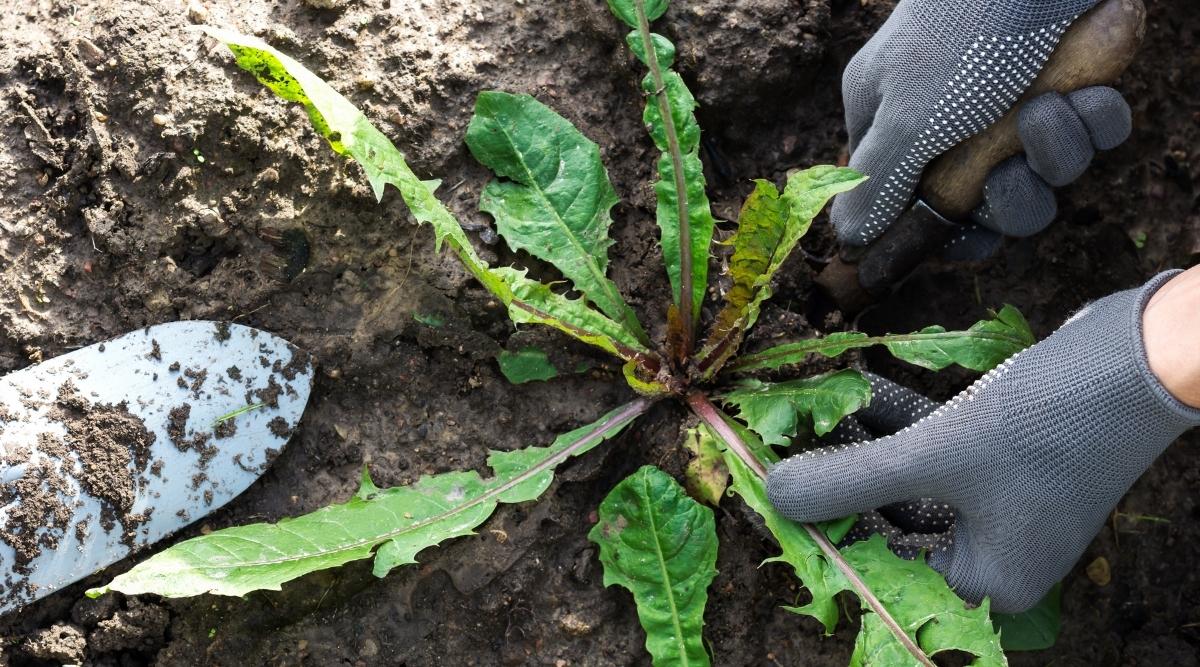
This, in my opinion, is the most annoying fall garden task. Who wants to weed in the cold? Not me! Alas, getting those weeds out of your garden beds will help to reduce the amount of weeds that will show up next spring.
Add this gardening task in while you are cutting back your perennials to make it a little less daunting.
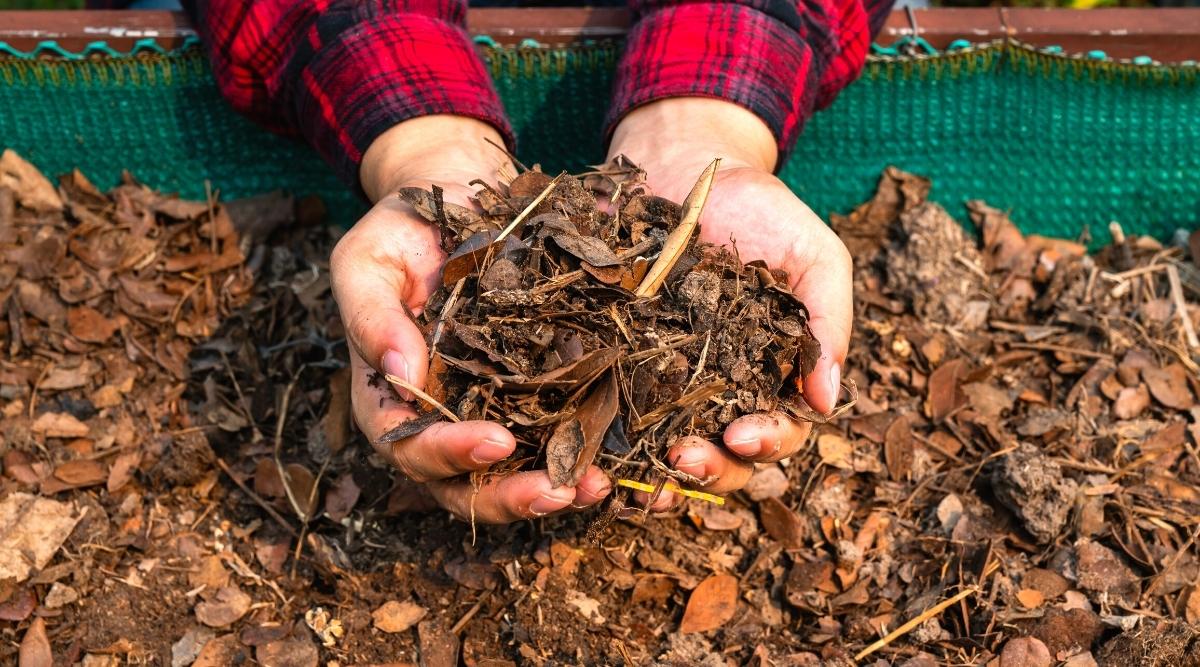
Leave Your Dead Leaves Until Spring
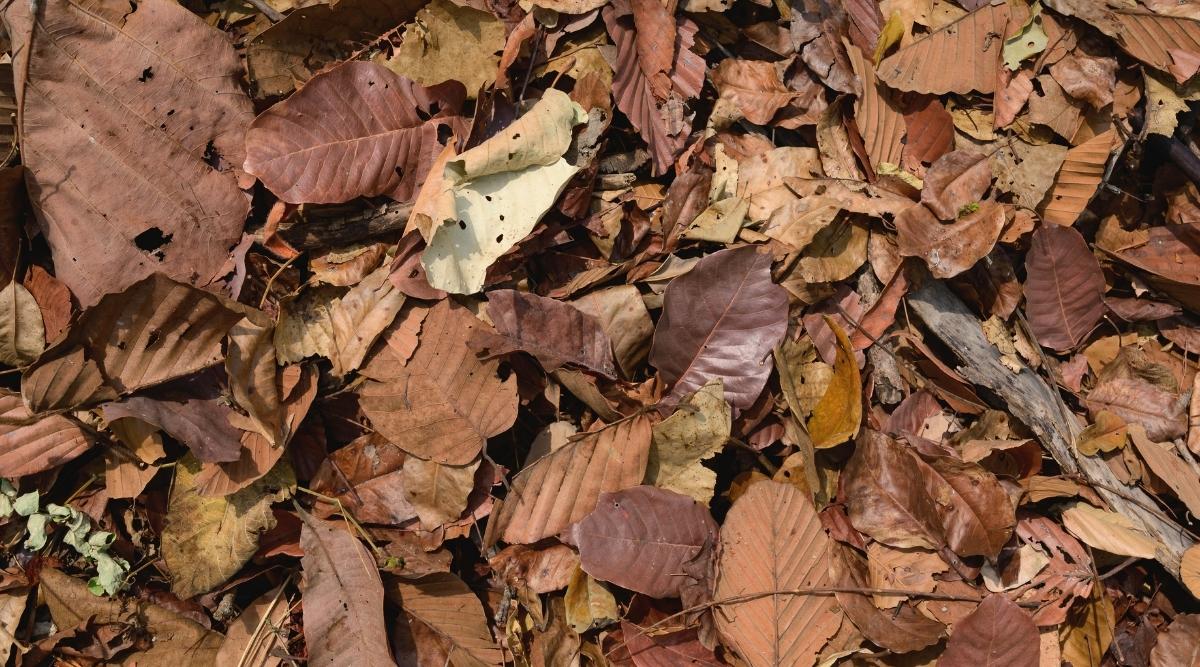
Some gardeners like to clean up their leaves in the fall. They want their beds tidy for the spring, and completely empty of debris. While this is understandable, you are oftentimes better off leaving the fallen debris alone.
Fallen debris in your garden beds will help protect the beneficial insects in your soil. The ecosystem below the fallen leaves can provide a food source for wildlife in the area, and help keep the soil healthy. It also provides cover for bees and other pollinators to rest during the winter. Keep in mind that dead leaves can be used for composting as well.
Final Thoughts
Once your gardens are in good shape, don’t forget to take care of your tools! This is a great time to drop any of your cutting tools off to be sharpened. Be sure to store them in a clean dry place. I love to keep mine in an airtight bin in my basement. Begin dreaming about your springtime gardens and don’t forget to take notes and start your wishlist! Looking for plant deals over the winter is always a good idea!