How to Start Seeds Indoors: Essential Supplies
Epic Gardening Founder Kevin Espiritu breaks down the supplies you need to start seeds indoors, covering trays, growing media, humidity domes, and heat mats — plus how to choose seeds that match your climate and what you'll enjoy eating.


Contents
Starting seeds indoors is one of those skills that sounds more intimidating than it is. You’re not building a greenhouse. You’re putting seeds in soil, keeping them warm and moist, and waiting. The process itself is simple, but having the right supplies set up before you plant makes the difference between strong, even germination and a tray of nothing.
If you’ve never started seeds before (or if your last attempt didn’t go well), the supplies are inexpensive and easy to find. Most of what you need can come from a single trip to a local nursery or a quick online order, and the same equipment works season after season.
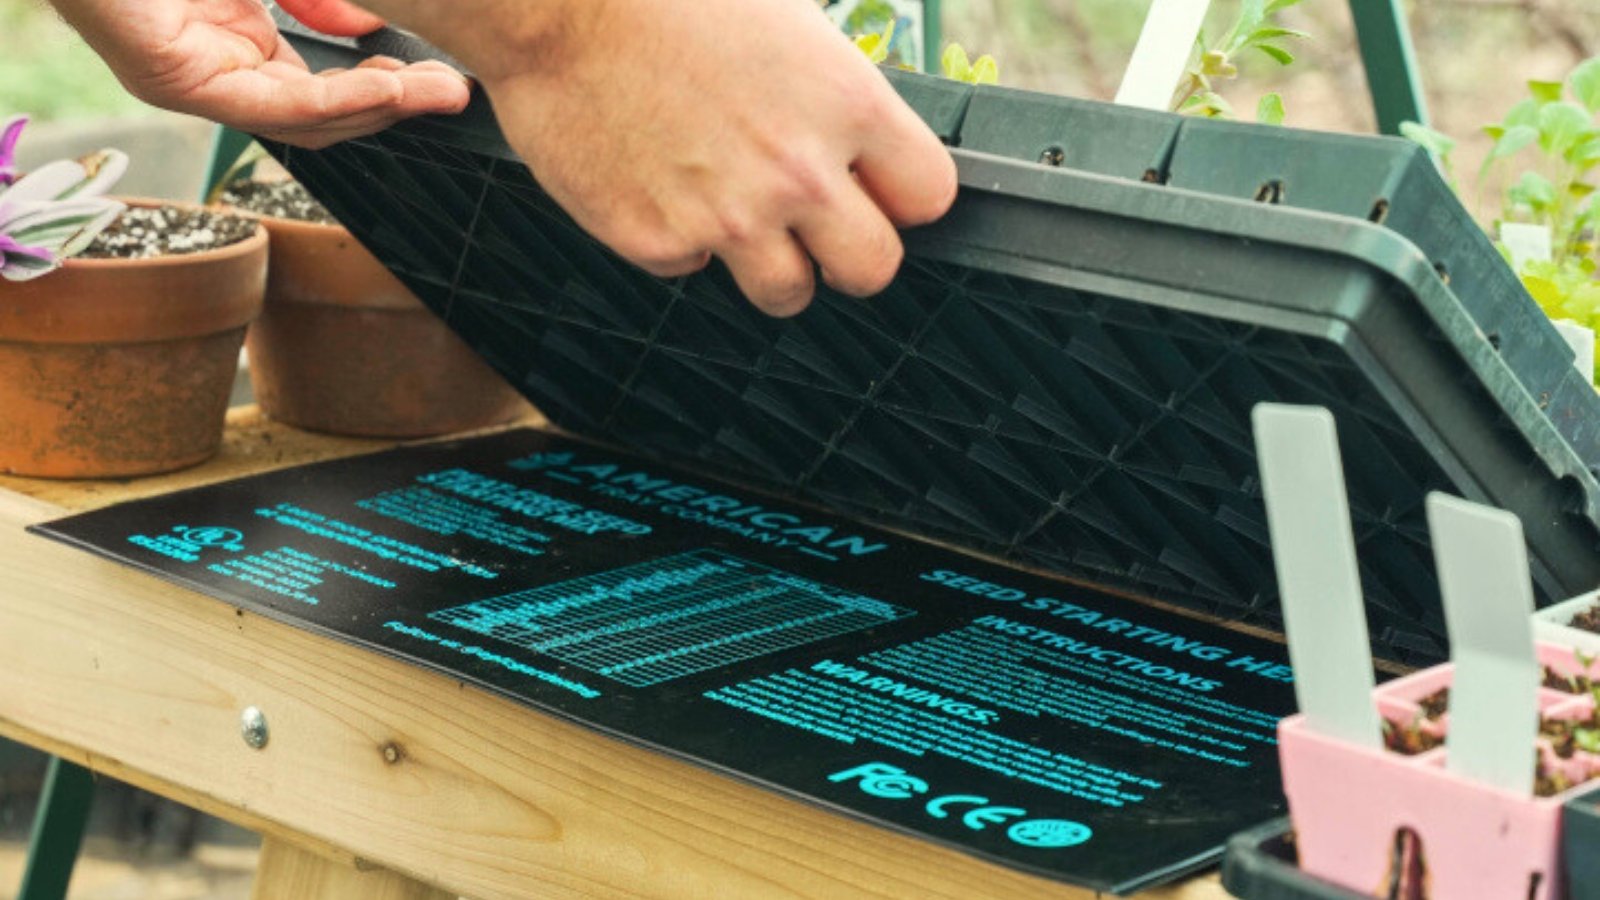
Germination Domes & Bottom Trays for Epic Cells

Germination Domes & Bottom Trays for Epic Cells


Seeds

Before you buy anything, decide what you want to grow, and be honest about what you’ll eat. It’s tempting to pick the most interesting-looking seed packets on the rack, but if you don’t enjoy eating kale, a tray of kale seedlings isn’t going to change your mind.
Start with vegetables or herbs you already buy at the grocery store. You’re far more likely to follow through on the growing process when there’s something you want at the end of it.
The other factor worth thinking about early is timing. Not every crop can be started at any time of year, and what grows well depends on your climate. If you don’t already know your USDA Hardiness Zone, you can look it up by zip code on the USDA’s Plant Hardiness Zone Map.
From there, searching for planting dates specific to your zone will tell you which crops make sense to start now and which ones should wait. Most seed packets also print this information on the back, including how many weeks before your last frost date to start seeds indoors.
Tray

A standard 10×20-inch black propagation tray is all you need here. They cost a few dollars, they’re reusable, and they’re widely available at nurseries and online. Some come with cell inserts (individual compartments that keep each seedling in its own pocket of soil), which make transplanting easier later on. Others are open trays that you fill with a flat layer of growing medium.
Either style works. Cell inserts are a bit more organized and reduce root tangling between seedlings, but an open tray is perfectly fine if that’s what you have. Or you can DIY your own cells if you prefer.
Media

Seeds need a light, fine-textured medium to germinate in. A bag of seedling mix from your local nursery is the simplest option and works well for most crops. Seedling mixes are formulated to hold moisture without staying waterlogged, and their fine particles make it easy for small roots to push through.
The one thing to avoid is using regular garden soil or a heavy potting mix. Garden soil compacts too much in a tray, doesn’t drain well, and can introduce pathogens that kill seedlings before they get established. Stick with something labeled specifically for seed starting.
Humidity Dome

Most seeds germinate best in warm, humid conditions. A humidity dome is a clear plastic cover that sits on top of your tray and traps moisture and heat inside, creating a miniature greenhouse environment. Without one, the surface of your growing medium tends to dry out faster than the seeds can absorb the moisture they need to sprout.
Humidity domes are sold to fit standard 10×20 trays, and most seed starting kits include one. Once your seedlings have sprouted and are showing their first set of leaves, the dome comes off — leaving it on too long can encourage mold and damping off.
Heat Mat
A seedling heat mat is a thin, flat pad that sits underneath your tray and gently warms the soil from below. Most vegetable and herb seeds germinate faster in soil that stays around 70°F (21°C), and in a cool house during winter, the soil in an unheated tray can sit well below that.
A heat mat isn’t essential to start seeds indoors. Seeds will still germinate without one, just more slowly. But if you’re starting seeds in a room that tends to run cool, or if you’re growing warm-season crops like tomatoes and peppers that are slow to germinate in cold soil, a heat mat is worth the investment. They’re inexpensive, use very little electricity, and the difference in germination speed is noticeable.
Preparing the Tray
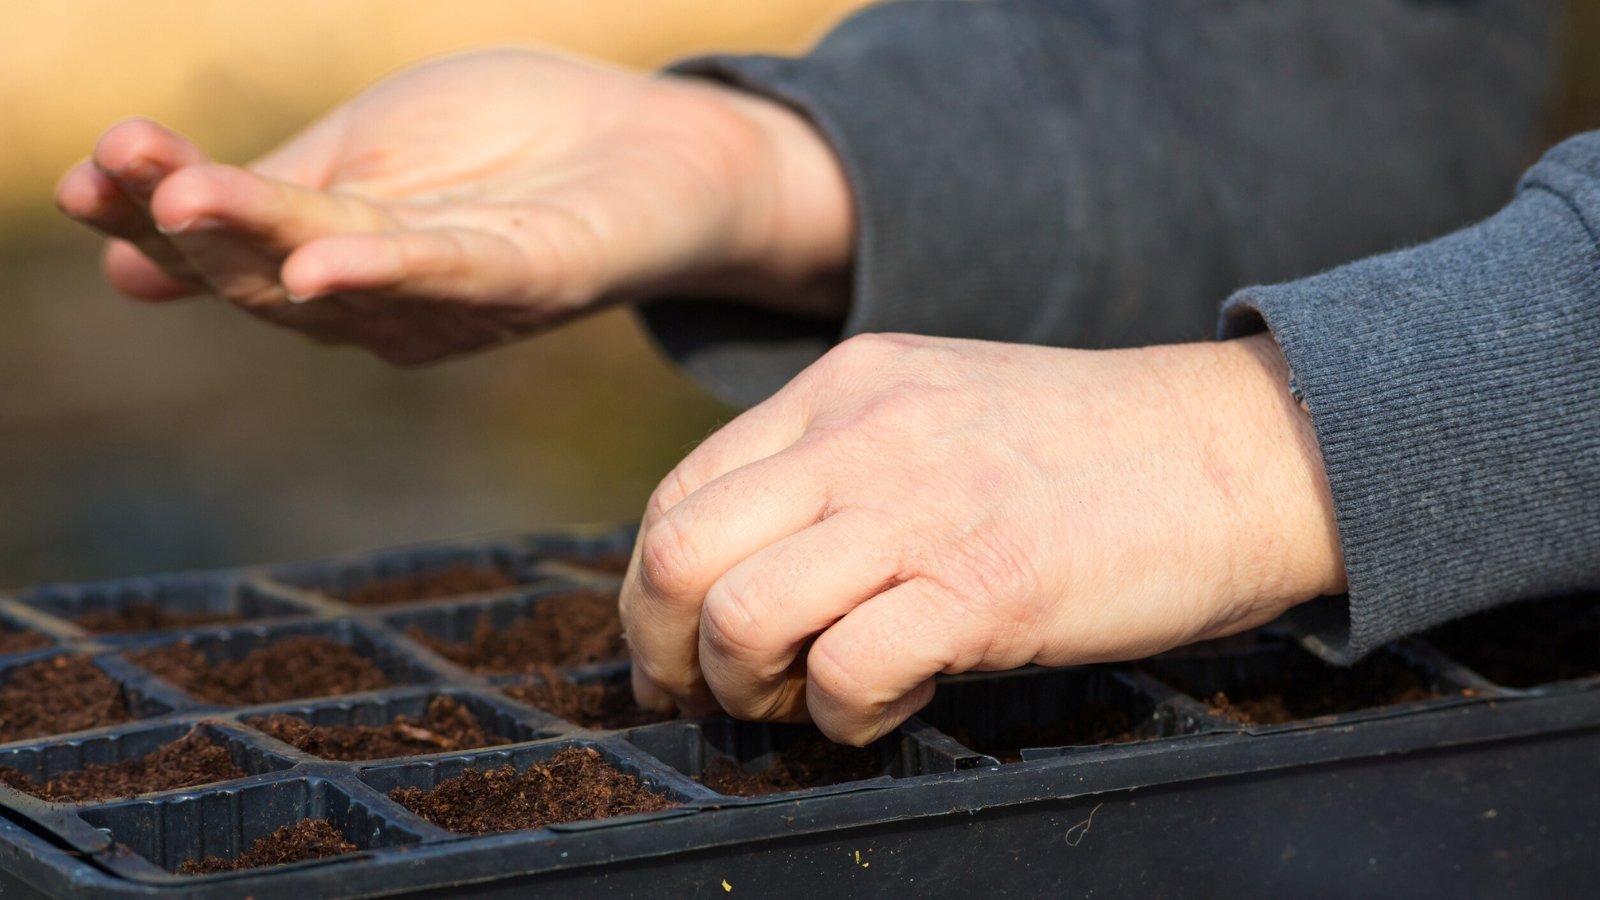
If you’ve picked up a more traditional seed starting kit, you’ll have a tray with inserts inside to hold pockets of soil. If not, don’t worry – just spread your soil in the tray.
Now that you have your tray prepared, it’s time to get to planting! Make a slight depression in your growing media. If you’re just using a tray of soil, poke a finger into the soil about 1/4th of an inch deep.
Next, take two or three of each seed and place them in each hole. Cover them up with a little bit of soil. Keep planting until you’re finished!
Why More Than One Seed? Sometimes a seed just won’t sprout, so it’s good to add a few more to make sure that at least one sprouts. You can clip off the weaker ones if more than one sprouts!


