How to Revive an Overwatered Christmas Cactus in 5 Easy Steps
Is your Christmas Cactus looking a bit worse for wear? Is the soil soggy and your plant showing signs of being overwatered? These plants are resilient and can often be saved if they've been exposed to too much moisture. In this article, gardening expert Melissa Strauss shares how to save an overwatered Christmas Cactus in five easy steps!

Contents
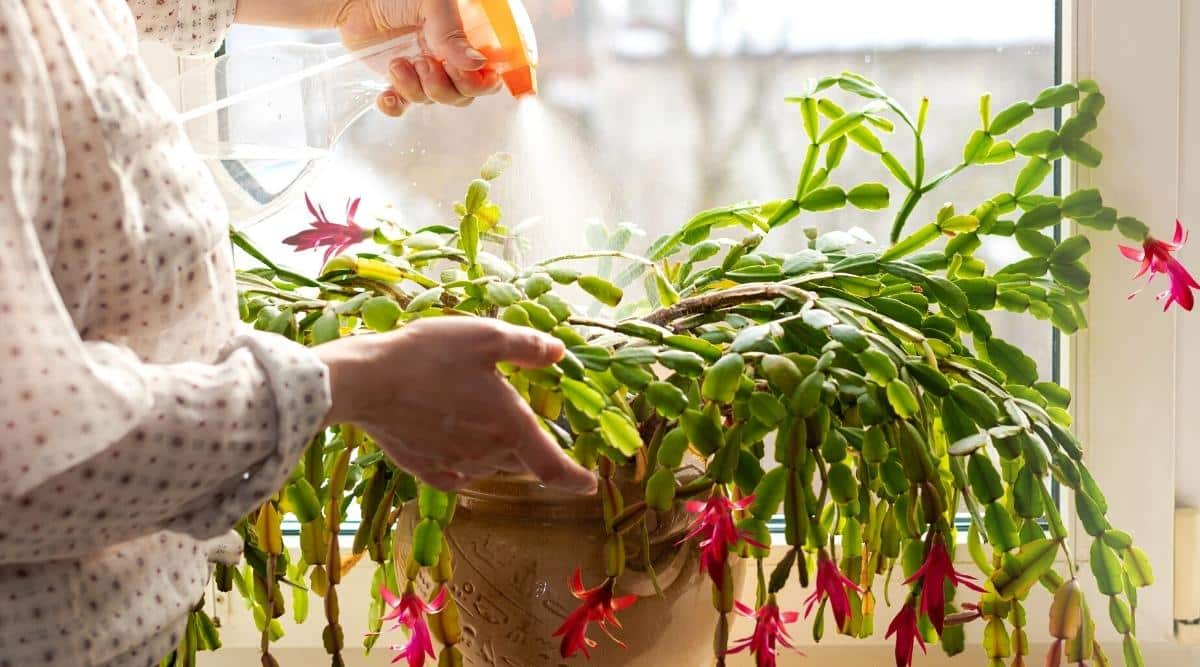
Christmas Cactus, also known as Schlumbergera, is a wonderful, winter-blooming tropical succulent. These plants’ beautiful, colorful blooms can brighten up the greyest of winter days. They are low maintenance, needing little more than some bright, indirect sunlight and a bi-monthly watering. They are one of the few succulents that will reliably bloom indoors, year after year.
If you’ve found your way here, there is a good chance that you may have given your Christmas Cactus a bit more water than needed, and it has punished you by looking yellow and droopy. This can be a confusing response to overwatering, as the Schlumbergera will look like it needs more water, but the opposite is true.
When a Christmas Cactus is underwatered, it will have the appearance of shriveled leaves. Unfortunately, this can also happen when the plant is overwatered, making it difficult to diagnose. A good indication of your plant being overwatered will be the existence of soggy soil.
Underwatering is an easy issue to fix with these plants, but overwatering is more complicated. As with most succulent plants, the roots are sensitive to moisture. If left sitting in soggy soil, they will begin to deteriorate. This makes them more susceptible to fungus and can result in a bad case of root rot.
Let’s discuss what can be done to save your Christmas Cactus that has been overwatered and is showing signs of rotted roots.
Step 1: Empty Standing Water

The most important immediate action is to empty any standing water from the pot housing the Schlumbergera. If water is pooling in the pot, the problem is twofold.
First, the container has inadequate drainage. If the water has no egress, the soil will stay wet for much longer, making it difficult to gauge when the right time is to water.
Secondly, the plant is probably being watered too often, and too much. Simply draining the standing water and allowing the soil to dry out may be enough to perk up your plant. If, however, the overwatering or poor drainage is an ongoing issue, it is probably best to take more definitive action, by way of re-potting.
Step 2: Treat the Roots

If you have tried giving the plant a water break, and the issue persists, it is time to take a close look at the roots to determine the best course of action going forward. To do this, you will need to remove the cactus from its container.
Although overwatering is what we want to rectify, in order to examine the roots, it’s a good idea to water the plant before removing it from its pot. If the soil is already damp, there is no need for this, but if it has been allowed to dry, watering it will make the roots more flexible which minimizes breakage when examining.
Remove the plant from its container and gently shake and work the soil out of the root system until you can see the condition of the roots. Healthy roots should be white and flexible. If you notice blackened tips on the roots, this is the beginning of root rot. As rot advances, larger portions of root tissue will turn brown or black and become soft and mushy.
Gently rinse the plant’s roots so that the condition is visible. This also serves to wash off any fungus that may have taken up residence. Using a clean, sharp tool, remove all portions of root tissue that have been compromised. It is important to use a clean, sharp tool for pruning because clean cuts heal fastest.
Lay the plant on a clean, dry surface and allow the roots to dry for 24 hours. The application of an anti-fungal agent such as etridiazole will help to eliminate any leftover fungus that may affect the future of the roots.
Step 3: Re-pot Your Plant

Once you have treated the roots and removed any damaged tissue, it is time to re-pot the plant. As a succulent, Schlumbergera needs to be planted in a container with proper drainage. If your cactus is potted in a container with no drainage, it will be much more difficult to create a healthy watering cycle, and much easier to overwater in the future.
Choose a container that has at least one drainage hole in the bottom, but preferably multiple holes. Choose a pot that is just slightly larger than the root ball, but not too large. Schlumbergera like to be a bit crowded in their container.
Terracotta pots are wonderful for succulents because they wick water away from the roots of the plant. Ceramic pots tend to be more decorative, but because they are glazed and non-porous, they also tend to hold more water. However, as long as it has good drainage holes in the bottom, a ceramic pot should be just fine.
When it comes to potting mix, avoid standard potting mix that can hold a lot of moisture in favor of a coarser mix. Potting mix with larger particles is best for succulent plants. Larger particles do not hold as much water.
Begin with a foundation of compost rich in organic. matter and add larger particles of sand, pumice, or gravel to aid in drainage. A pre-mixed cactus potting mix is a great option for these plants as well.
Step 4: Prune Damaged Leaves

Once your Christmas Cactus’ roots are treated and the plant is repotted, take a moment to inspect the foliage. A serious effect of root rot is the reduced intake of nutrients through the roots, and therefore, a decrease in the nutrients made available to the foliage. This is probably the element that brought the issue to your attention.
Look toward the base of the stems, where they connect to the roots. It is here that you will see the first signs of damage from the root rot. Any stems that are badly discolored, or soft and mushy at the base, should be removed with a sterile tool.
Dusting the open wounds with cinnamon or sulfur will help to dry them more quickly. A cut that heals quickly is ideal, as there is less opportunity for another infection to take hold.
Removing all tissue that is affected by fungus is an important step in controlling the spread of the disease. In severe cases, if there is more diseased foliage than healthy foliage, you may be hard-pressed to bring the plant back from the brink.
However, if there is still some root tissue and some foliage unharmed, even if it is a small amount, it is worth attempting.
Step 5: Adjust Care and Watering Habits

Once your Christmas Cactus has been treated and re-potted, it is important to modify the care routine that brought on the problem, to begin with. The best practice is to water only when the soil is dry to the touch.
The exception to allowing the soil to dry completely is when the plant is in bloom. During the blooming season, provide more water and keep the soil moist, but not soggy. For the rest of the year, watering once every 2-3 weeks should be sufficient to keep your cactus happy.
It is a great idea to give your Schlumbergera some fertilizer after you have repotted and begun a new care routine, Because the nature of root rot inhibits nutrient uptake by the roots, giving some fertilizer will help rebalance and give the plant the nutrients it needs to start creating new growth.
Christmas Cactus’ like to be fertilized on a monthly basis. For every second watering, it’s a great idea to use a balanced fertilizer in addition to water.
A 10-10-10 formula diluted to ½ strength will do the trick. In between fertilizing, a solution of Epsom salt and water will give your cactus a boost. Schlumbergera has higher magnesium needs than many plants, so the added magnesium will give a great boost to the flowering ability of the plant.
Step 6: (Optional) As a Last Resort

It is not always possible to bring a plant back from a bad case of root rot. If the disease has progressed to the point where the foliage of the plant is affected, there is a good chance that the root system is too damaged to support and produce new growth.
If you have treated and re-potted the plant, yet it continues to decline in health, there is still one hope left for preserving some of your Christmas Cactus.
However, if all else fails, the best hope is to take cuttings of any healthy stems that remain and propagate them. Sometimes, starting over from scratch is the best way to preserve a favorite plant.
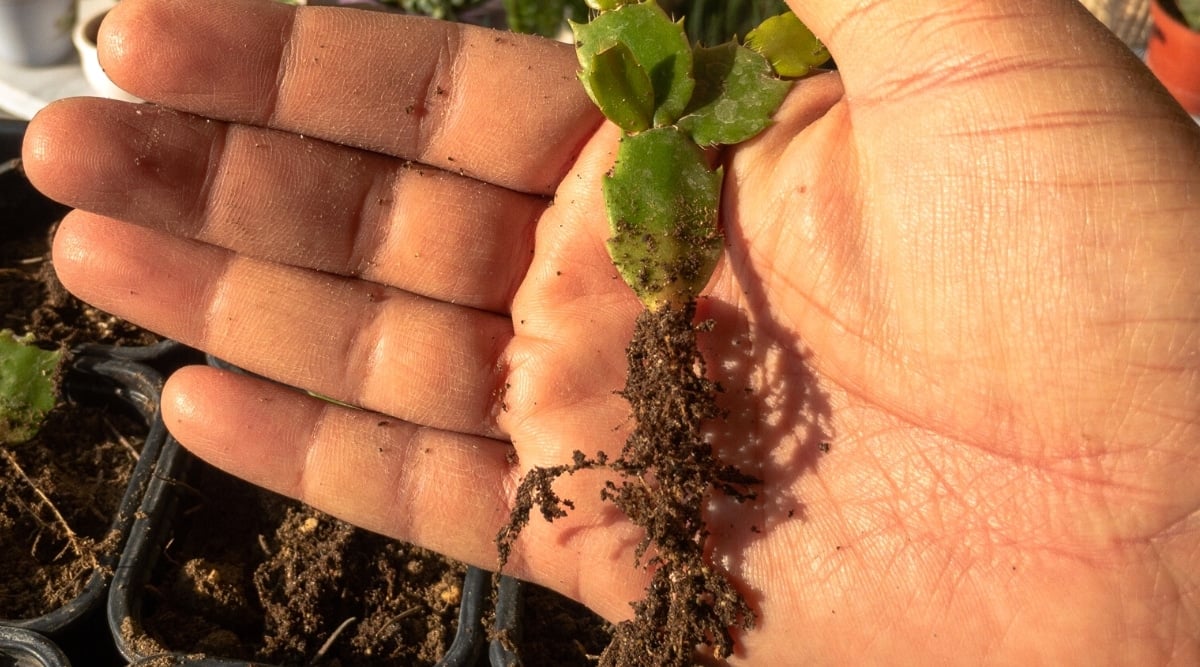
Propagation of Christmas Cacti by cuttings is not difficult and it is commonly successful, even with just a few stem segments of healthy growth. To propagate from cuttings, clip off a healthy piece of foliage and allow it to dry for 2-4 days.
Place one end into a pot with soil mixture and water sparingly. Once roots have formed, you can commence a regular watering schedule and enjoy your new plant.
Final Thoughts
Christmas Cacti are hardy and resilient plants. Give your plant the right drainage situation and a regular watering schedule, and you will be back in business before you know it. A little bit of water and fertilizer, and plenty of filtered sunlight will go a long way toward a healthy plant covered in spectacular flowers next winter.


