How To Build Your Own Polytunnel
Building a polytunnel doesn't have to be hard. In fact, it's quite easy and adds a layer of protection to your garden. Epic Gardening founder Kevin Espiritu shares how in this guide.


Contents
Everyone and their grandmother seems to be building or buying polytunnels these days, and for good reason. They’re an absolutely amazing gardening tool that extends the growing season, protects your garden from the elements, and ultimately increases the size of your harvest.
For all of these benefits, you don’t even have to build a permanent structure like a greenhouse! About nine out of 10 people who buy premade polytunnels end up erecting them themselves. It’s very simple to do and saves a lot of money compared to hiring a gardening expert or builder.
So if you want to save some cash and boost your harvests, here’s a quick walkthrough that will guide you through the process of building a polytunnel for your plants.

What Is A Polytunnel?

A polytunnel is best thought of as a frame for your garden. It’s usually made from a semi-circular metal frame that spans the length of your garden. Manufacturers typically cover this frame with UV-resistant polythene plastic, so it lasts quite a while.
You might be thinking that this would block some valuable sunlight from your crops, but you’d be wrong. Over 90% of natural sunlight penetrates the polythene, meaning your plants get all the sun they need. In fact, the semi-opaque quality of the plastic actually diffuses the light. You won’t have to worry as much about plants shading each other.
Inside your polytunnel, air stays warmer than outside and doesn’t fluctuate in temperature as rapidly. This means you can adjust the temperature inside your polytunnel and feel confident it will remain stable for quite a while.
In winter, you can keep it even warmer inside by lining the tunnel in bubble wrap for further insulation.
The polythene film covering your frame typically lasts around five to 10 years, which is quite a while. Even when you replace it, the cost is only around one-quarter of what it cost to build the tunnel in the first place.
Lay Your Foundations
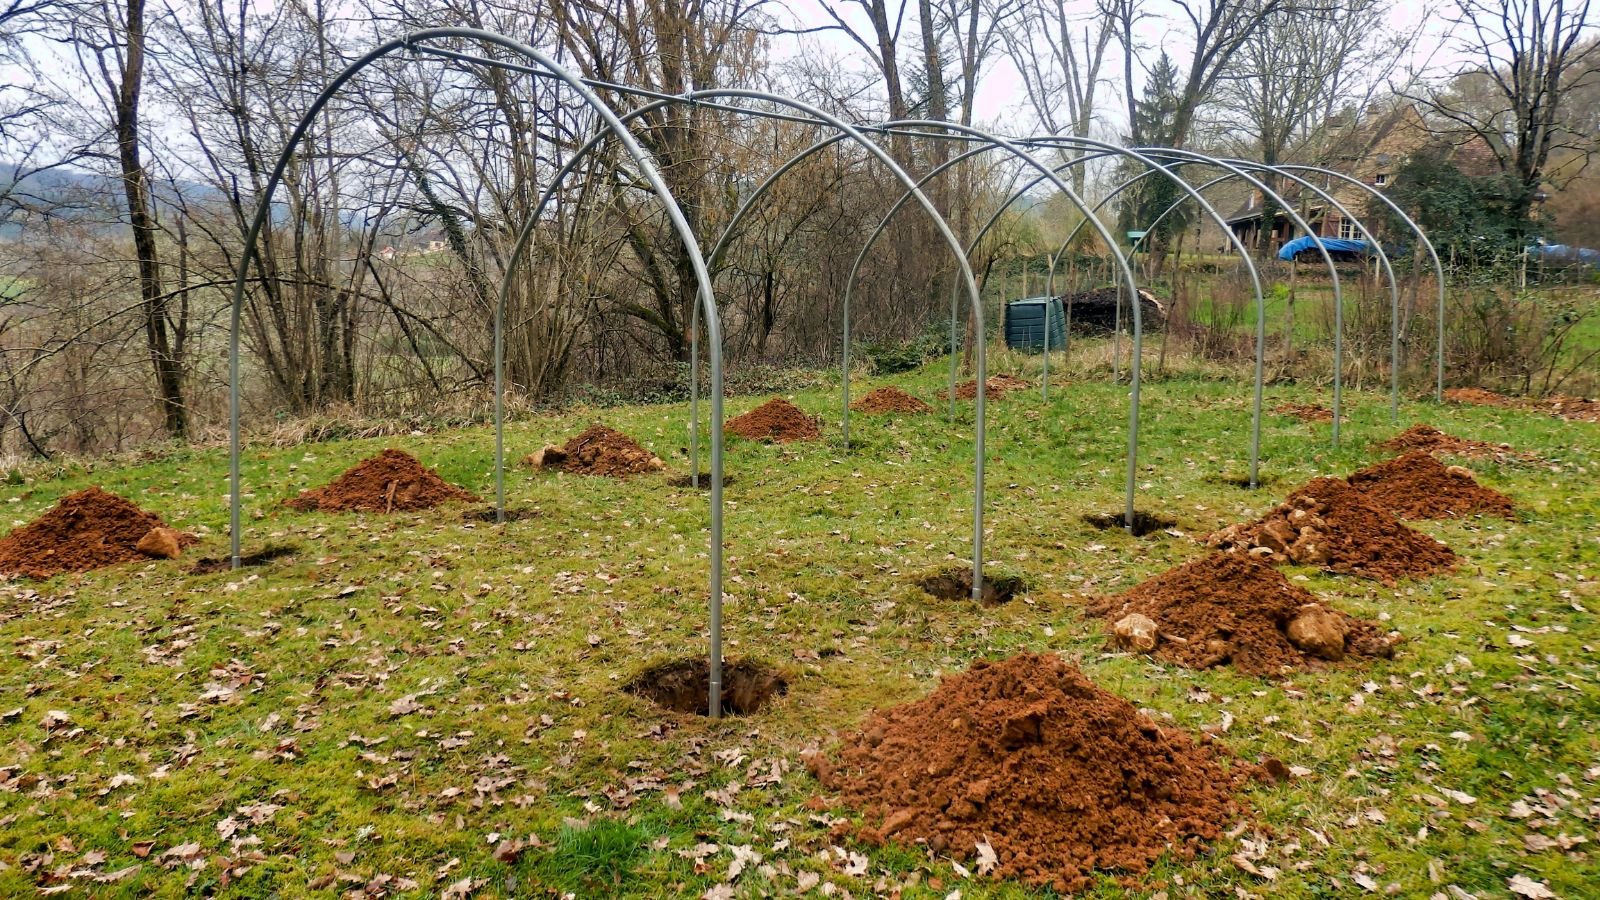
When building anything, you always have to start by laying the foundation. Without it, you’re building on unstable ground, which is a recipe for disaster. When building polytunnels, placing your foundation tubes correctly is vital to both the longevity and stability of your tunnel.
Your first step is to mark the base positions around your garden, making sure you space them evenly apart. All of the angles should be square to one another.
Next, drive your foundation tubes into the ground at the positions you marked. Make sure to use a block of wood between the foundation tubes and your hammer so you don’t damage the tubing.
You can use tubes from your prefabricated polytunnel, but if you’re building from scratch, scaffolding poles or water pipe mains make a great substitute. Cut them to about six feet long and drive them into the ground about three feet deep. Adjust this depth based on how large you want your polytunnel to be.
After you have driven all of your foundation tubes into the ground, check them with a spirit level to make sure they are level.
Build Your Frame
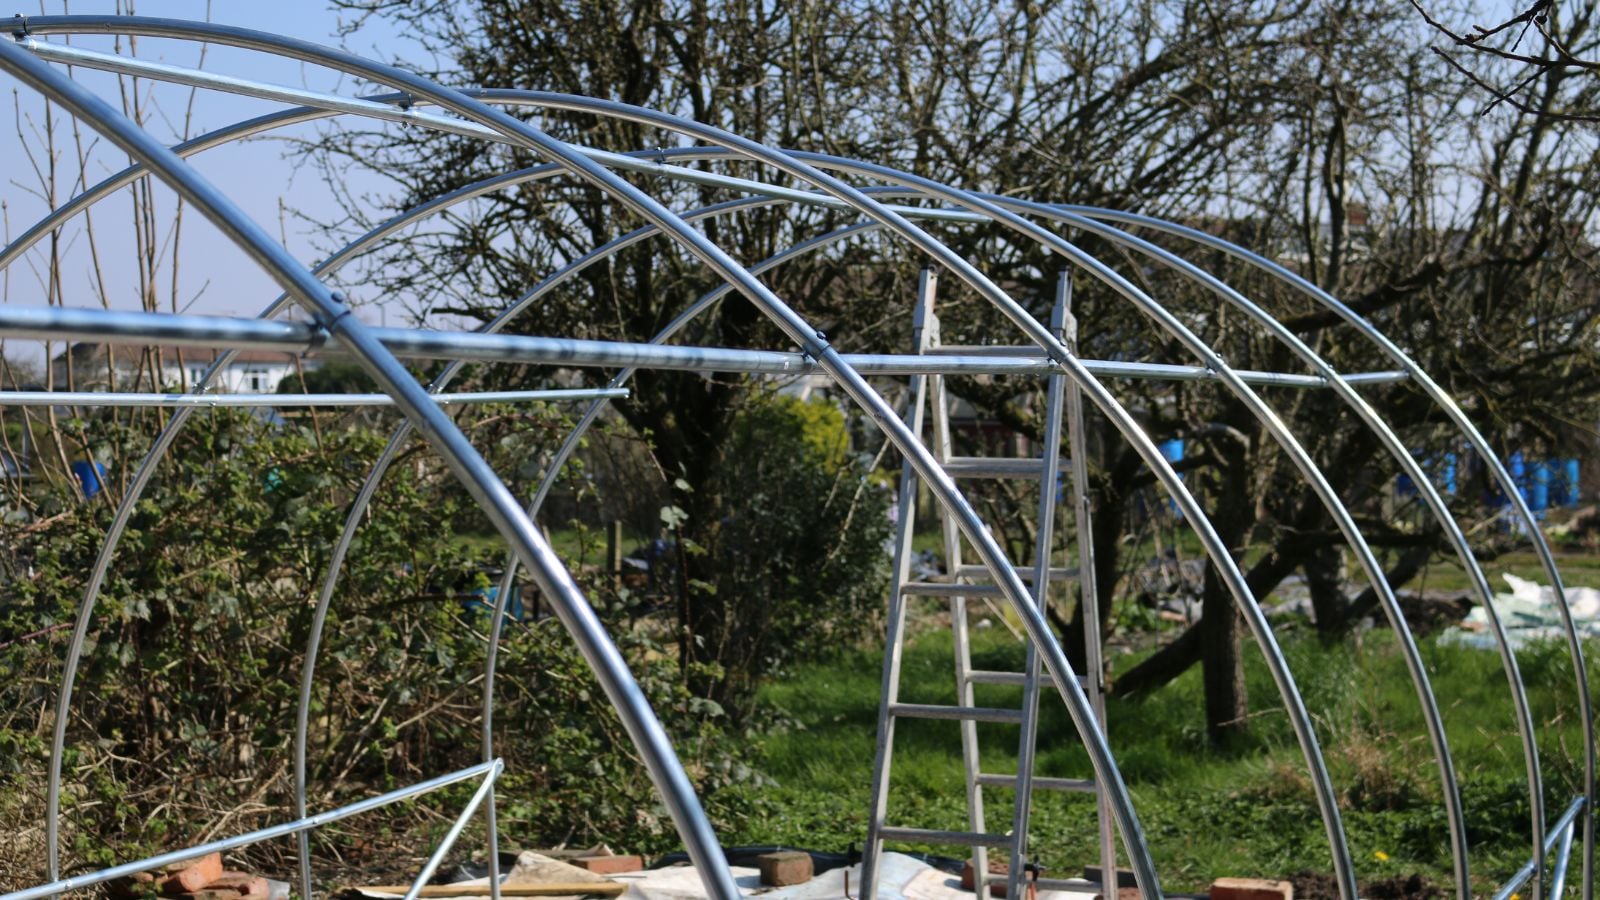
No matter if you’re using a prefabricated polytunnel or making one from scratch, you’re going to need aluminum hoops to build the rest of your frame. Choose your hoop size wisely, as this will determine the overall size of your polytunnel.
Connect the hoops together once you have the basic framework laid out. Slide them over the foundation tubes and bolt them in place.
Lastly, fit your ridge pole, doorframes, and corner bracing. Make sure your hoops are straight and in line, then tighten everything together.
This is the last step before you add your polythene cover, so make sure everything is exactly how you want it before continuing.
Add Your Cover

You’ve laid your foundation and built the framework on top of it, now it’s time to attach your cover! This is where your structure goes from “tunnel” to “polytunnel.”
If you’ve purchased a prefabricated polytunnel, you will usually have some kind of cushioning to put over your aluminum hoops to protect your polythene sheet from tearing or ripping. If you’re building from scratch, use foam or tape to make sure the hoops are free from anything that might tear your polythene sheet.
You don’t have to do this, but it will typically increase the lifespan of your sheet by about a year, which can save you a serious chunk of change.
Unroll your sheet on the ground and slide it over your hoops so it fits perfectly evenly across the entire frame.
Securing Your Tunnel

Most people just attach their sheet to the base rail to secure it, or you can bury it in a trench about half a foot deep.
If you don’t have a base rail and also don’t have space to bury the sheeting into the ground, you can make your own base rail by using timber and bolting it to your foundation tubes. Whatever you decide, keep the sheet as tight as you can when you fit it.
The last step is to cut a V shape in your sheet where you’d like to enter the polytunnel, or just use a door system provided with your prefab kit.


