25 Plants You Can Regrow From Kitchen Scraps
Did you know you can regrow plants from kitchen scraps? A lot of different fruits and veggies can be regrown and we'll show you exactly how to do it.

Contents
Worried that you’re generating too much organic waste at home? Before you take out the trash, consider if there are any uses for the waste you’ve created. Think about composting, making mulch, or, coolest of all, starting your own garden.
That’s right, you can start a garden using the organic waste in your home! Did you know that you can regrow plants from kitchen scraps? Here are some of the plants to try.


Ginger
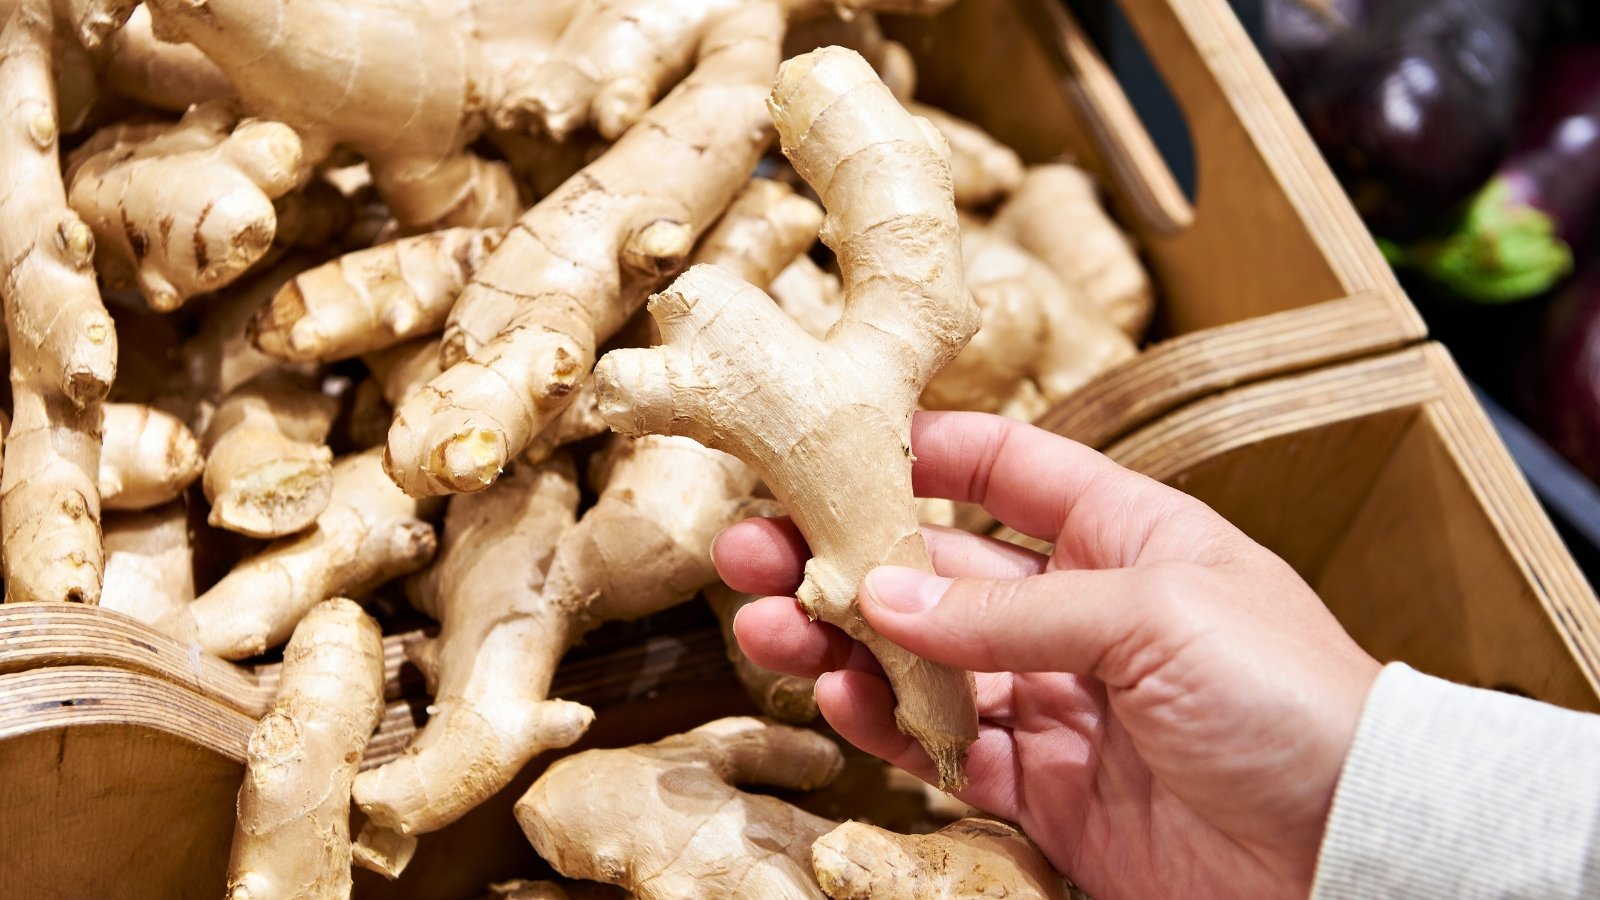
Ginger isn’t just an absolutely delicious root, but it’s also a wonderful herbal remedy for sore throats, lung infections, and inflammation. You can take any spare piece of fresh ginger root and plant it in soil. If the buds are facing upward, new shoots and roots will grow in around seven days. You can pull it up and use it, just make sure to save some of the rhizome for replanting!
Potatoes

Who doesn’t love a fresh baked potato or mashed potatoes with gravy? If you want to always have a crop of potatoes at home, cut the eyes from your potatoes or search through the peelings to find eyes. Let the pieces dry overnight and plant them at a depth of four to five inches. In just a few weeks, you’ll have more potatoes to enjoy!
Bean Sprouts

Nothing replaces pasta like a bowl of bean sprouts, and you can regrow from kitchen scraps! Soak a tablespoon of the beans in a jar filled with a few inches of water and leave it out overnight. Drain the water, set the beans in an empty container, cover with a towel, and rinse again the next day.
Repeat this procedure for a few days until you notice new sprouts beginning to grow. Perfect for wheat berries and mung beans!
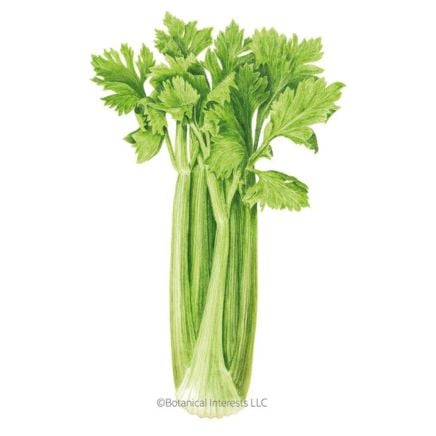
Celery
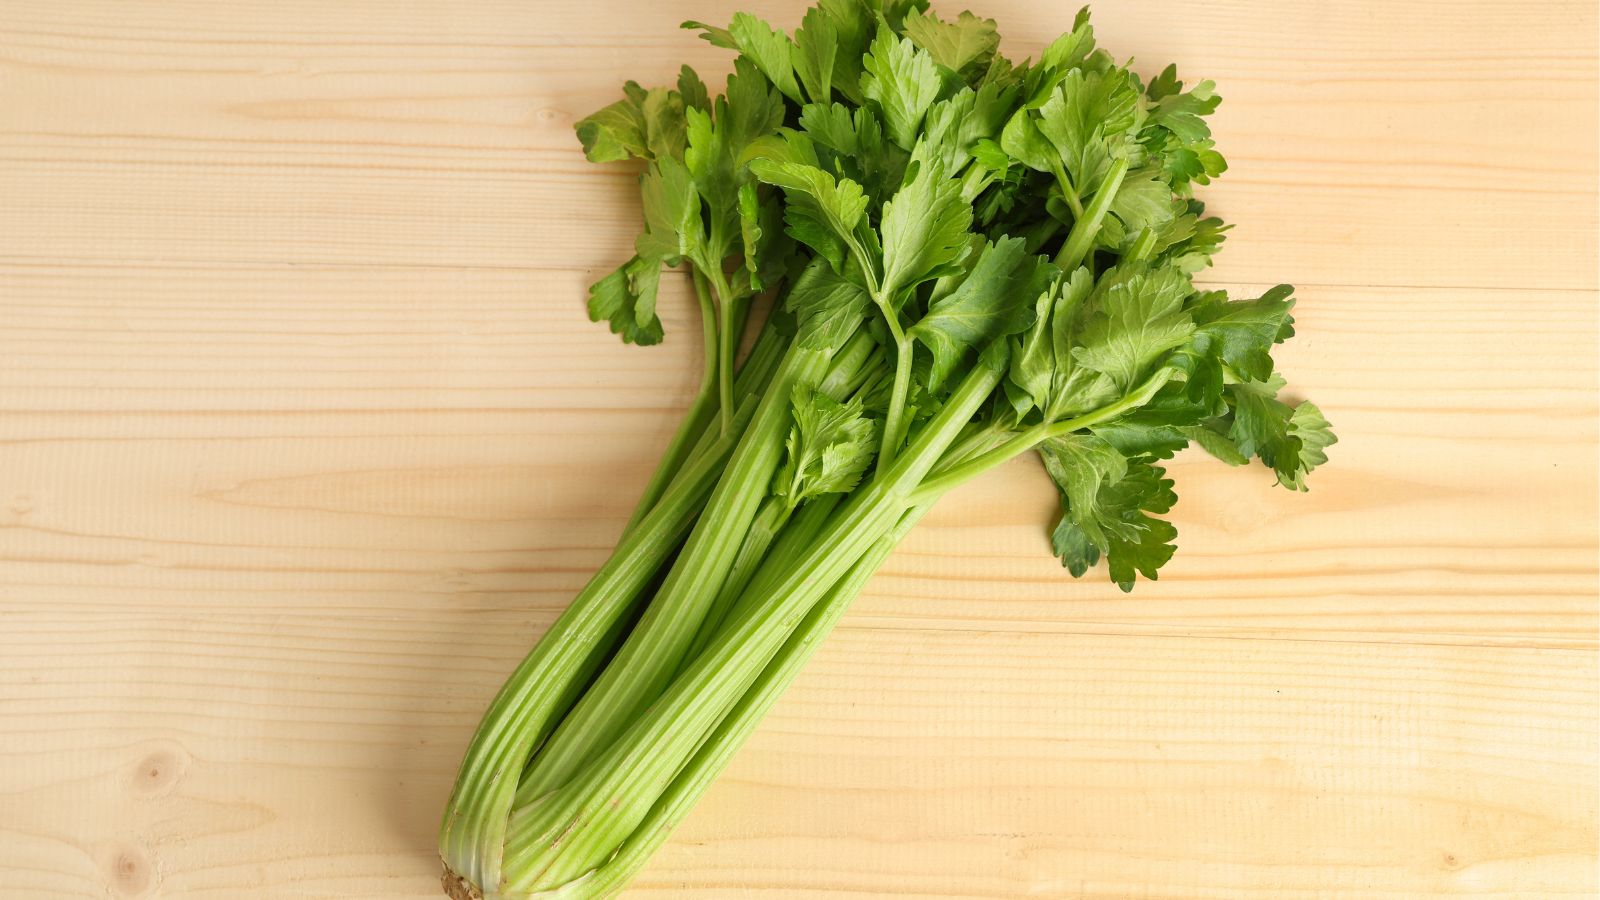
Celery makes a great flavoring for soups, salads, and stuffing, plus it goes great as a veggie stick to dip! All you need is the base of the celery (the white end), and you can leave it in a bowl with warm water.
Place that bowl in the sun for as much time as possible, and you’ll have brand new celery stalks within a week or so. Once the leaves have begun to thicken, it’s time to transplant it into potting soil and let it grow.
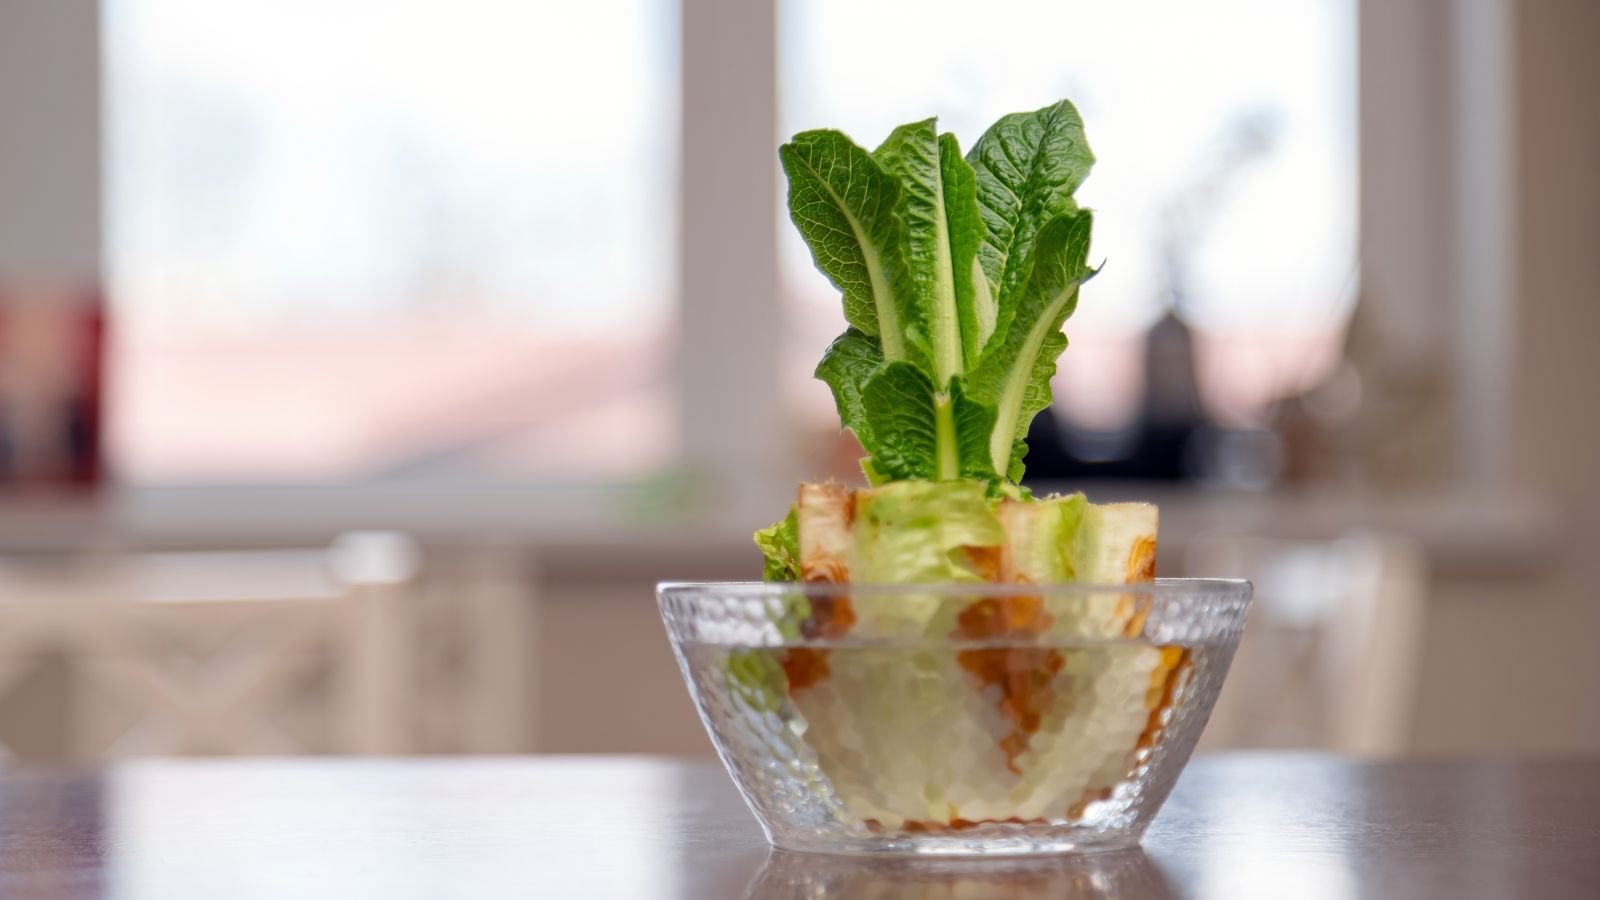
Leafy Greens

Cabbage, lettuce, and bok choy can all be regrown from kitchen scraps, meaning you can always have salads and delicious Asian-inspired meals! Don’t throw out the leaves you trimmed off the head, but instead place them in a bowl with less than an inch of water. Place that bowl in direct sunlight and give your leaves a gentle misting a few times every week.
Before the end of the first week, you’ll notice that the leaves have begun to sprout roots, meaning it’s time to transplant them into potting soil to grow.
Lemongrass
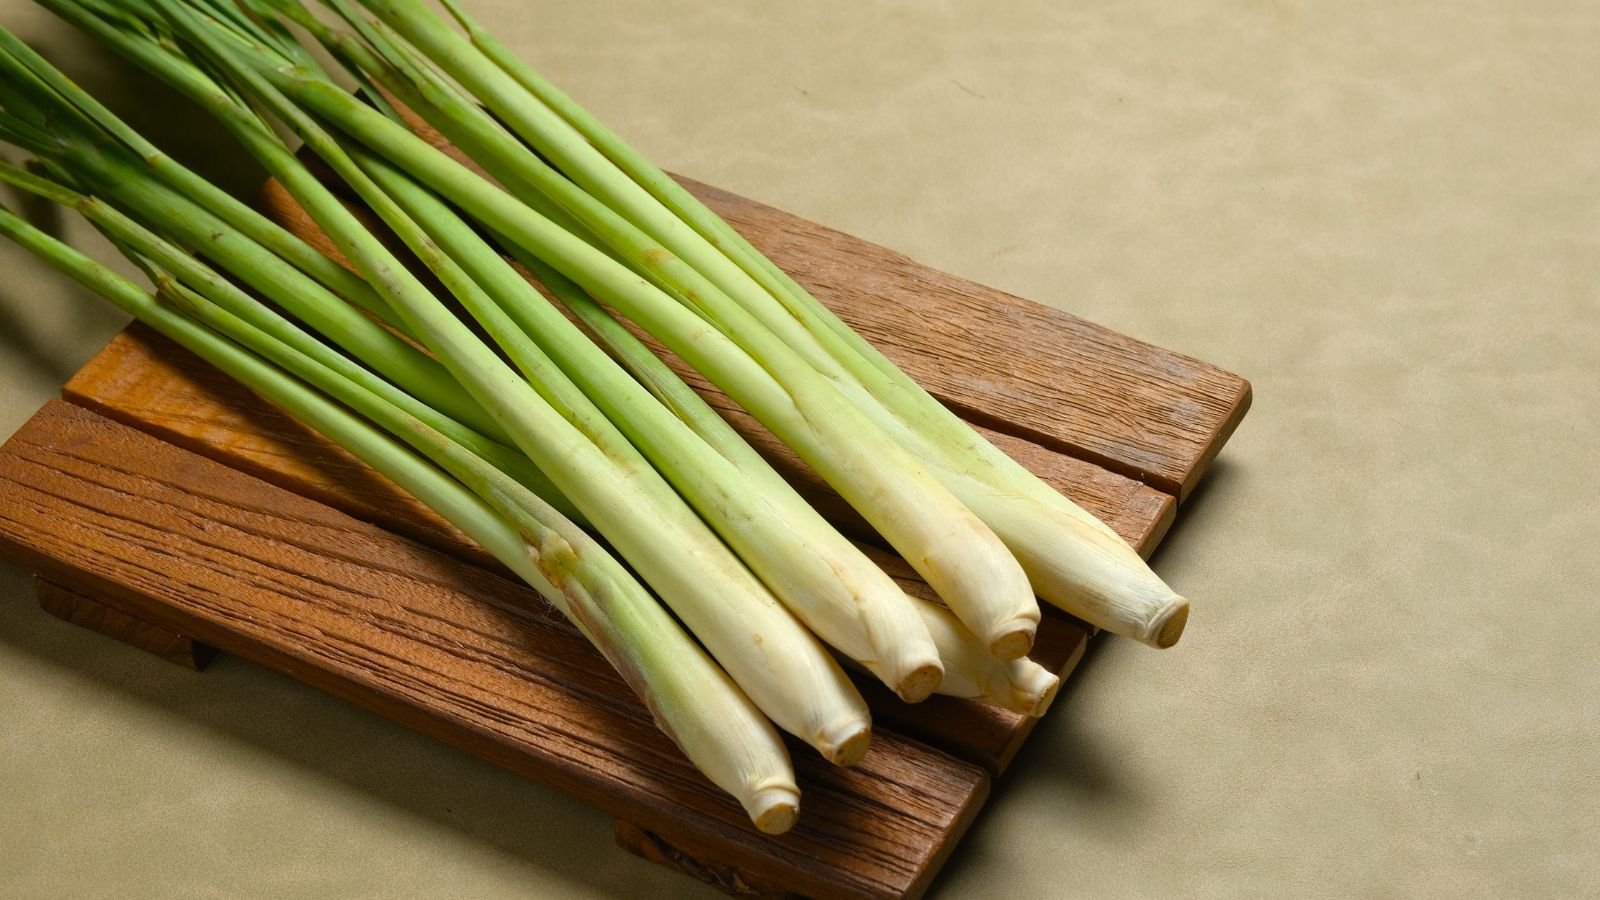
Never run out of lemongrass for your salads or smoothies ever again! Place the trimmed grass roots into a cup or bowl with enough water to cover the root, and set it in the sunlight. You should notice grass shoots appearing in around a week, and that’s when you want to transplant the lemongrass plant into a pot of soil or your garden.
Avocado
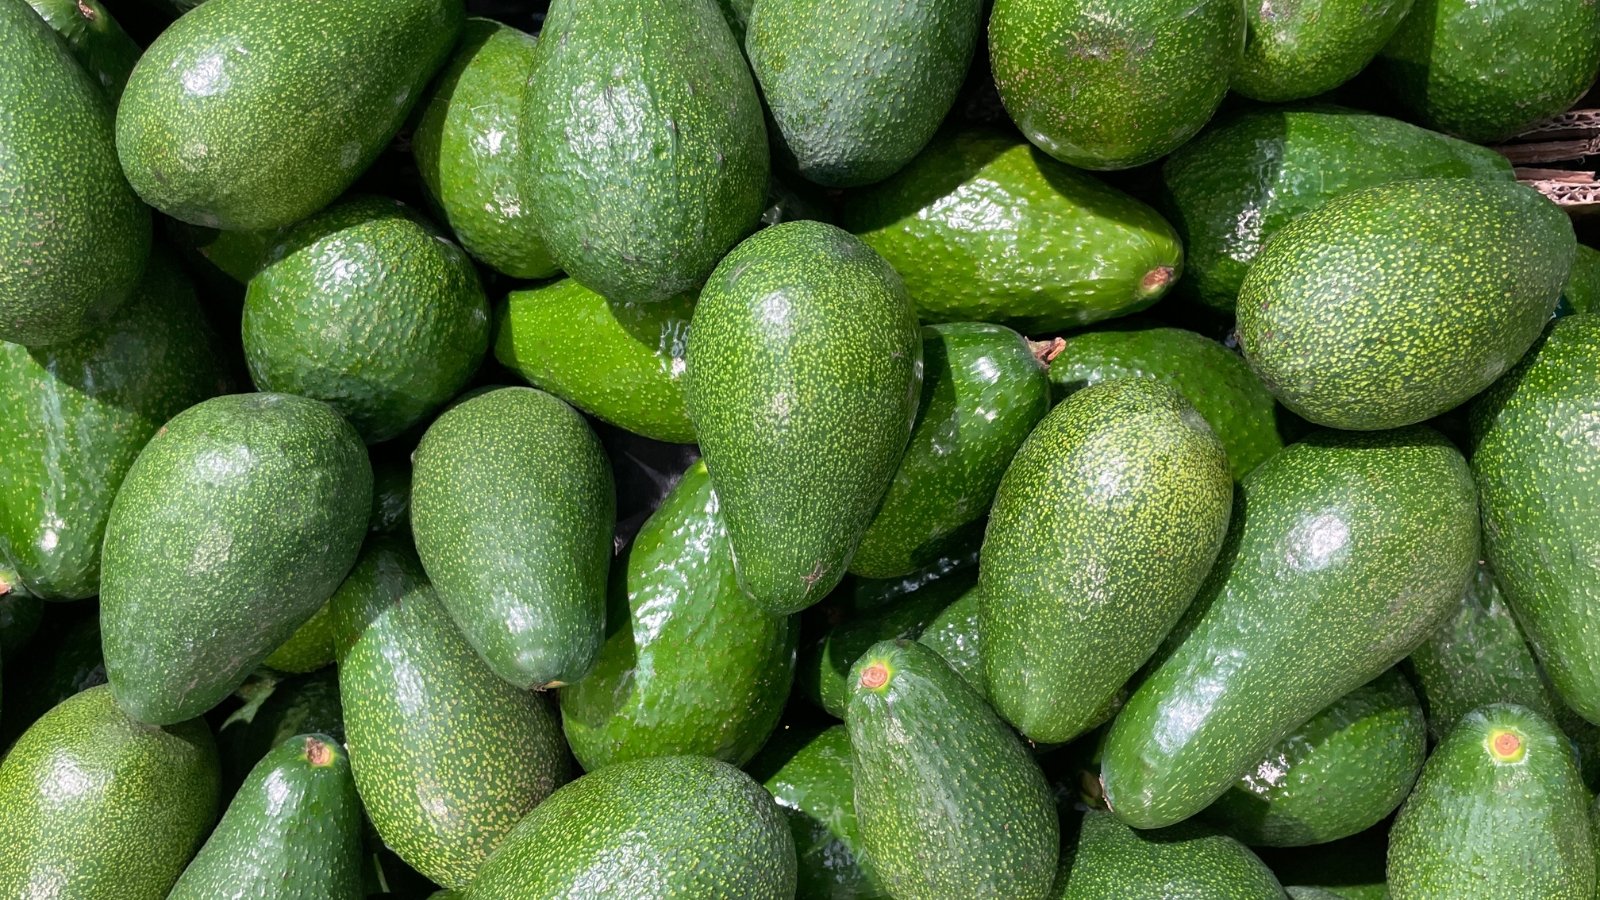
You don’t have to throw the avocado seed away once you’re done making guacamole; you can use it to grow a whole new plant. Wash the seed and insert toothpicks around the middle to create a frame. Suspend the seed over a bowl or jar so that only the bottom inch is covered in water, with the rest exposed to air.
Make sure the jar or bowl sits in a warm place out of direct sunlight, and add more water as needed to keep the bottom inch of the seed submerged. Your new avocado plant should sprout in about six weeks. Once the stem reaches six inches long, trim it down to three inches in length. Transplant it once the leaves begin to appear.
Sweet Potatoes

You can grow these bad boys just like you would regular potatoes. Cut the sweet potato in half and use a toothpick frame to keep it just above water. The potato will actually grow roots that reach down into the water. Wait until the roots reach four inches in length to transplant them. The potato will also develop sprouts, which you can harvest and plant when they are an inch long.
Garlic

All you need is a single garlic clove, and you can regrow from kitchen scraps! Remove a single piece of garlic from the head and plant it in soil, making sure the root faces downward. Put the pot with the garlic into direct sunlight, and keep it outdoors during spring, summer, and fall.
New shoots will soon begin to form, but trim those back to ensure that a bulb forms. That bulb will one day become your head of garlic, which you can use to start the cycle all over again!
Pineapple

Cut the top off your pineapple and use a toothpick frame to suspend it above water. Set the container in sunlight and keep it in warm weather. Change the water fairly often and keep the container filled with just enough water to touch the base of the pineapple plant. Once roots form, in a week or so, transplant it into soil.
Onions

Gather the onion roots to regrow from kitchen scraps, making sure there is about half an inch of onion still attached. Cover the root with potting soil and set the plant into direct sunlight. Keep the plant hydrated and you’ll notice the onions growing in no time.
Mushrooms
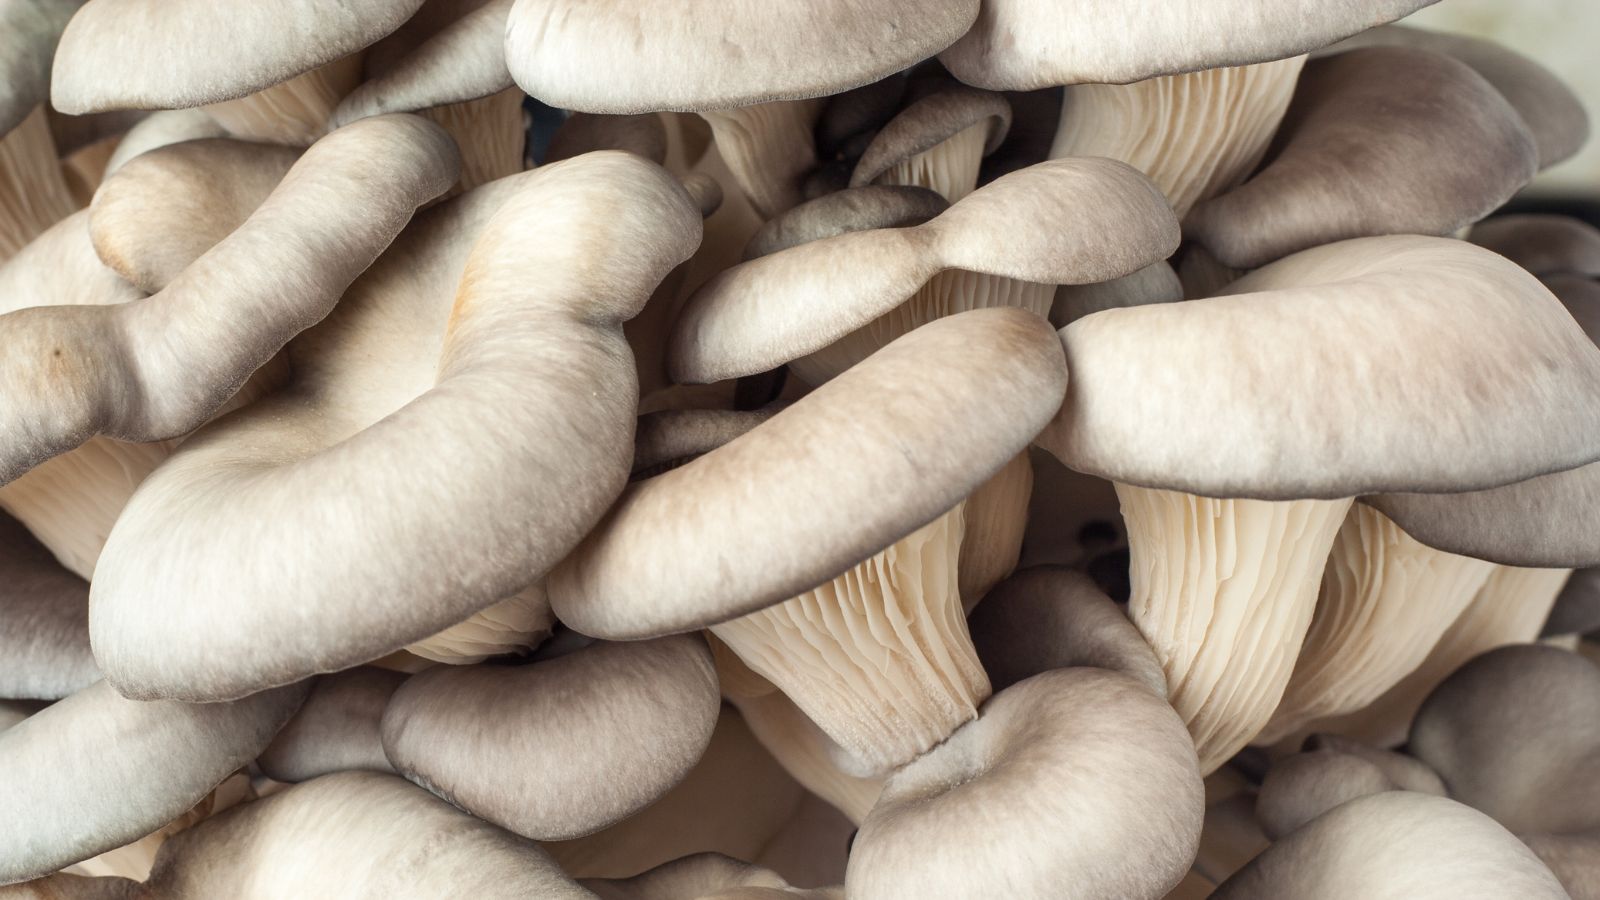
Grow mushrooms in a pot, using the stalk or stem to regrow these delicious fungi. You need to ensure that the plant grows in a warm, humid environment with very little direct sunlight.
Pumpkins
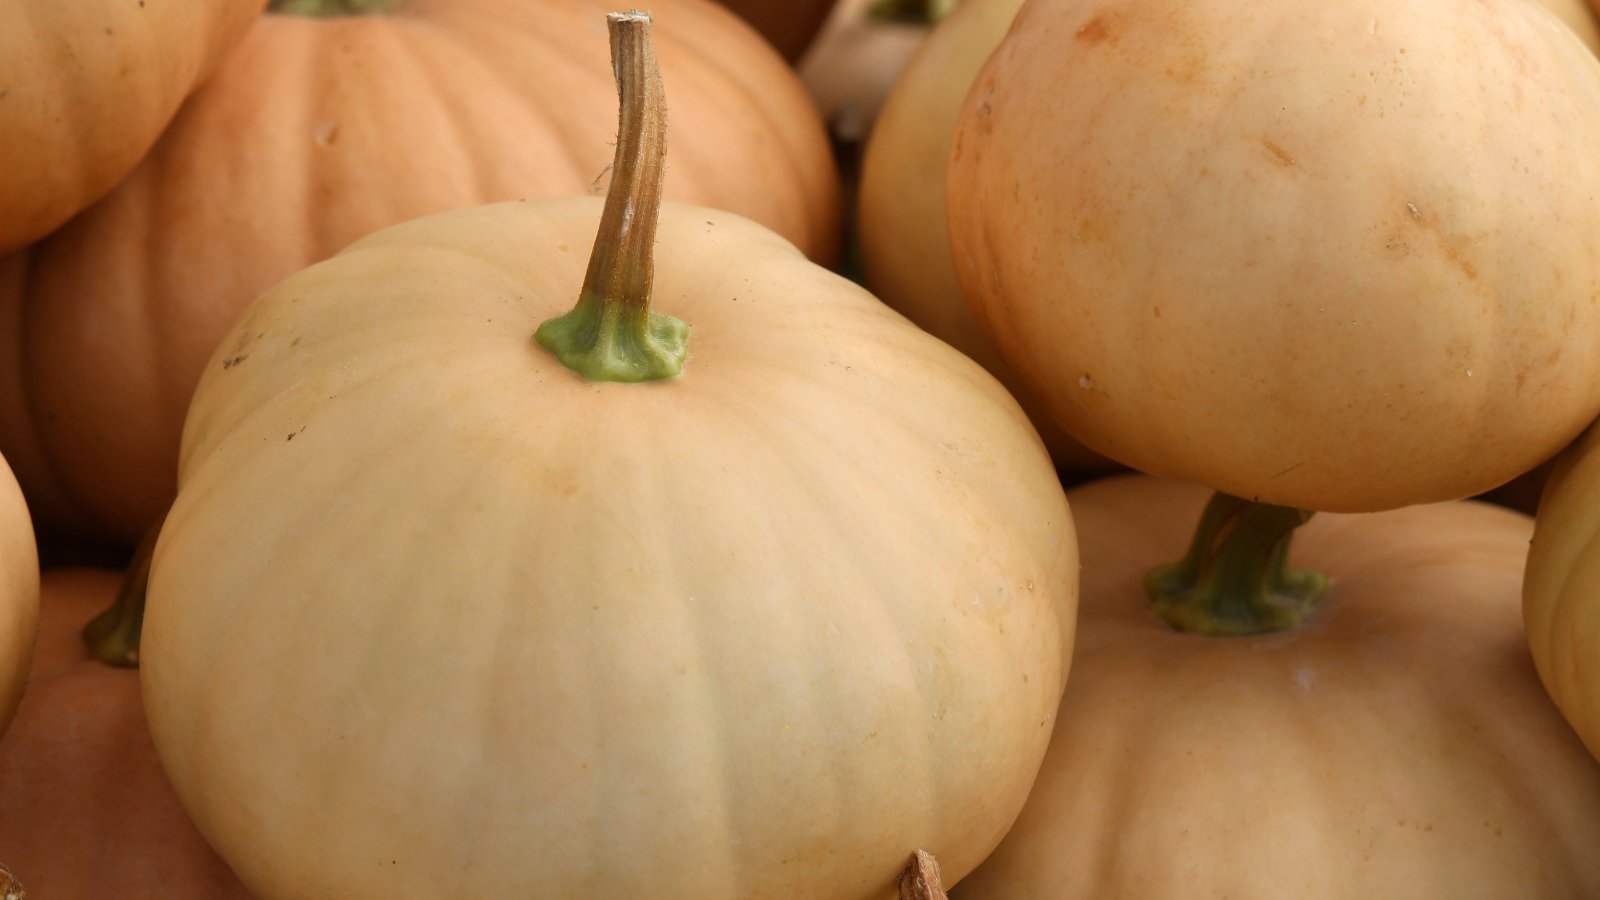
Want to have a pumpkin to carve come Halloween? Save the pumpkin seeds and plant them in potting soil or your garden. Spread out the seeds and cover them in a thin layer of soil.
Tomatoes

Instead of throwing out the tomato seeds, rinse them off and plant them in high-quality potting soil once they have dried. You will need to let the seedlings grow to a few inches in height before you transplant them. Make sure they are growing in a warm environment with plenty of sunlight and water.
Fennel

All you need to regrow fennel is an inch or so of the base of the plant. Place the root in a container with around a cup of water and set the container in direct sunlight. You’ll notice roots growing from the bottom of the fennel plant, and the growth of green shoots will indicate that it’s time to transplant.
Peppers

It doesn’t matter if you want to grow bell peppers, jalapeño peppers, or any other kind of pepper; you just need the seeds! Place the seeds in potting soil, set the pot in direct sunlight, and let them grow. Thankfully, peppers are fast-growing plants that require very little in the way of care.
Chestnuts
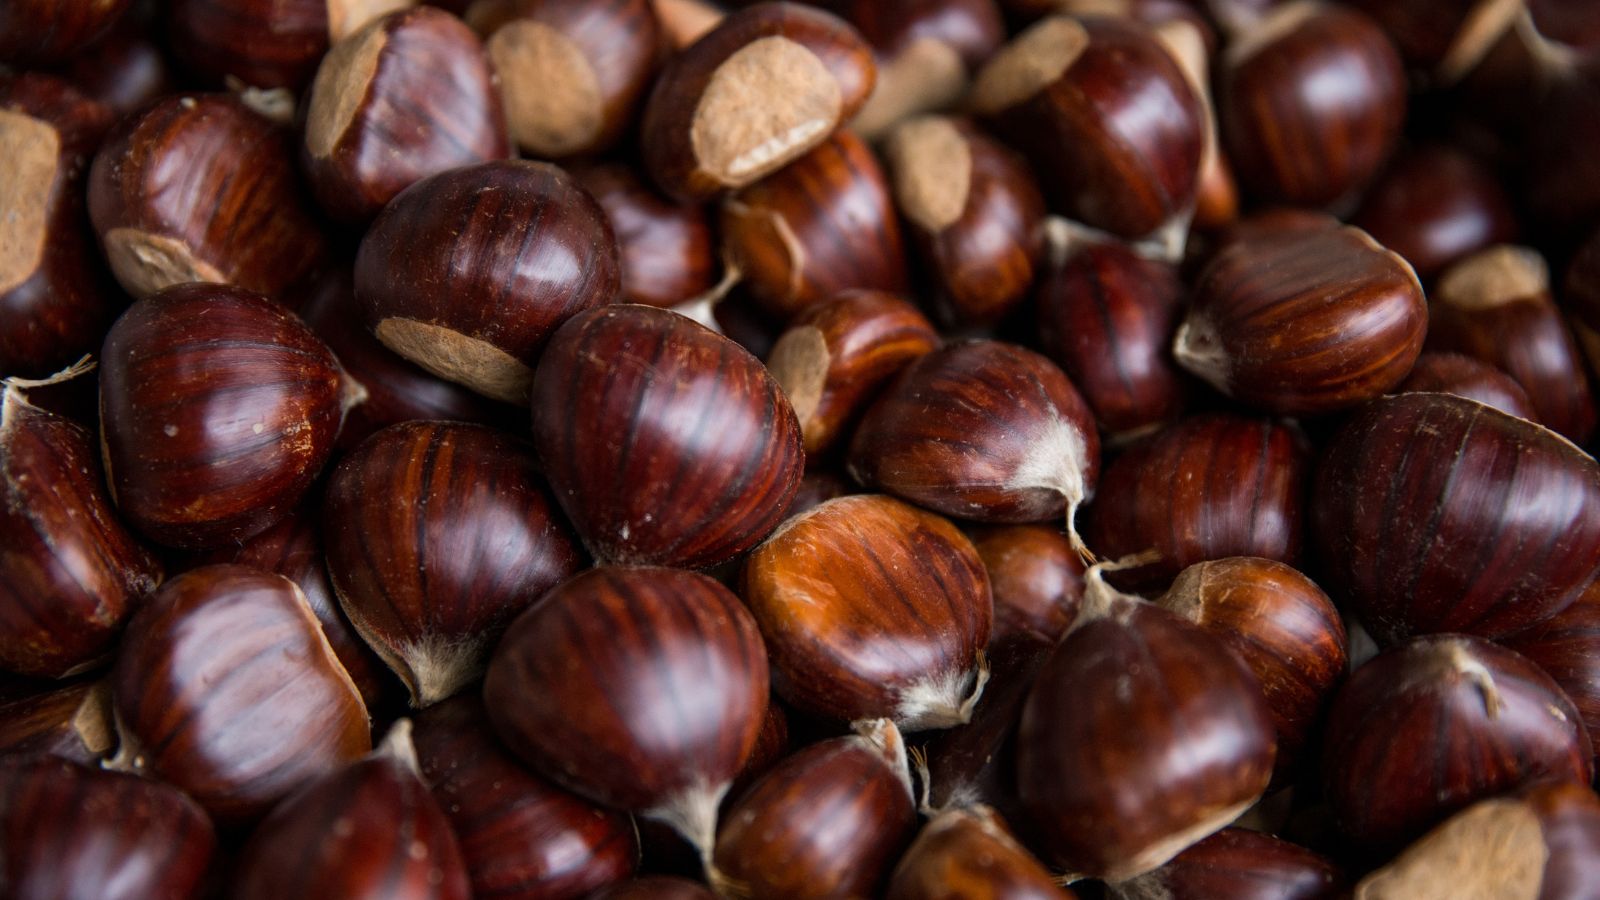
As long as you have a type of chestnut indigenous to your climate zone (planting zone), you can grow them easily. Dry out the nuts before planting, and plant a number of nuts close together to increase the chances of a proper chestnut tree growing. Note: it takes years for the tree to bear nuts.
Lemons
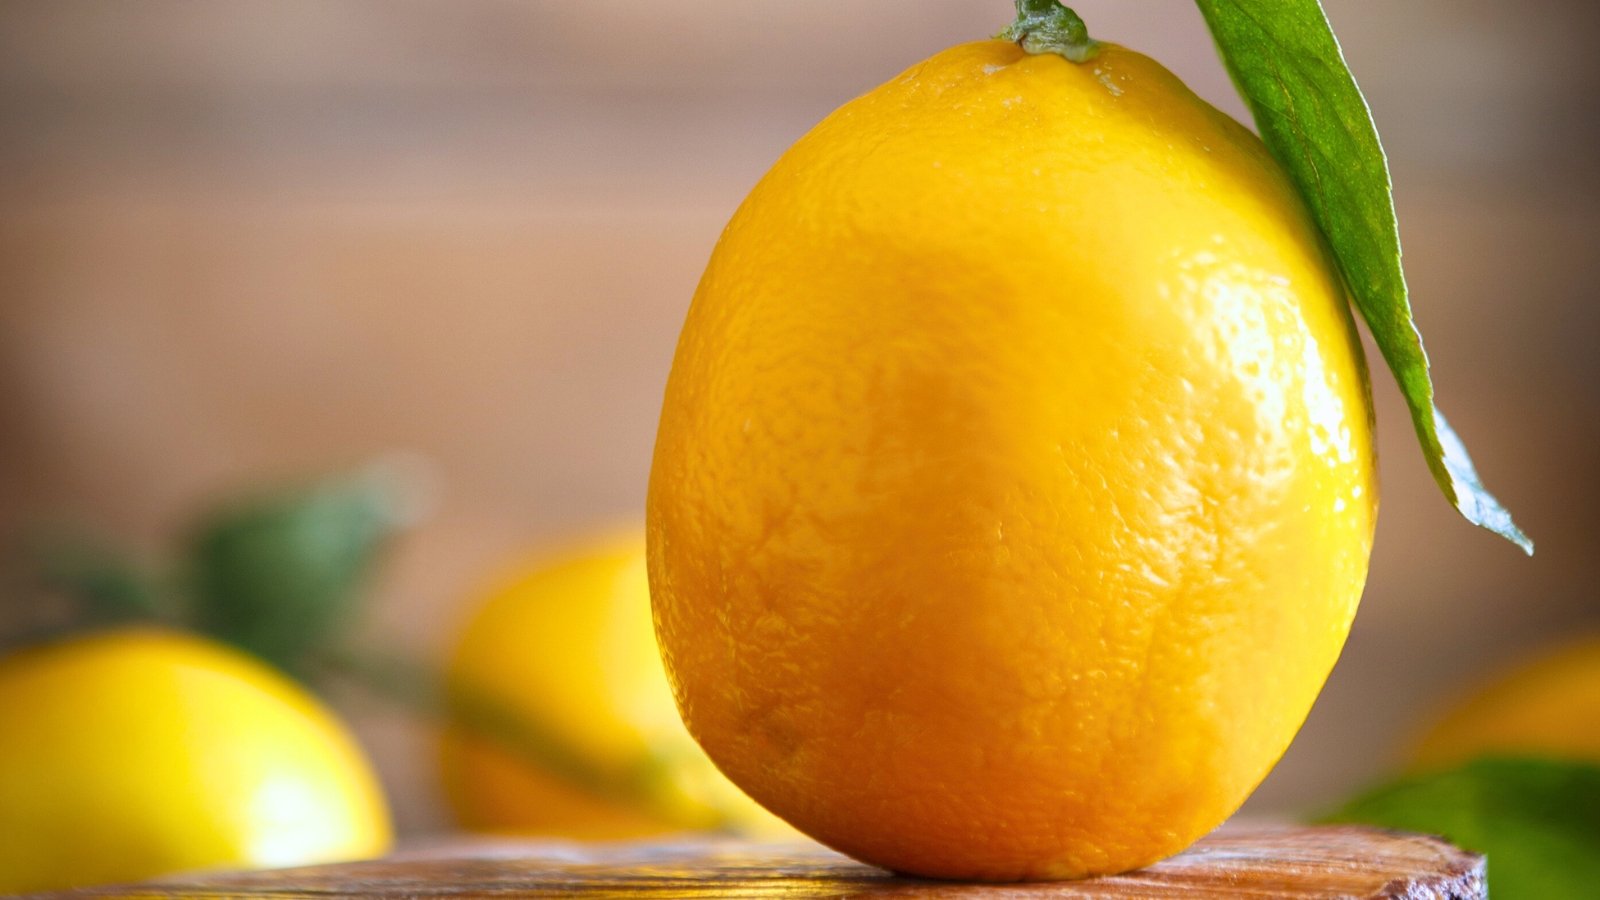
To grow a lemon tree, all you need are a few lemon seeds. Meyer lemons are ideal for cold climates, as they are small and work well as indoor plants. Wash and dry the seeds before planting in quality potting soil!
Apples

Use the seeds from your apples to grow a new apple tree. Let the seeds dry out before you plant them, and make sure that you plant a few seeds in each hole, no fewer than two seeds!
Turnips

All root plants (including carrots and turnips) are easy to regrow; all you’ll need is the tops of the turnips. Place the tops in a container of water, and you’ll notice the green tops growing within three or four days. Let the root grow for a week or so before transplanting.
Basil

To regrow basil, you will need nothing more than the stem from which you plucked the fresh basil leaves. Set the stem in a glass (not bowl) of water, making sure that the water level stays below the leaf line. Put the glass in a bright, warm area, but keep it out of direct sunlight.
The roots will grow within a few days, and your plant is ready to transplant once the roots have grown to a couple of inches in length.
Cherries
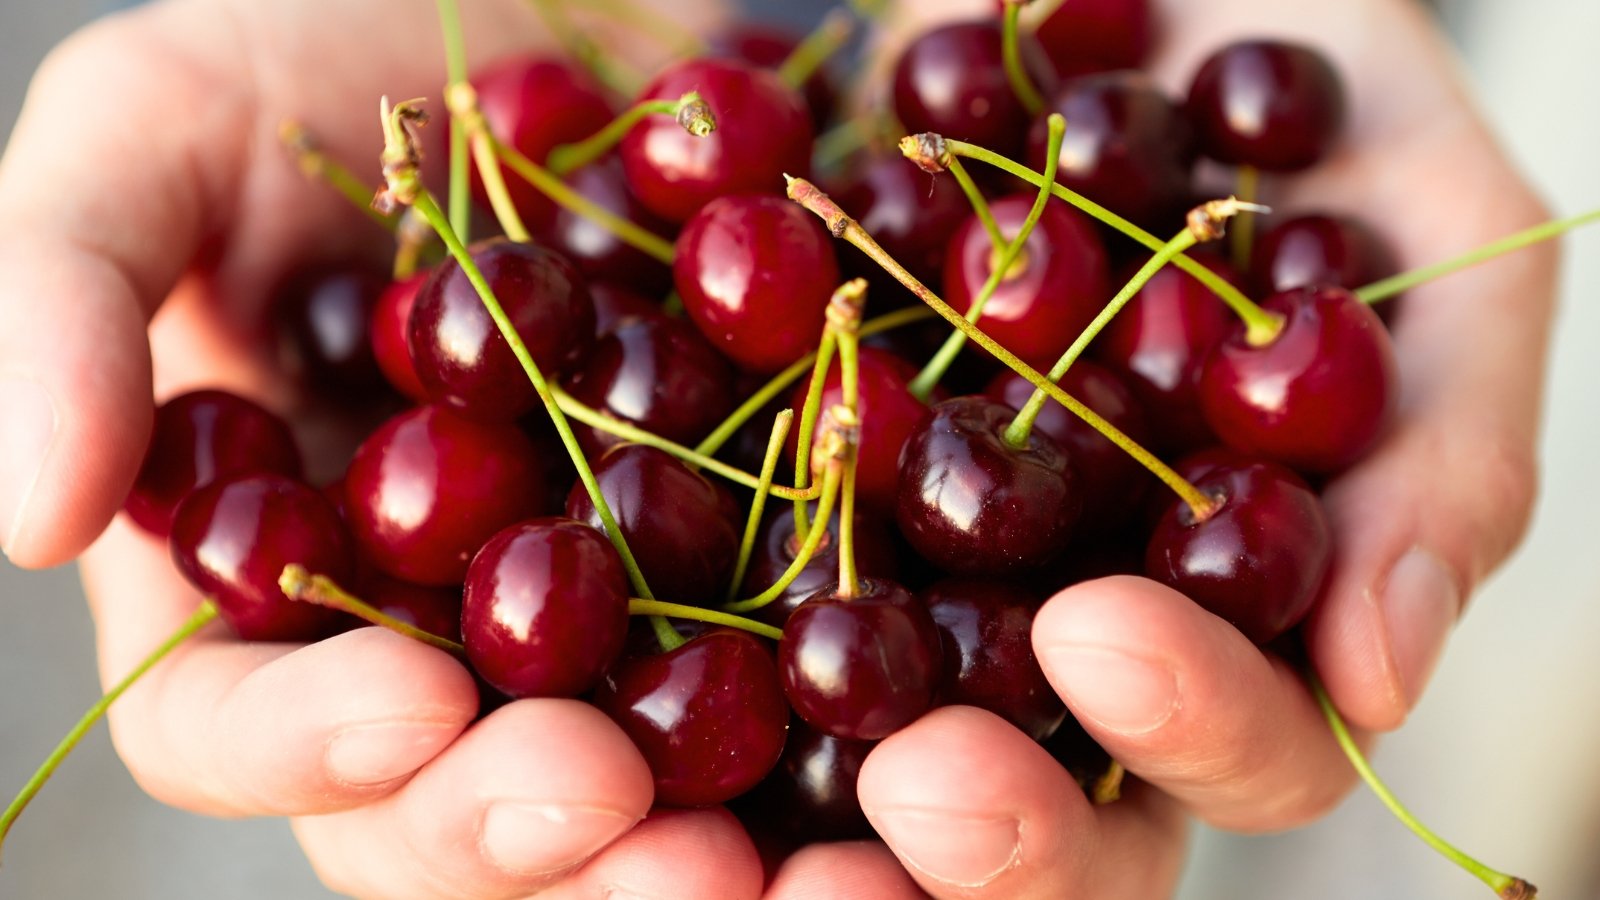
You can grow an entire cherry tree with nothing more than a few cherry pits! It will take years for the tree to grow enough to bear fruit, but you’ll get flowers within the first year or two. Keep the cherry pits in cold storage (in potting soil, covered with a lid, stored in the fridge) to allow them to germinate, which will take a few weeks. After about 12 weeks, they’ll be ready to transplant.
Cilantro

When you are chopping cilantro, keep the root of the herb. You can also use the bottom of the stem, placing it in a glass of water in a bright area. The roots will grow quickly, and the cilantro will be ready to transplant once they have reached two inches in length. You’ll get new cilantro sprigs in a few weeks!
Peaches
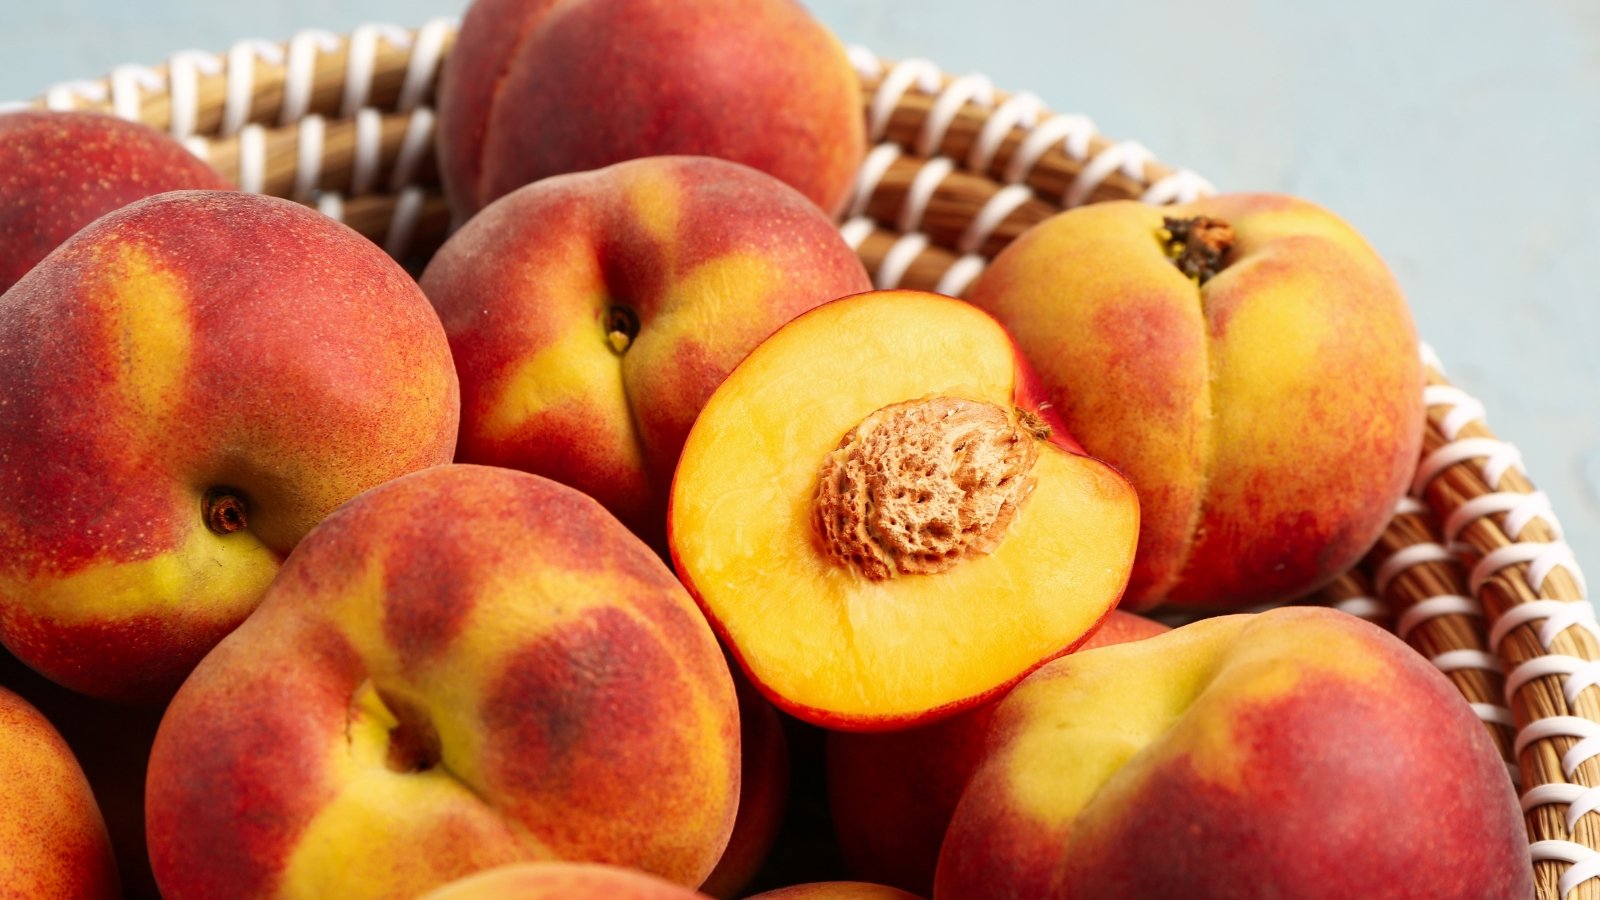
Collect the seeds of your peaches, nectarines, or plums, and dry them out. Once properly dried, plant them in nutrient-rich potting soil in a place where you are certain they will receive a lot of sunlight. It will take a few years for the trees to bear fruit when you regrow from kitchen scraps, but it will be worth it!
Hazelnuts
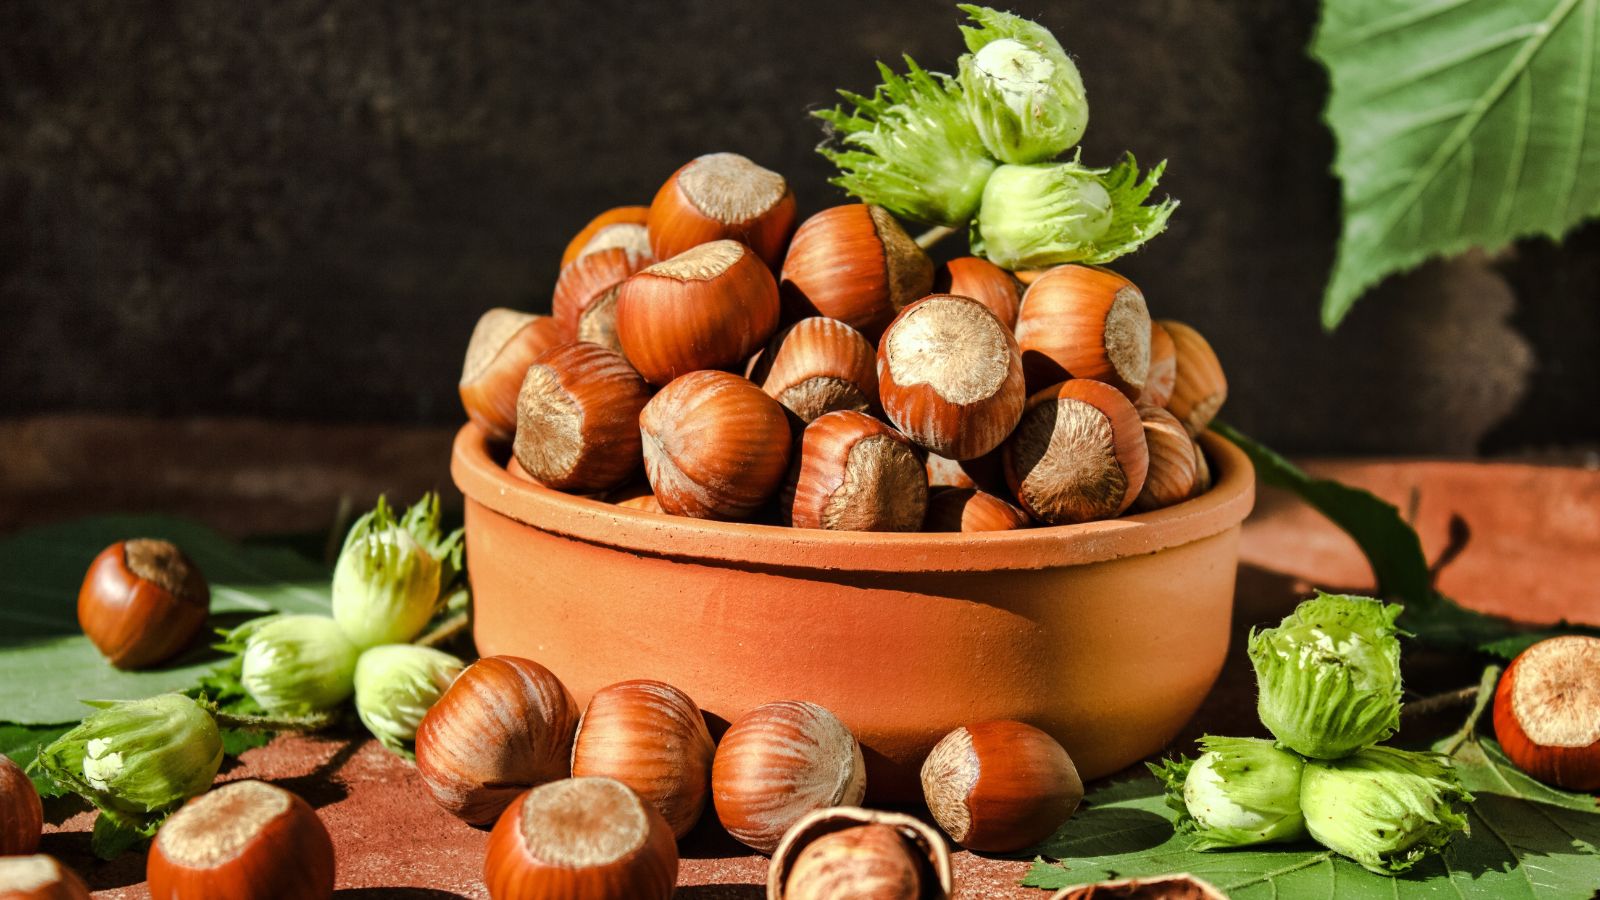
Dry the hazelnuts instead of eating them, and plant them in nutrient-rich soil near another hazelnut tree. The trees grow better in warm weather, so those living in colder climates should start growing them indoors, then transplant them outside when the weather warms up. It only takes a couple of years for the tree to start bearing nuts!


